How Is a Ribbed Panel Metal Roof Installed?
Thinking about installing a ribbed panel metal roof can feel a bit overwhelming, right? You've seen these roofs on homes, businesses, and even barns, admired their sturdy look, but the actual process of getting one up there might seem like a mystery. You're probably picturing heavy panels, intricate steps, and a whole lot of specialized tools. Well, this guide is here to demystify the entire installation process for ribbed panel metal roofing, breaking it down into manageable steps so you know exactly what to expect from start to finish.
Understanding Ribbed Panel Metal Roofing Before Installation
Before we dive into the nuts and bolts of putting a ribbed panel roof on your home, it's really helpful to understand what these panels are all about. They're a fantastic choice for many homeowners, offering a great blend of durability, aesthetics, and often, a more budget-friendly price point compared to some other metal roofing options. But like anything, knowing the specifics helps you appreciate the installation journey.
What Exactly Are Ribbed Panels?
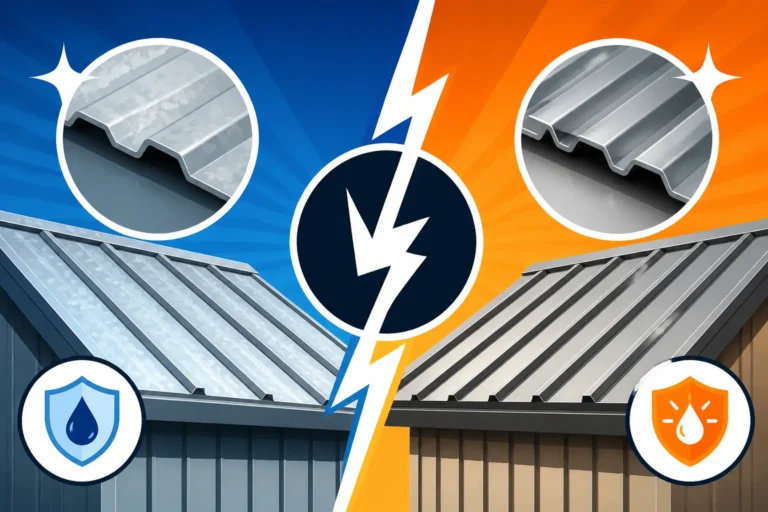
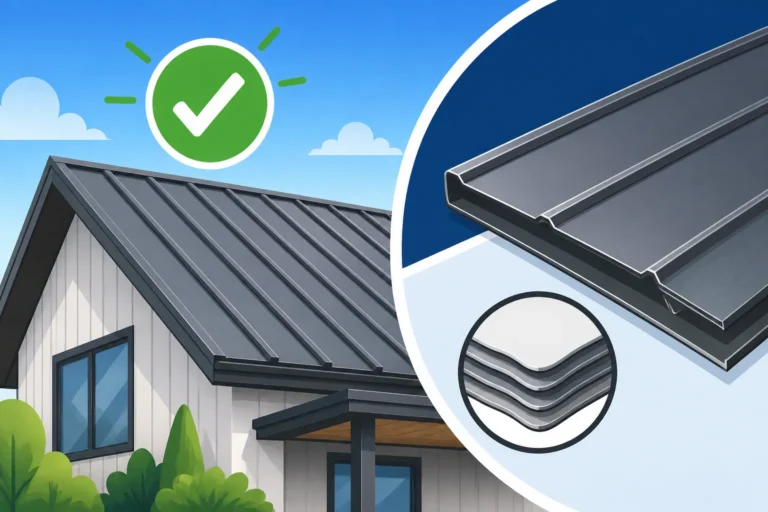
Ribbed panels, often referred to as exposed fastener metal roofing, get their name from the distinct ribs that run along their length, providing strength and rigidity. These panels are typically secured directly to the roof deck or purlins with screws that go through the face of the panel and are visible once installed. This exposed fastener design is one of their defining characteristics and a key difference when you compare them to, say, a hidden fastener standing seam system.
There are a few common profiles you'll encounter in the ribbed panel family. R-panel and PBR-panel (which has an extra leg for better overlap) are robust options often seen on commercial buildings but are increasingly popular for residential use due to their durability and clean lines. Then there's the classic 5V Crimp, recognized by its V-shaped ribs, which gives a more traditional, often agricultural, aesthetic. Each profile offers a slightly different look and structural integrity, but they all share that exposed fastener design.
The materials used for ribbed panels typically include steel (Galvalume or galvanized being common coatings) and sometimes aluminum, with various paint finishes like SMP or PVDF to protect against the elements and offer a wide array of colors. Gauge thickness is also important, with 26-gauge and 29-gauge being common for residential applications. For a deeper dive into the options, check out our guide on Metal Roofing Types Explained: Profiles & Panels.
Why Choose Ribbed Panels?
Many homeowners gravitate towards ribbed panels for several compelling reasons. First off, they're often more cost-effective than their hidden-fastener counterparts like standing seam. The simpler manufacturing process and quicker installation, thanks to the exposed fastening method, contribute to a lower overall price. This makes them an excellent value for homeowners looking for the long-term benefits of metal roofing without the premium price tag.
Beyond cost, their durability is a huge plus. Ribbed panels are designed to withstand harsh weather, including heavy rains, strong winds, and even hail. While the exposed fasteners mean more potential points for water intrusion if not installed correctly, a professional installation with proper sealants ensures a weather-tight roof that can last for decades. They also offer excellent fire resistance, which can even lead to savings on your homeowners insurance.
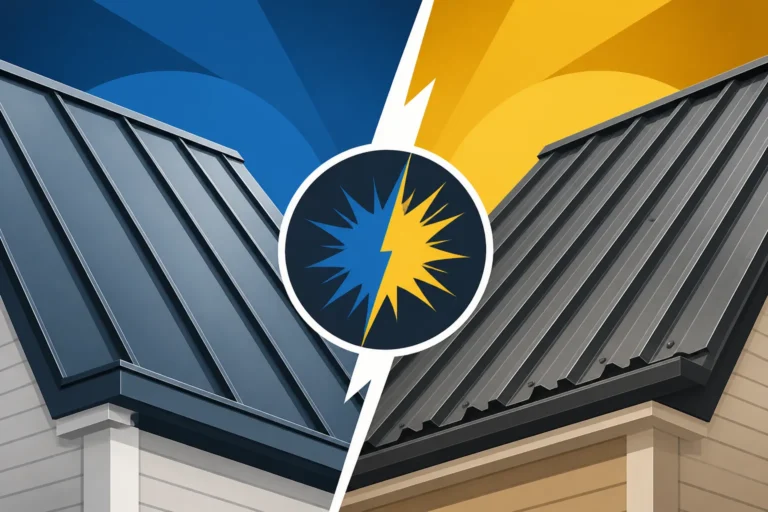
Installation for ribbed panels can also be a bit more straightforward than other metal roof types, making them a potentially quicker project. While "easier" doesn't mean "simple" – proper technique is still paramount – the visible fastening system allows installers to work efficiently. For those weighing their options, understanding the differences, such as those detailed in Exposed vs Hidden Fastener Metal Roofing, can really help in making an informed decision for your home.
Essential Pre-Installation Steps for a Ribbed Panel Roof
Just like baking a perfect cake, the success of your ribbed panel metal roof installation hinges on thorough preparation. You can't just slap panels onto any old roof deck and expect it to perform. There are crucial steps that need to happen before the first panel ever gets lifted into place, ensuring a smooth process and a long-lasting, problem-free roof.
Assessing Your Roof Deck and Structure
One of the most critical pre-installation steps is a thorough inspection of your existing roof deck and underlying structure. A metal roof, while lighter than some materials, still requires a solid, even surface for optimal performance and longevity. If you're replacing an old shingle roof, you might opt for a full Tear-Off vs Metal Over Shingles: Cost Difference. If a tear-off is happening, the plywood or OSB decking needs to be inspected for rot, water damage, or sagging. Any compromised sections must be repaired or replaced to provide a stable base.
Sometimes, especially with older homes or if you're installing over existing shingles, furring strips or purlins might be used to create a level surface or an air gap. This isn't always necessary for ribbed panels if the existing deck is sound, but it's a consideration your contractor will evaluate. The goal is to ensure that when the panels are screwed down, they lie perfectly flat and don't create any stress points that could lead to oil canning or premature wear. Our guide on Metal Roof Decking Requirements goes into more detail on this essential foundation.
A reputable metal roofing contractor, perhaps one you found through a service like Modernize, will take the time to meticulously assess your roof's condition. They'll look at the rafters, check for proper ventilation, and make sure the structural integrity can comfortably support the new metal roof, even though metal roofs are generally lighter than traditional asphalt shingles.
Material Selection and Delivery
Once the structural assessment is complete, it's time to finalize your material choices and get everything ordered. This isn't just about picking a color; it's about making sure you have the right gauge, the correct coatings, and enough panels of the precise lengths needed for your roof's dimensions. For residential applications, you'll typically see 26-gauge or 29-gauge steel ribbed panels, with 26-gauge offering a bit more rigidity and dent resistance. The specific gauge choice can influence both the cost and the long-term performance, as explored in 24 vs 26 Gauge Metal Roofing: Which Is Best?.
Your contractor will take incredibly precise measurements, often using specialized software, to ensure panels are custom-cut to length. This minimizes waste and reduces the number of seams or cuts needed on site, which can sometimes be a source of potential issues if not done professionally. When the materials arrive, it's crucial to inspect them carefully for any shipping damage before they're even loaded onto your property. Even a minor dent or scratch can compromise the finish and protection of the panel, leading to rust down the line.
Proper storage of the materials on your property is also key. Panels should be kept off the ground, covered, and in a secure location, protecting them from moisture, dirt, and accidental damage until installation day. A good contractor manages this logistics, ensuring your investment is protected from the moment it arrives.
Permitting and Planning
Before any work begins, you absolutely must ensure all necessary permits are secured. Trying to skip this step can lead to significant headaches down the road, including fines, work stoppages, and even difficulties with insurance or resale. Local building departments have specific requirements for roof replacements and new installations, all designed to ensure safety and compliance with building codes. For example, in hurricane-prone regions like Florida, permits often involve stricter wind resistance requirements. Our article Do You Need a Permit for a Metal Roof? clarifies this process.
Beyond permits, a detailed installation plan is essential. This includes outlining the sequence of work, designating staging areas for materials, and discussing access for equipment. A good plan will also consider weather contingencies, as metal roof installation often needs dry conditions. Your contractor should walk you through their plan, explaining the timeline and what you can expect day-to-day.
Don't forget about your Homeowners Association (HOA), if you have one! Many HOAs have strict rules regarding exterior modifications, including roofing materials and colors. Getting pre-approval from your HOA is just as important as securing a city permit to avoid future conflicts or demands for costly changes. Partnering with a skilled and knowledgeable contractor can make navigating these bureaucratic waters much smoother, as they're often familiar with local regulations and can guide you through the approval process, leveraging resources like Modernize to find experienced professionals in your area.
The Step-by-Step Ribbed Panel Installation Process
Alright, all the prep work is done, the permits are in hand, and the materials are neatly stacked. Now for the exciting part: seeing your new ribbed panel metal roof come to life! While every roof is unique, there's a general sequence of steps that professional installers follow to ensure a durable and watertight finish.
Preparing the Roof Surface and Underlayment
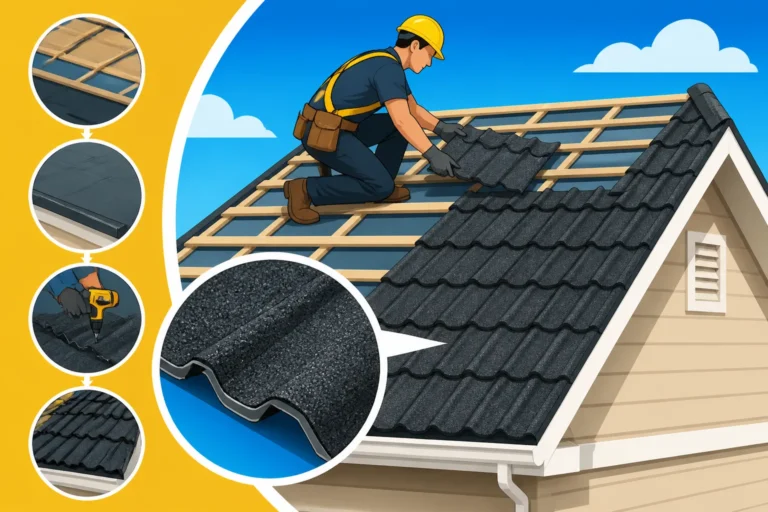
The first actual work on the roof itself involves getting the surface ready. If you're going for a full tear-off, the old roofing material, whether it's asphalt shingles or another type, will be removed down to the bare roof deck. This is a messy but crucial step, allowing for a thorough inspection and repair of any decking issues discovered during the pre-installation assessment. Debris is cleared, and the surface is swept clean.
Next comes the underlayment. This layer, applied directly to the roof deck, is like your roof's secondary water barrier, offering an extra line of defense against moisture intrusion. For metal roofs, high-quality synthetic underlayment is often preferred over traditional felt paper because of its durability, resistance to tearing, and ability to withstand high temperatures that can build up under metal panels. In colder climates, or areas prone to ice dams, an ice and water shield is critical, typically installed along the eaves, rake edges, and around any penetrations. This detailed layering is critical, and you can learn more about it in What Goes Under a Metal Roof? Layers Explained.
Proper installation of the underlayment involves smooth, even application, starting from the eaves and working upwards, with sufficient overlaps to create a continuous barrier. This protective layer is what truly helps your metal roof perform reliably for decades, keeping your home dry even if extreme weather somehow compromises a panel.
Installing Drip Edge and Eave Trim
With the underlayment in place, the next crucial step is installing the drip edge and eave trim. These components are often overlooked by homeowners but are absolutely vital for directing water off the roof and into your gutters, protecting the fascia and the underlying roof structure from water damage. The drip edge is installed along the eaves (the bottom edge of your roof) and sometimes along the rake edges (the sloped sides).
For the eaves, the drip edge usually goes under the underlayment at the bottom edge, allowing any moisture that gets under the panels to flow over the drip edge and into the gutter. Along the rake edges, the drip edge is typically installed over the underlayment, providing a clean finished edge and preventing water from wicking up under the panels from the side. These small details might seem minor, but they play a massive role in the long-term performance and longevity of your roof system, acting as the first line of defense against water infiltration.
The trim pieces are carefully cut and installed, often overlapping slightly to ensure a continuous seal. These components also give the roof a clean, finished look, tying everything together aesthetically. A good metal roof installer pays meticulous attention to these transition points, knowing that they are common areas for leaks if not properly sealed and secured.
Laying the First Panels
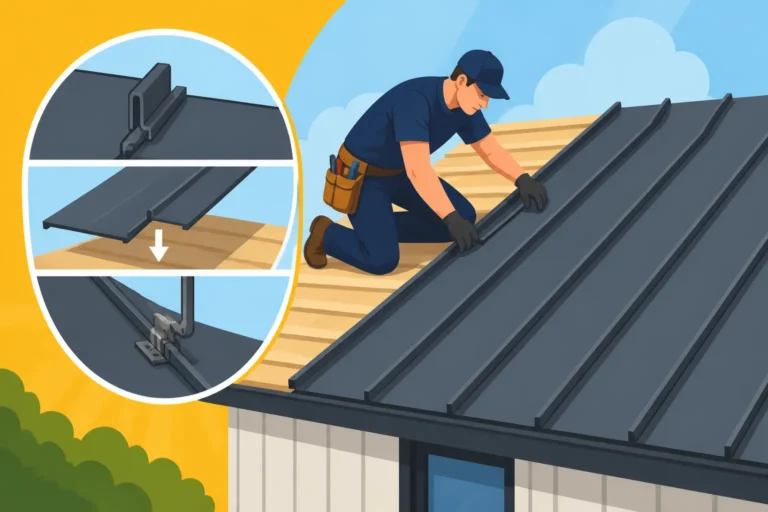
This is where your roof starts to take shape! Laying the first panels is arguably the most critical step in the entire process, as it sets the alignment for the rest of the roof. If the first panel is off, every subsequent panel will be off, leading to an unsightly and potentially problematic installation. Experienced installers typically start at one end of the roof (often the side away from the predominant view or the side that needs the longest panels) and work their way across.
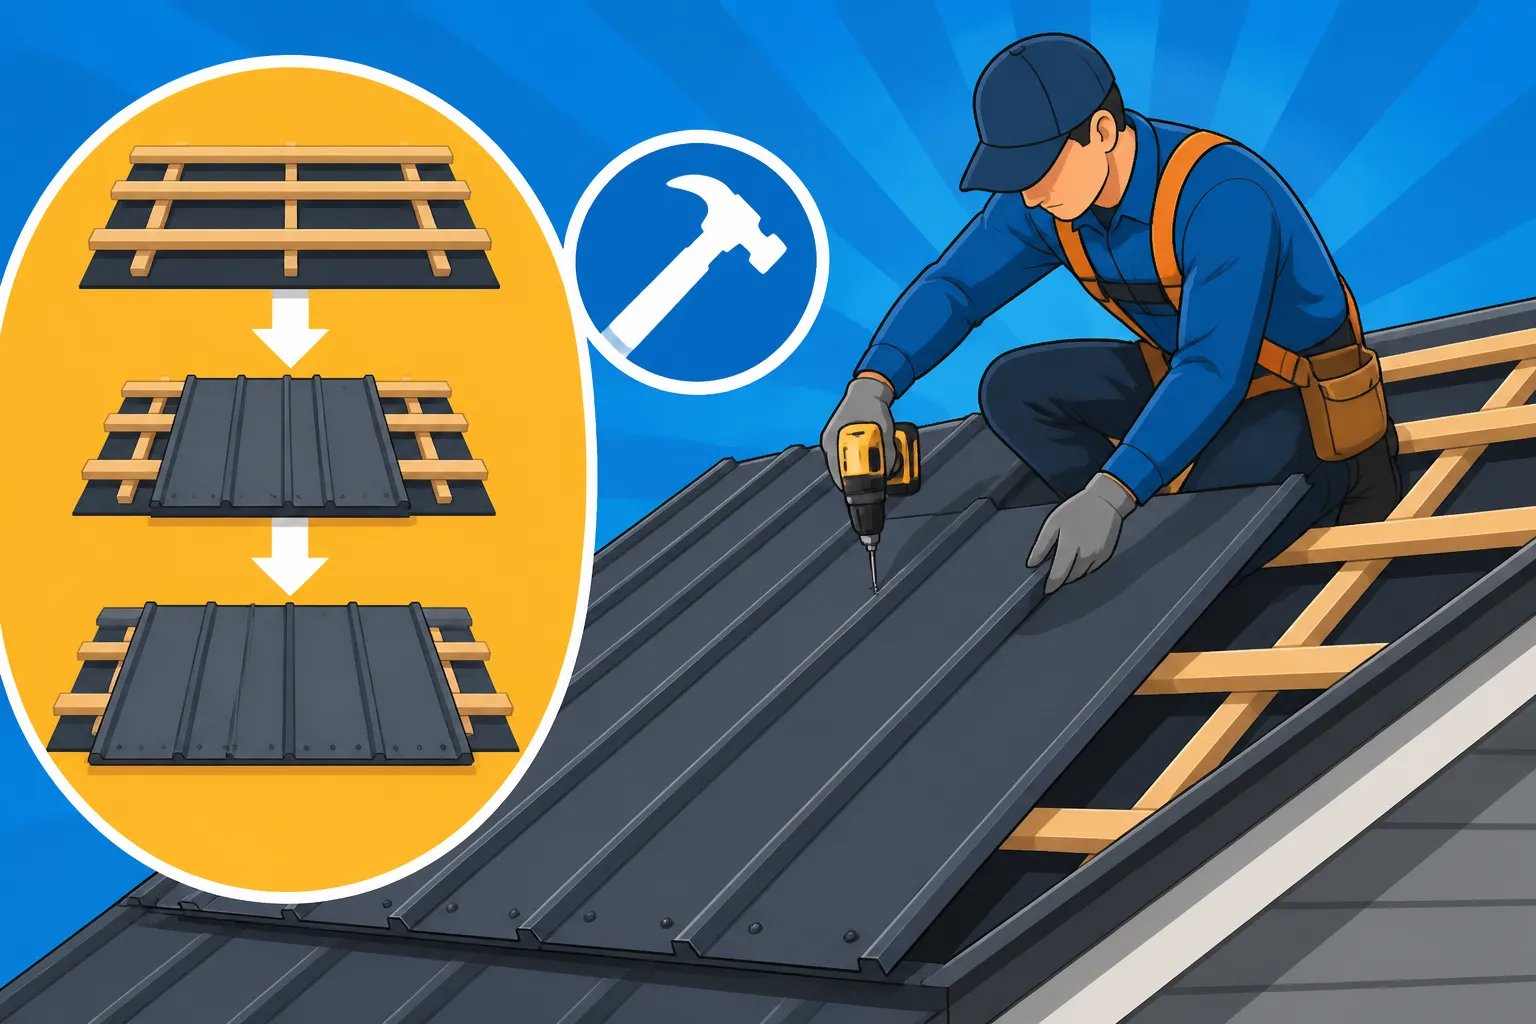
The first panel is carefully positioned, ensuring it's square with the eaves and rake edges. It’s then temporarily clamped or held in place while initial fasteners are driven. Ribbed panels use exposed fasteners – specialized roofing screws with neoprene washers that create a watertight seal when properly tightened. The screws are typically driven through the flat valleys of the ribs, not the raised ribs themselves, for optimal water shedding. The number and placement of screws per panel are dictated by manufacturer specifications and local building codes, especially in high-wind zones, and are key factors when considering How Many Screws Per Sheet of Metal Roofing.
Once the initial panels are secured, the installer confirms everything is perfectly aligned before fully fastening them down. This meticulous beginning ensures that the entire roof will be straight, symmetrical, and installed to the highest standards, which is crucial for both appearance and performance.
Continuing Panel Installation and Overlaps
With the first panel successfully laid, the crew continues installing the remaining panels, systematically working across the roof. Each subsequent panel is carefully placed to overlap the previous one according to the manufacturer's specifications. For ribbed panels, this overlap is usually along one of the ribs, where the edge of a new panel fits snugly over the rib of the installed panel. This overlap creates a channel for water to flow efficiently.
Before securing each overlapping panel, a bead of sealant (often butyl tape or a high-quality sealant specific for metal roofing) is applied along the overlap. This sealant acts as an extra barrier against moisture, ensuring that even wind-driven rain or melting snow can't penetrate the seam. The panels are then fastened through both the overlapping and underlapping layers, securing them firmly to the roof deck and sealing the connection with the rubber washers on the screws. This process continues, panel by panel, row by row, until the entire main roof area is covered.
Any cut panels, such as those needed at hips, valleys, or around chimneys, require extreme precision. Edges must be clean and smooth, and often additional flashing or sealants are applied to prevent water intrusion. The consistent application of these steps ensures a uniform, robust, and watertight roof that stands up to the elements for decades to come.
Ridge Cap and Trim Details
As the main body of the roof panels is installed, the focus shifts to the finishing details: the ridge cap, hip caps, and any flashing around penetrations. These elements are critical for sealing the roof system and providing a clean, professional appearance. The ridge cap, which covers the peak of your roof where two slopes meet, is typically a pre-formed metal piece designed to fit over the ribs of the panels. It's secured with screws, often through the high points of the ribs, and sometimes with additional sealant underneath.
Similarly, hip caps cover the external angled intersections of roof planes. Around chimneys, skylights, vents, and other penetrations, specialized metal flashing is installed. This flashing is custom-formed to create a watertight seal where the roof panels meet these objects. These areas are notoriously prone to leaks if not handled with expert care, so copious amounts of sealant and proper layering techniques are essential. You might find our article on Metal Roof Trim and Flashing Cost helpful for understanding these components.
The installation of these final trim pieces not only seals the roof but also defines its aesthetic. A well-installed ridge cap and perfectly flashed penetrations demonstrate the craftsmanship of the roofing crew and contribute significantly to the overall lifespan and performance of your new ribbed panel metal roof.
Post-Installation Checks and Longevity Tips
You've got a shiny new ribbed panel metal roof! It looks fantastic, and you're already picturing decades of worry-free protection. But the job isn't quite over when the last panel is screwed down. A few final checks and an understanding of ongoing maintenance will ensure your investment lasts as long as it's designed to.
Final Inspection and Cleanup
Once the installation crew has finished laying all the panels and trim, a thorough final inspection is absolutely vital. A reputable contractor, like those you can find through Modernize, will perform a comprehensive walkthrough with you. During this inspection, you'll be looking for several key things. First, check that all fasteners are properly tightened – not too loose (which could allow water in) and not overtightened (which could strip the screw hole or damage the washer). Are all the neoprene washers fully seated? You should also check for any missed screws, especially along the overlaps and trim pieces.
Beyond fasteners, inspect all flashing around chimneys, vents, and skylights to ensure it's properly sealed and tucked in. Look for any debris left on the roof or in the gutters, such as metal shavings, loose screws, or pieces of old underlayment. Metal shavings, if left on the roof, can actually rust and stain your new panels. The crew should meticulously clean the entire work area around your home, including magnetic sweeps to pick up any stray fasteners that might be lurking in your yard.
Don't hesitate to ask questions during this final walkthrough. This is your chance to address any concerns or clarify details about your new roof. A good contractor will be happy to explain everything and ensure your complete satisfaction before they consider the project truly finished.
Maintenance for Ribbed Panel Roofs
While metal roofs are known for being low-maintenance, "low" doesn't mean "no" maintenance. Ribbed panel metal roofs, with their exposed fasteners, do require a bit of attention over their long lifespan to ensure they continue to perform optimally. The primary concern is the integrity of those exposed fasteners. Over many years, the rubber washers on the screws can degrade due to UV exposure and temperature fluctuations. This can lead to screws backing out slightly or the washers cracking, creating potential leak points.
It’s a good idea to have your roof inspected periodically, perhaps every 5-10 years, by a qualified professional. During these inspections, they can check all the fasteners and replace any that are showing signs of wear. Sometimes, simply backing out a screw slightly and then re-tightening it with a fresh washer can solve a potential issue. You can explore a more comprehensive approach in our Metal Roof Maintenance Guide.
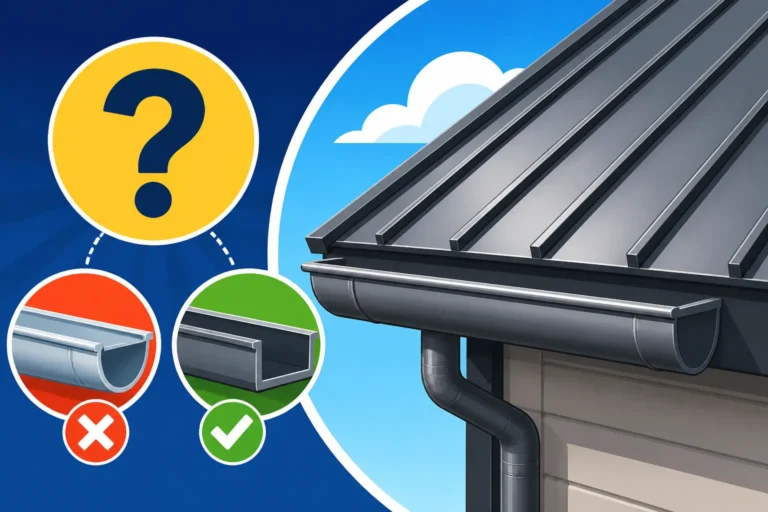
Beyond fasteners, keep an eye on your gutters and ensure they're clear of debris to prevent water from backing up onto the roof. Regularly cleaning off leaves, branches, or any accumulation on your roof itself will also help. While ribbed panels are extremely durable, proactive maintenance is truly the secret to ensuring your roof lasts for its full expected lifespan, often 40-70 years, providing unparalleled protection and peace of mind for your home.
Disclaimer
Please note that this guide provides general information about metal roof installation. Building codes, best practices, and product specifications can vary significantly by location and manufacturer. Always consult with a qualified, licensed, and insured metal roofing professional for specific advice tailored to your project. Do not attempt complex roofing tasks without proper training, safety equipment, and expertise.