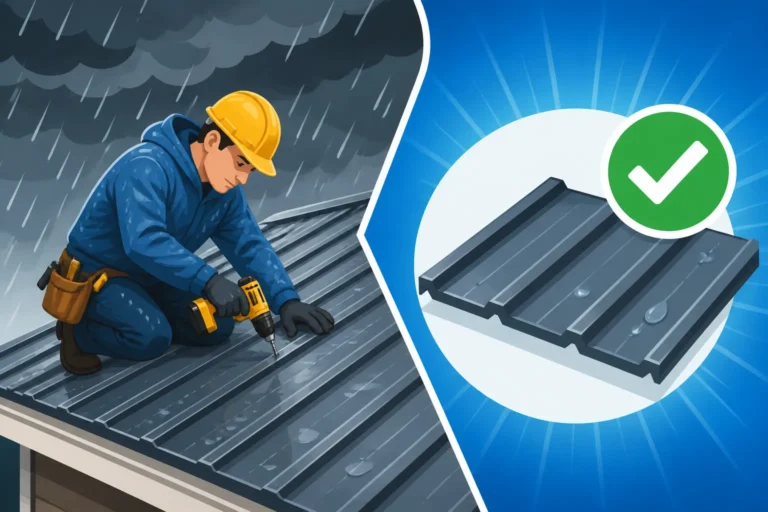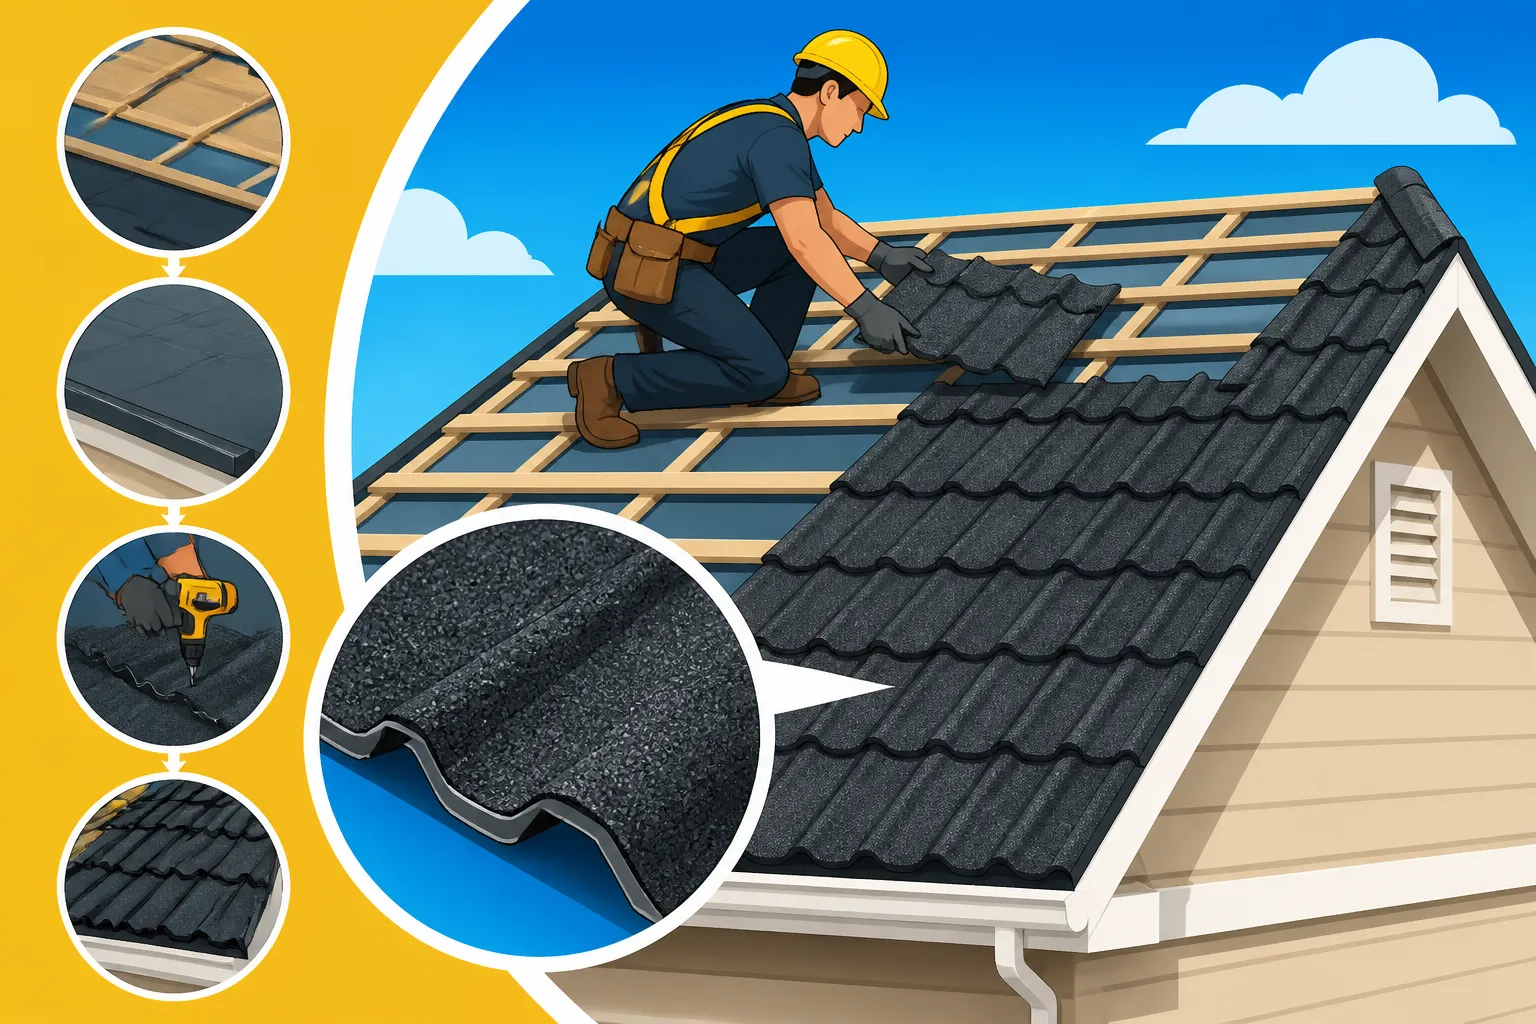
How Is a Stone-Coated Steel Metal Roof Installed?
Deciding on a new roof for your home is a huge undertaking, and if you’re considering stone-coated steel, you’re already looking at a durable, aesthetically pleasing option. But how exactly does this specialized roofing system get installed? It's not like laying down asphalt shingles, that's for sure. Many homeowners feel overwhelmed by the technical details and specialized processes involved, wondering if they're truly getting a quality installation. This guide will walk you through the comprehensive steps involved in installing a stone-coated steel metal roof, from the initial preparations to the final finishing touches, helping you understand what to expect and what questions to ask your installer.
Understanding Stone-Coated Steel Roofing
Before we dive into the nitty-gritty of installation, it's really helpful to understand what makes a stone-coated steel roof so unique. It’s not just metal; it’s a composite system designed for both incredible resilience and stunning curb appeal. Think of it as the best of both worlds – the strength of steel combined with the classic look of traditional roofing materials.
What Makes it Unique?
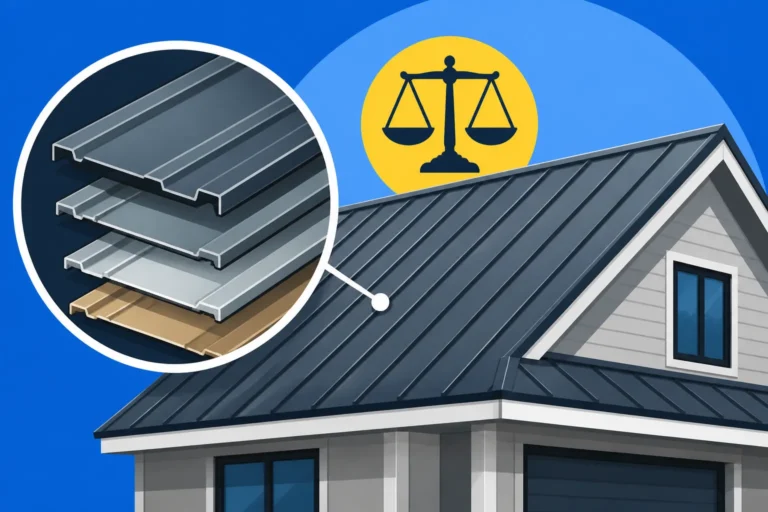
Stone-coated steel roofing panels are essentially high-grade steel sheets that have been coated with an acrylic base, then covered with tiny, granular stone chips, and finally sealed with another clear acrylic layer. This multi-layered approach is what gives them their distinctive look and exceptional performance. Unlike plain metal panels that might have a stark, industrial feel, stone-coated steel can mimic the appearance of wood shakes, clay tiles, or even asphalt shingles, but with a much longer lifespan and superior protection. This makes them a fantastic choice for homeowners who want the benefits of metal without sacrificing a traditional aesthetic. The stone granules also add an extra layer of protection against impact and significantly dampen sound, which is a common concern people have about metal roofs.
Key Components
The installation of a stone-coated steel roof involves several key components, each playing a vital role in the overall system's integrity and longevity. It's not just about the panels themselves; it's the entire ecosystem that works together.
- The Panels: These are the star of the show, typically made from 26-gauge galvanized or Galvalume steel, stamped into various profiles. The choice of profile, whether it’s a tile, shake, or shingle pattern, will significantly influence the final look of your home. You might be interested in learning more about what is a stone-coated steel metal roof and its different styles.
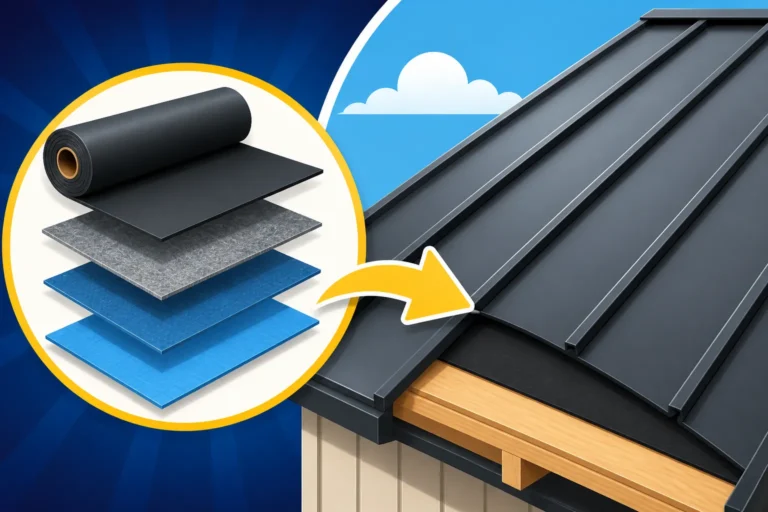
- Underlayment: This is the critical layer beneath the metal panels. It acts as a secondary moisture barrier and often provides an extra layer of insulation. Choosing the right underlayment, often a high-quality synthetic felt or ice and water shield, is paramount, especially for weather protection.
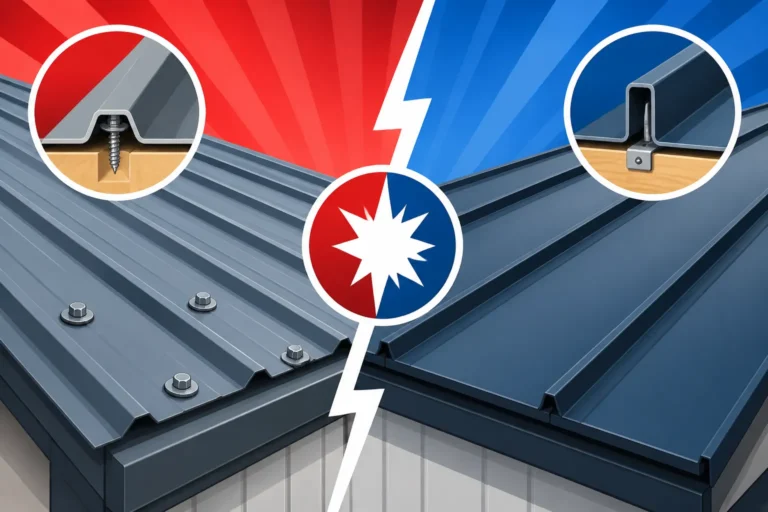
- Fasteners: Unlike some metal roofs that use exposed fasteners, stone-coated steel panels often employ concealed fastening systems, which means the screws are hidden beneath overlapping panels. This not only enhances the aesthetic but also reduces potential leak points over the roof's lifetime.
- Trim and Flashing: These are the unsung heroes of any roofing system. This includes drip edge along the eaves, rake trim along the gable ends, valley flashing where two roof planes meet, hip and ridge caps, and specialized flashing around chimneys, skylights, and vents. These components seal the edges and transitions, preventing water intrusion and providing a finished look.
- Eave Closures and Starter Strips: These pieces are installed at the bottom edge of the roof to create a clean line and provide a secure starting point for the first course of panels.
Understanding these components helps you appreciate the intricate work involved and why a specialized installer is so crucial for this type of roofing.
The Pre-Installation Phase: Setting the Stage for Success
Any successful roofing project starts long before the first panel is lifted onto the roof. The preparation phase for a stone-coated steel roof is particularly critical, ensuring the underlying structure is sound and ready for a system designed to last decades.
Thorough Roof Inspection and Preparation
Before any new materials arrive, a professional metal roofing contractor will perform a thorough inspection of your existing roof structure. This isn't just a quick look; it's a detailed assessment to identify any issues that could compromise the new installation.
- Decking Integrity: The roof decking, usually plywood or OSB, needs to be in excellent condition. Any soft spots, rot, or damage from previous leaks must be addressed and repaired or replaced. Stone-coated steel roofs are durable, but they need a solid foundation.
- Tear-Off Considerations: In most cases, it's recommended to remove the existing roof (a "tear-off") before installing stone-coated steel. While some lighter metal roofs can be installed over existing shingles, the weight and fastening requirements of stone-coated steel typically necessitate a clean deck. This also allows for a full inspection of the decking and ensures a flatter, more uniform surface. Discussing the cost to replace shingles with a metal roof often includes this tear-off process.
- Ventilation Assessment: Proper attic ventilation is critical for the longevity of any roof system, and metal roofs are no exception. Your contractor should assess existing ventilation and recommend upgrades if necessary to prevent moisture buildup and ice damming, which can compromise the roof deck and insulation.
- Structural Review: For older homes, or if there are concerns about the roof's current load-bearing capacity, a structural engineer might be consulted. While stone-coated steel is lighter than tile or slate, it's important to ensure the framing can handle the new system, especially if you're upgrading from a much lighter asphalt shingle roof.
This detailed preparation ensures that the investment you're making in a stone-coated steel roof will perform as intended for its full lifespan.
Material Delivery and Staging
Once the preparatory work is complete, and often even before, the materials will be delivered to your property. This isn't just a simple drop-off. The unique nature of stone-coated steel panels and their accessories requires careful handling and strategic staging.
- Checking the Order: Upon delivery, all materials should be meticulously checked against the order form to ensure everything is accounted for and there are no damaged pieces. It’s heartbreaking to discover missing or flawed panels halfway through an installation.
- Protecting Your Property: The crew will establish a clear staging area, typically on the ground level, ensuring panels and components are stacked safely and protected from the elements and foot traffic. Tarps might be used to cover landscaping or protect pathways. If you're using a service like Modernize to find a contractor, they often emphasize the importance of contractors taking these logistical steps seriously.
- Equipment Placement: The delivery and subsequent lifting of panels will involve specialized equipment, like a boom lift or crane, especially for larger or multi-story homes. The placement of this equipment needs to be planned to minimize disruption and maximize safety.
- Color Consistency: It's also important to confirm that all panels are from the same dye lot to ensure color consistency across your entire roof. Even subtle variations can become noticeable once installed.
This phase is about setting up the job site efficiently and safely, ensuring that the installation crew has easy access to materials without causing damage or delays.
Ensuring Proper Underlayment
The underlayment is perhaps one of the most overlooked, yet absolutely crucial, components of a metal roof system. It’s the last line of defense against moisture, providing a secondary barrier beneath your beautiful new stone-coated steel panels. Without proper underlayment, even the best metal roof can fail prematurely.
- Secondary Moisture Barrier: Even though metal roofs are highly water-resistant, tiny amounts of moisture can still find their way underneath due to extreme wind-driven rain, ice damming, or condensation. The underlayment prevents this moisture from reaching your roof deck and attic, protecting against rot, mold, and structural damage. You can read more about what goes under a metal roof and the layers explained.
- Vapor Barrier and Insulation: Depending on your climate and home’s construction, the underlayment can also function as a vapor barrier, controlling moisture migration, and in some cases, add a small amount of insulative value.
- Protection During Installation: During the installation process, the underlayment protects your home if unexpected weather rolls in before the metal panels are fully installed. It also provides a safer, more stable surface for installers to walk on.
- Types of Underlayment: For stone-coated steel, high-quality synthetic underlayments are generally preferred over traditional felt paper. Synthetic options like those from reputable brands like GAF or Owens Corning are more durable, less prone to tearing, and offer superior water resistance. Self-adhering ice and water shield is also frequently used in vulnerable areas like eaves, valleys, and around penetrations, offering an aggressive seal against moisture. Knowing if you need underlayment under a metal roof is key to a long-lasting installation.
Step-by-Step Installation Process
Now for the exciting part: seeing your new roof come to life! The installation of stone-coated steel panels is a precise process that requires skill and attention to detail.
Laying the Starter Course
The first step in laying the actual roof panels is installing the starter course along the eave. This is critical because it sets the alignment and projection for the entire roof.
- Drip Edge Installation: First, a drip edge is installed along the eaves to direct water off the roof and into the gutters. This helps protect the fascia board from water damage.
- Eave Closures: Eave closure strips, which are often foam or metal, are fitted along the bottom edge of the roof, providing a sealed surface for the starter panels to rest upon. These help prevent insects, wind, and blowing rain from entering the space beneath the panels.
- Starter Panels: The first row of stone-coated steel panels, often called starter panels or the starter course, is then precisely aligned and fastened at the eaves. These panels typically have a different profile or a modified edge to properly interlock with the second row and provide the correct overhang. Accuracy here is paramount, as any misalignment will compound across the entire roof. The panels are secured using specialized fasteners, often concealed, ensuring a clean look and strong hold.
Securing the Main Panels
With the starter course in place, the crew will begin installing the main body of the roof panels. This is where the roof's distinctive pattern really starts to emerge.
- Interlocking and Overlapping: Stone-coated steel panels are designed to interlock with one another, creating a robust, weather-tight seal. Each subsequent panel overlaps the previous one, both horizontally and vertically, effectively creating a grid that sheds water efficiently. The specific interlocking mechanism will vary slightly depending on the panel profile (e.g., tile, shake, shingle).
- Concealed Fastening: As mentioned, most stone-coated steel systems use concealed fasteners. This means screws or nails are driven through a flange or lip on the panel that is then covered by the next overlapping panel. This method protects the fasteners from UV degradation and moisture, significantly reducing the risk of leaks and contributing to the roof’s long-term performance.
- Precision Cutting: As panels reach dormers, valleys, hips, and rake edges, they will need to be custom cut to fit precisely. This requires specialized cutting tools to ensure clean edges that will integrate seamlessly with the trim and flashing. Proper cutting techniques are crucial to maintain the integrity of the stone coating and prevent future rust. For example, a quality installer ensures cuts are made carefully to prevent the base steel from being exposed, which could lead to early corrosion.
- Working Up the Roof: Panels are typically installed in courses, working horizontally across the roof, then progressing upwards towards the ridge. This systematic approach ensures proper overlap and alignment throughout the entire roof surface.
Integrating Flashing and Trim
Just as crucial as the panels themselves, proper flashing and trim installation are vital for preventing water intrusion and giving the roof a polished, professional appearance. This is where many common metal roof leak sources and fixes often originate if not done correctly.
- Valley Flashing: Where two roof planes meet in an internal angle (a valley), specialized valley flashing is installed before the panels. This metal channel, often pre-formed, guides water efficiently off the roof. The stone-coated steel panels are then cut to fit snugly against the valley flashing.
- Hip and Ridge Caps: Along the external angles of the roof (hips) and at the very peak (ridge), specially formed hip and ridge cap panels are installed. These pieces typically interlock and overlap, covering the exposed ends of the main panels and providing a watertight seal. They are often mechanically fastened and sealed where necessary.
- Rake Trim: Along the gable ends of the roof, rake trim is installed. This trim provides a clean, finished edge to the roofline and helps to prevent wind-driven rain from getting underneath the panels.
- Penetration Flashing: Any protrusions through the roof, such as chimneys, vent pipes, and skylights, require meticulous flashing. Step flashing, counter-flashing, and specialized pipe boots are used to create watertight seals around these elements. This is a common area for leaks if not executed perfectly.
Finishing Touches and Cleanup
With all the panels, flashing, and trim installed, the crew will move on to the final stages of the project, ensuring everything is complete and the site is spotless.
- Ridge Vents: If a continuous ridge vent system is part of your ventilation plan, it will be installed along the peak of the roof, providing a crucial exhaust point for hot, moist air from the attic.
- Final Inspection: The installation crew will perform a thorough walk-around inspection, checking every detail to ensure all fasteners are secure, all seams are properly sealed, and there are no exposed edges or potential leak points. A quality contractor will often conduct a multi-point inspection, sometimes with a supervisor, to verify the work.
- Site Cleanup: This is the part homeowners really appreciate! All debris, including discarded panel scraps, fasteners, packaging, and old roofing materials, will be removed from your property. Magnetic sweeps are often used to pick up any stray nails or screws that could be a hazard. Landscaping will be tidied up, and any protective coverings will be removed. A truly professional team will leave your property looking as good as, or better than, they found it.
- Warranty Documentation: After the project is complete and payment is settled, you should receive all warranty documentation for both the material and the workmanship. Knowing your metal roof warranties: workmanship vs manufacturer is important for future peace of mind.
Common Challenges and Best Practices
While the installation process is methodical, there are always challenges. Recognizing these and knowing best practices can help ensure a smooth, high-quality installation.
Working with Different Roof Pitches
Stone-coated steel roofs are incredibly versatile and can be installed on a wide range of roof pitches, but each pitch presents its own unique considerations.
- Low-Slope Applications: While stone-coated steel can be used on roofs with a lower pitch (down to a certain minimum, often 3:12 or 2:12, depending on the manufacturer and specific panel profile), these installations require even greater attention to detail. The panels need to be installed with extra care to ensure water sheds effectively and doesn't sit on the surface, which could lead to issues over time. Enhanced underlayment, like self-adhering ice and water shield across the entire deck, is often a best practice for lower-sloped roofs to provide superior waterproofing.
- Steep-Slope Applications: Steep roofs (anything over 7:12, for example) pose safety challenges for installers and require specialized safety equipment and techniques. The steepness can also affect how panels are handled and secured, ensuring they don’t slide during installation. While easier for water to shed, the precision of cuts and secure fastening remain paramount.
- Complex Rooflines: Homes with multiple dormers, hips, valleys, and turrets add significant complexity to the installation. Each transition requires precise cuts and custom flashing, which increases labor time and the potential for errors if not handled by an experienced crew.
Regardless of your roof's pitch, it's crucial to hire a contractor who has extensive experience with stone-coated steel on similar roof designs.
Preventing Common Installation Errors
Even with experienced crews, certain errors can occur if proper protocols aren't followed. Being aware of these can help you better understand what to look for during and after your installation.
- Improper Fastening: If fasteners are over-tightened, under-tightened, or misplaced, it can compromise the panel's integrity or lead to leaks. Over-tightening can deform the metal, while under-tightening can allow panels to loosen over time.
- Misaligned Panels: As mentioned earlier, if the starter course is off, the misalignment will continue up the roof, leading to unsightly gaps or panels that don't interlock correctly. This isn't just an aesthetic issue; it can compromise weather resistance.
- Inadequate Flashing: Improperly installed or insufficient flashing around penetrations (chimneys, vents, skylights) and in valleys is the leading cause of roof leaks, regardless of the roofing material. Each transition needs to be sealed meticulously.
- Failing to Address Decking Issues: Installing a new, long-lasting roof over a compromised or damaged roof deck is a recipe for disaster. Any signs of rot, water damage, or structural weakness must be resolved before panel installation begins.
- Oil Canning: While more common with smooth, standing seam metal roofs, oil canning (a wavy appearance in the flat part of the panels) can occasionally occur with stone-coated steel, especially if panels are improperly stored, handled, or fastened. It's often a cosmetic issue but can sometimes indicate stress on the panel. Preventing oil canning on a metal roof requires careful installation.
These errors underscore the importance of choosing a highly skilled and experienced roofing contractor who specializes in metal roofing, particularly stone-coated steel. Services like Modernize can connect you with pre-vetted professionals in your area.
The Importance of Professional Installation
You might be tempted by the idea of DIY, but when it comes to a significant investment like a stone-coated steel roof, professional installation isn't just recommended—it's practically essential.
- Specialized Knowledge and Tools: Installing stone-coated steel requires specific knowledge of panel interlocks, flashing details, fastening techniques, and specialized tools for cutting and forming the metal. It’s not a job for a general handyman.
- Warranty Protection: Most manufacturers' warranties for stone-coated steel roofing require professional installation by a certified or approved installer. Attempting a DIY installation or hiring an unqualified contractor can void these valuable warranties, leaving you without protection if something goes wrong.
- Safety: Roofing work, especially on steep pitches, is inherently dangerous. Professional roofers have the training, safety equipment, and insurance to minimize risks.
- Experience with Local Codes: A reputable local contractor will be familiar with local building codes, permitting requirements, and climate-specific installation techniques (e.g., hurricane strapping in Florida or snow load considerations in colder regions).
- Long-Term Performance: Ultimately, the longevity and performance of your stone-coated steel roof are directly tied to the quality of its installation. A professionally installed roof will truly deliver on the promise of decades of worry-free protection. Understanding how long does a stone-coated steel metal roof last often comes down to the quality of the install.
Investing in a high-quality stone-coated steel roof is a smart decision for your home's longevity and curb appeal. By understanding the detailed installation process and prioritizing professional expertise, you can ensure your roof performs beautifully for decades to come.
Disclaimer
Please remember that this article provides general information and recommendations. Metal roofing installation is a complex process that should always be performed by qualified, licensed, and insured professionals. Local building codes, manufacturer specifications, and specific site conditions will always take precedence. Always consult with a professional roofing contractor for advice tailored to your specific project.