How to Repair a Metal Shake Metal Roof
You've invested in a metal shake roof for its durability and distinctive aesthetic, expecting decades of worry-free performance. But let's be real: even the toughest roofs can face challenges from harsh weather, unexpected impacts, or just the relentless march of time. Seeing a loose shake, a noticeable dent, or a spot of faded coating can be incredibly frustrating, making you wonder if your investment is already showing its age. This comprehensive guide will walk you through the most common repair scenarios for metal shake roofs, detailing the specific issues you might encounter, the tools and materials you'll need, and a step-by-step approach to tackling those repairs, so you can restore your roof's integrity and curb appeal.
Understanding Common Issues with Metal Shake Roofs
Metal shake roofs, while incredibly robust, aren't entirely immune to wear and tear. Knowing what to look for and understanding the root cause of common problems is the first step toward effective repair. It's often not a catastrophic failure but rather localized issues that, if left unaddressed, could lead to bigger headaches down the line.
Loose or Missing Shakes
This is probably one of the more visually obvious problems you might encounter. Metal shakes are designed to interlock or be secured with hidden fasteners, mimicking the look of traditional wood shakes while offering superior protection. However, extreme winds, shifting roof structures, or even improper installation can sometimes lead to individual shakes becoming loose or, worse, detaching entirely.
Imagine a particularly strong gust of wind ripping through your neighborhood, leaving behind a trail of debris and, unfortunately, a few missing metal shakes on your roof. This isn't just an aesthetic concern; a missing shake creates a direct pathway for water, snow, and ice to penetrate your roofing system. You might notice a flapping sound during windy conditions, or see a tell-tale gap where a shake once sat proudly. Early detection is key here. If you catch a loose shake before it completely flies off, you might be able to re-secure it, saving yourself the trouble of finding a matching replacement. The frustration here is palpable – a roof built to withstand the elements shouldn't have pieces flying off! This is a critical area for immediate attention, much like addressing any issue discussed in our broader guide on How to Fix a Leaking Metal Roof.
Dents and Surface Damage
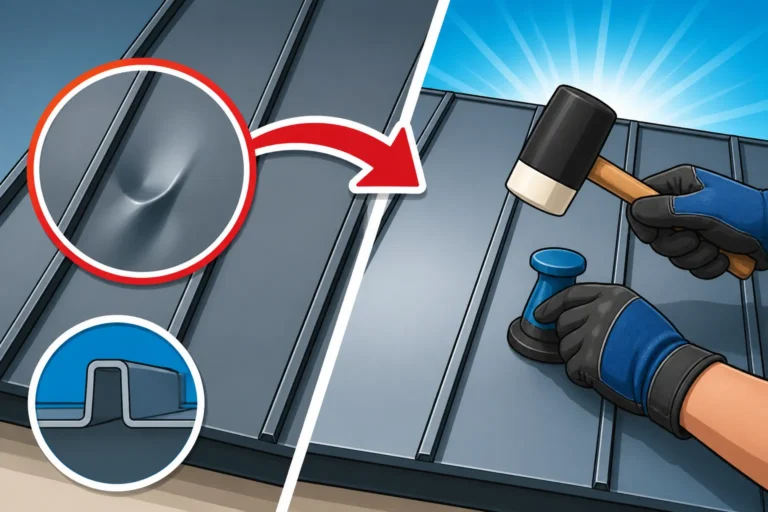
While metal roofs are famed for their impact resistance, especially against hail, they're not indestructible. Large hailstones, falling tree branches, or even accidental impacts during maintenance can leave unsightly dents. These aren't always just cosmetic. A deep dent can compromise the protective coating of the metal, potentially exposing the underlying material to moisture and leading to corrosion.
Think about a sudden hailstorm, the kind where golf-ball-sized ice missiles are pelting your roof. While a high-quality metal shake roof, especially those with Class 4 impact resistance, will generally fare much better than asphalt shingles, deeper impacts can still leave dimples. Over time, these dents can collect water or debris, accelerating localized wear. The frustration comes from knowing your tough roof has been visually marred, and the worry about what that means for its long-term integrity. It’s also important to differentiate between minor surface blemishes and structural damage, as minor issues might be fixable without needing full panel replacement. Our article on Metal Roof Dent Repair From Hail offers more specific advice on this type of damage.
Fading, Chipping, and Coating Issues
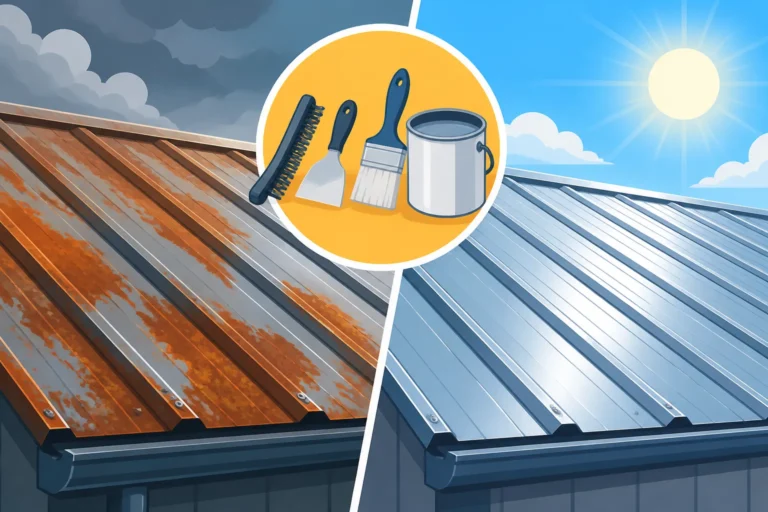
Modern metal shake roofs come with advanced paint systems, often featuring Kynar 500 (PVDF) or SMP coatings, designed for exceptional color retention and UV resistance. These coatings are what give your roof its beautiful, long-lasting color and protective barrier. However, years of intense sunlight, fluctuating temperatures, and environmental pollutants can eventually lead to fading, chalking (a powdery residue on the surface), or even chipping, particularly on older installations or lower-quality coatings.
It's disheartening to see the vibrant color you chose for your roof start to dull or, worse, develop visible chips, especially on the edges or high-wear areas. This isn't just about aesthetics; the coating is the primary line of defense against rust and corrosion. Once compromised, the underlying metal becomes vulnerable. While modern coatings are formulated to last for decades, nothing lasts forever without some form of care. Understanding the signs of coating degradation is vital for timely intervention, preventing a small cosmetic issue from becoming a structural problem. This issue underscores the importance of a regular Metal Roof Maintenance Guide.
Leaks Around Fasteners or Edges
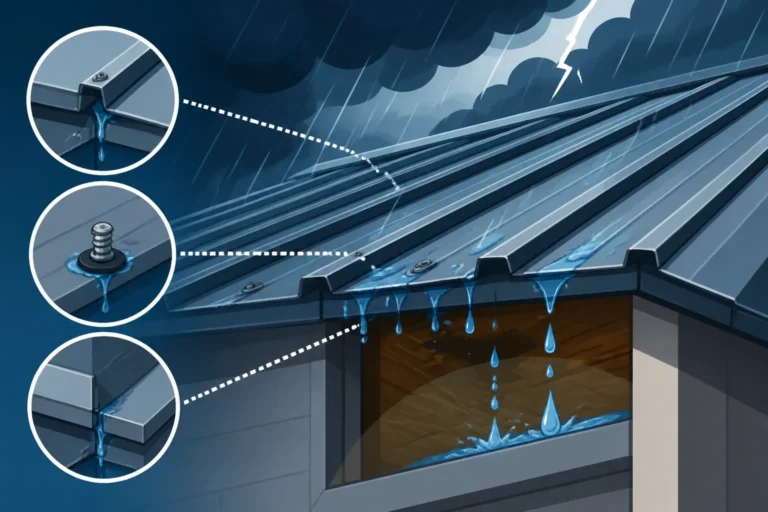
Despite their reputation for watertightness, metal roofs can develop leaks, and often the culprits are specific points of weakness: fasteners and roof edges. While metal shakes often use hidden fasteners, some designs, or even repairs, might involve exposed screws that require proper sealing. Over time, the washers on these fasteners can degrade, or the sealant around them can crack, allowing water to seep in. Similarly, improper flashing installation or damage at the eaves, rake edges, or around penetrations like chimneys and skylights can lead to persistent leaks.
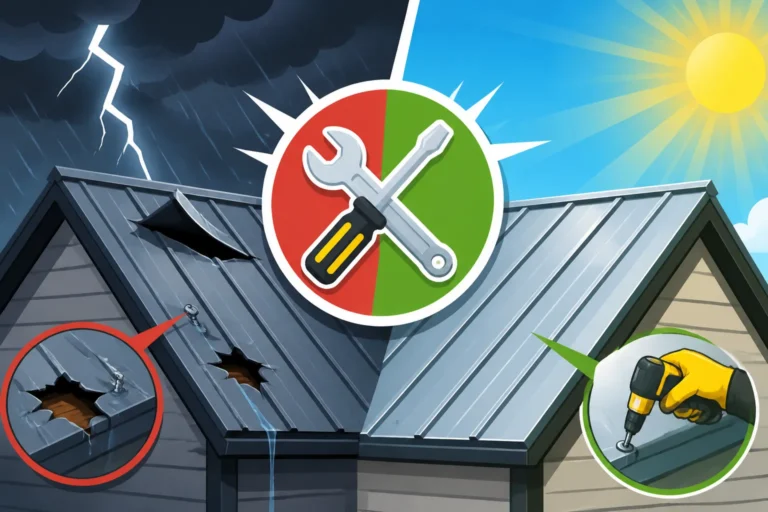
Imagine discovering a watermark on your ceiling after a heavy rain, only to trace it back to a spot on your metal shake roof. It's incredibly frustrating, particularly when you thought your metal roof was leak-proof. Leaks around fasteners might manifest as small, persistent drips, while compromised edge flashing could lead to more widespread water intrusion into your attic or wall cavities. This isn't a problem to ignore; even a small leak can lead to significant damage over time, including mold, rot, and compromised insulation. Identifying the exact source of a leak can be tricky, but it's a crucial step in ensuring your repair efforts are effective. For more in-depth troubleshooting, consider reading about Metal Roof Flashing Repair.
Essential Tools and Materials for Metal Shake Repair
Before you even think about climbing onto your roof, it’s absolutely critical to gather the right tools and materials. Safety is paramount, and having everything you need readily available minimizes time spent precariously perched on your roof and reduces the risk of accidents. Plus, using the correct tools ensures a professional, long-lasting repair.
Gathering Your Toolkit
Having a well-stocked toolkit isn’t just for pros; it’s essential for any homeowner tackling roof repairs. You'll need more than just a hammer and nails for metal shakes!
- Safety Gear: This is non-negotiable. A sturdy ladder, properly secured, is your foundation. You’ll also need fall protection, including a safety harness and rope, especially if you’re working on a steep pitch. Non-slip boots are a must. Gloves will protect your hands from sharp metal edges, and safety glasses will shield your eyes from debris. Never compromise on safety.
- Measurement and Marking Tools: A tape measure, a straightedge, and a grease pencil or chalk line will be invaluable for accurate cuts and alignments. Precision matters when replacing shakes.
- Cutting Tools: For cutting metal shakes or trim, you'll want aviation snips (left, right, and straight cuts), a metal shear (manual or electric for longer, straighter cuts), or a specialized metal cutting saw with a fine-tooth blade. Do not use an abrasive cut-off wheel or grinder on coated metal roofing, as the sparks can damage the protective coating and void warranties.
- Fastening and Demolition Tools: A cordless drill with appropriate drive bits (for hex head screws, typically), a pry bar for carefully removing damaged shakes, and a rubber mallet for gently seating new panels. For exposed fastener systems, a specialized nut driver for roofing screws is ideal.
- Cleaning Supplies: A stiff brush, a small broom, and a shop vacuum can help clear debris before and after repairs. Clean surfaces are essential for sealants to adhere properly.
- Sealant Applicator: A caulk gun for applying sealants.
Having these items laid out and ready to go will make the job much smoother and safer. Remember, if you're ever in doubt about safety or feel uncomfortable working at heights, it's always best to call a professional. You can always get help finding trusted experts through services like Modernize.
Selecting the Right Repair Materials
Just as crucial as the tools are the repair materials themselves. Using the wrong type of sealant or a mismatched shake can negate your efforts or even cause further damage.
- Matching Metal Shakes: The most challenging part can be sourcing replacement shakes that perfectly match your existing roof in terms of material, profile, and color. Check your original roof installation documents for manufacturer and color codes. If you don't have them, you might need to contact the original installer or even the manufacturer with a sample of your existing shake. Brands like DECRA and Gerard are known for their stone-coated steel shakes, while companies like ATAS and McElroy Metal offer various metal profiles, including some shake-style options. Getting an exact match is critical for aesthetics and performance. If a perfect color match is impossible due to fading, consider replacing shakes in a less visible area and moving older, less faded shakes to the prominent spot.
- High-Quality Sealants: For sealing around fasteners, flashing, or small seams, you need a high-quality, UV-resistant, flexible sealant. Look for products specifically designed for metal roofing, often polyurethane or silicone-based. Brands like Geocel (especially their 2300 series) or SikaFlex are popular and reliable choices. Avoid standard silicone caulk, as it often doesn't hold up to the extreme temperatures and movement of a metal roof. A good sealant is vital for preventing future leaks, much like the recommendations in Best Sealant for Metal Roof Leaks.
- Touch-Up Paint/Coating: For minor scratches, chips, or faded spots, you might be able to use touch-up paint supplied by the original manufacturer. This is usually color-matched to your roof's original coating. If significant recoating is needed due to widespread fading, you might look into specialized elastomeric roof coatings designed for metal, though this is a larger project and often best left to professionals. You can find more details on this in How to Touch Up Scratched Metal Roof Paint.
- Replacement Fasteners: If you have an exposed fastener system, ensure you have corrosion-resistant screws (often galvanized or stainless steel) with EPDM washers that create a watertight seal. These washers degrade over time and should be replaced when re-securing panels.
When choosing materials, always prioritize quality and compatibility with your existing roof. Don't skimp on sealant or fasteners; these small components play a massive role in your roof's long-term integrity.
Step-by-Step Guide to Repairing Metal Shake Panels
Alright, let's get down to business. Once you've safely assessed the damage, gathered your tools, and secured your replacement materials, you're ready to tackle the repairs. Remember, patience and precision are your best friends on the roof.
Replacing a Damaged Metal Shake
Replacing an individual metal shake, especially one that's part of an interlocking or concealed fastener system, can be a bit more involved than simply sliding out an old wood shake.
- Safety First: Before you even step foot on the ladder, ensure your safety gear is in place. Secure your ladder, don your harness, and have a spotter if possible.
- Access and Preparation: Carefully access the area around the damaged shake. Clear away any debris, leaves, or loose particles that might be obstructing your work. A clean work area is a safe work area.
- Removing the Damaged Shake:
- Concealed Fastener Systems: This is where it gets tricky. Metal shakes often interlock or have fasteners hidden beneath the overlap of the shake above. You might need to carefully lift the bottom edge of the shake above the damaged one. Using a specialized tool called a "seam opener" or a carefully wielded pry bar wrapped in cloth to protect the finish, gently disengage the interlocks or fasteners. The goal is to create enough slack to slide out the damaged shake without bending or damaging the surrounding panels. Sometimes, you might need to release fasteners on adjacent shakes as well.
- Exposed Fastener Systems: If your shakes are secured with visible screws, simply unscrew the fasteners holding the damaged shake in place. Be mindful of any sealant that might be bonding it to the underlayment or adjacent shakes; you might need to carefully cut through it with a utility knife.
- Once the fasteners are released or the interlocks disengaged, carefully slide the damaged shake out. Inspect the underlayment and decking beneath for any signs of water damage, which might indicate a longer-standing leak. Address any underlying issues before proceeding. This step is similar to what's described in How to Replace a Metal Roof Panel, but scaled down for individual shakes.
- Installing the New Shake:
- Carefully slide the new, matching metal shake into place. Ensure it aligns perfectly with the adjacent shakes and properly engages any interlocking mechanisms.
- Concealed Fastener Systems: Once the new shake is seated, re-secure any hidden fasteners and carefully lower and re-engage the overlapping shake above it. Apply a small bead of sealant if required by the manufacturer, especially on any seams that were disturbed.
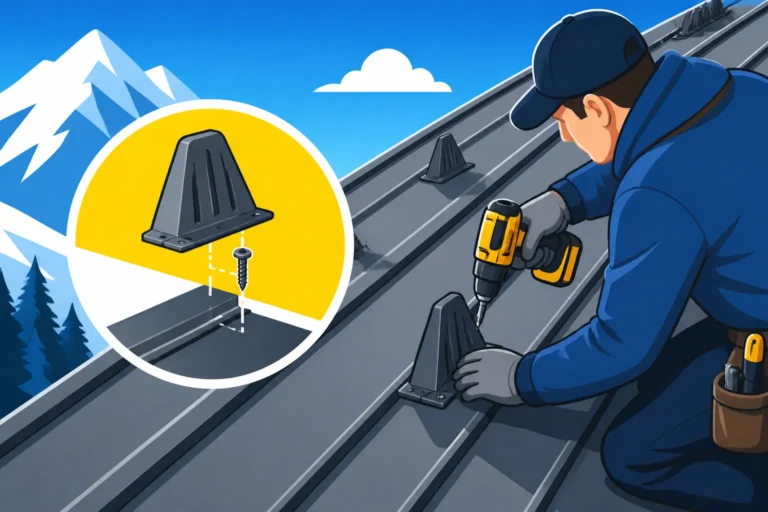
- Exposed Fastener Systems: If using exposed fasteners, pre-drill pilot holes if necessary (especially for harder metals) and drive new, corrosion-resistant screws with EPDM washers through the designated fastening points. Be careful not to overtighten, which can damage the washer, but ensure they are snug enough to create a watertight seal. Apply a dab of metal roofing sealant over the head of each screw for added protection.
- Final Inspection: Once the new shake is securely in place, step back and visually inspect the area. Check for proper alignment, tight seams, and any signs of damage to surrounding shakes during the repair process.
Addressing Dents and Minor Surface Blemishes
For less severe damage, you might not need to replace the entire shake. Sometimes, a little finesse is all that's required.
- Assess the Damage: Determine if the dent has compromised the coating or if it's purely cosmetic. If the coating is severely cracked or peeled, and the base metal is exposed, replacement might be the better long-term solution to prevent rust, as covered in Metal Roof Rust and Corrosion Treatment. For minor dents with intact coatings, or very shallow dents, you have options.
- Gentle Reshaping (for shallow dents): For very shallow, broad dents on a flexible metal like aluminum, you might gently try to push them out from underneath if accessible, or from the top with a rubber mallet and a block of wood to distribute the force. This is a delicate operation; too much force can stretch the metal or create more damage. For stone-coated steel, this approach is usually not feasible due to the rigidity and granular surface.
- Filling and Smoothing (for deeper cosmetic dents with intact coating): If the dent is deep but the coating is still mostly intact, and you're not concerned about structural integrity, you can sometimes fill the depression with an exterior-grade metal repair compound or body filler.
- Clean the area thoroughly.
- Apply the filler according to the manufacturer's instructions, pressing it firmly into the dent.
- Allow it to cure completely, then sand it smooth to match the surrounding profile.
- Once smooth, clean the area again and apply a color-matched touch-up paint or coating to blend it in. This is purely for aesthetics and won't restore any lost structural integrity.
- Covering Scratches and Chips: For minor scratches or chips in the paint coating that haven't exposed raw metal, a simple touch-up pen or small can of factory-matched paint can work wonders.
- Clean the damaged area with a mild detergent and water, then let it dry completely.
- Carefully apply the touch-up paint, using a small brush, feathering the edges to blend it with the surrounding finish. It might take a few thin coats to achieve good coverage.
- For more significant areas of fading or wider chipping, consider a broader recoating effort. This requires a much larger preparation and application process and might necessitate professional help, as detailed in Repainting and Recoating a Metal Roof.
Restoring Faded or Chipped Coatings
When your metal shake roof begins to show its age through widespread fading or extensive chipping, it's not just an eyesore; it's a sign that your roof's primary protective layer is losing its effectiveness. This kind of restoration is a more involved process than touching up a small scratch.
- Thorough Cleaning: The first and most critical step is to thoroughly clean the entire roof surface. Use a mild, non-abrasive detergent specifically designed for exterior use and a soft-bristle brush or a low-pressure washer (be extremely careful not to damage the coating or force water under the shakes). Remove all dirt, mildew, chalking, and any loose paint chips. Rinse thoroughly and allow the roof to dry completely – this can take a day or two depending on humidity.
- Surface Preparation:
- For Chipping: Gently scrape away any remaining loose or flaking paint. Lightly sand any rough edges to create a smooth transition. Feather the edges so the new coating adheres seamlessly.
- For Fading/Chalking: While cleaning removes much of the chalking, for optimal adhesion, some professionals might recommend a very light sanding or scuffing of the entire surface to create a profile for the new coating to bond to. This must be done with extreme care to avoid damaging the metal itself.
- Ensure any rust spots have been treated appropriately (e.g., with a rust converter) before applying new coatings.
- Priming (if necessary): Depending on the condition of the existing coating and the type of new coating you're applying, a primer might be necessary. Consult the coating manufacturer's recommendations. Primers help with adhesion and can prevent bleed-through of any stains.
- Applying New Coating: This is usually done with a sprayer for even coverage, but rollers and brushes can be used for smaller areas or touch-ups.
- Use a high-quality elastomeric or acrylic coating specifically formulated for metal roofs. These coatings are designed to expand and contract with the metal, offer excellent UV protection, and restore the roof's protective barrier and aesthetic appeal. Brands like AcryLabs, Nutech Paint, or GacoFlex offer robust coating systems.
- Apply the coating evenly, following the manufacturer's specified application rate and number of coats. Pay close attention to lap seams and edges, ensuring full coverage.
- Allow adequate drying time between coats and before exposing the roof to weather.
This process is typically a significant project, making it a strong candidate for professional intervention, as mistakes can be costly. For larger areas of restoration, you might consider reaching out to professionals who specialize in Repainting and Recoating a Metal Roof.
Sealing Leaks Effectively
When a leak is the problem, precise identification and proper sealing are paramount. Don't just slap caulk on vaguely; find the source!
- Locate the Exact Source: This can be the trickiest part.
- Interior Inspection: Start in the attic or crawl space directly beneath the suspected leak. Look for water stains, drips, or mold. Follow the stain upwards to find the entry point. Water can travel along framing members before dripping, so the interior stain might not be directly below the exterior leak.
- Exterior Inspection: Once you have a general idea, inspect the exterior roof area directly above. Look for loose fasteners, cracked sealants, compromised flashing around chimneys, vents, or skylights, or damaged shakes. You might even use a hose on a dry day to simulate rain, carefully applying water to different sections of the roof while someone inside watches for drips.
- Common leak points include:
- Loose or deteriorated fasteners: The rubber washers can dry out and crack.
- Compromised flashing: Around penetrations (chimneys, vents, skylights) or at the roof edges.
- Damaged shakes: Cracks or holes from impact.
- Poorly sealed seams: If the shakes were not properly interlocked or sealed during installation.
- Prepare the Area: Once the leak source is identified, clean the area thoroughly. Remove any old, cracked sealant, dirt, or debris. A wire brush might be needed for stubborn residue. The surface must be clean and dry for new sealant to adhere properly.
- Apply New Sealant:
- For Fasteners: If the leak is from a screw, remove the old screw (if possible without damaging the shake), clear the hole, apply a small amount of high-quality metal roofing sealant into the hole, and then insert a new screw with a fresh EPDM washer. Apply a dab of sealant over the screw head. If the screw is intact but leaking, clean around it, and apply a small bead of sealant around the washer and screw head.
- For Flashing: If the leak is due to compromised flashing, you might need to lift the flashing slightly (if possible), clean underneath it, and apply a generous bead of sealant along the seam where the flashing meets the shake or another surface. Ensure it creates a continuous, watertight barrier. You might also need to replace the flashing entirely if it's too damaged, which often requires professional help.
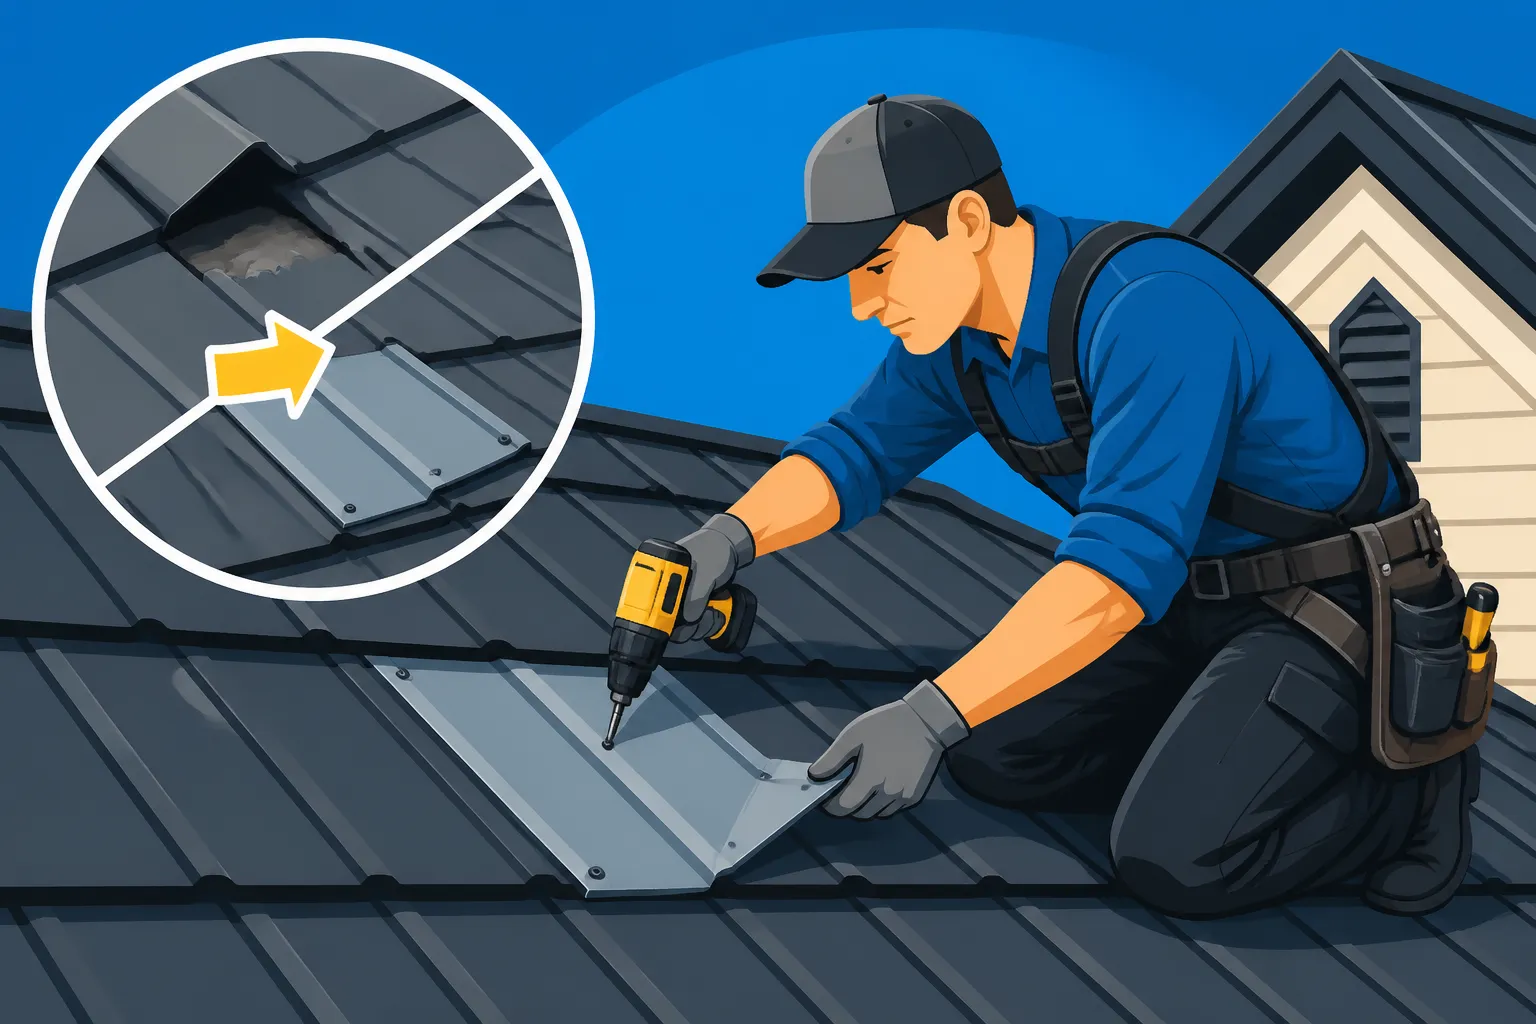
- For Small Holes or Cracks: For very small holes or hairline cracks in a shake, a high-quality sealant can sometimes provide a temporary or even long-term fix. Apply the sealant directly to the crack, ensuring it fills the void completely, then smooth it over. For larger holes, a repair patch (metal or specialized tape) might be needed underneath the sealant.
- Curing: Allow the sealant ample time to cure according to the manufacturer's instructions before exposing it to heavy rain. Some sealants require 24-48 hours.
Remember, effective leak repair isn't about covering the problem but permanently addressing it. If the leak persists after your repair, it’s a strong signal that the underlying issue is more complex or widespread, and it might be time to call in the professionals. For a deeper dive into leak detection and repair, our guide on Metal Roof Leak Repair Guide can be very helpful.
When to Call in the Metal Roofing Professionals
While DIY repairs can be incredibly satisfying and cost-effective for minor issues, there comes a point where the scale, complexity, or inherent risks of a metal shake roof repair necessitate calling in the experts. Knowing when to wave the white flag and enlist professional help isn't a sign of weakness; it's a mark of wisdom and a commitment to protecting your most valuable asset.
Recognizing Complex or Extensive Damage
There are certain scenarios where a DIY approach simply won't cut it, and attempting it could actually worsen the problem or compromise your roof's long-term integrity.
- Widespread Damage: If you're dealing with numerous missing or damaged shakes across a large portion of your roof, or if significant portions of the coating are failing, this shifts from a "repair" to a "restoration" project. This often involves specialized equipment for lifting, cutting, and fastening, as well as extensive surface preparation and coating application techniques that are best handled by experienced roofers. Trying to patch dozens of shakes yourself can lead to inconsistent results, mismatched colors, and a roof that still isn't fully protected.
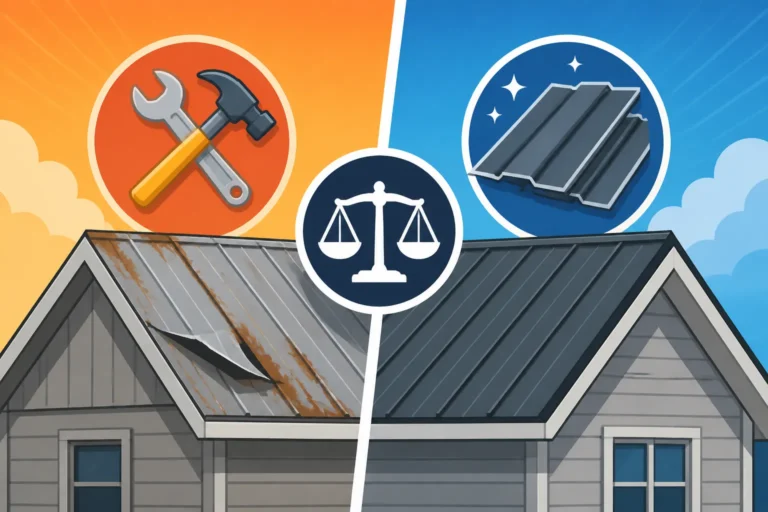
- Structural Concerns: If, upon inspection, you notice sagging decking, compromised rafters, or widespread water damage to the underlying structure, this goes far beyond a simple shake replacement. These are serious structural issues that require the expertise of a professional who can assess the integrity of your entire roof system, make necessary repairs to the sub-structure, and ensure proper ventilation before new roofing is installed. Ignoring these signs can lead to catastrophic failure. This is often where a discussion like Metal Roof Repair vs Replacement: How to Decide becomes critical.
- Persistent Leaks: You've tried sealing a leak, perhaps even replaced a shake or two, but that pesky drip keeps reappearing after every major downpour. This indicates a more complex issue – perhaps an undiagnosed flashing problem, a subtle crack in an adjacent shake, or an issue with the underlayment that's allowing water to migrate. Experienced roofers have specialized diagnostic tools and techniques to pinpoint elusive leaks and implement lasting solutions.
- Challenging Roof Pitch or Height: If your roof has a very steep pitch, multiple valleys, dormers, or is particularly high, the risks associated with working on it escalate dramatically. Falls from roofs are among the most common and serious construction accidents. Professional roofers have the training, safety equipment, and insurance to work safely on challenging roofs, mitigating the risk to both themselves and your property.
- Damage Affecting Warranty: Attempting a DIY repair that isn't performed to manufacturer specifications can void your roof's warranty. Many premium metal shake systems have specific installation and repair guidelines. Professionals who are manufacturer-certified understand these requirements and can ensure repairs are done in a way that preserves your warranty coverage, a topic extensively covered in Metal Roof Warranties: Workmanship vs Manufacturer.
When faced with any of these situations, your best bet is to seek professional help. It might seem like a higher upfront cost, but it ensures the job is done correctly, safely, and with lasting results, ultimately protecting your home and your investment. When it's time to find a qualified contractor, platforms like Modernize can connect you with local roofing professionals who specialize in metal shake repairs and installations.
The Importance of Expert Installation and Warranty
Hiring a professional isn't just about getting the job done; it's about getting it done right, with the backing of expertise and guarantees.
- Specialized Knowledge and Experience: Metal shake roofs, particularly those with interlocking panels or stone-coated finishes, require a specific skill set to install and repair correctly. A general handyman might be able to patch a shingle roof, but a metal roofing specialist understands the nuances of metal expansion and contraction, proper fastening techniques, sealing methods, and the specific requirements for different metal alloys and coatings. They know how to handle materials without causing cosmetic or structural damage, and they can often source exact matching replacement shakes more efficiently.
- Proper Tools and Equipment: Professionals come equipped with specialized tools, from metal shears and bending brakes for custom flashing work to advanced safety gear. This not only makes the job safer and more efficient but also ensures a higher quality finish. You might not have access to these specialized tools, and renting them can be costly and time-consuming.
- Insurance and Licensing: Reputable roofing contractors are licensed, bonded, and insured. This is incredibly important. If an accident occurs on your property, or if there's damage during the repair process, their insurance will cover it, protecting you from liability. An unlicensed or uninsured individual could leave you on the hook for medical bills or property damage. Always verify their credentials before hiring. This due diligence is emphasized in our guide on Metal Roof Contractor Licensing, Bonding & Insurance.
- Workmanship Warranties: Beyond manufacturer material warranties, professional installers typically offer a workmanship warranty on their repairs. This means if an issue arises due to their installation or repair methods within a certain timeframe, they will come back and fix it at no additional cost. This provides invaluable peace of mind that a DIY repair simply cannot offer. Asking detailed questions about this is crucial, as highlighted in Questions to Ask About Metal Roof Warranty.
- Access to Manufacturer Support: Certified installers often have direct relationships with metal roofing manufacturers. This means they can get accurate advice on complex repair scenarios, ensure they're using approved repair methods, and help facilitate warranty claims if needed.
Ultimately, while the allure of saving money with a DIY repair is strong, for metal shake roofs, especially when facing anything beyond the most minor surface blemishes, the long-term value, safety, and peace of mind that comes with professional expertise are often worth the investment. Don't let a small repair turn into a much larger, more expensive problem because you tried to tackle a job beyond your skill level.
Disclaimer
Please note that the information provided in this guide is for informational purposes only and should not be considered professional advice. Working on a roof can be dangerous, and metal roofing materials require specific handling and installation techniques. Always prioritize safety, wear appropriate protective gear, and consult with a qualified, licensed, and insured metal roofing professional for complex repairs or if you are uncomfortable performing the work yourself. Incorrect repairs can void warranties, lead to further damage, and compromise the safety and integrity of your home.