How to Replace a Metal Roof Panel
It’s a heart-sinking moment when you spot it: a dent, a tear, or a significant area of rust on your otherwise resilient metal roof. You chose metal for its durability, so finding damage can feel like a betrayal, leaving you wondering if your entire roof is compromised and bracing for a huge, unexpected expense. But often, a single damaged panel doesn't spell disaster for your whole roof. This guide is here to walk you through the process of assessing that damage, deciding if a panel replacement is truly needed, and then tackling the job step-by-step, helping you save money and restore your roof's integrity without replacing everything.
When a Single Metal Roof Panel Needs Replacing
Sometimes, a repair just won't cut it. It’s tough to admit when something you thought would last forever has a weak spot, but understanding when a panel is truly beyond saving is the first crucial step in making the right fix. Don't fall into the trap of constant patch-ups that only offer temporary relief.
Identifying the Tipping Point for Damage
You’ve probably seen minor scratches or small dings on your metal roof from branches or hail, and often, those are cosmetic or can be touched up with a good quality paint. But there's a point where a tiny flaw becomes a critical failure waiting to happen. For example, if you have a standing seam roof, and one of the panel seams has been severely bent or torn, you're looking at a structural compromise that paint won't fix. The integrity of that seam is essential for keeping water out. Similarly, if a corrugated or R-panel system has a large puncture, say from a falling tool or a sharp object blown in a storm, that’s not something you can just caulk and forget. These kinds of damages create immediate pathways for water infiltration, leading to much bigger problems like rot in your decking or attic mold if left unchecked.
The "tipping point" often comes down to the extent of the damage relative to the panel's overall function: water shedding and structural support. A minor scratch on the surface might be fine, but a deep gouge that exposes the underlying metal to the elements, especially in a humid climate like Florida, can quickly lead to corrosion. Thinking about the long game, a compromised panel often means compromising the longevity of its surrounding panels and even your entire roof system. You might ask, "Is a Metal Roof Worth It? ROI, Resale & Payback" – and the answer is yes, but only if you maintain its integrity.
Common Causes of Irreparable Panel Damage
Metal roofs are tough, but they're not indestructible. There are a few usual suspects when it comes to damage that demands a full panel replacement. Hail, especially large hailstones common in places like Oklahoma or Texas, can cause significant denting that doesn't just look bad but can also compromise the protective coating or even create stress points in the metal. While minor dents might be purely aesthetic, a widespread pattern of deep dents can mean the panel’s coating is cracked, leading to premature rusting.
Another major culprit is severe storm damage. High winds can lift and bend panels, especially at edges or where fasteners have become loose. Imagine a severe squall ripping through Atlanta; a poorly installed or aging panel might catch the wind just wrong and fold, tear, or even detach partially. Fire is another, albeit rarer, cause where intense heat can warp panels beyond repair, even if the building itself is saved. Then there's the less dramatic but equally destructive force of rust and corrosion. While modern metal roofs are designed to resist this, specific types, or those with damaged coatings, can eventually succumb, particularly in coastal areas or regions with heavy industrial pollution. If you see widespread rust on a section of a Galvalume Roof Cost Per Square Foot, it’s often more economical and effective to replace that panel rather than attempt endless, failing patches.
The Difference Between Repairable Flaws and Replacement Needs
It's tempting to try and fix everything, but knowing when to repair versus when to replace is key to saving time, money, and future headaches. Think of it like a broken bone: a hairline fracture can heal, but a compound fracture needs more drastic intervention.
-
Repairable Flaws: Small holes (think screw-sized), minor surface scratches that haven't exposed raw metal, superficial rust spots, or loose fasteners are typically repairable. A good quality sealant, a dab of matching paint, or simply tightening a screw and replacing a washer can often do the trick. For instance, if you notice your Metal Roof Screws Backing Out: How to Fix, that's usually a repairable issue. Similarly, if you have a How to Fix a Leaking Metal Roof due to a minor seam separation, a specialized sealant can often restore its integrity. These smaller fixes are usually quick, less invasive, and much cheaper than replacing an entire panel.
-
Replacement Needs: This is where the damage is extensive, structural, or impacts the weatherproofing function of the panel beyond a simple patch.
- Large punctures or tears: Anything bigger than a coin, especially if it's jagged.
- Severe warping or bending: If the panel can't lie flat and shed water effectively, it's a goner. This is particularly true for Standing Seam Metal Roof Cost where the seams are integral to its water-tightness.
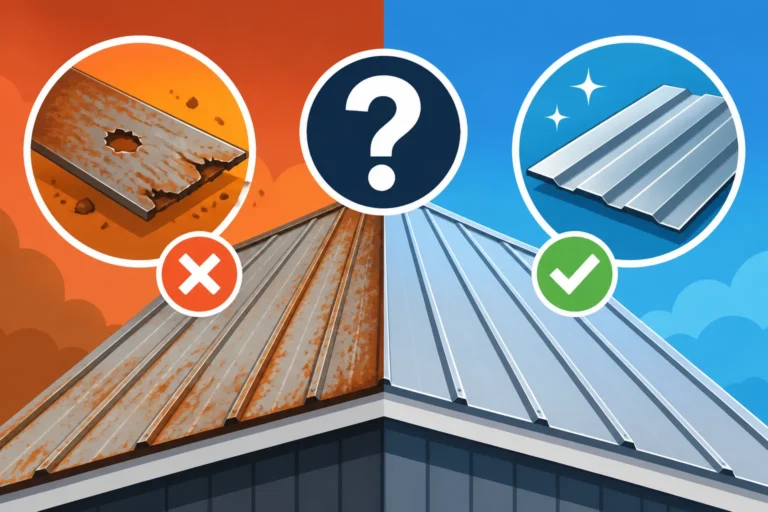
- Extensive corrosion: If rust has eaten through the metal in multiple spots or weakened a large area, the panel's structural integrity is compromised.
- Cracked or delaminated coatings: While a small chip can be painted, widespread cracking or peeling of the protective coating means the panel is losing its long-term defense against the elements.
- Damage to panel ribs or profiles: If the specific shape of a corrugated or R-panel is significantly crushed or deformed, it won't interlock correctly with adjacent panels, leading to leaks.
A general rule of thumb: if the repair would be unsightly, significantly weaken the panel, or require multiple patches that might fail over time, then replacing the panel is almost always the smarter, more durable option. You're aiming for a seamless, long-lasting solution, not just a band-aid.
Essential Preparation Before You Start
Before you even think about climbing onto your roof, preparation is paramount. Trying to jump into a metal roof panel replacement without proper planning is a recipe for disaster, both for your safety and the quality of your finished work. This isn't like patching drywall; you're dealing with heights, weather, and specialized materials.
Safety First: Gear and Precautions
Working on a roof is inherently dangerous, and a metal roof can be especially tricky because of its slick surface, even when dry. Never, ever cut corners on safety.
First, invest in or rent proper fall protection. This includes a safety harness, a lifeline, and roof anchors. Even for a seemingly small job, a slip can have catastrophic consequences. Make sure someone is aware you're on the roof and can check in on you periodically.
Second, footwear is crucial. Wear soft-soled shoes with excellent grip. Work boots with hard soles might feel sturdy but can actually be very slippery on metal, and they can also damage the existing panels.
Third, weather conditions. Do not attempt this project on a rainy, windy, or icy day. Even morning dew can make a metal roof slick. Overcast days with mild temperatures are ideal. Direct sun on a metal roof can make it incredibly hot to the touch, causing burns and making tools difficult to handle.
Finally, personal protective equipment (PPE) is non-negotiable. Heavy-duty work gloves will protect your hands from sharp metal edges. Eye protection (safety glasses or goggles) is vital to guard against flying debris, metal shavings from cutting, or splashes from sealants. Ear protection is also a good idea if you’ll be using power tools like metal shears or drills for extended periods. When working with sealants, ensure good ventilation and consider a respirator if chemical fumes are strong. Remember, your personal safety is worth more than any deadline or cost saving.
Sourcing the Right Replacement Panel and Materials
This is where many DIYers hit a snag: getting a perfectly matching replacement panel. Metal roofing systems aren't "one size fits all." You need to match not only the material and color but also the profile (e.g., standing seam, corrugated, R-panel), gauge, and coating.
- Matching the Profile: This is the most critical. A Standing Seam vs Corrugated Cost Comparison shows that these are distinct systems with different installation methods. You can't put a corrugated panel where a standing seam panel was, and vice-versa. Carefully examine your existing panels. Note the height and spacing of the ribs or seams. Take clear photos and precise measurements.
- Matching the Material and Gauge: Is your roof made of steel, aluminum, or maybe even copper? The type of metal matters for durability, weight, and how it reacts to expansion and contraction. Equally important is the gauge, which refers to the thickness of the metal. Common residential gauges include 24-gauge and 26-gauge. You can learn more about Metal Roof Gauges Explained: 22, 24, 26 & 29 to understand the differences. Using a different gauge can lead to an uneven appearance and potentially compromise the roof's overall strength.
- Matching the Color and Coating: Metal roofs come in a vast array of colors and finishes. Over time, even the most durable coatings can fade slightly. Try to get a sample of the new panel and compare it against a less exposed part of your existing roof (e.g., under an eave) for the best match. Companies like Sherwin-Williams or AkzoNobel produce many of the popular coil coatings used by metal roof manufacturers, so understanding your roof's original coating (e.g., Kynar 500/PVDF or SMP) can help.
- Finding the Source: Your best bet is to contact the original installer or manufacturer of your roof if you have that information. They can provide the exact match. If not, local metal roofing suppliers or specialty building material stores are your next stop. Bring your photos, measurements, and ideally, a small sample of your existing panel if you can safely remove a trim piece. For custom jobs, you might need a metal fabricator.
Don’t forget the ancillary materials:
- Fasteners: Use new, approved fasteners that match your roof system and local building codes, often with neoprene washers to create a watertight seal.
- Sealants: High-quality, UV-resistant, flexible sealants designed for metal roofing are essential. Brands like OSI Quad Max or Geocel are often recommended.
- Underlayment: If the underlying underlayment is damaged, you'll need to patch or replace it. Metal Roof Underlayment and Ventilation Guide provides excellent insights here.
- Butyl tape or strips: Often used for sealing laps and seams, particularly with exposed fastener systems.
Gathering Your Tools and Equipment
Having the right tools makes all the difference for efficiency and safety. Don't underestimate the need for specialized equipment when working with metal.
Here’s a comprehensive list:
| Category | Essential Tools | Notes |
|---|---|---|
| Safety Gear | Safety harness, lifeline, roof anchors | Non-negotiable for fall protection. |
| Heavy-duty work gloves, eye protection, ear protection | Protects against sharp edges, debris, and noise. | |
| Non-slip, soft-soled shoes | Prevents slips and damage to existing panels. | |
| Demolition | Cordless drill/impact driver (with clutch) | For removing existing screws. A clutch prevents over-driving when installing new ones. |
| Socket set or specific bit for fasteners | Ensure you have the correct size for your existing and new fasteners. | |
| Prying tool (e.g., flat bar, specialized panel lifter) | For carefully separating panels without causing further damage. | |
| Angle grinder (with metal cutting wheel) | For precise cuts or trimming of rusted sections, if necessary. Use with extreme caution and full PPE. | |
| Installation | Metal snips (aviation snips – left, right, straight) | For cutting and shaping smaller metal pieces, flashing, or trim. |
| Sheet metal shears (electric or manual) | For making longer, straighter cuts on the new panel if it needs slight adjustment. | |
| Measuring tape, straight edge, chalk line | For accurate measurements and ensuring straight lines during installation. | |
| Caulk gun | For applying sealant neatly and effectively. | |
| Rivet gun (if required by panel system) | Some systems use rivets in certain flashing or trim applications. | |
| Ladder or scaffolding | Stable access to the roof and a safe platform to work from. Ensure proper setup on stable ground. | |
| Miscellaneous | Cleaning rags, mineral spirits (for cleanup) | For surface preparation and removing excess sealant. |
| Marker (grease pencil or permanent marker) | For marking cut lines or fastener locations. | |
| Portable workbench or sturdy flat surface | For safely cutting or shaping panels on the ground. | |
| Trash bags or buckets | For safe disposal of old panels and metal scraps, which can be sharp. |
Having all these items on hand before you start will prevent frustrating delays and ensure a smoother, safer replacement process. You don't want to be halfway through removing a panel only to realize you don't have the right bit for the next step.
Step-by-Step Guide to Metal Roof Panel Replacement
Alright, it's time to roll up your sleeves and get down to business. Replacing a metal roof panel is a precise job that requires patience and attention to detail. Follow these steps carefully to ensure a durable, watertight result that blends seamlessly with your existing roof.
Safely Removing the Damaged Panel
Before any fasteners come out, take a moment to understand how your specific panel system interlocks. Is it an exposed fastener system, where screws go directly through the face of the panel, or a concealed fastener system like standing seam, where clips hide the fasteners? Understanding this will dictate how you approach removal.
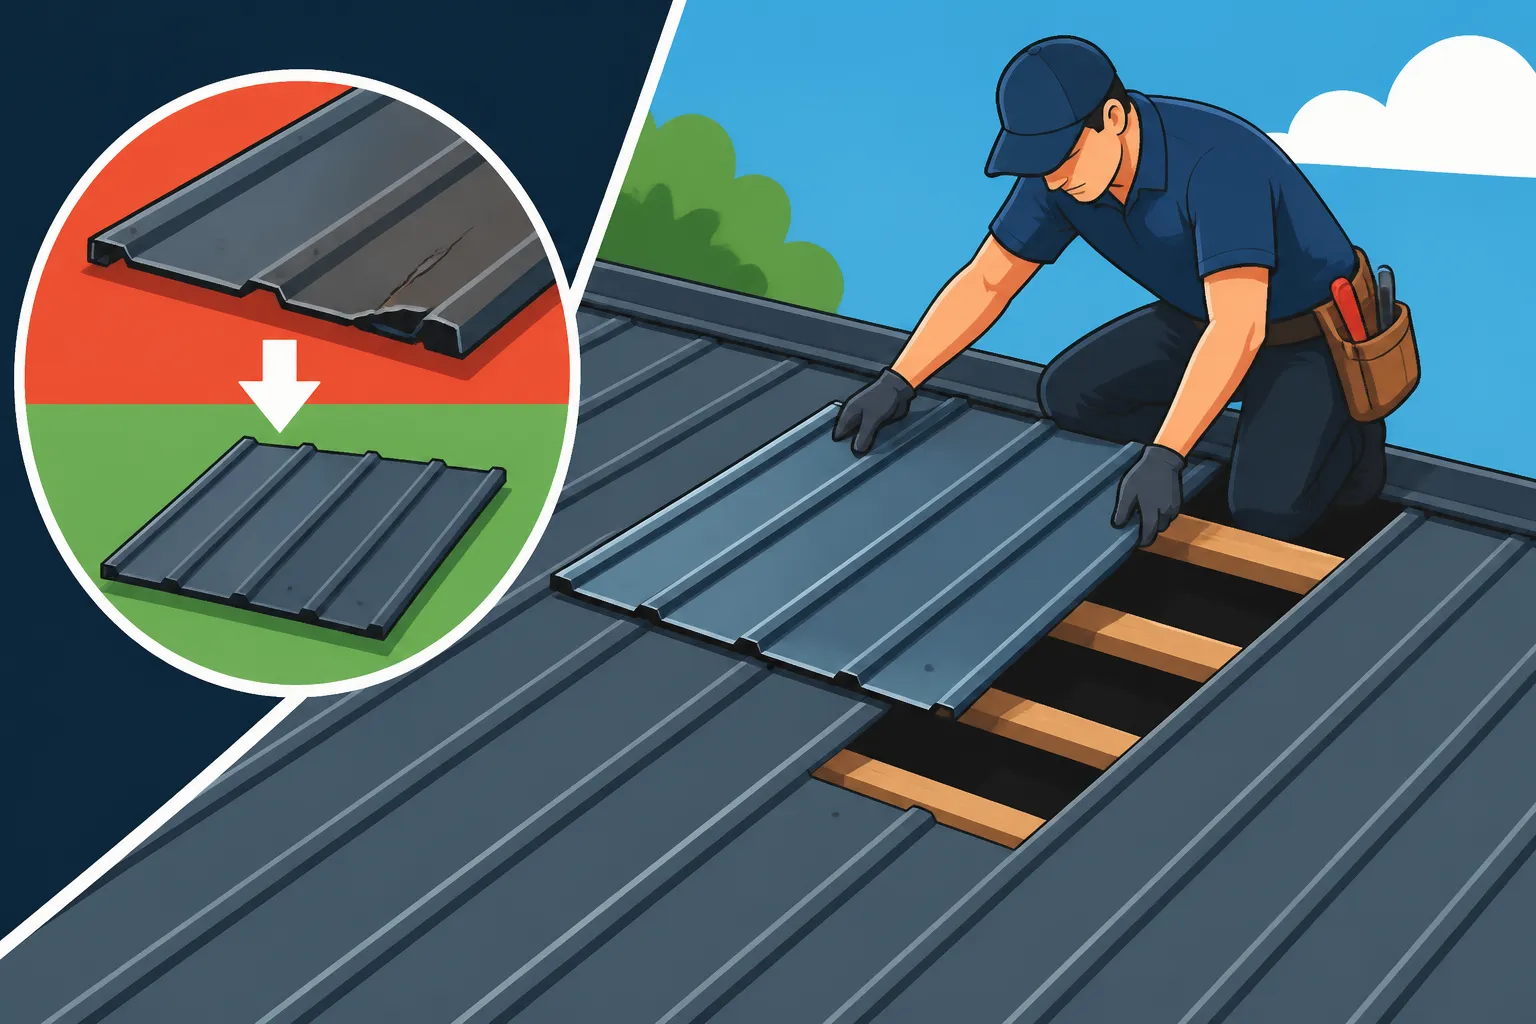
First, clear the area around the damaged panel of any debris. Next, locate all the fasteners holding the damaged panel in place. For exposed fastener panels, this means every screw you can see. For standing seam, you'll need to identify how the panel is clipped to the purlins or decking beneath. Often, this involves carefully separating the seams of the damaged panel from its neighbors. This might require gently prying up the seam with a specialized tool, or if it's a mechanically seamed system, you might need to un-crimp the seam with a dedicated tool. This part is critical: you don't want to damage the adjacent, healthy panels during removal. Take your time, working slowly and deliberately.
Once the panel is detached from its neighbors and all fasteners are removed, carefully lift and maneuver the damaged panel off the roof. Metal panels can be surprisingly unwieldy, especially longer ones. Have a clear path to get it off the roof safely and consider having a helper on the ground to guide it down. Be mindful of sharp edges; wearing heavy-duty gloves throughout this process is a must. Remember, the goal is to remove only the damaged section without compromising the surrounding roof structure or underlayment.
Preparing the Underlayment and Substrate
With the old panel removed, you now have a clear view of what’s underneath. This is your chance to address any issues before the new panel goes on, ensuring your roof's foundation is solid and watertight. Many homeowners overlook this critical step, only to find leaks reappearing shortly after the new panel is installed.
Start by inspecting the underlayment. Is it torn, brittle, wet, or otherwise compromised? The underlayment (often a synthetic material or felt) is your roof’s secondary line of defense against water. If it’s damaged, carefully remove the affected section. Cut out a neat, rectangular piece, making sure to extend beyond any obvious damage. Then, install a new piece of high-quality underlayment, overlapping the existing material according to manufacturer specifications (typically 6 inches on sides and 12 inches on top). Use roofing nails or staples to secure it, making sure it lies flat and smooth. For an in-depth understanding, refer to our guide on What Goes Under a Metal Roof? Layers Explained. In hurricane-prone areas like Florida, ensuring your underlayment is robust, like a self-adhering ice and water shield, is non-negotiable for true storm protection.
Next, examine the roof decking or purlins. Are there any signs of rot, mold, or structural weakness? If the wood beneath is spongy, discolored, or crumbling, it needs to be replaced. This might involve cutting out a section of plywood decking or replacing a damaged purlin. If you're unsure how to assess this, or if the damage seems extensive, this is a moment where calling a professional for guidance is wise. Once any underlying structural issues are resolved, clean the area thoroughly. Sweep away any dust, debris, or old sealant residue to ensure a clean, smooth surface for the new panel and its fasteners. Any bumps or grit can prevent proper seating of the new panel or compromise the sealant.
Installing the New Metal Panel
This is the moment of truth! Carefully bring your new, perfectly matched panel onto the roof. Before you secure anything, do a dry fit. Place the new panel into position, checking that it aligns correctly with the adjacent panels and that its edges and seams match up. This is crucial for both aesthetics and weather-tightness. Make any minor adjustments needed before you start fastening.
Once the alignment is perfect, begin to secure the panel.
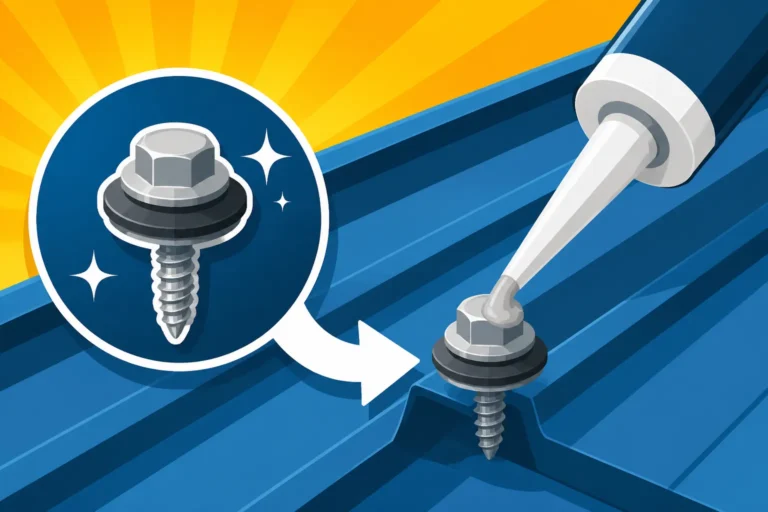
- For exposed fastener systems: Position the new panel over the underlayment and decking. Use a chalk line or measuring tape to ensure your screws are consistently aligned with the existing pattern on the adjacent panels. Pre-drilling pilot holes can help prevent metal warping and ensure fasteners go in straight, especially with thicker gauges. Drive new fasteners through the pre-drilled holes, making sure to use screws with neoprene washers. These washers are essential for creating a watertight seal around each screw. Be careful not to over-tighten, as this can compress and damage the washer, or under-tighten, which can lead to leaks. The washer should be slightly compressed but not flattened.
- For concealed fastener (standing seam) systems: This process is more intricate. You'll typically slide the new panel’s female leg over the male leg of the adjacent panel, ensuring the factory-applied sealant is engaged if applicable. Then, secure the clips that attach the panel to the substructure. The seam will then be "closed" or "seamed" either by snapping it together (snap-lock systems) or by mechanically crimping it with a specialized seaming tool (mechanical seam systems). This seaming process is vital for the panel’s integrity and is often best left to those with experience or specific tools.
As you install, pay close attention to any flashing or trim that was removed. Reinstall these components in the reverse order of removal, ensuring all overlaps are correctly oriented to shed water. Use metal roofing sealant generously but neatly at all critical junctures, such as around penetrations (like vents or pipes) or at the eaves and rake edges. Our article on Metal Roof Installation Process: Step by Step offers a broader view of the entire installation.
Sealing and Securing the New Panel
The final touch for a watertight seal is often overlooked but critical. Even if the panel is fastened correctly, areas where panels overlap, around penetrations, or along trim pieces need careful attention.
Apply a high-quality, UV-resistant sealant to all exposed seams, overlaps, and around any new fasteners, especially for exposed fastener systems. This creates an extra barrier against water penetration and helps to lock everything into place. Smooth out the sealant for a professional look and to prevent water pooling. Be especially diligent where the new panel meets the old ones – these transition zones are prime candidates for future leaks if not sealed properly.
For concealed fastener systems, sealant is often integrated into the panel’s seam or applied during the seaming process. However, inspect all areas where flashing meets the panel or where any cuts were made (e.g., around a chimney or vent stack) and apply additional sealant as needed. Don’t forget about the Metal Roof Fasteners and Washers Explained; if you're replacing exposed fasteners, new washers and a bead of sealant under the fastener head can provide redundant protection.
Finally, do one last visual check of the entire installed panel. Are all fasteners tight? Are the seams properly engaged? Is there any visible gap or area where water could potentially infiltrate? It’s far easier to catch a small oversight now than to discover a leak during the next rainstorm. This meticulous final inspection is what separates a good installation from a leaky headache.
Post-Installation Considerations and Ongoing Maintenance
You’ve done the hard work, the new panel is in, and your roof looks fantastic! But the job isn't truly done until you've ensured its long-term success. A little vigilance now can prevent major headaches later.
Checking for Proper Sealing and Fastening
The first heavy rainfall after your panel replacement is your ultimate test. You’ll want to be home and actively listen and watch.
During the Rain:
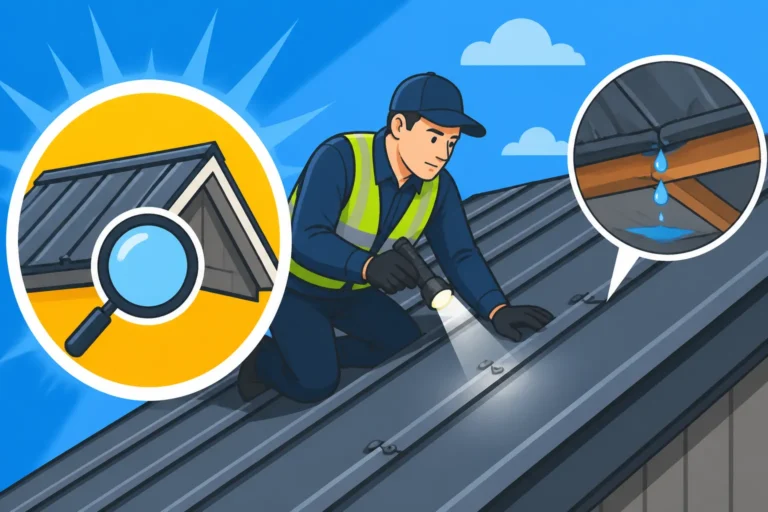
Listen for any drips or abnormal sounds in your attic or near the area where you replaced the panel. If you have attic access, head up there with a flashlight (safely, of course!) and look for any signs of water intrusion – drips, wet spots on insulation, or staining on the decking. It’s crucial to do this during an active rain event because sometimes leaks only show themselves under specific conditions. Look closely at the underside of the new panel and where it joins the older panels.
After the Rain:
Once the rain stops and the roof is dry, conduct another visual inspection from the ground and, if safe, from a ladder.
- Examine the seams: Look for any gaps, lifted edges, or areas where the sealant might have shrunk or cracked. The goal is a continuous, smooth seal.
- Check the fasteners: Ensure all screws are still tight and that their washers are creating a good seal. If you notice any backing out or loose fasteners, gently tighten them, being careful not to over-drive. Our guide on Why Is My Metal Roof Leaking Where the Screws Are might offer further insights if you find issues here.
- Look for any water staining or trails: These can indicate a subtle leak that didn't fully penetrate but left a trace. Address these immediately, as a small stain can become a major leak over time.
- Inspect the surrounding panels: Make sure no damage was inadvertently caused to adjacent panels during the installation process.
If you find any leaks, don't panic. Pinpoint the source and apply additional sealant or tighten fasteners as needed. Sometimes, it's just a small adjustment.
Regular Inspections to Prevent Future Issues
Prevention is always better than cure, and that certainly holds true for your metal roof. Don't wait until you see a leak in your living room to think about your roof again.
Annual Check-Ups:
Make it a habit to inspect your entire roof at least once a year, preferably in the spring after winter storms or in the fall before heavy snow.
- Visual Scan: From the ground, use binoculars to look for obvious signs of trouble: lifted panels, loose or missing fasteners, excessive rust spots, or peeling paint.
- Gutter Check: Ensure gutters are clear of debris, as clogged gutters can cause water to back up and seep under panels, especially at the eaves.
- Flashing Inspection: Pay close attention to areas around chimneys, skylights, vents, and valleys. These are common culprits for leaks because they involve transitions and cuts in the metal. Check for cracks in sealant or displaced flashing.
- Tree Branches: Trim any overhanging tree branches that could fall and damage panels or rub against the roof, eroding coatings over time.
- Interior Scan: Periodically check your attic or the underside of your roof deck for any signs of water staining, mold, or condensation, which could indicate a hidden leak.
Proactive maintenance is key to maximizing your Metal Roof Lifespan: How Long Do They Last? and preventing a single panel replacement from turning into a full-scale roofing emergency. By catching small issues early, you can often address them with minor repairs, saving you significant time and money in the long run.
Understanding Warranties and Long-Term Care
Once your new panel is securely in place, it's a good time to revisit your roof's warranty information and plan for its long-term care. This isn't just paperwork; it’s a safeguard for your investment.
Manufacturer and Workmanship Warranties:
If you had a professional install the replacement panel, they should provide a workmanship warranty, guaranteeing their installation for a certain period. The new panel itself will come with a manufacturer's warranty, covering defects in materials and coatings. Familiarize yourself with both. Understand what voids them. For example, using improper fasteners or sealants could void a manufacturer's warranty. If you DIY’d the replacement, you won't have a workmanship warranty, but the new panel's material warranty still applies. Our guide on Metal Roof Warranties: Workmanship vs Manufacturer delves deeper into these distinctions.
Maintenance for Longevity:
Metal roofs are known for being low-maintenance, but "low" doesn't mean "no."
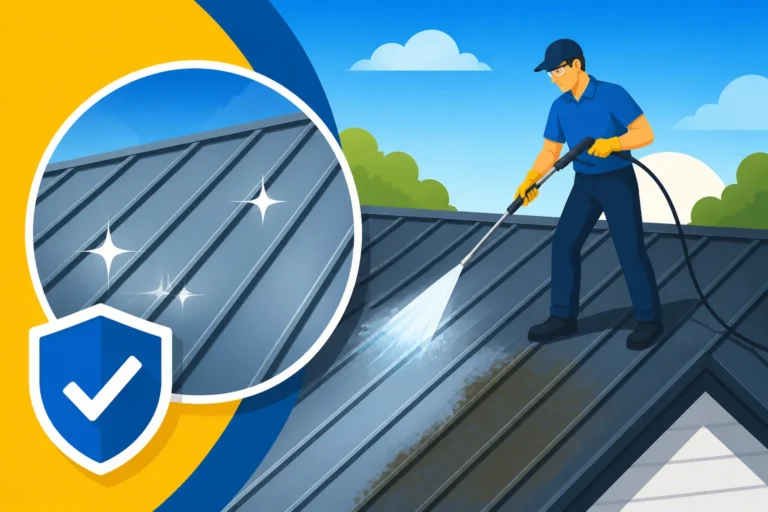
- Cleaning: Periodically clean your roof to remove dirt, algae, or moss buildup. A gentle wash with a hose and a soft brush, or a low-pressure power wash, usually suffices. Avoid harsh chemicals or abrasive brushes that can damage the coating.
- Touch-ups: Keep a small amount of matching paint on hand for any minor scratches or dings that occur over time. Promptly touching up these areas prevents rust from setting in.
- Snow Guards: If you live in an area with heavy snowfall, consider How to Install Snow Guards on a Metal Roof to prevent sudden snow slides that can damage lower roof sections, gutters, or even people below.
By understanding your warranties and committing to a simple, ongoing maintenance routine, you’ll ensure that your metal roof continues to protect your home effectively for decades to come, proving why it was such a smart investment in the first place.
DIY vs. Professional Help: Making the Right Call
Facing a damaged metal roof panel can leave you wondering if this is a project you can tackle yourself or if it's time to call in the experts. It's a valid question, and there's no single right answer for everyone. Deciding between DIY and professional help depends on several factors, including your comfort level, the complexity of the damage, and the specifics of your roof.
Assessing Your Skill Level and Project Complexity
Before you grab your tools, take an honest inventory of your abilities and the demands of the job. Are you generally handy with power tools? Have you worked at heights before? Do you understand basic construction and sealing principles?
- Simple Repairs vs. Panel Replacement: Replacing an entire panel is a step up from minor repairs like tightening Metal Roof Fastener Washer Replacement or sealing a tiny pinhole. It involves working with larger, potentially awkward materials, ensuring precise alignment, and achieving a watertight seal over a significant area. If your prior roofing experience is limited to cleaning gutters, a full panel replacement might be pushing your comfort zone.
- Roof Pitch and Accessibility: A low-slope roof with easy access is far more forgiving than a steep, multi-level roof with challenging angles. The higher and steeper your roof, the greater the inherent risk, regardless of your skill level.
- Panel System Complexity: An exposed fastener system with readily visible screws is generally more straightforward to work with than a sophisticated concealed fastener standing seam system, which often requires specialized seaming tools and a nuanced understanding of its interlocking mechanism. If you have a standing seam roof, and you're not familiar with how to properly separate and re-engage the seams, you could cause more damage than good.
- Time and Tools: Do you have the time to dedicate to careful work, including researching and sourcing materials? Do you own or have access to all the necessary tools mentioned earlier, or would you need to buy/rent expensive specialized equipment? If the cost of tools outweighs the savings from DIY, hiring a professional might be more economical.
Many homeowners feel a sense of accomplishment from DIY projects, and for simpler tasks, it's often a great way to save money. But for complex or high-risk roofing jobs, overestimating your capabilities can lead to costly mistakes, compromised safety, and even further damage to your home.
The Benefits of Hiring a Metal Roofing Specialist
While DIY can save you upfront labor costs, there are compelling reasons to bring in a professional, especially for metal roofing. These folks live and breathe roofs, and their expertise often pays dividends in the long run.
- Experience and Expertise: A certified metal roofing contractor has seen it all. They understand the nuances of different metal types, gauges, and panel systems. They know how weather, expansion, and contraction affect metal, and how to prevent common issues like oil canning or leaks. Their experience ensures the job is done right the first time, preventing future headaches and expenses. They are also adept at getting the right replacement panel that matches perfectly.
- Safety: Roofing contractors are trained in safety protocols and have the right equipment (harnesses, lifts, staging) to work safely at heights. They also carry liability insurance, which protects you from financial responsibility if an accident occurs on your property. This alone is a huge peace of mind for many homeowners.
- Specialized Tools and Materials: Professionals have access to specialized tools that make metal roof work more efficient and precise, such as mechanical seaming tools for standing seam roofs or specific metal shears for clean cuts. They also have established relationships with suppliers, often getting better pricing and ensuring the correct, high-quality materials are used.
- Warranties: When you hire a professional, you typically receive a workmanship warranty in addition to the manufacturer’s warranty on the materials. This means if something goes wrong due to their installation, they’ll come back and fix it at no additional cost. This is a crucial layer of protection for your investment.
- Efficiency: Due to their experience and specialized tools, professionals can often complete the job much faster than a DIYer, minimizing disruption to your home and exposure to the elements.
When considering the Cost to Install Metal Roof Yourself (DIY) vs Hiring, it’s not just about the labor cost; it’s about the value of expertise, safety, and a guaranteed, long-lasting repair.
Finding a Qualified Contractor for Panel Replacement
If you decide to go the professional route, which many homeowners wisely do, finding the right contractor is paramount. Not all roofers are created equal, and metal roofing is a specialized skill.
- Seek Metal Roofing Specialists: Don't just pick any general roofer. Look specifically for contractors who advertise expertise in metal roofing. Ask them how many metal roof panel replacements they've done in the past year. A good starting point is often online platforms like Modernize, which can help you connect with vetted local professionals who specialize in metal roofing.
- Check Credentials and References: Always verify their licensing, insurance, and bonding. Ask for proof! A reputable contractor will be happy to provide it. Request references from past clients, particularly those who had similar metal roofing work done. Call those references and ask about their experience, professionalism, and the longevity of the repair. Our guide on Questions to Ask a Metal Roofing Contractor Before You Hire can provide a comprehensive list.
- Get Multiple Bids: Don't settle for the first quote. Get at least three detailed estimates. Compare them not just on price, but also on the scope of work, materials specified, and warranty information. A significantly lower bid might indicate corners are being cut, while a much higher one could mean unnecessary costs.
- Review Their Portfolio: Ask to see photos of their previous metal roofing projects, or even better, if they can point you to local addresses where they've completed work. This allows you to see the quality of their craftsmanship firsthand.
- Understand the Contract: Before signing anything, read the contract carefully. It should clearly outline the scope of work, materials to be used, payment schedule, project timeline, and warranty details. Ensure there are no hidden fees.
Remember, choosing a contractor isn't just about getting a panel replaced; it's about entrusting your home's protection to someone else. Take your time, do your due diligence, and you'll find a professional who can ensure your metal roof remains a durable, beautiful asset for years to come. If you're wondering How to Find a Metal Roofing Contractor Near Me, leveraging online resources and local recommendations is a great strategy.
Disclaimer
Please remember that this guide offers general information and recommendations. Metal roof panel replacement can be a complex and dangerous task. Always prioritize your safety and consult with qualified professionals for specific advice tailored to your situation and local building codes. Undertaking DIY roofing projects carries inherent risks, and improper installation can lead to leaks, further damage, and voided warranties.