Metal Roof Flashing Repair
Few things are as frustrating as discovering a leak in your home, especially when it points to your roof. And if you have a metal roof, you might mistakenly think it’s impervious to such issues. But alas, even the most durable metal roofs have weak points, and more often than not, those weak points involve the flashing. This guide is here to walk you through everything you need to know about metal roof flashing repair, from understanding what flashing does to diagnosing problems, tackling repairs yourself, and knowing when to call in the professionals.
Understanding Metal Roof Flashing and Its Critical Role
Metal roofs are renowned for their incredible durability and longevity, but they aren’t just a simple sheet of metal covering your home. A crucial, yet often overlooked, component in their integrity is the flashing. This unsung hero is what stands between your home and water intrusion at all the vulnerable points of your roof.
What is Flashing and Why is it Essential?
Imagine a seamless metal shell protecting your home. Now, imagine all the places that shell has to be broken or bent to accommodate other structural elements: chimneys, skylights, vents, dormers, and the edges of the roof itself. These are all potential entry points for water. That's where flashing comes in. Flashing is essentially a waterproof barrier, typically made of thin metal sheets (though sometimes other materials), designed to direct water away from these vulnerable areas. It creates a watertight seal where different parts of the roof meet or where the roof meets another structure.
Without properly installed and maintained flashing, even a brand-new metal roof would be utterly useless in a rainstorm. It would be like having a perfectly good boat but forgetting to plug the drain holes. The integrity of your entire roofing system, and by extension, the protection of your home's interior and structure, hinges heavily on effective flashing. This is why knowing how to prevent leaks on a metal roof often starts with understanding flashing.
Common Types of Metal Roof Flashing
Flashing isn't a one-size-fits-all component; it comes in various forms, each designed for a specific purpose and location on your roof. Understanding these types can help you pinpoint where a problem might be originating.
- Head Wall Flashing: This type is used where the roof meets a vertical wall, like at the top edge of a dormer or where a low-slope roof meets a taller wall. It’s installed over the wall covering, directing water down and onto the roof surface.
- Step Flashing: Often found around chimneys, skylights, and dormers, step flashing consists of individual L-shaped pieces that are interwoven with each course of roofing material and the vertical wall. This allows for movement due to thermal expansion and contraction without compromising the seal.
- Valley Flashing: Valleys are critical areas where two roof planes meet, forming an internal angle that channels a large volume of water. Valley flashing is usually a continuous piece of metal that sits beneath the main roofing panels, providing a smooth, watertight path for water runoff.
- Apron (or Base) Flashing: This is typically a single, larger piece of L-shaped metal used at the bottom edge of a chimney or dormer, where it meets the roof plane. It collects water from the vertical surface and directs it onto the roof.
- Pipe Boot Flashing: Any pipe penetrating your roof, such as a plumbing vent or furnace flue, requires a pipe boot. This is a pre-formed rubber or metal cone with a flange that seals around the pipe and is integrated with the roofing panels.
- Drip Edge Flashing: While not strictly "flashing" in the same way as chimney or valley flashing, the drip edge is crucial. It’s installed along the eaves and rake edges of the roof, extending slightly past the fascia board to direct water away from the roof deck and into the gutters, protecting the fascia and preventing water from wicking back under the roof.
- Sidewall Flashing: Similar to head wall flashing, but used where the side of a dormer or wall meets the sloped roof. These sections need to be carefully integrated to shed water effectively.
Each of these components plays a vital role in the overall waterproofing strategy of your metal roof. Neglecting any one of them can lead to significant problems down the line, requiring a Metal Roof Leak Repair Guide to mitigate damage.
How Flashing Integrates with Your Roof System
The effectiveness of flashing isn't just about the material itself, but how it's installed and integrated with the other components of your metal roof. This involves a carefully orchestrated system of layers and fasteners. Beneath your metal panels and flashing, you'll typically find an underlayment, which acts as a secondary waterproof barrier. This can be synthetic underlayment or ice and water shield, especially critical in colder climates or areas prone to heavy rain. The flashing itself is then mechanically fastened to the roof deck or adjacent structures using specialized fasteners.
Crucially, sealants are almost always involved. High-quality, UV-resistant sealants are applied at seams, overlaps, and around fasteners to create a truly impermeable barrier. The specific method of installation varies depending on the type of metal roof – for example, a standing seam metal roof installation process will differ significantly from a corrugated panel system. However, the principle remains the same: each piece of flashing must be layered in a way that allows water to flow over and off the roof, never underneath. This meticulous attention to detail is what defines a truly robust roofing system, and understanding these metal roof components & accessories explained can help homeowners identify potential weaknesses.
Diagnosing Flashing Damage: Signs and Causes
Spotting flashing damage early is key to preventing major headaches and costly repairs. Often, the first sign you notice won't be on the roof itself, but inside your home.
Telltale Signs of a Leaky Flashing
A leaking roof is a clear indicator that something is amiss, and flashing is frequently the culprit. The signs can range from subtle to overtly alarming.
- Water Stains on Ceilings or Walls: This is perhaps the most common and undeniable sign. Look for discolored patches, usually yellowish or brown, especially on ceilings or walls near the perimeter of your home, around fireplaces, or under skylights. These stains often grow larger after heavy rain. The location of the stain inside can often give you a clue about the area of the roof that’s compromised, though water can travel quite a distance before showing itself.
- Dripping Water: A persistent drip, even a slow one, is a serious concern. If you notice water actively dripping from your ceiling, light fixtures, or into your attic, it's an emergency that needs immediate attention. This indicates a significant breach in your roof's waterproofing.
- Musty Odors or Mold Growth: Even if you don't see active water, a persistent musty smell can indicate hidden moisture. Water seeping through damaged flashing can saturate insulation and drywall, creating a damp environment ripe for mold and mildew growth. Look for visible mold on ceilings, walls, or in the attic, especially in corners or along seams.
- Drafts or Increased Energy Bills: While less direct, compromised flashing can sometimes lead to drafts. If the flashing is pulled away, it creates small gaps where air can enter and escape, potentially affecting your home's insulation and leading to higher heating or cooling costs. This might be a secondary sign after other, more obvious water-related issues have been addressed.
Catching these warning signs your metal roof needs attention early can save you from far more extensive and expensive repairs down the line, potentially avoiding a full metal roof repair vs replacement scenario.
Common Causes of Flashing Failure
Flashing, despite being metal, isn't indestructible. Several factors can lead to its failure, compromising your roof's integrity.
- Improper Installation: This is perhaps the leading cause of flashing failure. If the flashing wasn't installed correctly from the beginning – perhaps not adequately overlapped, insufficiently fastened, or lacking proper sealants – it will inevitably fail. A common mistake is relying too heavily on sealants without proper mechanical fastening or layering, leading to sealant breakdown and leaks. Professional metal roofing contractors are crucial for correct installation.
- Material Fatigue and Age: Over time, even durable metal flashing can succumb to the elements. Constant exposure to sun, rain, wind, and temperature fluctuations causes materials to expand and contract, leading to fatigue. Eventually, this can cause the metal to crack, warp, or pull away from its fasteners. Rubber pipe boots, in particular, are susceptible to UV degradation, becoming brittle and cracking over years of sun exposure. This is a natural part of a metal roof lifespan, though metal roofs generally last a very long time.
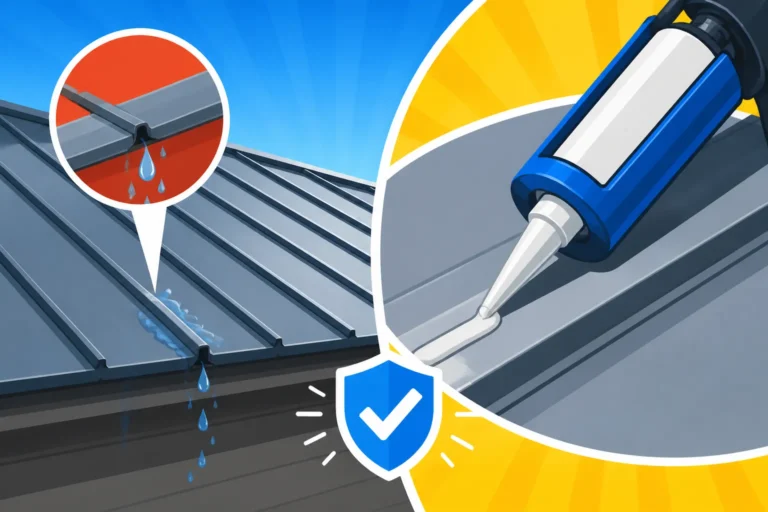
- Sealant Breakdown: Sealants, while critical, are not permanent. UV radiation, extreme temperatures, and general weathering can cause them to dry out, crack, or lose their adhesion. Once the sealant fails, water can easily penetrate the gaps it was meant to protect. This is why regular maintenance, including re-caulking, is often necessary.
- Storm Damage: High winds can lift and bend flashing, especially at the edges or around chimneys. Hail can dent or puncture lighter gauge flashing. Falling debris, like branches, can also tear or dislodge flashing. After any significant weather event, it’s wise to inspect your roof for signs of metal roof storm, hail & wind damage, including flashing issues.
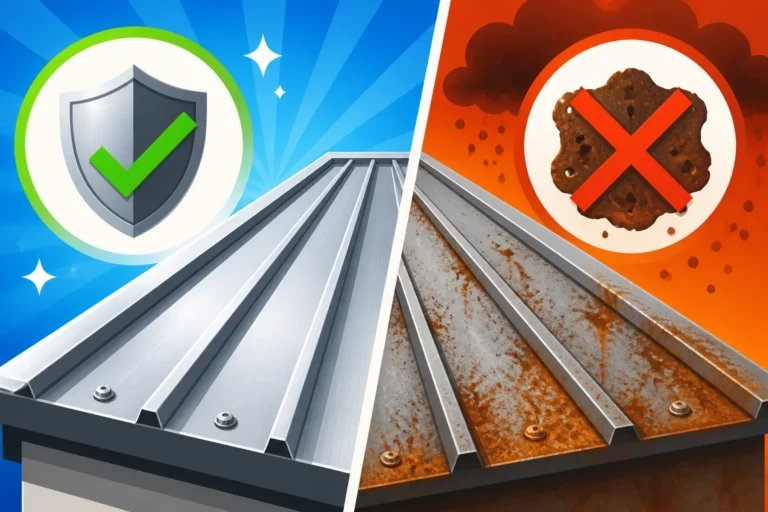
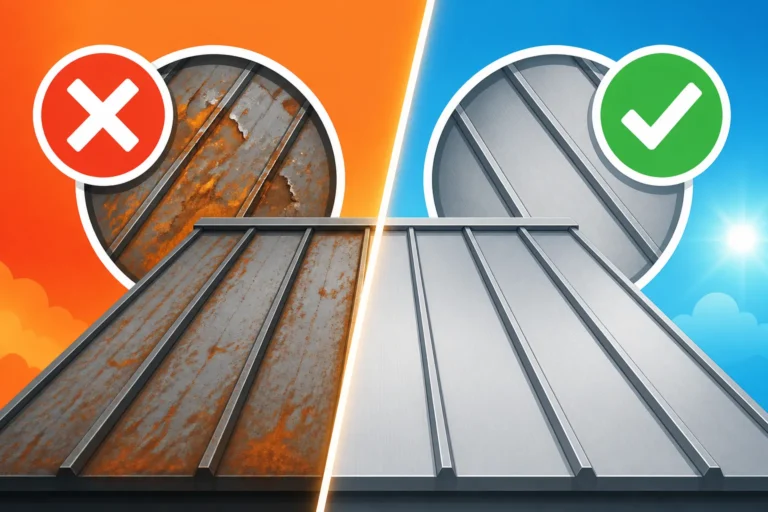
- Corrosion: Depending on the material, flashing can corrode over time, especially in coastal areas with salt spray or regions with acid rain. Galvanized steel flashing might rust if its protective coating is compromised. While modern metal roofs are highly resistant to rust, small scratches or exposed edges can eventually lead to localized corrosion that compromises the flashing's integrity.
Pinpointing the Exact Location
Finding the source of a leak can feel like detective work, but it’s a crucial step before attempting any repairs. Water often travels along rafters or through insulation before manifesting as a stain, so the leak's entry point might not be directly above the visible damage.
The first step is a thorough visual inspection. If it's safe to do so, get onto your roof or use binoculars from the ground. Look specifically at all flashing points: around chimneys, skylights, vents, and where the roof meets walls. Are there any visible cracks, gaps, loose pieces, or areas where the sealant has deteriorated? Check for bent or missing sections, or rusted fasteners that have pulled away.
If a visual inspection doesn't reveal an obvious culprit, a water test can be very effective, though it's best done with a helper. One person stays inside, watching for drips, while the other goes on the roof with a garden hose. Start at the lowest point of the suspected leak area and systematically soak sections of the roof, moving upwards slowly. For example, if you suspect a chimney leak, soak the area below the chimney first, then the step flashing, then the apron flashing, then the head flashing, then the sides of the chimney itself. This gradual approach helps isolate the exact entry point when the indoor observer spots the leak. Be patient, as it can sometimes take a while for water to travel and show itself. Never flood the entire roof at once, as this makes it impossible to pinpoint the source.
DIY Metal Roof Flashing Repair: Step-by-Step Guide
For minor issues, repairing metal roof flashing can be a manageable DIY project. However, safety should always be your top priority. If you're uncomfortable on a ladder or working on a sloped roof, it’s always better to call a professional.
Essential Tools and Materials
Before you even think about climbing onto your roof, gather all the necessary tools and materials. This prevents multiple trips up and down the ladder and ensures a smoother, safer repair process.
- Safety Gear: A sturdy ladder, non-slip roofing shoes, work gloves, and potentially a safety harness if you're working on a steep pitch or at a significant height. Never work alone.
- Cleaning Supplies: Stiff wire brush or scraper, rags, and a mild detergent or cleaner to ensure the repair area is free of dirt, debris, and old sealant. A power washer set on a very low pressure can be used carefully, but usually manual cleaning is sufficient and safer for the roof.
- Sealants: High-quality, UV-resistant exterior-grade caulk or sealant specifically designed for metal roofing. Look for options like polyurethane or silicone sealants that adhere well to metal and are flexible enough to withstand thermal expansion and contraction. Brands like Geocel or OSI Quad are often recommended.
- Patching Materials: For larger holes or cracks, you might need metal repair tape (like EternaBond or similar butyl-based tapes), sheet metal scraps (matching your roof material if possible), or roof cement/mastic.
- Fasteners: Self-tapping metal roofing screws with neoprene washers, if you need to re-secure loose flashing. Make sure they are the correct length and type for your specific roof and flashing material.
- Tools: Caulk gun, utility knife, tin snips (for cutting metal patches), a drill (for new fasteners), a screwdriver or nut driver (for existing fasteners), and a hammer or mallet for gently reshaping bent flashing.
Having everything laid out beforehand makes the job more efficient and reduces the risk of accidents.
Preparing the Area for Repair
Proper preparation is half the battle when it comes to effective flashing repair. The goal is to create a clean, dry, and stable surface for your repair materials to bond to.
First, ensure the area is dry. Attempting repairs on a wet roof is not only dangerous due to slipping hazards but also ineffective, as most sealants and adhesives won't properly bond to a damp surface. Wait for a dry day with no rain in the forecast.
Next, clean the area thoroughly. Use your wire brush or scraper to remove any loose debris, dirt, old crumbling caulk, moss, or rust. For stubborn grime, a mild detergent and water, followed by a thorough rinse, can be used. Ensure all cleaning residues are removed, and the area is completely dry before proceeding. Any remaining dust or grease will prevent proper adhesion. If you’re dealing with excessive rust, consider a rust converter specifically designed for metal before applying new sealant or patches.
Finally, remove any old, failing sealant. Use a utility knife or scraper to carefully cut away and peel off old, cracked, or hardened caulk. You want to expose a clean, smooth surface of the flashing and the adjacent roofing material or wall. This step is crucial because new sealant won't bond well to old, deteriorated sealant. Taking your time here will significantly improve the longevity of your repair.
Repairing Minor Cracks and Small Holes
For small, localized damage, you can often make effective repairs using sealants and patching compounds.
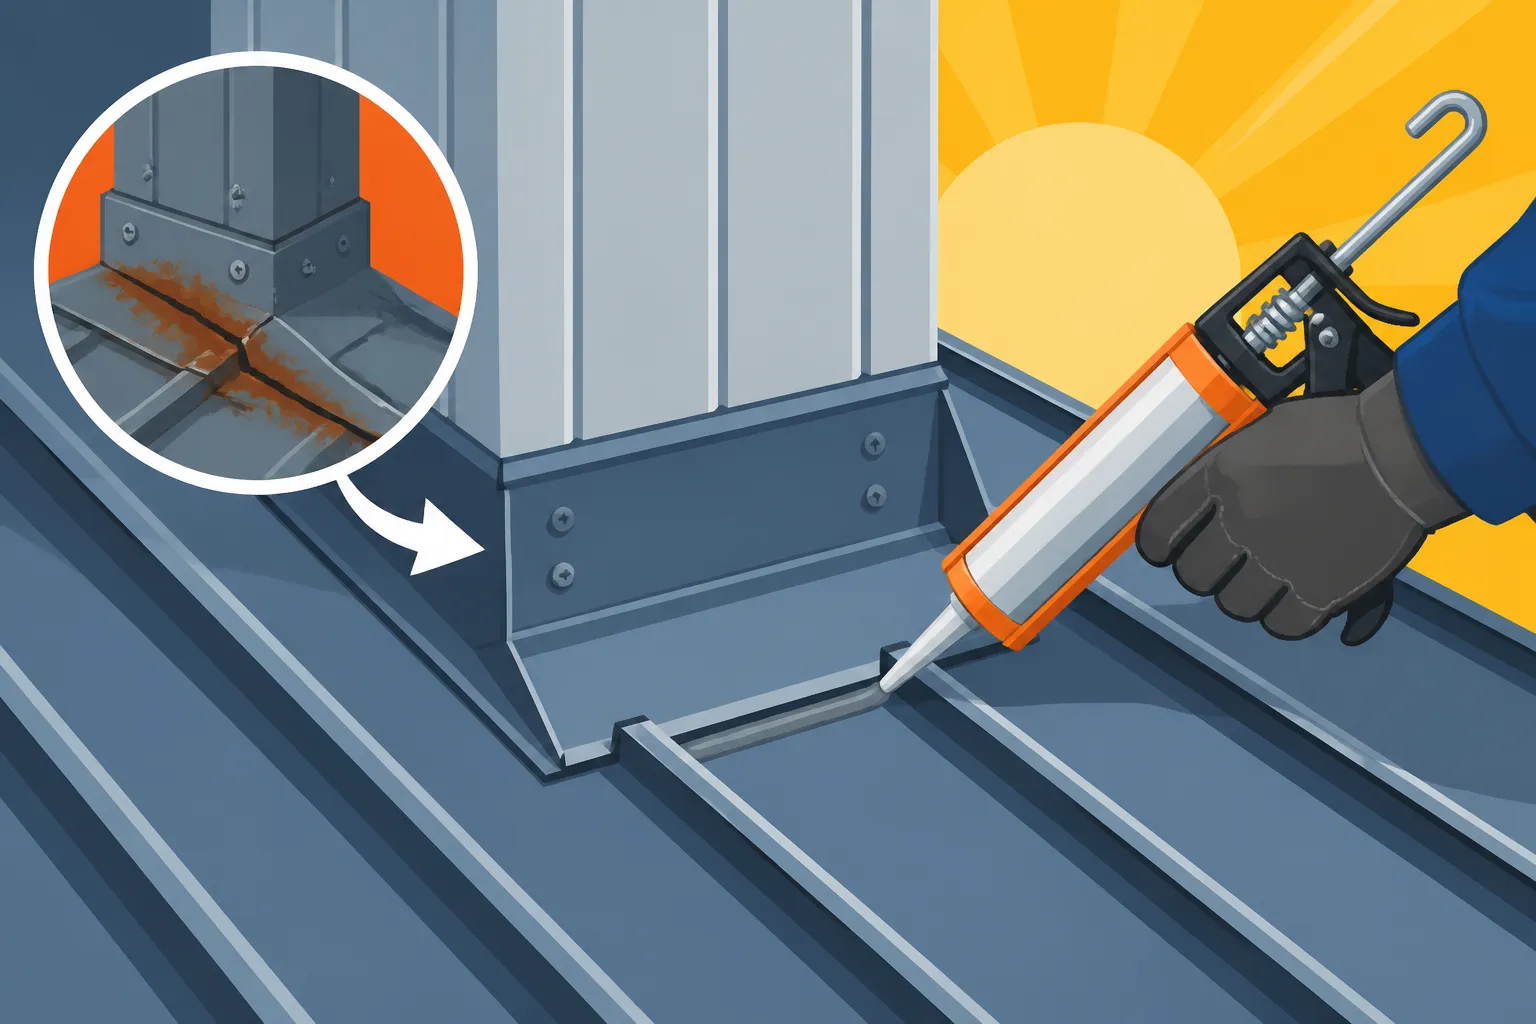
If you have small cracks or gaps where flashing meets the roof or a wall, a high-quality metal roofing sealant is your best friend. Load your caulk gun and apply a steady, even bead of sealant along the crack or gap. Make sure to push the sealant deep into the void, ensuring good contact with both surfaces. Smooth the bead with a gloved finger or a caulk tool for a neat, watertight finish. Don't be shy, but avoid excessive application, which can look messy and doesn't necessarily improve effectiveness. Focus on creating a solid, continuous seal.
For small holes or punctures in the flashing material itself, a robust metal repair tape or a combination of roof cement and a small metal patch can work wonders. Clean the area thoroughly as described above. If using repair tape, cut a piece slightly larger than the hole, round the corners to prevent peeling, and firmly press it over the hole, ensuring good adhesion. If using roof cement, apply a generous layer over the hole, then press a small piece of matching sheet metal over the cement, ensuring it extends beyond the hole on all sides. Apply another layer of roof cement over the patch and feather the edges. Allow ample curing time for all sealants and cements as per manufacturer instructions before exposing them to water.
Addressing Loose or Missing Flashing
Sometimes the problem isn't a crack, but that the flashing has simply come loose or, in worst-case scenarios, is missing entirely. This often happens due to wind uplift or improper fastening during installation.
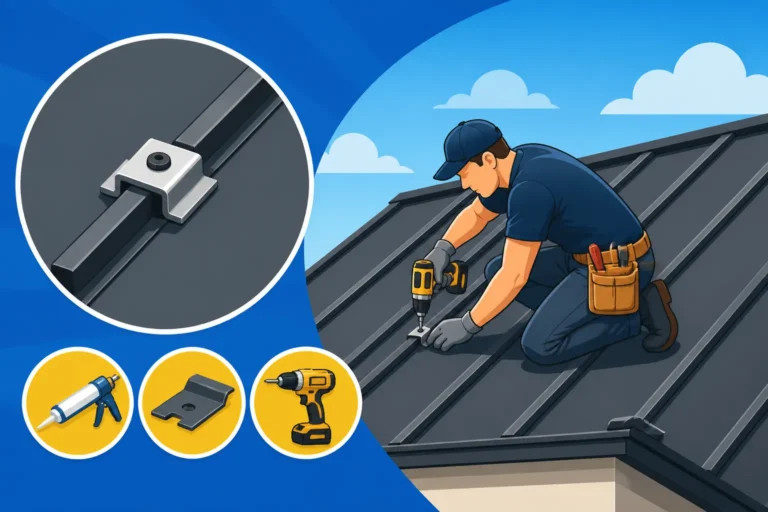
If the flashing is loose but still intact, you can often re-secure it. First, remove any old, compromised fasteners. Carefully reposition the flashing so it lies flat and makes good contact with both surfaces it’s meant to protect. Then, use new, self-tapping metal roofing screws with neoprene washers to re-fasten it. Space the screws appropriately, ensuring they go into solid decking or framing. The neoprene washers are critical as they compress to create a watertight seal around the screw penetration. Apply a dab of sealant over each screw head for extra protection.
If a section of flashing is missing or severely damaged, requiring more than just re-securing, you’ll need to replace it. This is where things get a bit more complex. You’ll need to carefully remove the damaged section, being mindful not to disturb adjacent roofing panels or other flashing pieces. Measure and cut a new piece of flashing material that precisely matches the dimensions and bends of the original. If you're working with custom-bent flashing (like around a chimney), this might require a professional fabricator or specialized tools. Install the new piece, ensuring proper overlap with existing roofing materials and flashing. Fasten it securely with roofing screws and seal all seams and fastener penetrations with metal roofing sealant. This is an area where a strong understanding of Metal Roof Installation Process: Step by Step becomes beneficial, or knowing when to get assistance from a service like Modernize.
Specific Repairs for Common Flashing Types
Different flashing types have their unique repair nuances.
- Chimney Flashing: Chimney flashing is notoriously complex due to the multiple angles and the meeting of different materials (masonry, roofing, metal flashing). Leaks often occur where the step flashing meets the brick, where the counter-flashing is cut into the mortar joints, or where the apron/head flashing fails. Repair often involves re-caulking these seams, replacing individual step flashing pieces, or re-sealing the counter-flashing. If the issue is with the mortar joints where the counter-flashing is inserted, you might need to re-tuckpoint those joints with fresh mortar.
- Pipe Boot Flashing: These rubber or flexible plastic components are highly susceptible to UV degradation. Over time, they can crack, split, or lose their elasticity. For minor cracks, you can try applying a robust liquid rubber sealant or a repair tape specifically designed for pipe boots. However, for significant damage, the most effective repair is often a full replacement of the pipe boot. This involves carefully prying up the surrounding metal panels (if necessary), removing the old boot, sliding on a new one, and re-sealing and re-fastening everything securely.
- Valley Flashing: Leaks in valleys are serious because they channel so much water. Problems here can be due to punctures, loose fasteners, or degraded sealant along the edges. For small punctures, a large metal repair tape can be applied. If the entire valley flashing is compromised, or if it was improperly installed (e.g., too narrow, or without proper kick-out at the bottom), it might require removing adjacent roofing panels to replace the entire length of the valley flashing. Ensure any new valley flashing is adequately wide and has a central crimp or rib to prevent water from splashing back under the panels.
Here's a quick comparison of common repair methods:
| Flashing Type | Common Issues | DIY Repair Options | When to Call a Pro |
|---|---|---|---|
| Chimney | Cracked caulk, loose step flashing | Re-caulk, re-fasten individual steps | Major tears, masonry issues, extensive rust |
| Pipe Boot | UV cracks, dry rot | Liquid rubber sealant, repair tape | Significant splitting, complete replacement |
| Valley | Punctures, loose fasteners, sealant | Metal repair tape, re-seal edges | Widespread damage, improper initial installation |
| Head Wall/Sidewall | Gaps at wall, loose edges | Re-caulk, re-fasten, small metal patch | Extensive separation, wall damage, complex angles |
| Drip Edge | Bent sections, loose fasteners | Gently reshape, re-fasten | Widespread bending, rust, detachment |
When to Call the Pros: Recognizing Beyond DIY
While some flashing repairs are suitable for a skilled DIYer, there are many situations where calling a professional metal roofing contractor is not just advisable, but essential. Knowing your limits can save you money, time, and potential safety hazards.
Complex Damage and Structural Issues
Some flashing problems point to deeper, more complex issues that go beyond a simple patch or re-caulk.
- Large Tears or Widespread Corrosion: If your flashing has extensive tears, multiple punctures, or widespread corrosion, especially in critical areas like valleys or around complex structures, a simple patch won't suffice. Large sections or even entire runs of flashing might need replacement. This often involves carefully deconstructing parts of the roof to install new material properly, which requires specialized tools and expertise.
- Decking or Framing Damage: A persistent leak, even a small one, can lead to rot in the underlying roof decking, rafters, or even the wall framing. If you suspect or discover soft spots in your roof, sagging ceilings, or structural compromise due to prolonged water intrusion, this is definitely a job for a professional. They can assess the extent of the damage, make necessary structural repairs, and ensure the new flashing is installed on a solid foundation.
- Improper Initial Installation: Sometimes, flashing problems are a result of fundamental errors during the original roof installation. For instance, if the wrong type of flashing was used, if overlaps were inadequate, or if critical layers (like underlayment beneath the flashing) were skipped. Correcting these systemic issues often requires a complete re-do of the flashing in that area, which is a specialized task. Trying to patch over a fundamentally flawed installation will only lead to recurring problems.
In these scenarios, the cost of a professional might seem higher upfront, but it's an investment that prevents further damage and ensures the long-term integrity of your roof.
The Risks of Improper DIY Repair
While the desire to save money is understandable, attempting a DIY repair that's beyond your skill level can lead to significant problems, turning a minor issue into a major headache.
- Voided Warranties: Many metal roof manufacturers offer extensive warranties on their products, but these warranties often come with strict conditions regarding installation and repair. Improper repairs performed by an unlicensed individual can void these warranties, leaving you responsible for future, more extensive damage.
- Further Damage: A poorly executed repair can worsen the existing problem. For example, if new sealant isn't applied correctly, it might trap water rather than shed it, leading to accelerated rot. Incorrectly installed fasteners can create new leak points or even compromise the integrity of the metal panels themselves. You might unknowingly damage adjacent roofing components, creating new problems while trying to fix an old one.
- Safety Hazards: Working on a roof, especially a sloped metal one, is inherently dangerous. Falls from ladders or roofs are a leading cause of construction injuries. Professionals have the right safety equipment, training, and experience to work safely at heights. Without proper precautions, a DIY repair could result in serious injury.
- Recurring Leaks: An amateur repair might offer a temporary fix, but if the underlying cause isn't addressed, the leak will almost certainly return. This leads to repeated frustration, wasted materials, and ultimately, higher costs than if you had hired a professional in the first place.
This is why, for anything more than the simplest of issues, it's prudent to consider Metal Roof Repair vs Replacement: How to Decide and if a professional is the right call.
How to Choose a Reputable Metal Roofing Contractor
When you decide it’s time to bring in the experts, choosing the right contractor is paramount. You want someone who specializes in metal roofing, not just a general handyman.
- Experience and Specialization: Look for contractors with a proven track record specifically in metal roof installation and repair. Ask how many metal roof projects they complete annually. Metal roofing requires different techniques and tools than asphalt shingles, so specialized experience is crucial.
- Licensing, Bonding, and Insurance: Verify that the contractor is properly licensed in your state or locality. They should also be bonded (which protects you if they fail to complete the job or meet contractual obligations) and, most importantly, fully insured with both general liability and worker’s compensation. General liability protects your property from damage caused by their work, while worker’s comp protects you from liability if a worker gets injured on your property. Always ask for proof and verify these documents. This is critical information that you can verify with resources like How to Verify a Roofing License by State.
- References and Reviews: Ask for a list of recent clients you can contact, and check online reviews on platforms like Google, Yelp, and the Better Business Bureau. Pay attention to comments about their professionalism, quality of work, adherence to timelines, and communication.
- Manufacturer Certifications: Many metal roofing manufacturers offer certifications for installers who have undergone specific training on their products. A Manufacturer-Certified Metal Roof Installers Explained certification indicates a higher level of expertise and often means they can offer enhanced warranties.
- Detailed Quotes and Contracts: Get multiple quotes (at least three) that are detailed and broken down by materials and labor. A reputable contractor will provide a comprehensive contract that outlines the scope of work, timeline, payment schedule, and warranty information. Be wary of contractors who pressure you for large upfront payments or vague estimates. Resources like How to Read and Compare Metal Roof Quotes can help you navigate this process.
- Communication: A good contractor communicates clearly and promptly. They should be willing to answer all your questions and keep you informed throughout the repair process.
To simplify the search for a qualified professional, platforms like Modernize can connect you with pre-vetted metal roofing contractors in your local area. They help streamline the process of getting quotes and finding reliable experts who understand the nuances of metal roof systems.
Preventing Future Flashing Issues Through Maintenance
An ounce of prevention is worth a pound of cure, especially when it comes to your metal roof flashing. Regular maintenance can significantly extend the life of your repairs and prevent new problems from cropping up.
Regular Inspection and Cleaning
Proactive checks are the simplest yet most effective way to catch minor issues before they escalate into major leaks.
- Seasonal Inspections: Aim to inspect your roof at least twice a year – once in the spring after winter storms and snowmelt, and again in the fall before winter sets in. After any severe weather event (heavy rain, hail, strong winds), it's also a good idea to perform a quick visual check. From the ground with binoculars, look for anything obviously amiss: bent flashing, missing sealants, or debris. If you're comfortable and have the right safety gear, a closer inspection on the roof can reveal more subtle damage.
- Debris Removal: Over time, leaves, twigs, pine needles, and other organic debris can accumulate in valleys, around chimneys, and on the lower edges of flashing. This debris can trap moisture, promote algae and moss growth, and prevent water from draining properly, leading to standing water and accelerated corrosion or sealant breakdown. Regularly clear away any accumulations. Use a leaf blower, a soft brush, or simply your hands (wearing gloves) to remove debris. Avoid using harsh metal tools that could scratch the coating of your metal panels or flashing. For a comprehensive guide, refer to a Metal Roof Maintenance Guide.
Maintaining Sealants and Fasteners
Sealants and fasteners are the unsung heroes of flashing integrity, and they require periodic attention.
- Re-caulking as Needed: Even the best sealants have a limited lifespan. Over years of exposure to UV radiation and temperature cycles, they will inevitably dry out, crack, and lose their adhesion. During your regular inspections, pay close attention to all areas where flashing meets other roof components or walls. Look for any signs of cracking, shrinking, or peeling sealant. If you spot these issues, carefully remove the old, compromised sealant (as described in the DIY section) and apply a fresh bead of high-quality, UV-resistant metal roofing sealant. This simple step can prevent many potential leaks.
- Tightening Screws and Replacing Washers: Metal roofing screws, especially those used in exposed fastener systems, can sometimes work their way loose over time due to thermal expansion and contraction or strong winds. The neoprene washers under the screw heads, which provide the watertight seal, can also degrade and crack over many years. During your inspection, gently check any exposed screws in your flashing or adjacent panels. If a screw feels loose, carefully tighten it. If the washer is visibly cracked or degraded, it's a good idea to replace the screw and washer entirely. This is a common solution for Why Is My Metal Roof Leaking Where the Screws Are. Ensure you don't overtighten, as this can strip the screw hole or damage the metal.
By diligently performing these maintenance tasks, you'll significantly extend the life of your metal roof and its flashing, ensuring it continues to protect your home effectively for decades to come.
Disclaimer
Please remember that this article is intended for informational purposes only and should not be taken as professional advice. While we strive to provide accurate and helpful information, roofing work can be dangerous and complex. Always prioritize safety, and if you are unsure about any repair or maintenance task, or if the damage is extensive, it is always best to consult with a qualified and licensed metal roofing professional. They have the expertise, tools, and insurance to perform the work safely and correctly.