How Is a 5V Crimp Metal Roof Installed?
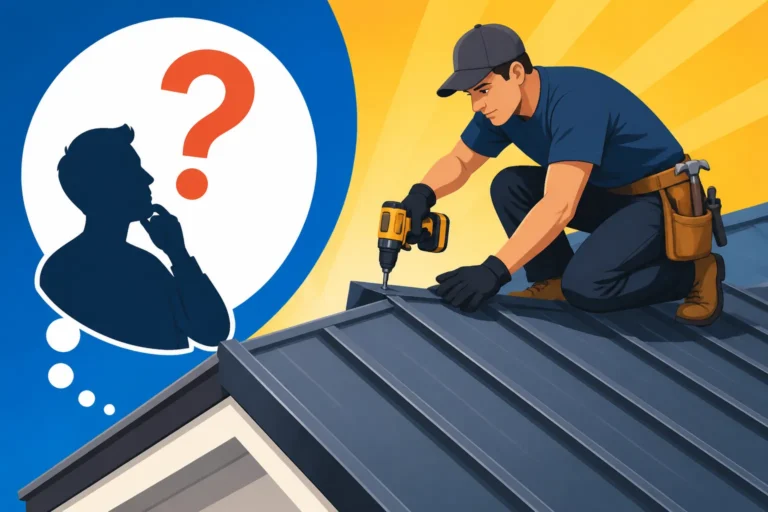
Deciding to install a metal roof is a fantastic choice, offering longevity and durability that traditional asphalt shingles just can't match. But when it comes to a 5V Crimp metal roof, many homeowners feel a bit daunted by the installation process, wondering if it's something they can tackle or if it requires a specialist. This comprehensive guide will walk you through the entire process, demystifying how a 5V Crimp metal roof is installed, so you can approach your project with confidence and clarity.
Understanding 5V Crimp Metal Roofing Before Installation
Before you even think about getting up on a ladder, it's really helpful to understand what a 5V Crimp metal roof is all about. This isn't just another pretty face in the world of roofing; it's a profile with a history and specific characteristics that make it suitable for certain applications.
What is a 5V Crimp Metal Roof?
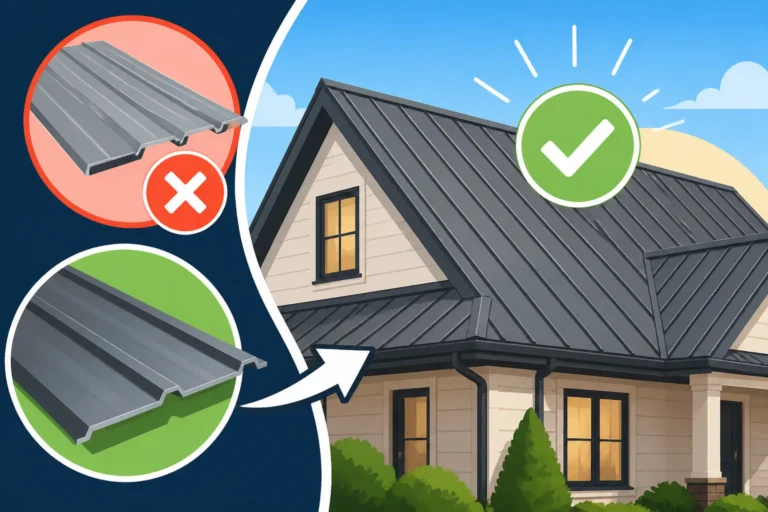
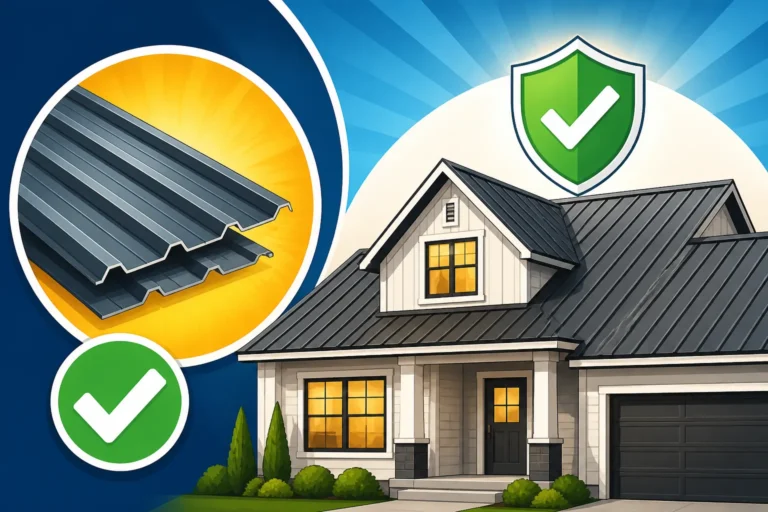
The name "5V Crimp" gives you a pretty good visual cue: it refers to the five V-shaped ribs that run down the length of each panel. These distinctive V-ribs aren't just for looks; they provide structural integrity and a unique aesthetic that harks back to classic farm and utility buildings. Originating from agricultural settings, this profile has proven its resilience and charm, finding its way onto residential homes, sheds, and commercial structures alike.
Historically, 5V Crimp was one of the earliest metal roofing profiles, valued for its straightforward design and robust performance. Today, these panels are typically made from galvanized steel, Galvalume steel, or aluminum, often coated with durable paint systems that offer a wide range of colors and additional protection against the elements. The "V" shape helps with water shedding and adds stiffness to the panel, preventing it from bowing or flexing easily. You can learn more about the specifics in our detailed guide on What Is a 5V Crimp Metal Roof?.
Why Choose 5V Crimp for Your Home?
Many homeowners are drawn to 5V Crimp for several compelling reasons. First, its aesthetic appeal. If you're going for a more traditional, rustic, or even a modern-farmhouse look, the clean lines and prominent V-ribs offer a distinct visual that stands out. It's got character, you know? It's not just a flat, monotonous surface.
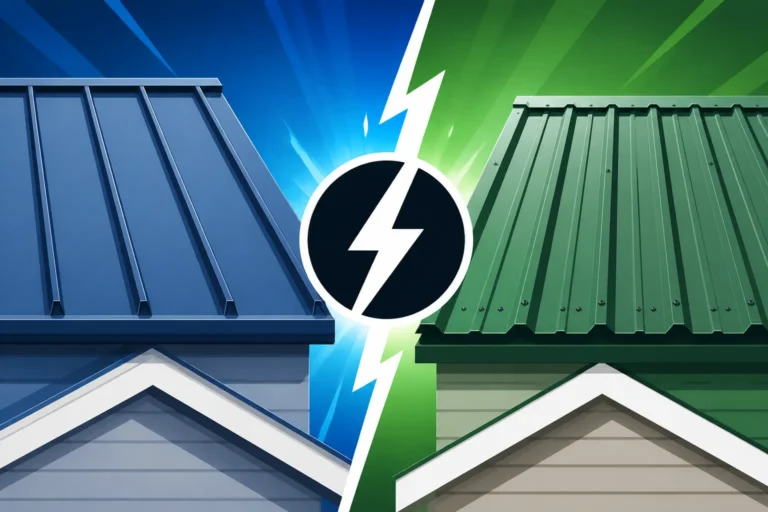
Beyond looks, 5V Crimp panels are quite cost-effective, especially when compared to more intricate profiles like standing seam. This cost-efficiency often extends to the installation process itself, as it's generally considered more DIY-friendly than some other metal roofing types, making it an attractive option for handy homeowners. These panels are incredibly durable, offering excellent resistance to high winds, fire, and pests, and they shed snow and rain efficiently. The inherent strength of steel or aluminum, coupled with the protective coatings, means these roofs can last for decades with minimal maintenance. If you're weighing your options, our piece on Metal Roofing Types Explained: Profiles & Panels might offer even more insight into how 5V Crimp stacks up.
The Step-by-Step Installation of 5V Crimp Panels
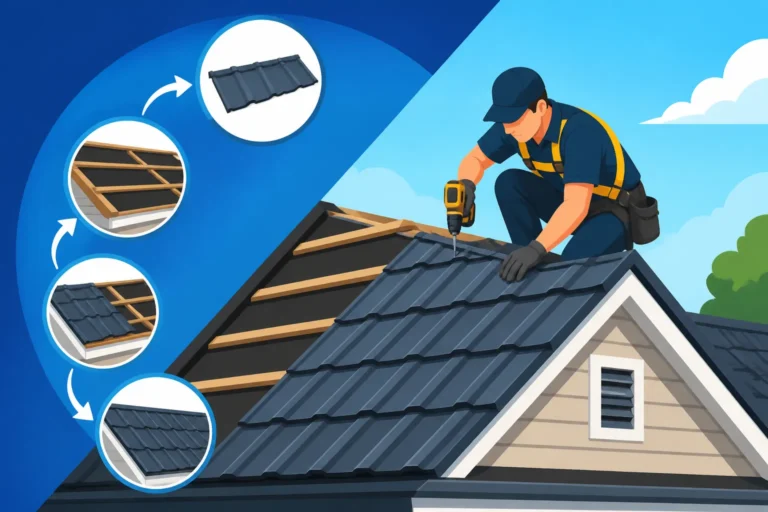
Alright, let's get down to business – the actual installation! While a 5V Crimp roof can be installed by a seasoned DIYer, meticulous attention to detail at each stage is key to ensuring a watertight and long-lasting roof. It’s not just slapping panels down; it’s a systematic process.
Prepping the Roof Deck and Installing Underlayment
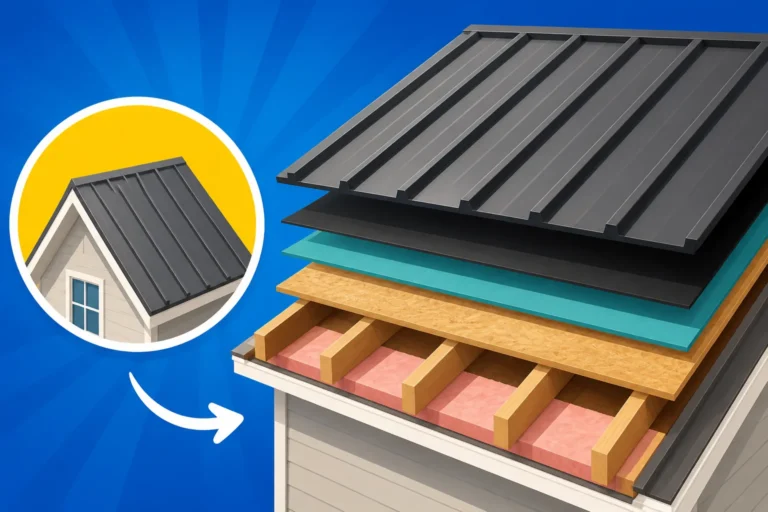
This initial stage is absolutely critical and often overlooked by those eager to see metal panels going up. You wouldn't build a house on a shaky foundation, right? The same goes for your roof. Start by thoroughly inspecting your existing roof deck. This means removing any old roofing materials, like asphalt shingles, down to the bare plywood or OSB. Check for rotten wood, soft spots, or damaged sheathing. Any compromised areas must be repaired or replaced to provide a solid, level surface for your new metal roof.
Once the deck is sound and clean, it’s time for the underlayment. This layer is your primary moisture barrier and acts as a crucial secondary defense against water intrusion, especially important with an exposed fastener system like 5V Crimp. For metal roofs, a high-temperature synthetic underlayment or an ice and water shield is highly recommended. These materials are more durable and can withstand the heat fluctuations that a metal roof experiences much better than traditional felt paper. Lay the underlayment horizontally, starting from the eaves and working your way up to the ridge, overlapping each course according to the manufacturer's specifications (usually 2-6 inches). Smooth out any wrinkles and secure it with cap nails or staples. For more in-depth information, check out our guide on Metal Roof Underlayment and Ventilation Guide.
Attaching Eave and Gable Trim Pieces
With your underlayment in place, the next step involves installing the perimeter trim – essentially the "frame" for your roof panels. This trim not only finishes the edges beautifully but also plays a vital role in directing water off the roof and protecting the fascia boards.
You'll start with the eave trim, also known as drip edge, along the bottom edges of the roof where water drains into the gutters. These pieces are installed under the underlayment at the eaves but over the underlayment at the gables to ensure water flows correctly. Measure and cut these pieces to fit, securing them every 12-18 inches with roofing nails. Next comes the gable trim, or rake trim, which goes along the sloped edges of your roof. These pieces are typically installed over the metal roof panels themselves later, but sometimes a base rake trim is put in place before panels. Ensure all connections are tight and clean, using appropriate sealants at overlaps and corners to prevent water intrusion. This attention to detail with trim is essential for a watertight finish and overall longevity. The cost implications and options for these components are discussed in our article, Metal Roof Trim and Flashing Cost.
Laying and Fastening the 5V Crimp Panels
This is where your roof starts to take shape! The beauty of 5V Crimp panels is their relative simplicity in installation compared to, say, a standing seam roof. You'll typically start at one end of the roof (usually the side opposite the prevailing wind to prevent wind uplift from catching seams) and work your way across. The key is to ensure your first panel is perfectly square to the eave and gable lines. Any crookedness here will compound as you lay more panels, leading to a visible and problematic ripple effect.
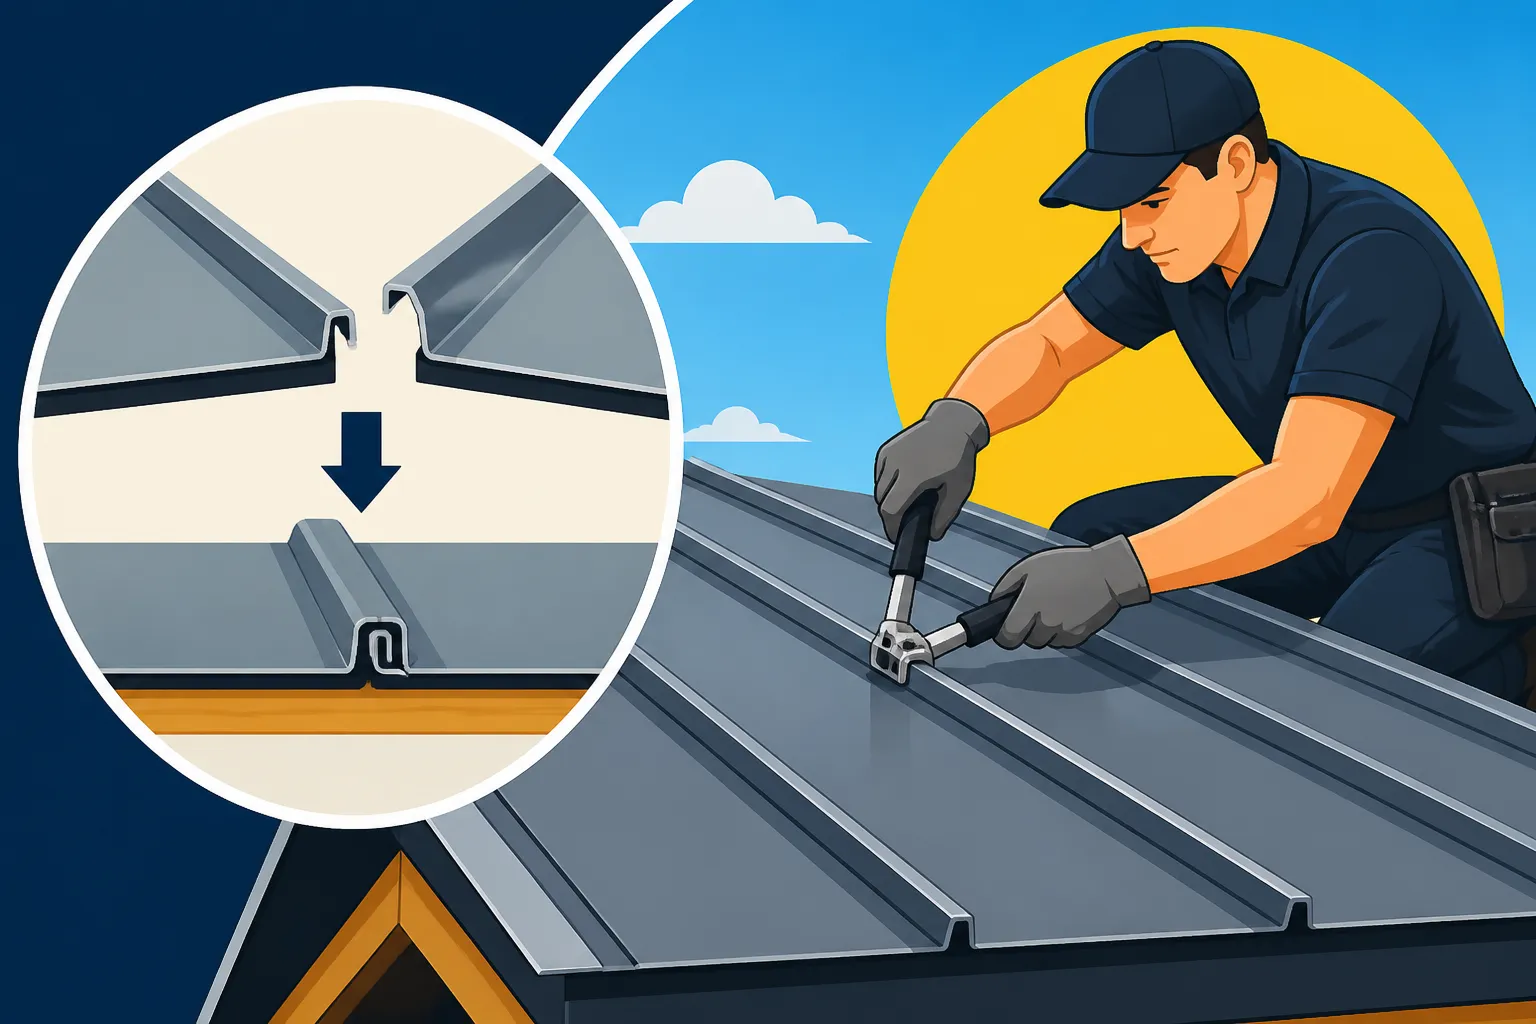
Each panel is designed to overlap the previous one by one or two V-crimps, depending on the specific panel design. This overlap is crucial for creating a watertight seal. Secure the panels using exposed fasteners – usually hex-head screws with neoprene washers – driven through the flat sections of the panel, not through the V-crimps, and into the purlins or roof decking below. The screws should be spaced evenly, typically every 12-24 inches horizontally and vertically along the V-crimps. It's a common mistake to over-tighten screws, which can dimple the panel and compromise the washer's seal. Just snug enough to compress the washer is perfect. When you need to cut panels, perhaps around a vent pipe or to fit the final gable edge, specialized metal snips or a metal-cutting saw with a fine-toothed blade are your friends. For a full overview of the entire process, our Metal Roof Installation Process: Step by Step guide is a valuable resource.
Sealing and Finishing the Roof
You’re almost there! Once all the main panels are laid and secured, the final touches involve installing the ridge caps, hip caps, and addressing any penetrations to ensure every part of your roof is completely watertight.
Ridge caps cover the peak of your roof, where the two sloped sides meet. These are typically inverted V-shaped metal pieces that are screwed down through the high points of the 5V crimps into the supporting structure. Similarly, hip caps are used where two roof slopes meet at an outward angle. For all penetrations – chimney, plumbing vents, skylights – you’ll need specific flashing. This often involves a base flashing secured to the roof deck, with a counter-flashing installed over it or integrated into the penetration itself, all sealed with high-quality exterior-grade sealant. Don't skimp on sealant in these areas; they are prime spots for leaks. Double-check all screw heads to ensure the washers are properly seated. A well-sealed and finished roof is crucial for its long-term performance and to avoid frustrating leaks down the road. Our guide on How to Prevent Leaks on a Metal Roof provides excellent advice on this front.
Essential Tips and Considerations for a Successful 5V Crimp Roof
Installing a metal roof, even one as straightforward as 5V Crimp, isn't without its nuances. Knowing what to expect and how to avoid common pitfalls can save you a lot of headache (and money!) in the long run.
Crucial Tools and Safety Protocols
Having the right tools can make all the difference between a frustrating, drawn-out project and a smooth, efficient one. For 5V Crimp installation, you'll need standard roofing tools like a tape measure, chalk line, and a quality screw gun with the appropriate hex bit for your fasteners. Specialized tools include metal snips (left, right, and straight cut), electric shears for longer cuts, and potentially a metal-cutting circular saw blade. Don't forget a sturdy ladder, sawhorses, and perhaps a small brake for bending custom trim pieces if you're really going all out.
More importantly, safety is paramount. Working on a roof, especially a metal one that can become slippery, requires constant vigilance. Always wear personal protective equipment (PPE): sturdy work boots with good grip, work gloves, safety glasses, and hearing protection, especially when cutting metal. For any work at heights, a safety harness tied off to a secure anchor point is non-negotiable. If you're tackling a steep pitch, consider renting a roofing safety system or scaffolding. No roof is worth risking a serious injury.
Common Pitfalls to Avoid During Installation
Even with the best intentions, mistakes can happen. One of the most common issues with exposed fastener systems like 5V Crimp is over-tightening the screws. As mentioned, this can deform the panel and crush the neoprene washer, rendering it ineffective. Screws should be snug, but not overly tight. Another frequent problem is misalignment of panels. If your first panel isn't square, every subsequent panel will be off, leading to an unsightly finish and potential gaps. Take your time to measure and establish a perfectly straight baseline.
Thermal expansion and contraction are also factors to consider. Metal panels will expand in heat and contract in cold. While 5V Crimp allows for some movement, improper fastening can restrict this, leading to buckling or "oil canning" – a wavy appearance in the flat parts of the panel. Our article on How to Prevent Oil Canning on a Metal Roof offers more insights into this phenomenon. Finally, always be mindful of scratches and dents. Metal can be surprisingly susceptible to cosmetic damage if tools are dropped or panels are dragged. Handle materials with care and store them properly.
Deciding Between DIY and Professional Installation
This is a big question for many homeowners. While installing a 5V Crimp roof can be a DIY project for those with solid construction experience and a good head for heights, it's not for everyone. If your roof has a complex layout with many valleys, dormers, or a very steep pitch, the complexities multiply quickly. Incorrect installation can lead to leaks, voided warranties, and costly repairs down the line.
A professional metal roofing contractor brings invaluable expertise, specialized tools, and the efficiency of an experienced crew. They understand local building codes, ensure proper flashing details, and often offer warranties on their workmanship. For many, the peace of mind that comes with a professionally installed roof is well worth the investment. If you're leaning towards professional help, resources like Modernize can help you connect with qualified local installers. Before making a final decision, consider consulting our guides: Should You Hire a Contractor or DIY Your Metal Roof? and How to Hire a Metal Roofing Contractor. They can help you weigh the pros and cons and find the right path for your specific situation.
| Installation Step | Key Action Point | Common Pitfall to Avoid |
|---|---|---|
| Roof Deck Prep | Repair any damage, ensure level surface. | Skipping repairs, leaving debris. |
| Underlayment Installation | Use high-temp synthetic, overlap correctly. | Using inadequate material (felt), insufficient overlap. |
| Trim & Flashing | Install eave/gable trim, seal all corners. | Improper sealing at overlaps, missing critical flashings. |
| Panel Laying | Start square, overlap crimps correctly. | Starting crooked, insufficient overlap. |
| Fastening Panels | Use correct screws, snug but not over-tightened. | Over-tightening screws, driving into V-crimps. |
| Ridge/Hip Caps | Ensure secure fit, use appropriate fasteners. | Loose caps, inadequate sealing. |
| Penetration Sealing | Apply quality sealant, use proper flashing methods. | Skimping on sealant, using wrong flashing for the job. |
| Safety | Wear PPE, use fall protection. | Neglecting safety gear, working in unsafe conditions. |
Disclaimer
Please remember that this guide provides general information on 5V Crimp metal roof installation. Building codes, safety regulations, and best practices can vary significantly by location. Always consult with local building authorities and qualified professionals before undertaking any roofing project. Prioritize safety above all else, and if you are unsure about any step, seek professional assistance.