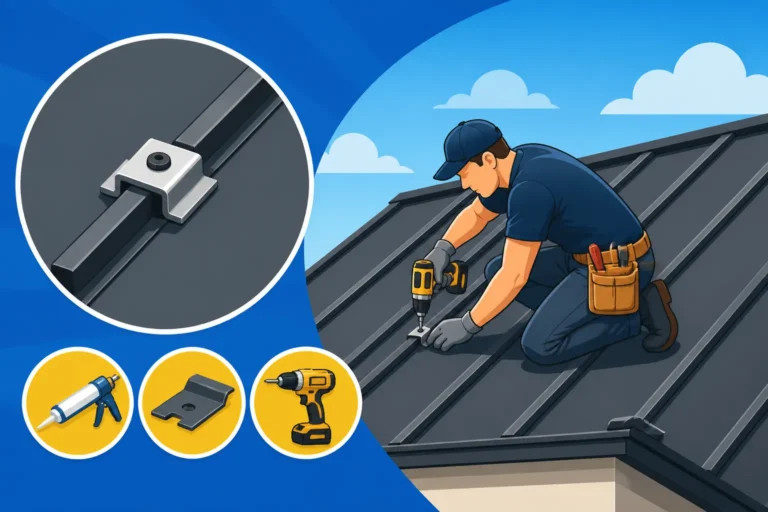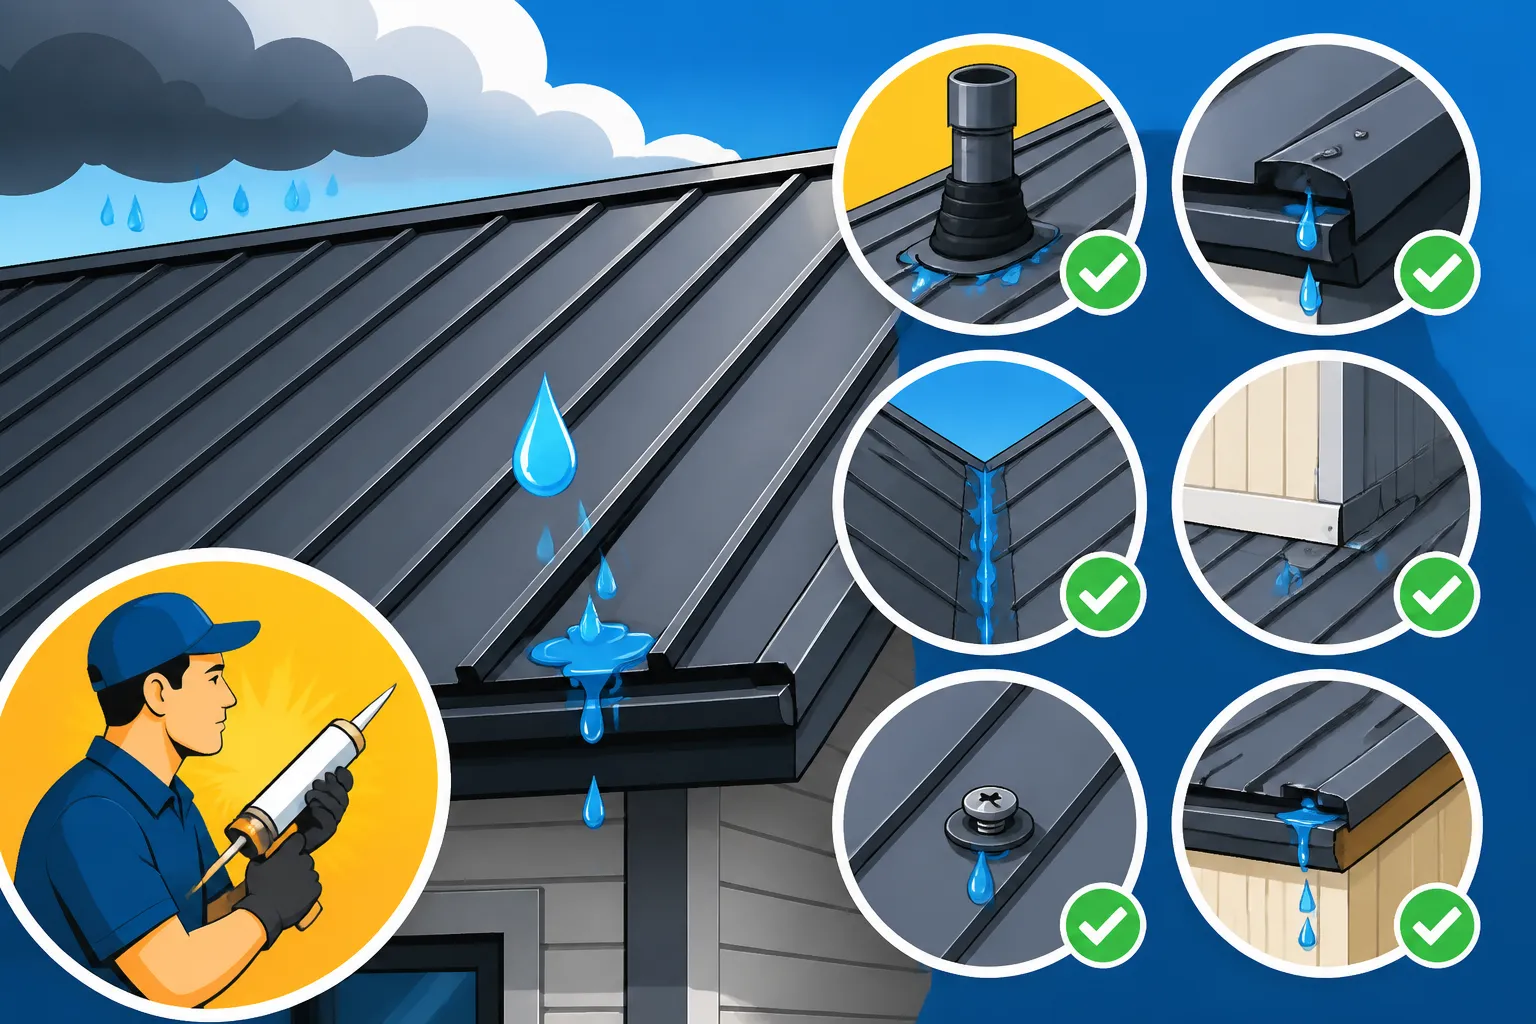
Common Metal Roof Leak Sources and Fixes
There’s nothing quite as disheartening as discovering a leak in your metal roof. You chose metal for its legendary durability, expecting decades of worry-free protection, only to find an unwelcome drip or stain. It feels like a betrayal, and the thought of finding the source, let alone fixing it, can be incredibly overwhelming. This guide is here to walk you through the most common culprits behind metal roof leaks and equip you with the knowledge to identify and effectively address them, helping you restore your roof's integrity and your peace of mind.
Understanding Why Metal Roofs Leak
When you invest in a metal roof, you're buying into a promise of longevity and strength. It's a premium product, often boasting lifespans of 50 years or more. So, when a leak appears, it's natural to feel frustrated and even confused. "How can a roof that's supposed to last a lifetime already be leaking?" is a common thought. The truth is, even the toughest materials have their vulnerabilities, and metal roofing is no exception. Leaks aren't always a sign of a faulty roof; often, they point to specific points of entry that can be remedied with the right approach.
The Misconception of Invincibility
Many homeowners approach metal roofs with an almost mythical expectation of invincibility. They hear about their extreme resistance to wind, hail, and fire, and assume that means leaks are impossible. This isn't quite the reality. While a metal roof is exponentially more robust than, say, a traditional asphalt shingle roof, it still comprises multiple components that must work in harmony. The panels themselves are incredibly tough, but the system relies on fasteners, flashing, sealants, and proper installation techniques to maintain its watertight seal.
Think of it like this: a high-performance car is incredibly well-built, but if a single seal on the engine block fails, you'll still have a leak. Similarly, a metal roof's strength is in its overall system. A small tear in the underlayment, a misplaced screw, or a worn-out sealant can create a pathway for water, even if the metal panel above it is perfectly sound. Environmental factors, like relentless sun exposure, extreme temperature fluctuations causing expansion and contraction, or even abrasive debris, can all contribute to the breakdown of these critical points over time. It's a constant battle against the elements, and occasionally, the elements find a way in.
The Role of Installation Quality and Time
The initial installation quality plays a monumental role in a metal roof's long-term performance. A well-installed metal roof, even one using more budget-friendly materials like corrugated panels, will likely outperform a premium standing seam roof that was installed poorly. Experienced installers understand the nuances of metal expansion and contraction, the critical details of flashing around various roof penetrations, and the proper torque and sealing of fasteners. Cutting corners during installation, such as using improper screws, inadequate underlayment, or cheap sealants, sets the stage for future problems.
Even with a perfect installation, time takes its toll. The sun's UV rays can degrade sealants, causing them to crack, shrink, and lose their flexibility. Rubber washers on exposed fasteners can dry out and become brittle, allowing water to seep past the screw shank. Storms can loosen components or introduce debris that causes abrasion. Therefore, a leak might not be an immediate sign of poor workmanship but rather a natural degradation of materials over two decades, especially in regions with harsh weather cycles. Regular inspections are key to catching these age-related vulnerabilities before they turn into full-blown leaks.
Common Leak Sources: Where to Look First
When you notice a leak, the initial panic can make it hard to think clearly. But understanding the most common places water finds its way into a metal roof system can significantly narrow down your search. Instead of a needle in a haystack, you'll have a few key areas to focus on, making the diagnostic process far less daunting.
Fasteners and Sealants: The Usual Suspects
This is often the first place to check, particularly if you have an exposed fastener metal roof (like many corrugated or R-panel systems). Each screw on your roof is a potential entry point for water, and for good reason: it pierces the metal panel. To prevent leaks, these screws are designed with a rubber washer that compresses under the screw head, creating a watertight seal against the metal surface. Over time, however, these washers can dry out, crack, or deteriorate due to UV exposure and thermal cycling. When this happens, the seal fails, and water can travel down the screw shank directly into your home.
Additionally, screws can sometimes back out slightly due to the constant expansion and contraction of the metal panels, especially if they weren't installed with the correct torque. This slight lift is enough to break the seal of the washer. Another issue is rust, particularly on screws that weren't adequately galvanized or coated for your climate. Rust can expand, further compromising the seal, or simply lead to the fastener's failure. It's not uncommon to find a cluster of rusty screws or screws with deteriorated washers, indicating a widespread point of failure. If you're seeing drips, especially around where panels overlap or where screws are visible, you'll want to investigate the fasteners. For a deeper dive, check out our guide on Why Is My Metal Roof Leaking Where the Screws Are.
Beyond individual fasteners, sealants are used extensively on metal roofs to waterproof joints, overlaps, and transitions. Think of the caulk around a window; it’s essential but not permanent. Sealants used around roof curbs, pipe boots, and along the edges of flashing can dry out, crack, or separate from the metal surfaces they're meant to protect. This often happens slowly, invisibly, until a heavy rain reveals the breach. These issues are particularly common in areas with extreme temperature swings, which put significant stress on sealant materials as the roof expands and contracts daily.
Flashing and Penetrations: Vulnerable Points
Anywhere your roof deck is interrupted by a chimney, a vent pipe, a skylight, or even a satellite dish mount, is a critical area for potential leaks. These interruptions require specialized components called flashing to create a watertight seal between the roof and the penetrating object. Flashing can be made from various materials, often matching the roof itself or using more pliable metals like lead or copper for complex shapes. The key is that it must be meticulously installed and sealed to prevent water ingress.
A common issue is improper flashing installation. If the flashing isn't correctly woven into the roof system (e.g., step flashing not layered correctly with shingles, or counter-flashing not mortared or sealed properly into a chimney), it creates an open pathway for water. Over time, even correctly installed flashing can fail. The sealants around pipe boots, for instance, can degrade, causing the rubber collar to crack or lift. Metal flashing itself can be bent or damaged by wind, hail, or even foot traffic during maintenance, creating gaps. When inspecting your roof for leaks, always pay extra attention to these vulnerable points. Any sign of sealant cracking, metal deformation, or debris accumulation around these areas should be a red flag. Repairing these often requires specific expertise, and our guide on Metal Roof Flashing Repair can offer more insights.
Seams and Overlaps: Where Panels Join
Metal roof panels come in various forms, but all involve joining multiple pieces together to cover the entire roof area. How these panels join creates different types of seams, and each can be a potential leak source. For exposed fastener systems, panels typically overlap, and these overlaps are sealed and screwed down. If the sealant used in these laps dries out, or if the screws don't adequately compress the overlap, water can wick its way in, especially on lower-slope roofs or during high winds.
Standing seam metal roofs, prized for their sleek look and superior weather resistance, feature seams that are raised above the roof plane, often mechanically seamed or snapped together. While these hidden fastener systems are generally more leak-resistant, they are not entirely immune. Issues can arise if the seams are not properly crimped or snapped during installation, creating small gaps. Thermal movement (expansion and contraction) can also stress these seams over decades, potentially leading to micro-fractures in the seam itself or a failure of the internal sealant strip if one was used. Incorrect panel alignment during installation can also lead to stress points that manifest as leaks years down the line. Even a tiny opening in a standing seam can allow water to enter and travel unseen for a distance before it drips into your interior. If you suspect a leak in a seamed area, particularly on a standing seam roof, it's often best to consult with a specialist. For guidance on how to fix these specific issues, consider reading our article on How to Fix a Leaking Metal Roof Seam.
Diagnosing and Pinpointing the Leak: Becoming a Roof Detective
Finding the exact source of a roof leak can feel like a frustrating game of hide-and-seek. Water has a sneaky habit of traveling along structural elements, sometimes dripping into your home far from where it actually entered the roof. But don't despair! With a methodical approach and a keen eye, you can become your own roof detective and narrow down the possibilities significantly.
The Interior Clues: Stains and Drips
When you first notice a leak, whether it's a ceiling stain or an actual drip, the natural inclination is to look directly above it. While this is a good starting point, remember that water rarely falls straight down. It often enters through one spot, then runs horizontally along rafters, trusses, or the underside of the roof decking until it finds the path of least resistance to your living space. This means the actual entry point could be several feet, or even yards, away from where you see the interior damage.
Start by carefully examining the area around the stain or drip. If possible and safe, get into your attic or crawl space directly above the affected area. Look for water marks on insulation, rafters, and the backside of your roof decking. Use a flashlight to trace the water's path upwards and outwards from the visible damage. Pay attention to any discoloration, dampness, or actual drips on wood. Sometimes, the initial entry point will be obvious – a stream of water coming in – but often it’s a subtle dark streak or a swollen piece of wood. Remember, gravity is your friend here; water flows downhill, so the source will always be higher than the point where you see it.
Exterior Inspection Techniques: On the Roof
Once you have an idea of the general vicinity from your interior inspection, it's time to head outside for a closer look. Safety first! Never get on your roof if you're uncomfortable with heights, if the roof is wet, icy, or excessively steep, or if you don't have proper safety equipment. Even if you don't go on the roof, a good pair of binoculars can help you spot issues from the ground or a ladder.
From a safe vantage point, look for any visible signs of damage or wear in the suspected leak area. This includes:
- Damaged or missing fasteners: Look for screws that are backed out, rusted, or have missing/cracked rubber washers.
- Compromised sealants: Check around all penetrations (vents, chimneys, skylights) for cracking, peeling, or missing caulk.
- Bent or damaged flashing: Look for flashing that is lifted, crumpled, or has visible gaps.
- Panel damage: Are there any dents, punctures, or signs of impact from hail or falling debris?
- Debris accumulation: Piles of leaves or pine needles can trap water, preventing it from shedding properly and potentially leading to corrosion or water backing up under flashing.
When you're inspecting, make sure to look at the entire roof slope above the interior leak, not just the area directly overhead. Water can travel quite a distance before it finds an opening. Pay extra close attention to valleys, dormers, and any changes in roof pitch, as these are natural water collection points. For a comprehensive guide on what to look for, consult our article on How to Inspect a Metal Roof for Leaks.
The Water Test: A Last Resort
If, after your visual inspections, you still can't pinpoint the exact source of the leak, a controlled water test can be a valuable, albeit last-resort, diagnostic tool. This method involves simulating rainfall to observe where water enters. You’ll definitely need a helper for this!
Here’s how to do it safely:
- Helper inside: Have one person safely positioned in the attic or inside the home where the leak is visible, ready to alert the person on the roof.
- Start low: The person on the roof should start spraying water with a garden hose on the lowest point of the suspected leak area, working their way slowly upwards.
- Isolate sections: Concentrate the water on one section at a time – for example, a specific run of fasteners, then a piece of flashing, then a seam. Give it time to show up inside.
- Wait and watch: Water can take time to travel, so be patient. If you spray a section for 5-10 minutes and nothing appears inside, move up to the next section.
- Pinpoint the entry: When the person inside sees water, the person on the roof should immediately stop spraying that section and mark it. This helps to pinpoint the precise entry point.
Important considerations:
- Don't use a pressure washer: High pressure can force water into areas that wouldn't normally leak, creating new problems or misleading you. A gentle stream from a garden hose is sufficient.
- Watch for runoff: Ensure the water is flowing naturally down the roof. You don't want to create artificial dams that can lead to false positives.
- Safety first: Always maintain secure footing on the roof, or work from a sturdy ladder. Communication between the two people is paramount.
This method can be time-consuming, but it's often the most effective way to confirm a stubbornly hidden leak source before undertaking repairs.
Effective Fixes for Common Metal Roof Leaks
Once you've diligently played detective and pinpointed the leak source, it’s time to roll up your sleeves and get to fixing it. Many common metal roof leaks are well within the scope of a handy homeowner, provided you have the right materials and respect for safety. However, always know your limits – some repairs are best left to the pros.
Fastener and Sealant Restoration
Leaking fasteners are arguably the most common and often the easiest metal roof leaks to address. The primary culprit is usually the rubber washer beneath the screw head. When these washers degrade, they lose their elasticity and ability to seal.
Here’s how to tackle it:
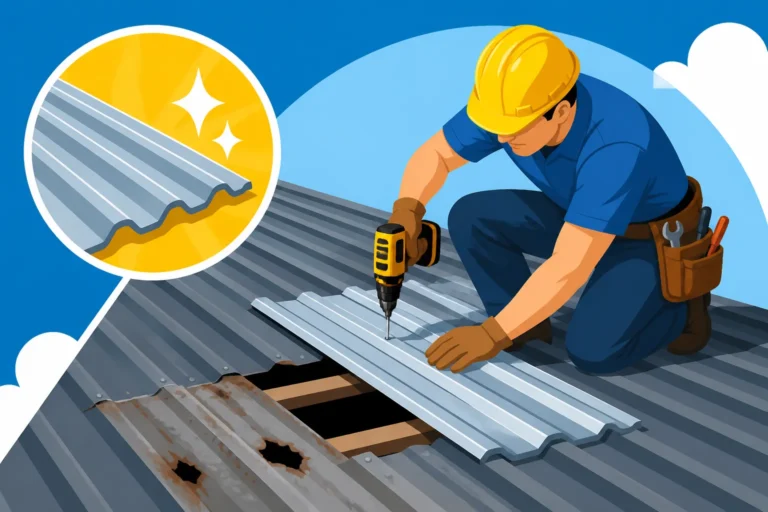
- Remove old screws: Carefully unscrew the old, problematic fasteners. If the screw itself is rusted or bent, discard it.
- Clean the area: Wire brush any rust or debris from around the screw hole on the metal panel. Ensure the surface is clean and dry.
- Apply sealant (optional but recommended): For an extra layer of protection, apply a small dab of high-quality, non-drying, butyl-based sealant or a specialized metal roofing caulk directly over the screw hole before inserting the new screw. Ensure it’s compatible with your roof's paint finish.
- Install new screws: Use new, high-quality, self-tapping metal roofing screws with oversized, UV-resistant neoprene or EPDM washers. These should be specifically designed for metal roofing. Drive them straight, but be careful not to over-tighten, which can deform the washer and create a new leak point. The washer should be compressed and create a visible seal, but not be flattened completely.
- Check surrounding screws: While you're there, it's a good idea to inspect nearby screws. If one has failed, others in the vicinity might be close behind. Replacing a handful of screws now is far easier than chasing multiple leaks later.
For a detailed walkthrough on this process, our guide on How to Replace Metal Roof Screws and Fasteners is a must-read. When choosing sealants, longevity and UV stability are key. Products like Geocel 2300 or Novaflex MR150 are often recommended by professionals for their excellent adhesion and flexibility in varying temperatures. These are not your average caulk and are crucial for a lasting repair. For more options, refer to our comprehensive article on the Best Sealant for Metal Roof Leaks.
Flashing and Penetration Repairs
Leaks around flashing are trickier, as they involve multiple components. The fix depends on the specific issue:
- Degraded Sealants: If the issue is simply cracked or missing sealant around a pipe boot, chimney flashing, or a vent, the repair is similar to sealant restoration.
- Clean thoroughly: Scrape away all old, degraded sealant. Use a wire brush or abrasive pad to ensure the surface is perfectly clean and dry.
- Apply new sealant: Apply a generous bead of high-grade, compatible metal roofing sealant (like those mentioned above) where the flashing meets the roof panel or the penetrating object. Tool it smooth to ensure a watertight bond.
- Inspect rubber collars: For pipe boots, check the rubber collar. If it’s brittle, cracked, or severely degraded, you might need to replace the entire boot. This often involves cutting the old boot off, sliding a new one over the pipe, and sealing its base flange to the roof.
- Damaged or improperly installed flashing: If the metal flashing itself is bent, rusted through, or clearly installed incorrectly, it might require partial or full replacement. This is a more complex job, often requiring specialized tools to cut and bend metal.
- Small holes: For very small holes or tears in flashing, a high-quality flashing repair tape (like those reinforced with aluminum) can offer a temporary or even long-term solution if applied correctly to a clean, dry surface.
- Major damage/improper installation: If the flashing is severely compromised or was never installed correctly, it's often best to call in a professional. Correctly installing or replacing flashing, especially around complex areas like chimneys or dormers, requires precise knowledge of water flow and metalworking. Trying to DIY this without experience can often worsen the problem.
For more significant repairs, especially involving complex flashing, finding a reputable metal roofing contractor is paramount. Services like Modernize can connect you with experienced local professionals who specialize in metal roof repairs, ensuring the job is done right and stands the test of time.
Addressing Seam Issues
Fixing leaks at seams requires a nuanced approach, depending on whether it’s an exposed or concealed fastener system.
- Exposed Fastener Panel Overlaps: These systems often rely on sealant strips and screws along the overlaps to prevent water ingress.
- Inspect fasteners: First, check all the screws along the leaking seam, replacing any with compromised washers or signs of rust as described above.
- Re-seal laps: If the problem persists, the underlying sealant strip might have failed. You may need to carefully lift the edge of the overlapping panel (if possible without causing damage), clean out the old sealant, apply a fresh bead of compatible butyl sealant, and then re-secure the panel with new, properly sealed screws. This is a delicate process to avoid deforming the panels.
- Standing Seam Panel Leaks: Leaks in standing seam panels are less common but can be trickier.
- Mechanical Seams: If the seam was mechanically seamed (crimped), a leak could indicate an incomplete crimp or damage. In some cases, a specialized tool can re-crimp or tighten the seam. This is typically a job for a seasoned professional.
- Snap-Lock Seams: For snap-lock systems, leaks often occur if the panels didn’t fully engage or if thermal movement has caused them to pull apart slightly. Sometimes, gently tapping the seam with a rubber mallet can re-engage the lock. If there's a visible gap, a high-quality, flexible sealant specifically designed for standing seams might be carefully applied into the seam's channel, but this should be done sparingly to avoid trapping water.
- Punctures or Damages: If a standing seam panel has a small puncture or a stress crack (less common but possible), specialized repair patches or liquid sealants designed for metal roofing can be applied. For larger damages, panel replacement might be necessary, which is a complex task best handled by a professional metal roofing installer.
The table below offers a quick reference for common leak sources and their typical fixes:
| Leak Source | Common Signs | Immediate Fixes | When to Call a Pro |
|---|---|---|---|
| Fasteners (Screws) | Rusted screws, cracked/missing washers, water trails below screws | Replace screws with new ones featuring large, UV-resistant washers; apply sealant under new screws. | Widespread fastener failure, inaccessible areas, or if unsure about proper torque. |
| Flashing (Pipes, Vents, Chimneys, Skylights) | Cracked/peeling caulk, bent metal, visible gaps around penetrations | Clean and re-apply high-quality, flexible sealant; for minor bends, carefully reshape and re-seal. | Severely damaged, rusted, or improperly installed flashing that requires removal/replacement. |
| Seams (Panel Overlaps, Standing Seams) | Visible gaps in overlaps, degraded sealant strips, stress cracks in standing seam | For overlaps: Re-seal laps with butyl sealant and new screws. For standing seam: Check engagement, apply specialized seam sealant cautiously. | Any significant damage to standing seam panels, improper crimping, or if multiple seam failures occur. |
| Punctures/Physical Damage | Visible holes, large dents, tears in metal | Patch small holes with metal roofing repair tape or specialized liquid sealant. | Large punctures, extensive hail damage, or deformation affecting multiple panels. |
Prevention and Professional Help: Keeping Your Roof Watertight
Finding and fixing a metal roof leak is certainly a relief, but the goal is always to prevent them in the first place. Proactive measures and knowing when to call in the cavalry can save you a lot of headache and expense down the road.
Regular Maintenance and Inspections
The absolute best defense against metal roof leaks is a consistent maintenance and inspection schedule. Just like getting your car's oil changed, your roof needs periodic attention, even if it's considered "low maintenance."
Here's what to prioritize:
- Annual Visual Checks: At least once a year, preferably in spring and fall, conduct a thorough visual inspection from the ground or a sturdy ladder. Look for anything out of the ordinary: debris accumulation (especially in valleys and behind chimneys), discoloration, loose or missing fasteners, signs of rust, cracked sealants, or bent flashing. Early detection is key to preventing minor issues from escalating. Our article on Metal Roof Maintenance Guide offers a comprehensive checklist.
- Keep it Clean: Regularly clear off any leaves, branches, or other debris that can accumulate on your roof. Debris can trap moisture against the metal, leading to corrosion over time, and can also impede water flow, causing it to back up and find weak points.
- Monitor for Wear: Pay close attention to areas that experience heavy sun exposure or significant thermal movement. These areas will show signs of sealant degradation and washer wear first. It's much easier to replace a few worn washers proactively than to fix an active leak.
Even if you're not comfortable getting on the roof yourself, consider hiring a professional for an annual inspection. They have the expertise to spot subtle issues that you might miss and can address minor problems before they become costly emergencies.
The Value of Professional Installation and Repair
While some minor repairs, like replacing a few screws, can be a DIY project for the experienced homeowner, complex metal roof repairs and especially initial installations are almost always best left to certified professionals. Metal roofing, particularly standing seam, requires specialized knowledge, tools, and experience.
Here’s why a professional is often worth the investment:
- Expertise in Materials and Techniques: A skilled metal roofing contractor understands the nuances of different metal types (steel, aluminum, copper, zinc), panel profiles, and installation methods. They know how to properly handle thermal expansion and contraction, ensure correct flashing details, and apply sealants that are compatible and long-lasting.
- Safety Equipment and Training: Working on a roof, especially a metal one, can be dangerous. Professionals have the necessary safety equipment, training, and insurance to minimize risks.
- Warranty Preservation: Many metal roof manufacturers require installation by a certified professional to validate their product warranty. Attempting complex DIY repairs can void these valuable warranties.
- Efficiency and Longevity: Professionals can identify the root cause of a leak more quickly and execute repairs more efficiently, ensuring the fix is durable and won't lead to recurring problems.
If you’re facing a complex leak, significant damage, or are simply uncomfortable with roof work, don’t hesitate to seek out an expert. Platforms like Modernize are excellent resources for finding pre-vetted local metal roofing contractors who have the necessary experience and certifications. They can help you get multiple quotes and compare options to ensure you're hiring the right professional for your needs. For further advice on this, take a look at our article on How to Hire a Metal Roofing Contractor.
When to Consider Replacement
Sometimes, despite your best efforts at repair and maintenance, a metal roof can reach a point where replacement is the more sensible and economical option. It's a tough decision, especially given the expected longevity of metal roofs, but recognizing the signs can save you from throwing good money after bad.
Here are scenarios where replacement might be warranted:
- Widespread Degradation: If you're constantly chasing leaks, replacing dozens of fasteners, or finding multiple areas of compromised flashing and failing seams, it indicates a systemic issue, likely due to age, poor original installation, or pervasive material fatigue. At this point, individual repairs become a temporary bandage rather than a lasting solution.
- Extensive Rust or Corrosion: While metal roofs are designed to resist rust, prolonged exposure to moisture, certain chemicals, or highly corrosive environments (like coastal areas without proper material choice) can lead to widespread rust. If the rust is eating through panels or affecting structural integrity, replacement is essential.
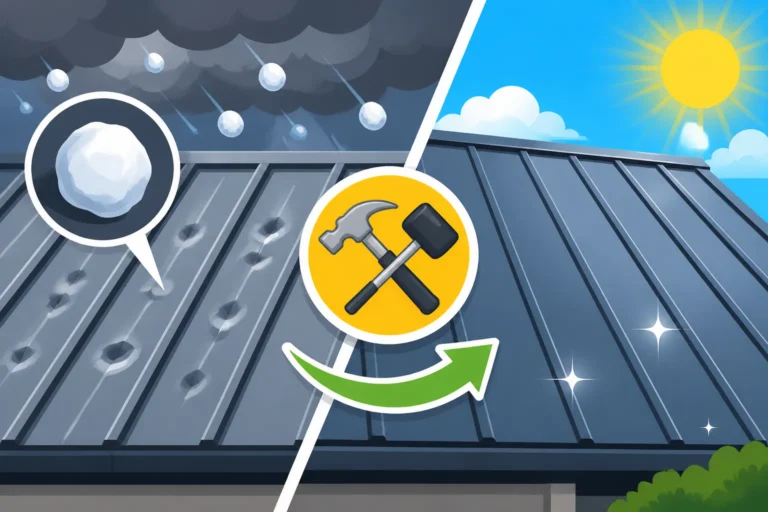
- Significant Storm Damage: A severe hail storm or high winds can cause extensive cosmetic and structural damage, including widespread dents, lifted panels, or compromised seams. While some damage can be repaired, if it's too widespread, a full replacement might be more cost-effective and provide better peace of mind, especially with insurance involvement.
- Outdated Installation Techniques: Older metal roofs may have been installed with techniques or materials that are no longer considered best practice. For example, some early exposed fastener systems might not have the robust washers and sealants found today. If your roof is past its prime and relies on outdated methods, upgrading to a modern system can significantly enhance performance and energy efficiency.
- Beyond Economic Repair: When the cost of continuous repairs starts to approach the cost of a new roof, it's time to consider a full replacement. You want to invest in a solution that gives you decades of performance, not just a few more years of patchwork. Our guide on Metal Roof Repair vs Replacement: How to Decide delves deeper into this financial comparison.
Making the decision to replace your metal roof is a significant investment, but it’s often the best long-term solution when repairs are no longer sustainable. It allows you to leverage modern materials, improved installation techniques, and new warranties, essentially resetting the clock on your roof’s lifespan and ensuring your home remains protected for decades to come.
Disclaimer
Please note that the information provided in this article is intended for general guidance and informational purposes only. Metal roofing work can be dangerous and should only be undertaken by individuals with proper training, experience, and safety equipment. Always consult with a qualified and licensed metal roofing professional for specific advice regarding your roof's condition and any necessary repairs or replacements. Local building codes and regulations may apply and should be adhered to.