How to Fix a Leaking Metal Roof Seam
There's nothing quite like the heart-dropping moment you spot a water stain spreading across your ceiling, especially when you thought your durable metal roof was impenetrable. A leaking metal roof seam can feel like a real betrayal, a tiny vulnerability threatening the very structure of your home. But don't despair! This guide is here to walk you through exactly how to diagnose, understand, and effectively fix those pesky leaks, helping you restore your peace of mind and the integrity of your roof.
Understanding Why Metal Roof Seams Leak
Before you can fix a leaking metal roof seam, you need to understand why it's leaking in the first place. Metal roofs are renowned for their longevity and resilience, but seams are often the weakest points, acting as potential entryways for water if not properly installed or maintained. It’s not always obvious, and sometimes a leak can travel a long way before it becomes visible inside your home.
The Impact of Age and Wear
Just like anything else exposed to the elements year after year, the materials that make up your roof's seams can degrade over time. Sealants, gaskets, and even the metal itself can succumb to the relentless assault of sun, rain, snow, and fluctuating temperatures.
Think about the caulk around your bathtub; eventually, it cracks and peels, right? The same principle applies to the sealants used in metal roof seams. UV radiation from the sun can dry them out, making them brittle. Constant expansion and contraction of the metal panels can cause these sealants to lose their elasticity and eventually separate from the metal, creating microscopic gaps that allow water to seep in. For instance, an older standing seam roof might have its sealant strips, hidden within the seam, become stiff and ineffective after decades of service.
Consequences of Improper Installation
A significant number of seam leaks can be traced back to the installation day. Even the highest quality materials won't perform if they aren't put together correctly. This is one area where cutting corners or choosing an inexperienced contractor can really come back to haunt you.
Improper crimping on a standing seam roof, where the two metal panels are mechanically joined, can lead to a less-than-watertight seal. If the installer didn't apply enough sealant during the process or didn't ensure a clean, dry surface for adhesion, those seams are inherently compromised from day one. Similarly, with exposed fastener systems, if the screws aren't driven in straight, are overtightened, or use low-quality washers, water can find its way in around the fastener, then migrate along the seam. This is why paying close attention to the Metal Roof Installation Process: Step by Step is so important, to ensure things are done right from the get-go.
The Role of Weather Damage
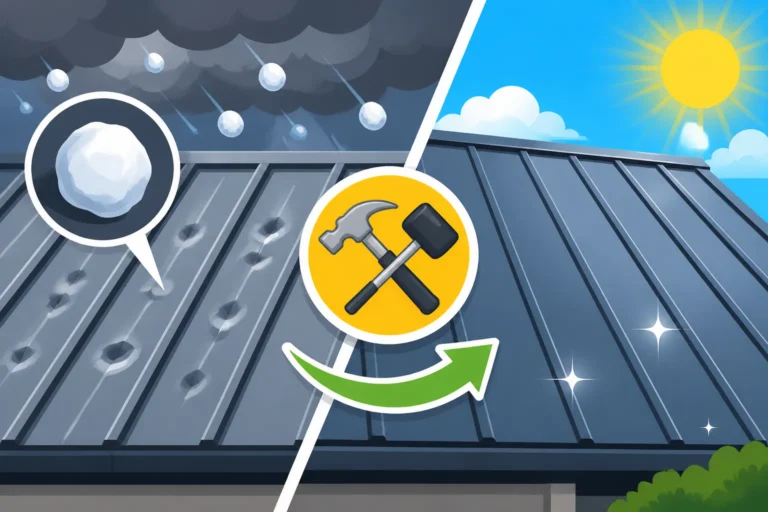
Mother Nature can be brutal, and even robust metal roofs aren't immune to extreme weather events. High winds can lift and distort panels, stressing and potentially breaking the seals at the seams. Hailstorms, especially with larger hailstones, can impact panels directly, but also damage the integrity of seam connections or crack sealants.
Ice dams are another common culprit, especially in colder climates. When snow melts and refreezes at the eaves, it can create a barrier that prevents water from draining off the roof. This trapped water then backs up, sitting against the seams for extended periods, relentlessly searching for any tiny opening to exploit. Even minor structural damage from an unexpected limb falling on your roof can twist panels just enough to compromise a seam.
Thermal Expansion and Contraction
Metal, by its very nature, expands when heated and contracts when cooled. This constant movement, known as thermal cycling, is one of the greatest challenges in metal roofing design and installation. While modern metal roofing systems are designed to accommodate this movement, the seams are where this stress is most concentrated.
Over many cycles, this movement can gradually wear down and loosen fasteners, or tear apart sealants. Imagine the roof baking under the Texas sun during the day, then cooling significantly at night. Each day, the panels are subtly shifting. If the system isn't designed with enough allowance for this movement, or if components like clips and fasteners aren't installed correctly to allow this movement, the seams take the brunt of the stress, eventually leading to cracks, gaps, or pulled fasteners that create pathways for water.
Identifying the Exact Leak Source
Finding the precise spot where water is entering your home from a metal roof seam can feel like detective work. Water can travel along the underside of panels or structural components before dripping down, often far from the actual entry point. Patience and a methodical approach are your best allies here.
Performing a Thorough Visual Inspection
Start indoors, tracing the water stain on your ceiling or wall back to its origin if possible. Then, head outside for a closer look. You'll want to inspect every inch of your roof, paying special attention to the seams.
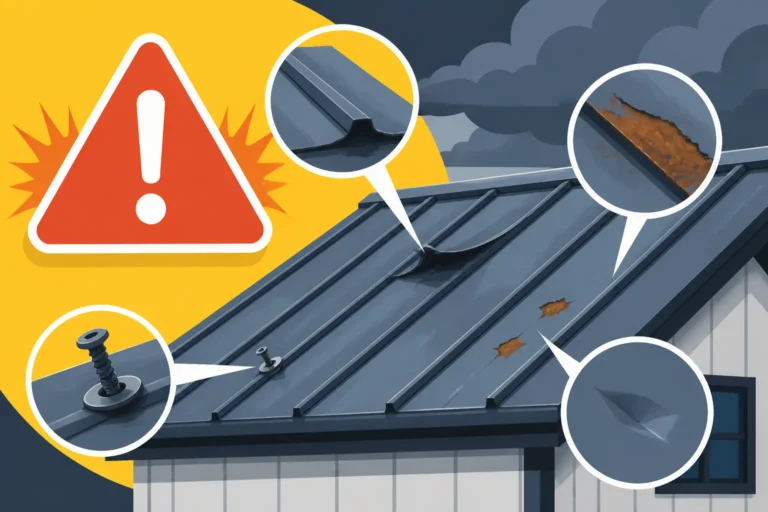
Look for any visible signs of distress: rust streaks, lifted or bent panels, missing or loose fasteners, cracks or gaps in sealant, or any area where panels appear to be pulling apart. Check around penetrations like skylights, chimneys, and vents, as these are common areas where flashing ties into the roof panels and seams. Are there any loose pieces of flashing or trim? Sometimes, damage isn't immediately obvious, so a slow, careful walk-around is essential. This is a crucial step in understanding Common Metal Roof Leak Sources and Fixes.
The Controlled Water Test
If the leak isn't obvious during a visual inspection, a controlled water test can help pinpoint the source. This is best done with a helper and clear weather conditions.
Start at the lowest point of your roof above where you suspect the leak is originating. Have your helper inside watching for drips while you apply water with a garden hose to a small section of the roof, focusing on a particular seam. Work your way upwards, applying water systematically to small sections, waiting a few minutes between each section. The moment your helper sees water coming in, you've narrowed down the area. This method helps isolate the leak to a specific section or seam, eliminating much of the guesswork. Just be mindful of safety, especially on a wet roof!
Considering a Professional Assessment
Sometimes, despite your best efforts, the leak remains elusive, or the damage seems too extensive for a DIY fix. This is when calling in a professional metal roofing contractor is highly recommended.
Experienced professionals have tools and expertise that homeowners typically don't. They might use thermal imaging cameras to detect moisture trapped within the roof decking, or drone technology to get a bird's-eye view of your entire roof, spotting subtle issues you might have missed. They also have a deep understanding of different Metal Roofing Types Explained: Profiles & Panels and how their specific seam designs might fail. A professional can provide a more accurate diagnosis and a comprehensive solution, potentially saving you more money and headaches in the long run by fixing it right the first time. Sometimes, it’s worth the upfront cost for that expertise. You might even consider reaching out to a service like Modernize to connect with pre-screened local contractors who specialize in metal roofing.
DIY Steps for Common Seam Leaks
Once you've identified the source of your leaking metal roof seam, you might be able to tackle simpler repairs yourself. Remember, safety first! Always use appropriate fall protection and ensure you're comfortable working on your roof.
Cleaning and Preparing the Seam Area
Before you apply any new sealant or repair material, the area around the leak must be meticulously clean and dry. This is absolutely non-negotiable for a lasting repair.
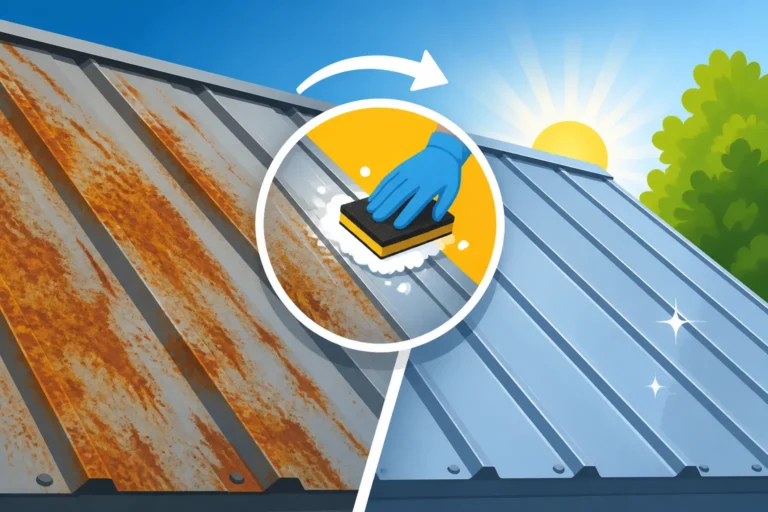
Start by gently removing any loose debris, old crumbling sealant, rust, or flaking paint with a wire brush, scraper, or stiff-bristled brush. For rust spots, you might need to use a rust-inhibiting primer after cleaning. After the initial scraping, clean the area thoroughly with a good quality roofing cleaner or a strong detergent and water. Rinse it completely and allow it to dry fully. Any dirt, grease, or moisture will prevent new sealants from adhering properly, leading to a quick recurrence of the leak. Take your time with this step; it's the foundation of a successful repair.
Applying Sealants and Coatings
For small cracks or gaps in existing seams, a high-quality sealant or coating can be an effective fix. You'll want to choose a product specifically designed for metal roofing, ensuring it's flexible and weather-resistant.
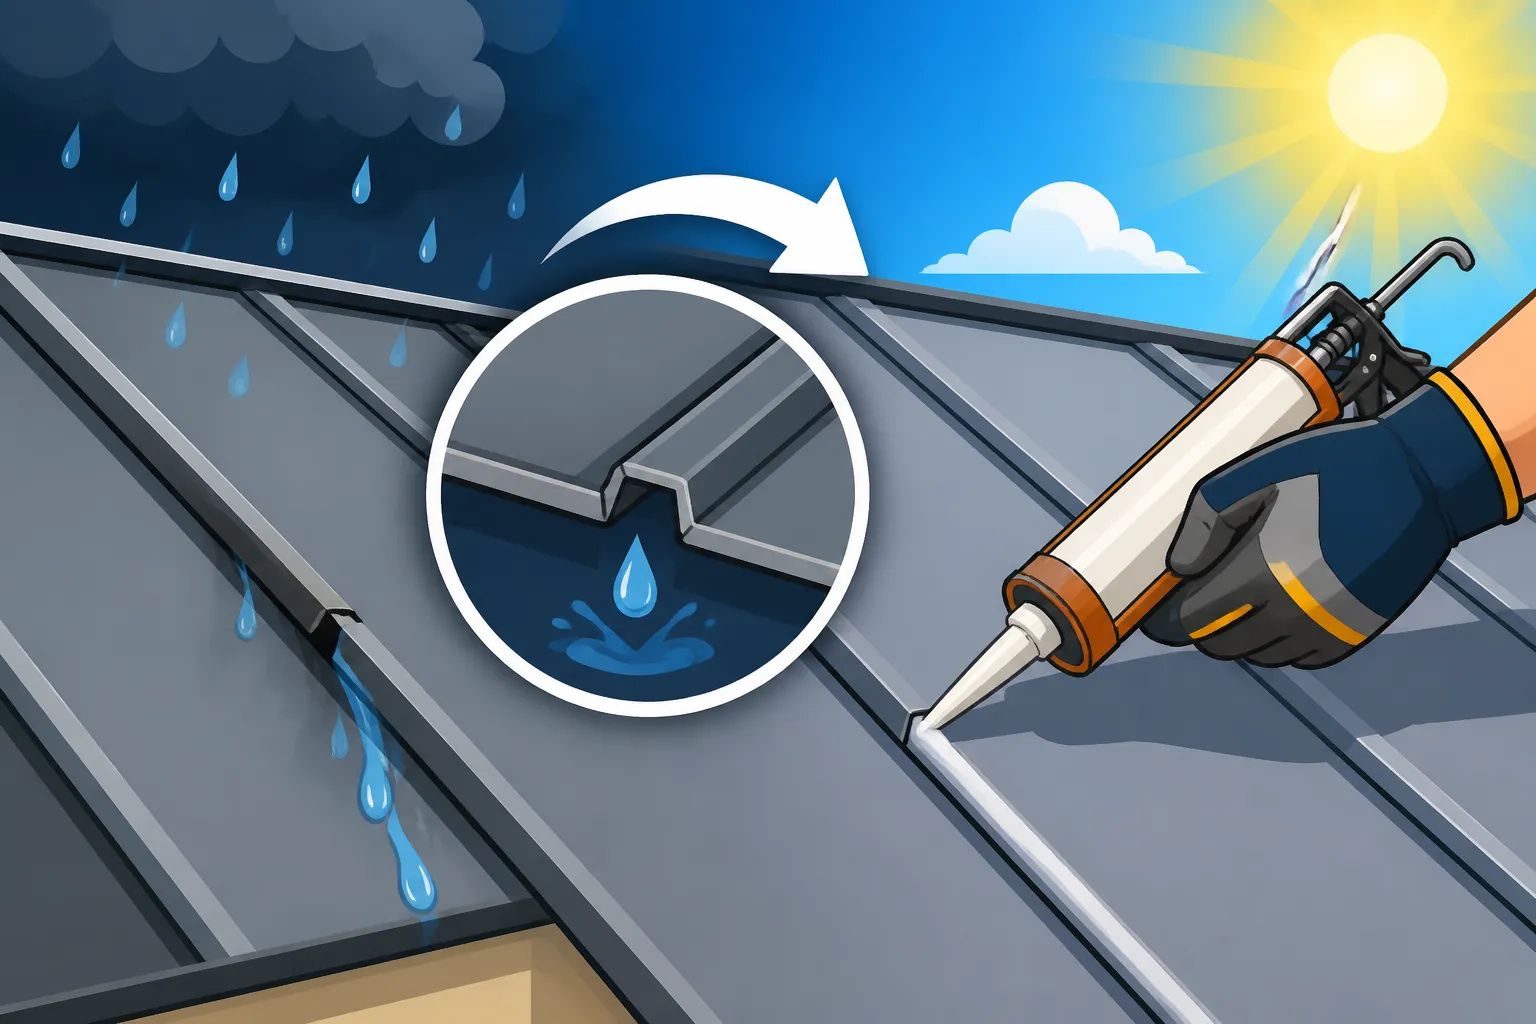
Elastomeric sealants, silicone sealants, or specialized roof cement are common choices. Apply a generous bead of sealant directly into the crack or gap, making sure it gets into every crevice. Use a caulk gun for precise application. Smooth it out with a putty knife or gloved finger to create a seamless, watertight barrier. For larger areas of compromised seams, a liquid applied elastomeric coating could be brushed over the entire seam, forming a flexible, continuous membrane. Products like Kool Seal or Henry's Tropicool are often recommended. Make sure to apply in layers according to manufacturer instructions, usually allowing each layer to cure. When looking for the Best Sealant for Metal Roof Leaks, always check for compatibility with your specific metal type and existing coating.
Replacing Fasteners Along Exposed Fastener Seams
If your metal roof has exposed fasteners (like on corrugated or R-panel roofs) and you've identified screws that are loose, stripped, or have cracked washers along the seam laps, replacing them is a straightforward repair.
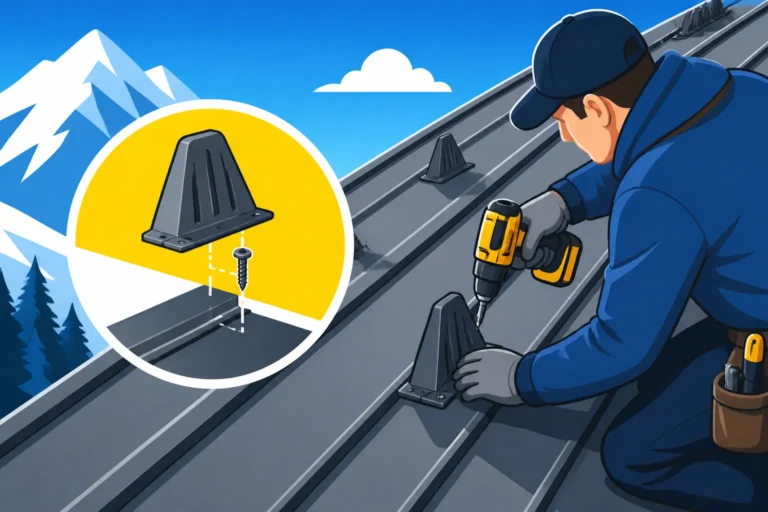
Carefully remove the old, compromised screws. You might need a drill for this. Once removed, inspect the hole. If it’s enlarged or stripped, you'll need to use a slightly larger diameter screw, or relocate the new screw to a fresh spot nearby. Always use self-tapping screws with oversized, high-quality neoprene washers designed for metal roofing. The neoprene creates a watertight seal as the screw is tightened. Don't overtighten, as this can crush the washer and damage the panel; just snug enough to create a firm seal. For added protection, you can apply a dab of sealant under the new washer before tightening the screw. This is a critical point of maintenance covered in Metal Roof Maintenance Guide.
Utilizing Seam Repair Tapes
For longer, more consistent seam failures, or for reinforcing areas after sealant application, specialized self-adhesive seam repair tapes can be incredibly effective.
These tapes, often made of a butyl or asphaltic compound with a flexible backing, create an instant watertight seal. To use them, ensure the seam is clean and dry as described above. Cut the tape to the desired length, peel off the backing, and carefully press it firmly over the entire length of the compromised seam. Use a roller or your hand to press out any air bubbles and ensure full adhesion. Some tapes are designed to be paintable, allowing them to blend in with your roof's aesthetic. These tapes offer an additional layer of protection, particularly for older corrugated or ribbed panel roofs where the seam laps might be showing signs of wear.
When to Call a Professional
While DIY fixes can save money on minor leaks, there are definite scenarios where bringing in a professional metal roofing contractor isn't just a suggestion, it's a necessity. Knowing your limits can prevent further damage, ensure safety, and protect your long-term investment.
Dealing with Extensive or Widespread Damage
If you've identified multiple leaks along various seams, or if the damage involves large sections of panels lifting, severe corrosion, or significant structural compromise, it's time to call in the experts.
A few drips are one thing, but extensive water intrusion can lead to serious issues like damaged insulation, rotten decking, and even mold growth within your attic or walls. Professionals have the equipment and experience to assess the full scope of the problem, including damage that might not be visible from the exterior. They can determine if individual panels need replacement or if the entire roof system has been compromised to a point where widespread repairs are simply not cost-effective compared to a more comprehensive solution. When considering a large-scale intervention, a detailed Metal Roof Cost: Complete 2026 Guide can help you budget for the potential work.
High Pitched or Extremely Steep Roofs
Roof work, especially on metal roofs which can be slick, inherently carries risks. If your roof has a high pitch or is particularly steep, attempting DIY repairs can be incredibly dangerous.
Falls from roofs are a leading cause of construction-related fatalities and serious injuries. Professional roofing contractors are trained in safety protocols, equipped with specialized harnesses, lifelines, and scaffolding, and are insured to cover accidents. Unless you have professional-grade safety equipment and are experienced in working on steep surfaces, it’s always safer to leave these jobs to those who do it every day. Your personal safety is paramount, and no leak fix is worth a serious injury.
Complex Seam Types and Integrated Systems
While exposed fastener systems might be somewhat amenable to DIY repairs, some metal roof designs, especially standing seam roofs, feature highly engineered, complex seam types.
These seams are often mechanically seamed or rely on very specific clips and hidden fasteners. Repairing them properly requires specialized tools and a deep understanding of how the system is designed to interlock and accommodate thermal movement. An amateur attempt could inadvertently damage the panels, compromise the entire seam system, or void crucial warranties. Furthermore, if your metal roof incorporates solar panels, integrated gutters, or specific ventilation systems that tie into the seams, a professional will have the expertise to make repairs without disturbing these other components.
Protecting Your Metal Roof Warranty
Many metal roofing systems come with robust manufacturer warranties that protect against defects. However, most of these warranties explicitly state that they can be voided if repairs are not performed by a certified professional or if unapproved materials are used.
Before undertaking any significant DIY repair, it's wise to review your Metal Roof Warranties: Workmanship vs Manufacturer to understand the terms and conditions. If your roof is relatively new and still under warranty, calling the original installer or a manufacturer-certified contractor is almost always the best course of action. They can perform repairs that maintain your warranty coverage, ensuring you're protected against future issues. In some cases, your insurance might even require a licensed professional for certain repairs or claims. Services like Modernize can help you find contractors who are experienced and possibly manufacturer-certified in your area.
Prevention is Key: Maintaining Your Metal Roof Seams
The best way to deal with a leaking metal roof seam is to prevent it from happening in the first place! Proactive maintenance and thoughtful consideration during installation can significantly extend the life of your seams and your entire roof.
Establishing Regular Inspection Routines
One of the simplest yet most effective ways to prevent seam leaks is to regularly inspect your roof. Just like changing the oil in your car, routine check-ups catch minor issues before they escalate into major problems.
Aim for at least one thorough inspection annually, ideally in the spring or fall, and always after any severe weather event. Look for loose fasteners, cracked sealants, rust spots, or any signs of debris accumulation that could impede drainage. Pay extra attention to areas around penetrations and where different roof planes meet. Early detection allows for minor repairs – like reapplying a small dab of sealant or tightening a screw – before they lead to water infiltration. This regular vigilance is a cornerstone of effective Metal Roof Inspection: What to Check.
Ensuring Proper Attic Ventilation
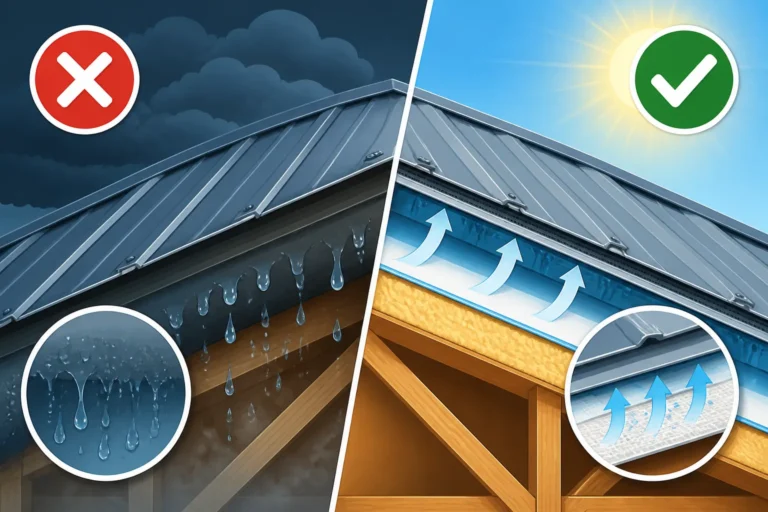
It might seem counterintuitive, but your attic's ventilation can play a surprisingly significant role in preventing metal roof seam leaks. Inadequate ventilation can lead to a build-up of moisture and condensation in the attic space.
This condensation can then drip down, often pooling on the underside of the roof decking or panels, mimicking a leak from the exterior. Over time, consistent moisture can also contribute to the deterioration of fasteners and sealants from the inside out. Good ventilation, which allows warm, moist air to escape, helps maintain a consistent temperature and humidity level, reducing condensation issues and helping to preserve the integrity of your roof system. Understanding Metal Roof Underlayment and Ventilation Guide is crucial for a healthy roof.
Prioritizing Quality Installation from the Start
While this isn't a "fix" for an existing leak, it's the most powerful preventative measure you can take. The quality of your metal roof installation directly dictates the longevity and performance of its seams.
Investing in a reputable, experienced metal roofing contractor who understands the intricacies of metal panel systems and seam construction is paramount. They will ensure proper panel alignment, correct sealant application, and appropriate fastener selection and installation. They'll also account for thermal movement, using clips and fasteners that allow the panels to expand and contract without stressing the seams. A cheaper upfront installation might save you a few dollars initially, but it often leads to costly repairs and premature roof failure down the line. When it comes to How to Hire a Metal Roofing Contractor, don't just look for the lowest bid; look for proven expertise and a solid reputation. This foresight is the ultimate way to How to Prevent Leaks on a Metal Roof.
Comparison of Common Seam Repair Methods
| Repair Method | Best For | Pros | Cons | DIY Friendliness |
|---|---|---|---|---|
| Elastomeric Sealants | Small cracks, gaps in existing sealant | Flexible, good adhesion, long-lasting if applied correctly | Requires clean, dry surface; curing time; can be messy | High |
| Silicone Sealants | Similar to elastomeric, around penetrations | Excellent adhesion to metal, highly flexible, weather-resistant | Can be hard to paint over; requires specific types for longevity | High |
| Butyl or Asphalt Tapes | Longer seam cracks, reinforcing laps | Instant seal, very sticky, flexible | Can be difficult to apply smoothly over long runs; not always aesthetic | Medium |
| Replacing Fasteners | Loose/stripped screws in exposed fastener roofs | Directly addresses the source; relatively simple if panel is accessible | Requires specific tools; risk of over-tightening; matching color can be tough | Medium |
| Liquid Applied Coatings | Widespread micro-cracks, overall seam rejuvenation | Forms a seamless membrane, good UV resistance, extends life | Requires larger preparation, multiple coats, longer curing; more costly | Medium-Low |
Disclaimer
The information provided in this guide is for general informational purposes only and does not constitute professional roofing advice. Always exercise caution and prioritize safety when working on a roof. For complex repairs, high-pitch roofs, or if you are unsure, it is highly recommended to consult with a qualified and licensed metal roofing professional.