How to Replace Metal Roof Screws and Fasteners
One of the most common headaches for metal roof owners isn't a massive panel failure, but rather the slow, insidious deterioration of those tiny, yet crucial, metal roof screws and fasteners. Over time, the constant exposure to sun, rain, wind, and temperature fluctuations can degrade their seals, corrode the metal, or even cause them to back out, leading to frustrating leaks and potential damage to your home's structure. This guide will walk you through everything you need to know about replacing these vital components, ensuring your metal roof continues to protect your home effectively.
Why Metal Roof Screws and Fasteners Fail
It’s easy to overlook the small details like screws and fasteners when you’re admiring the overall durability and longevity of a metal roof. However, these little heroes bear a significant brunt of the elements, and their failure can undermine the entire roofing system. Understanding why they fail is the first step toward effective maintenance and replacement.
Common Causes of Deterioration
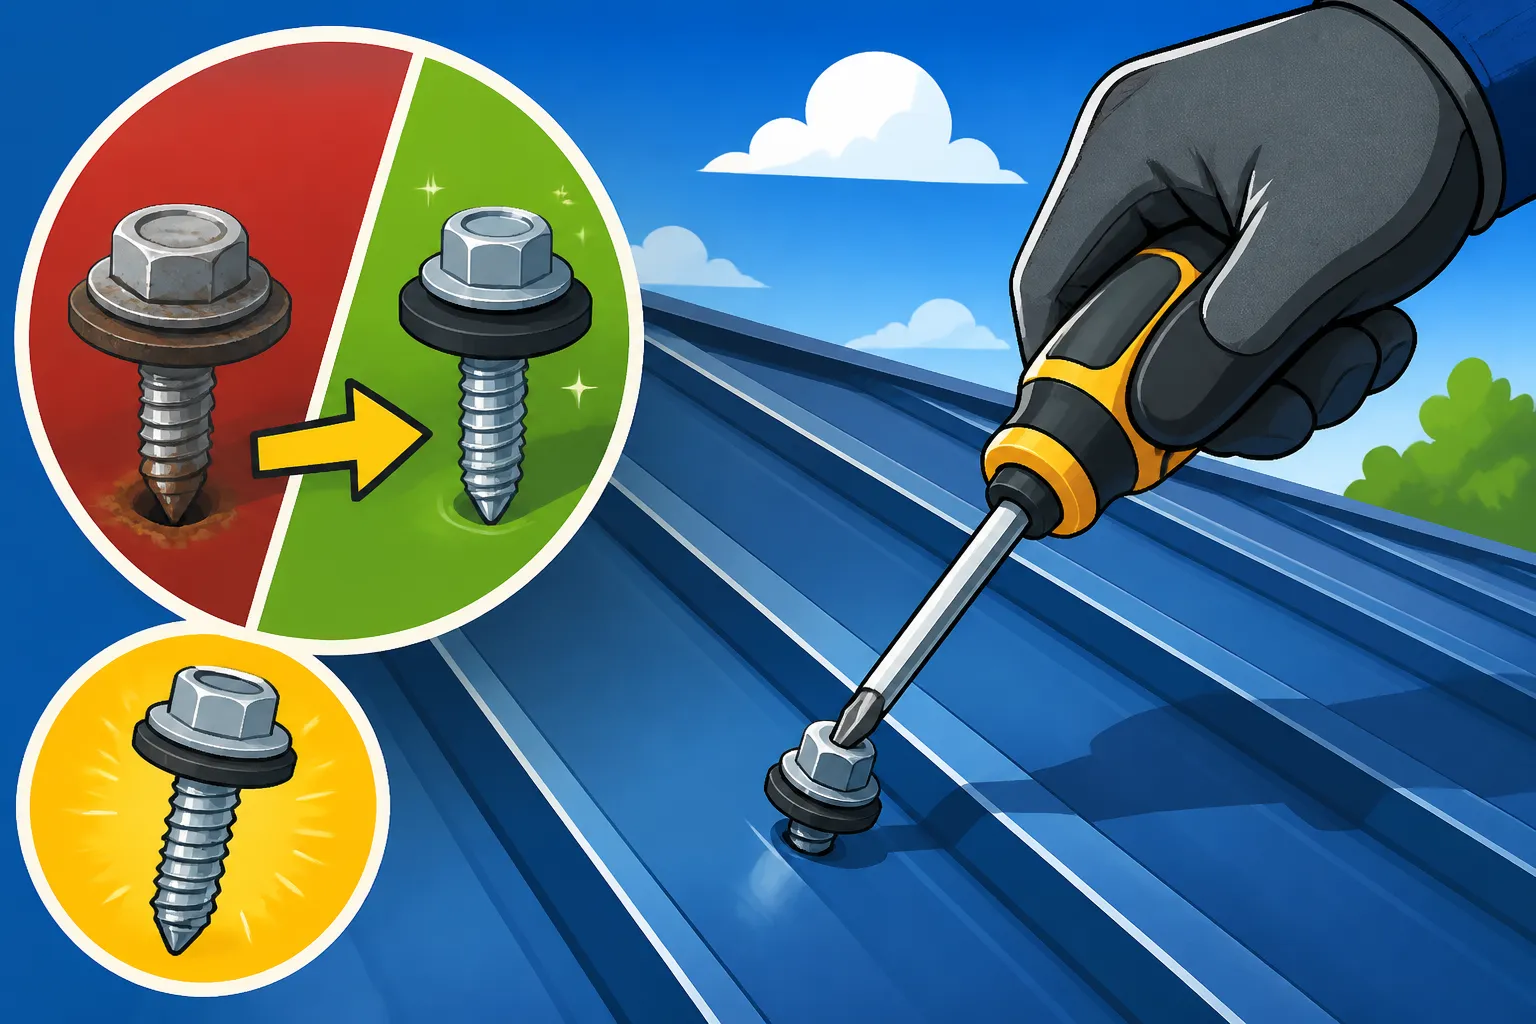
There are several culprits behind failing metal roof fasteners, and often, it’s a combination of factors rather than a single issue. The most frequent cause is the degradation of the rubber washer, often made from EPDM (ethylene propylene diene monomer). This washer is critical because it creates a watertight seal between the fastener head and the metal panel. Over years of UV exposure from the sun, extreme heat, and cold cycles, these washers can dry out, crack, shrink, and lose their elasticity. Once the seal is compromised, water can seep in around the screw shank, leading to leaks.
Another significant factor is corrosion. While metal roofs are generally very resistant to rust, especially materials like aluminum or Galvalume-coated steel, the screws themselves can be susceptible if they're not of adequate quality or if their protective coating wears off. Dissimilar metals coming into contact can also cause galvanic corrosion, accelerating rust. For instance, using plain steel screws on an aluminum panel without proper separation can lead to problems. Wind uplift and thermal expansion and contraction can also cause the screws to loosen over time, allowing moisture intrusion even before the washer completely fails. Incorrect torque during the initial installation – either too loose or too tight – also plays a major role, stressing the washers or failing to seat them properly from day one.
Signs It's Time for Replacement
Spotting the warning signs early can save you a lot of grief and expense down the line. The most obvious indicator that it's time for a replacement is visible rust streaks or stains running down your metal panels, particularly below a screw head. This is a clear sign that the screw itself is corroding or water is seeping through the fastener point. Another tell-tale sign is the appearance of cracked, brittle, or completely missing rubber washers under the screw heads. You might even see black "dust" around the screw, which is the degraded EPDM washer.
Beyond visible inspection, actual leaks inside your attic or home, especially after heavy rain or snowmelt, directly correspond to fastener failure. If you're wondering, "Why Is My Metal Roof Leaking at the Screws?", inspecting those specific points is usually the first course of action. It's crucial to address these issues promptly. Ignoring them can lead to extensive water damage to your roof decking, insulation, and interior ceilings. If you have an exposed fastener system, where the screws are visible, a walk-around inspection a couple of times a year can catch these issues before they become major problems. Don't forget to look for screws that appear to be backing out or are no longer flush with the panel.
Essential Tools and Materials for Replacement
Before you climb onto your roof, proper preparation is key. Having the right tools and materials on hand will make the job safer, more efficient, and ensure a lasting repair. You don't want to be halfway through a job only to realize you're missing a crucial piece of equipment.
What You'll Need to Get Started
Safety is paramount when working on a roof. Always start with personal protective equipment (PPE), including non-slip roofing shoes, sturdy work gloves, and eye protection. For anything beyond a single-story roof, a fall arrest system (safety harness, rope, and anchor) is non-negotiable. You'll also need a stable ladder, preferably one with stand-offs to protect your gutters.
For the actual work, here's a checklist:
- Cordless drill/driver: Essential for removing old screws and driving new ones. Make sure it's fully charged.
- Appropriate driver bits: Often a hex head (e.g., 1/4" or 5/16") or a square drive, matching your existing fasteners.
- Pry bar or claw hammer: For carefully removing old, stubborn screws.
- Wire brush: To clean any rust or debris from the screw holes before installing new fasteners.
- Metal snips or cutters: If you encounter any damaged flashing or need to trim a panel edge (though this is less common for simple fastener replacement).
- Caulk gun and exterior-grade sealant: For sealing around new screws if necessary, especially in problem areas. Urethane or silicone sealants are often used.
- Bucket or small container: To hold old screws and prevent them from rolling off the roof.
- Chalk line: If you need to establish a straight line for multiple screw replacements.
Remember, working on a roof, especially a metal one, can be slick. Choose a dry day with minimal wind. If you're unsure about the safety aspects, consider calling a professional.
Choosing the Right Replacement Fasteners
Selecting the correct replacement screws is critical to the longevity and performance of your repair. This isn't a "one-size-fits-all" situation. You need to consider several factors to ensure compatibility and durability.
First, identify the material of your existing screws and metal panels. Most residential metal roof screws are made of carbon steel, often with a protective coating like galvanized, Galvalume, or ceramic coatings, sometimes capped with a stainless steel head for added corrosion resistance. Stainless steel screws are often preferred for their superior corrosion resistance, especially in coastal areas or regions with high humidity. You generally want to match or upgrade the material. For example, if you have an aluminum roof, stainless steel screws are a good choice to prevent galvanic corrosion.
Second, consider the length and gauge (diameter) of the screw. You want to match the length of the original screw to ensure it penetrates the roof decking sufficiently. A typical self-tapping metal roofing screw might be 1-1/2 inches long. The gauge, or diameter, is also important; using a screw that's too thin might not properly seal the existing hole or provide adequate holding power.
Third, and perhaps most importantly, is the washer material and design. Always opt for screws with new, high-quality EPDM washers, as these are designed to compress and create a watertight seal. Some screws come with oversized washers or bonded washers (where the EPDM is chemically bonded to the metal head) for enhanced performance. Companies like SFS intec, Atlas Bolt & Screw, and Triangle Fastener Corporation are reputable manufacturers known for producing high-quality metal roofing fasteners. When comparing options, look for screws specifically designed for metal roofing, often referred to as "self-drilling metal-to-wood" or "metal-to-steel" screws, depending on your sub-structure.
Here's a quick comparison of common fastener types:
| Fastener Type | Material Core | Coating/Head | Washer Material | Common Use | Pros | Cons |
|---|---|---|---|---|---|---|
| Carbon Steel (Standard) | Hardened Steel | Galvanized, Ceramic, or Painted | EPDM | General residential, commercial | Cost-effective, readily available | Prone to corrosion if coating fails |
| Stainless Steel | Stainless Steel | Natural, Painted | EPDM | Coastal, high-humidity, corrosive environments | Excellent corrosion resistance, long lifespan | Higher cost |
| Bi-Metal | Carbon Steel Shank | Stainless Steel Head | EPDM | General metal roofing | Good corrosion resistance at head, strong shank | More expensive than standard steel |
For detailed information on the various components, you might find our guide on Metal Roof Fasteners and Washers Explained a helpful resource.
Step-by-Step Guide to Replacing Metal Roof Screws
Replacing metal roof screws might seem daunting, but it's a manageable DIY project for the experienced homeowner. However, precision and safety are paramount to avoid damaging your roof or yourself.
Safety First: Preparing for the Job
Before you even think about stepping foot on your roof, a thorough safety check is in order. As mentioned, appropriate PPE is non-negotiable. This includes non-slip shoes with good grip, work gloves to protect your hands, and eye protection to shield against debris. If your roof is steep or more than one story high, a fall arrest system (safety harness, anchor point, and rope) is absolutely essential. Many roofing supply stores or tool rental places offer these systems.
Next, assess the weather. Choose a day that is dry, calm, and not excessively hot or cold. Wet roofs are incredibly slippery, and strong winds can make balancing difficult and blow tools around. Extreme heat can make metal panels too hot to touch, while extreme cold can make materials brittle. Clear any debris, like leaves or branches, from the work area on the roof. Ensure your ladder is stable, properly secured, and extends at least three feet above the eave for safe access. Always have a spotter if possible, especially when moving the ladder or handing tools. If you’re unsure about working at heights or don’t have the proper safety equipment, consider consulting professionals. Companies listed on platforms like Modernize can help you find qualified local roofers who prioritize safety.
Removing Old Fasteners
Once you’re safely on the roof and your tools are within reach, you can begin the removal process. Start by locating the problematic screws. You’ll want to replace all screws that show signs of rust, degraded washers, or looseness. It’s often a good practice to replace screws in clusters or even an entire panel if multiple fasteners are failing, especially if they are from the same batch or age.
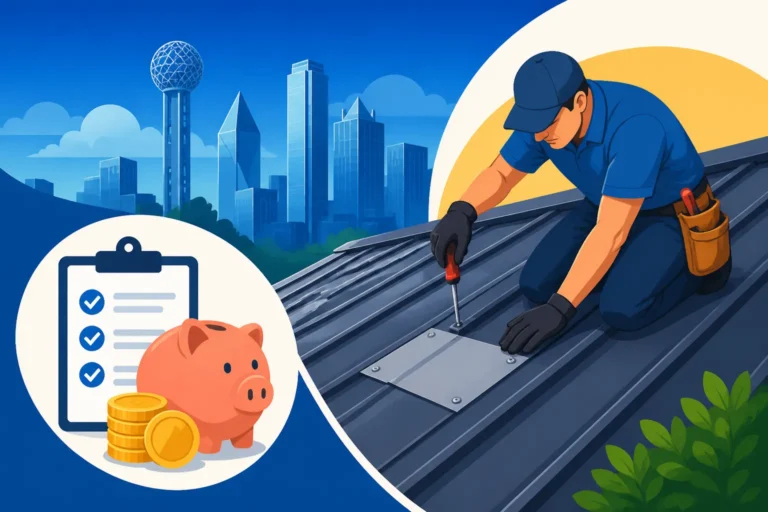
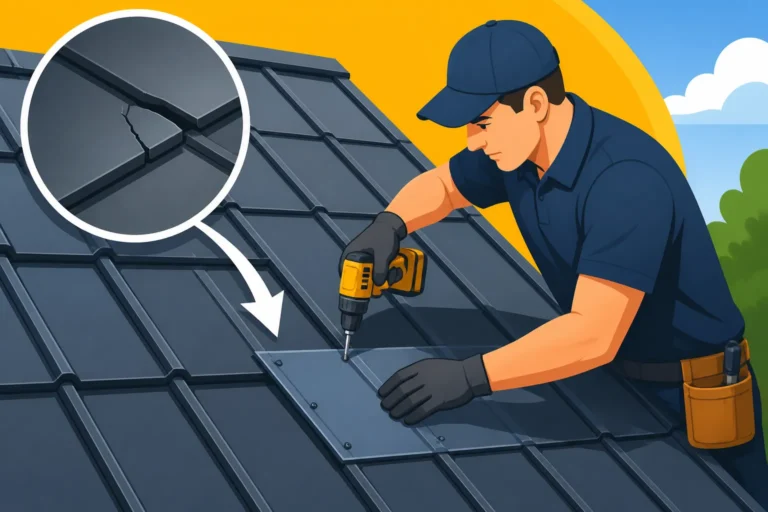
Using your cordless drill/driver set to reverse, slowly back out the old screw. Apply firm, steady pressure to keep the driver bit engaged with the screw head, preventing stripping. If the screw is rusted in place or the head is stripped, you might need a different approach. For very stubborn screws, a pry bar can sometimes be used carefully to lift the head slightly while unscrewing, or you might need to use vise-grips if there's enough of the head exposed to grasp. Be extremely cautious not to damage the surrounding metal panel. Collect all old screws and washers in your bucket to prevent them from becoming hazardous projectiles or environmental waste. After removal, inspect the screw hole. If there’s any rust or debris, clean it thoroughly with a wire brush. This ensures a clean surface for the new fastener and promotes a better seal.
Installing New Fasteners
Now comes the crucial part: installing the new, high-quality fasteners. This step requires precision to ensure a watertight seal and proper securement.
Start by placing the new screw, with its intact EPDM washer, directly over the existing hole. Using your cordless drill/driver set to forward, begin driving the screw. The key here is proper torque. You want the screw to be tight enough to compress the rubber washer, creating a seal, but not so tight that you over-compress or "mushroom" the washer, which can actually damage it and compromise the seal. A good rule of thumb is to drive the screw until the washer is visibly compressed and slightly bulges out around the screw head, but stops before the washer is completely flattened or squeezed out from under the head. This usually requires a light touch on the drill trigger and stopping when the screw feels snug.
If you are replacing screws that went into a purlin (a horizontal support member) or solid decking, ensure the new screw penetrates firmly. For holes that have stripped out or are slightly enlarged from corrosion, you might need to use a slightly larger diameter screw, or, in some cases, apply a dab of high-quality exterior sealant directly into the hole before driving the new screw. For multiple replacements, establishing a straight line with a chalk line can help maintain a uniform and aesthetically pleasing appearance. Double-check each newly installed screw to ensure the washer is properly seated and no gaps are visible. Proper technique during this step is vital for the longevity of your repair and to prevent future leaks. For more insight into the entire process, checking out a guide on How to Replace Rubber Washers on Metal Roof Screws can be beneficial.
Addressing Common Challenges and Troubleshooting
Even with the best intentions and preparation, you might encounter some common challenges during metal roof screw replacement. Knowing how to troubleshoot these issues can prevent frustration and ensure a successful repair.
Dealing with Stripped Holes and Rusted Screws
One of the most common and frustrating problems you might face is a stripped screw hole. This happens when the original screw has worn away the material of the roof decking or purlin, or if it was over-tightened initially, losing its grip. If you try to drive a new screw into a stripped hole, it will just spin freely and won't hold the panel securely.
For minor stripping in wood decking, you can often remedy this by moving the new screw slightly (about half an inch) to the side of the original hole, ensuring it bites into fresh wood. If you can't move it, or if the original hole is too damaged, you can try using a slightly larger diameter screw, which might grip the remaining material. Another effective method for wood decking is to insert a wooden dowel (or even a few wooden toothpicks) coated in waterproof wood glue into the stripped hole, let it dry, and then drive your new screw directly into the reinforced hole. This provides new material for the screw threads to grip. For screws that go into metal purlins, a stripped hole is more problematic. You might need to use a "lap screw" which is designed to go through two layers of metal, or drill a new pilot hole nearby and use a larger diameter self-tapping screw. In some severe cases, especially with extensive stripping across many fasteners, it might indicate underlying structural issues or poor initial installation, warranting a professional assessment.
Rusted screws are another frequent hurdle. Sometimes they're so corroded that the head is nearly gone or impossible to grip with a driver. If the head is intact but heavily rusted, apply a penetrating oil (like WD-40 or similar products) and let it sit for a while before attempting to unscrew it. If the head is too damaged, you might need to carefully use a pair of locking pliers (Vise-Grips) to grip the screw head or the exposed shank if you can get leverage. In extreme cases, a specialized screw extractor might be needed, or the screw might need to be carefully drilled out. Always be mindful of the surrounding metal panel and avoid causing further damage. After removal, clean any rust residue from the panel. Our guide on How to Repair a Rusted Metal Roof offers more comprehensive advice on tackling corrosion.
Preventing Future Fastener Failure
Once you've gone through the effort of replacing failing screws, you definitely want to prevent a repeat performance. Proactive measures are the best defense against premature fastener failure.
The single most important step you can take is to use high-quality, corrosion-resistant fasteners from the outset. As discussed, stainless steel screws or those with superior coatings are worth the extra investment, especially in harsh environments. Ensuring proper installation technique is also crucial; over-tightening or under-tightening screws significantly shortens their lifespan. Using a drill with an adjustable clutch setting can help prevent over-torquing.
Regular inspections are another key preventive measure. Make it a habit to inspect your metal roof at least once a year, and ideally twice (spring and fall). During these inspections, look for any signs of cracking washers, rust streaks, or screws that appear to be backing out. Our guide on How to Inspect a Metal Roof for Leaks provides a comprehensive checklist for what to look for. Addressing minor issues like loose screws or slightly degraded washers immediately can prevent them from escalating into major leaks. Tightening a loose screw or replacing an aging washer (if available separately) can significantly extend the life of your fasteners. Cleaning your roof to prevent debris buildup also helps, as trapped moisture and organic matter can accelerate corrosion. Investing in snow guards can also help protect fasteners from potential damage caused by large sheets of sliding snow, a topic explored further in our article on How to Install Snow Guards on a Metal Roof. By combining quality materials with diligent maintenance, you can ensure your metal roof fasteners provide reliable, long-lasting protection.
When to Call a Professional for Fastener Replacement
While replacing a few problematic screws might be a manageable DIY task for some, there are definite scenarios where calling in the pros is not just advisable, but necessary. Knowing your limits can save you money, time, and potential headaches in the long run.
Recognizing Your DIY Limits
There's no shame in admitting when a job is beyond your comfort or skill level. Roof work, by its very nature, carries inherent risks. If you're not comfortable with heights, don't have the necessary safety equipment, or are unsure about proper roof safety protocols, it's always best to err on the side of caution and call a professional. Safety should always be your top priority.
Beyond safety, consider the scope of the problem. If you're dealing with just a handful of isolated screws, it might be a straightforward DIY fix. However, if you notice widespread fastener failure across large sections of your roof, or if the problem reoccurs quickly after your repair, it could indicate a more systemic issue. This could be due to incorrect installation, incompatible materials, or even structural problems with the roof decking. Attempting to fix widespread issues without understanding the root cause can be a futile exercise and lead to more significant damage. Similarly, if your roof has a very steep pitch, complex angles, multiple penetrations (chimneys, skylights), or if your metal roof panels are custom-formed standing seam panels rather than simple exposed fastener panels, the job becomes more complex and requires specialized tools and expertise. For instance, working with standing seam roofs often involves specialized crimping tools and an understanding of panel expansion and contraction, which goes far beyond simple screw replacement. When considering the overall project, our article on Should You Hire a Contractor or DIY Your Metal Roof? can help you weigh your options between DIY and professional assistance.
Benefits of Professional Installation
Hiring a professional metal roofing contractor to handle screw and fastener replacement, especially for larger jobs, offers several distinct advantages. First and foremost, they bring expertise and experience. A reputable contractor understands the nuances of different metal roofing systems, materials, and the best fastening techniques for your specific roof type and local climate. They'll know exactly what type of replacement fastener to use, ensuring compatibility and longevity. They also have the specialized tools, like power drills with calibrated torque settings, to ensure screws are installed to the manufacturer's specifications, preventing both under-tightening and over-tightening.
Professionals also prioritize safety, adhering to industry best practices and possessing the necessary safety equipment and insurance. This means you won't have to worry about the risks of working at heights or potential liability if something goes wrong. Furthermore, a good contractor will perform a thorough inspection of your entire roof, identifying not just the immediate problem screws but also any underlying issues that might contribute to future fastener failure. They can spot signs of premature wear, assess potential structural problems, or even suggest a complete replacement if the damage is extensive. Many contractors also offer warranties on their workmanship, giving you peace of mind that the repair is done right. If you're looking for someone reliable, platforms like Modernize can connect you with qualified local metal roofing contractors who can assess your roof and provide professional, lasting solutions. For more advice on choosing the right contractor, our guide on How to Hire a Metal Roofing Contractor is an excellent resource.
Disclaimer
The information provided in this article is for general guidance and informational purposes only. While we strive to offer accurate and up-to-date content, metal roofing repairs can be complex and dangerous. We strongly recommend consulting with a qualified and licensed metal roofing professional for any significant repairs or replacements to ensure safety and proper installation. Always prioritize personal safety when working on a roof.