How to Repair a Metal Slate Metal Roof
You invested in a metal slate roof for its exceptional durability and unique aesthetic appeal, expecting decades of worry-free protection. So, when you spot a problem – be it a pesky leak, a faded panel, or a dent from an unexpected hailstorm – it can be incredibly frustrating. The good news is, many issues with metal slate roofs are indeed repairable. This comprehensive guide will walk you through identifying common problems, assessing the damage, and outlining the specific steps for repairing your metal slate roof, empowering you to address issues effectively, whether you're tackling them yourself or calling in a pro.
Understanding Metal Slate Roof Damage
Metal slate roofing is a fantastic choice, offering the classic beauty of natural slate without the immense weight or fragility. Typically made from steel or aluminum, these panels are engineered to mimic the look of individual slate tiles, often with intricate stamping and specialized coatings. However, even the toughest materials can face challenges, and understanding the types of damage that can occur is the first step toward a successful repair.
Common Culprits Behind Damage
While metal slate roofs are celebrated for their resilience, they aren't entirely immune to the forces of nature or everyday wear and tear. Knowing what typically causes problems can help you diagnose and prevent future issues.
One of the most frequent offenders is weather. Hailstorms, for instance, can leave behind unsightly dents or dings on the surface of your metal slate panels. High winds can test the integrity of fasteners, potentially loosening panels or even ripping them off in extreme cases, especially if the initial installation wasn't perfectly executed. Even prolonged exposure to intense UV rays and fluctuating temperatures can lead to cosmetic issues over time, like fading or chalking of the protective coating. In coastal regions, the constant salt spray can accelerate corrosion, even on treated metals, if the coating is compromised.
Another significant factor is installation quality. A poorly installed metal slate roof is far more prone to problems. This could range from improperly seated fasteners that allow water infiltration, to panels that aren't securely interlocked, making them vulnerable to wind uplift. If the underlayment wasn't installed correctly or if flashing details around chimneys, skylights, or vents were overlooked, leaks are almost inevitable. It’s a classic case of "you get what you pay for," and cutting corners during installation can lead to costly repairs down the line.
Finally, impact damage from falling tree branches, heavy debris, or even clumsy foot traffic during maintenance can damage metal slate panels. While a metal roof is robust, a sharp impact can certainly dent or puncture a panel, compromising its protective coating and potentially exposing the underlying metal to the elements. This is why care must always be taken when walking on a metal roof.
Signs Your Metal Slate Needs Attention
Catching problems early is crucial for preventing minor issues from escalating into major, expensive repairs. Your home often gives subtle (and not-so-subtle) clues when your metal slate roof needs some love.
The most obvious sign of trouble is a leak inside your home. This could manifest as water spots on your ceiling, streaks running down interior walls, or even dripping water during a heavy rain. While the leak might appear in one spot inside, the actual entry point on the roof could be several feet away, making pinpointing the source a bit like detective work. Don't ignore these signs; even small leaks can lead to significant structural damage, mold growth, and compromised insulation over time.
Visually inspecting your roof from the ground (or safely from a ladder) can reveal other issues. Look for missing, loose, or visibly damaged panels. A panel that appears slightly out of alignment or lifted could indicate a fastener issue or that the interlocking mechanism has failed. Dents, scrapes, or punctures are also clear indicators of impact damage. Pay close attention to the overall appearance: is the color uniform, or are there noticeable areas of fading, chalking, or rust spots? Rust, even small specks, signals that the protective coating has been breached and the underlying metal is exposed.
Lastly, inspect your gutters and downspouts. Are they clogged with debris? Are there metal fragments or granules (from stone-coated steel slate, for example) in the gutters? These could indicate wear and tear. Also, check around all roof penetrations like vent pipes, chimneys, and skylights for cracked, degraded, or missing flashing. These areas are notorious weak points where water often finds a way in. Timely attention to these signs can significantly extend the life of your beautiful metal slate roof. To learn more about common issues, check out our guide on Warning Signs Your Metal Roof Needs Attention.
Assessing the Damage to Your Metal Slate Roof
Once you suspect an issue, the next step is a thorough assessment. This isn't just about identifying a problem; it's about understanding its extent, type, and potential causes, which will dictate the most effective repair strategy. But before you even think about climbing a ladder, safety must be your absolute top priority.
Safety First: Preparing for Inspection
Inspecting a roof, especially a metal one, carries inherent risks. A metal slate roof can be slippery when wet, dusty, or even just from morning dew. Always prioritize safety over speed.
Start by gathering the right gear. You'll need a sturdy, well-maintained ladder that extends at least three feet above the eaves. Make sure someone is spotting you at the base of the ladder, holding it steady. Wear appropriate footwear with excellent grip – rubber-soled work boots are ideal. Avoid smooth-soled shoes at all costs. For added safety, especially on steeper pitches, consider a fall arrest system, including a harness, rope, and anchor point. Even if you're just walking on a lower-pitched roof, this precaution is invaluable. Don't forget work gloves to protect your hands from sharp edges and a hard hat for overhead protection.
Before you even step on the roof, take a moment to evaluate the weather conditions. A sunny, dry day with minimal wind is paramount. Never attempt a roof inspection during or immediately after rain, or if there's any sign of ice or heavy dew. Strong winds can also make balancing on a roof incredibly dangerous. If your roof pitch is steep or if you’re uncomfortable with heights, it's always safer to call a professional. Even for minor inspections, if you feel unsafe at any point, descend and reassess. There's no shame in recognizing your limits when it comes to personal safety.
Identifying Specific Types of Damage
With safety protocols in place, you can now meticulously inspect your metal slate roof. This process involves a systematic approach to pinpoint the exact nature and location of the damage.
Begin your inspection from the ground level with a pair of binoculars. Look for general inconsistencies: warped or lifted panels, mismatched colors that could indicate previous poor repairs, or visible rust streaks running down the panels. Pay close attention to the roof's perimeter and areas around chimneys, skylights, and other protrusions. This initial visual sweep can give you a roadmap for when you get closer.
Once on the roof (safely, of course), focus on different types of damage:
- Scratches and Fading: These are primarily cosmetic. Scratches might expose the underlying metal, leading to potential rust, especially if the scratch penetrates the protective coating. Fading indicates UV degradation of the paint finish.
- Dents and Dings: Often caused by hail or falling debris. Small, shallow dents might not compromise the roof's integrity, but deep or sharp dents can crack the coating, leading to rust. On formed metal slate, significant dents can be particularly noticeable and detract from the aesthetic.
- Loose or Missing Fasteners: This is a common issue with exposed fastener metal slate panels, though less so with concealed fastener systems. Over time, screws can back out due to thermal expansion and contraction, or their washers can degrade. If a fastener is missing, it leaves an open hole for water.
- Leaks: Finding the exact source of a leak can be challenging. Look for water trails, discolored areas, or compromised sealants around flashing, seams, or fastener points. Sometimes, the leak originates from a distant point and travels along the roof deck or framing before appearing inside.
- Corrosion/Rust: Any visible rust indicates that the protective coating (like Galvalume or a paint finish) has been breached. If left untreated, rust will spread and eventually compromise the panel's structural integrity.
- Compromised Flashing: Examine all flashing around chimneys, vents, and valleys. Look for cracks, separations, or areas where the sealant has dried out and peeled away. This is a very common source of leaks on any roof, including metal.
- Oil Canning: While not strictly "damage," oil canning refers to the wavy or buckle appearance of flat metal panels. It's often cosmetic and rarely affects performance but can be aesthetically displeasing. It's usually due to manufacturing tolerances or improper installation but can be exacerbated by tension or uneven decking.
Documenting your findings with photos and detailed notes is highly recommended. This will aid in planning repairs, getting accurate quotes from contractors, and potentially for insurance claims if the damage is significant. For a more in-depth look at determining repair vs. replacement, consider our guide on Metal Roof Repair vs Replacement: How to Decide.
Step-by-Step Guide to Repairing Metal Slate Roofs
Once you've assessed the damage, it's time to roll up your sleeves and get to work. Remember, the specific repair methods will vary based on the type and severity of the damage, as well as the particular metal slate system installed on your home.
Repairing Minor Scratches and Fading
Cosmetic issues like scratches and fading might seem trivial, but they can compromise your roof's protective layer, potentially leading to bigger problems like rust if left unattended. Fortunately, these are often quite manageable.
For minor scratches, the key is to clean the area thoroughly. Use a soft cloth and a mild detergent to remove any dirt, grime, or loose particles. Once dry, apply a touch-up paint specifically designed for metal roofing. These paints are typically color-matched to your existing roof and contain UV inhibitors and protective resins. Apply a thin, even coat, allowing it to dry completely between applications if multiple coats are needed. Many manufacturers, like McElroy Metal or Metal Sales, offer touch-up kits for their specific panel colors and finishes. This isn't just about aesthetics; it's about restoring the protective barrier that prevents moisture from reaching the core metal and causing corrosion.
Fading and chalking over large areas are a bit more involved. While minor fading might be tolerable, significant chalking (where a powdery residue appears on the surface) indicates that the paint's resin system is breaking down. For widespread fading, a full repainting or recoating might be necessary. This is a more extensive project that often requires specialized equipment and expertise. The roof must be meticulously cleaned, sometimes pressure washed with appropriate detergents, and then primed before a new coat of specialized metal roof paint or elastomeric coating is applied. These coatings, such as those made with Kynar 500 (PVDF) or SMP (Siliconized Modified Polyester) resins, offer excellent durability and UV resistance. A professional recoating can significantly extend the life and aesthetic appeal of a faded roof, making it look brand new. You can find more details in our Repainting and Recoating a Metal Roof article.
Addressing Loose or Missing Fasteners
Fastener issues are common, especially on exposed fastener metal slate panels, and they are a primary culprit for leaks. Thermal expansion and contraction can slowly work screws loose, or the rubber washers beneath them can degrade over time, losing their seal.
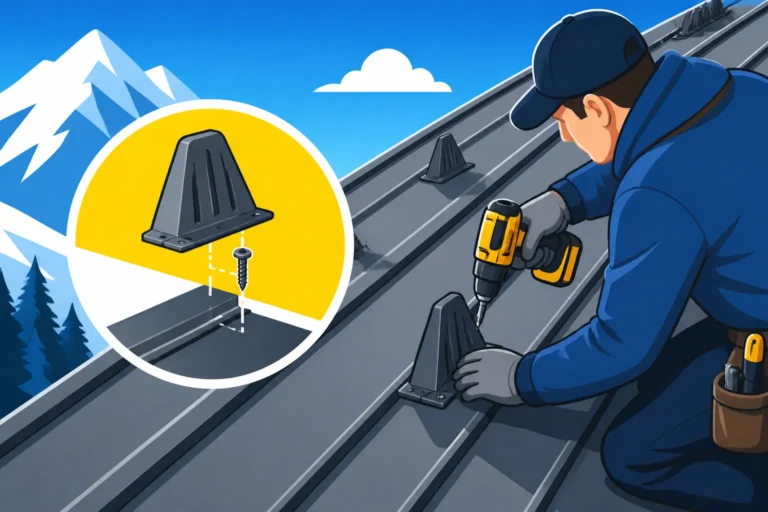
To address loose fasteners, first carefully tighten them. Don't overtighten, as this can strip the screw hole or crush the rubber washer, leading to an even worse seal. The goal is snug, not wrench-tight. If the existing rubber washer appears cracked, brittle, or completely degraded, it's best to replace it. You'll need specialized metal roofing screws with integrated EPDM rubber washers. Carefully remove the old screw, clean the area, and install a new, slightly larger diameter screw if the existing hole is wallowed out. A dab of high-quality, non-curing butyl sealant under the new washer before tightening can provide an extra layer of protection. Our guide on Metal Roof Fastener Washer Replacement offers more practical advice on this.
For missing fasteners, the approach is similar but more critical. A missing screw is an open invitation for water. If the hole is still clean and intact, simply drive in a new, appropriately sized metal roofing screw with a fresh EPDM washer. If the hole is corroded or too large to hold a new screw securely, you might need to use an oversized screw or a rivet with a sealing washer. In some cases, a small piece of repair tape specifically designed for metal roofing, made of butyl or EPDM, can be applied over the hole before fastening. Always ensure the sealant used is compatible with your roof material and can withstand extreme temperatures and UV exposure.
Replacing Damaged or Dented Panels
Replacing an individual metal slate panel can be a bit more complex than simple repairs, as these systems often interlock. However, it’s usually feasible for specific types of damage, like significant dents or punctures that compromise the panel’s integrity beyond simple repair.
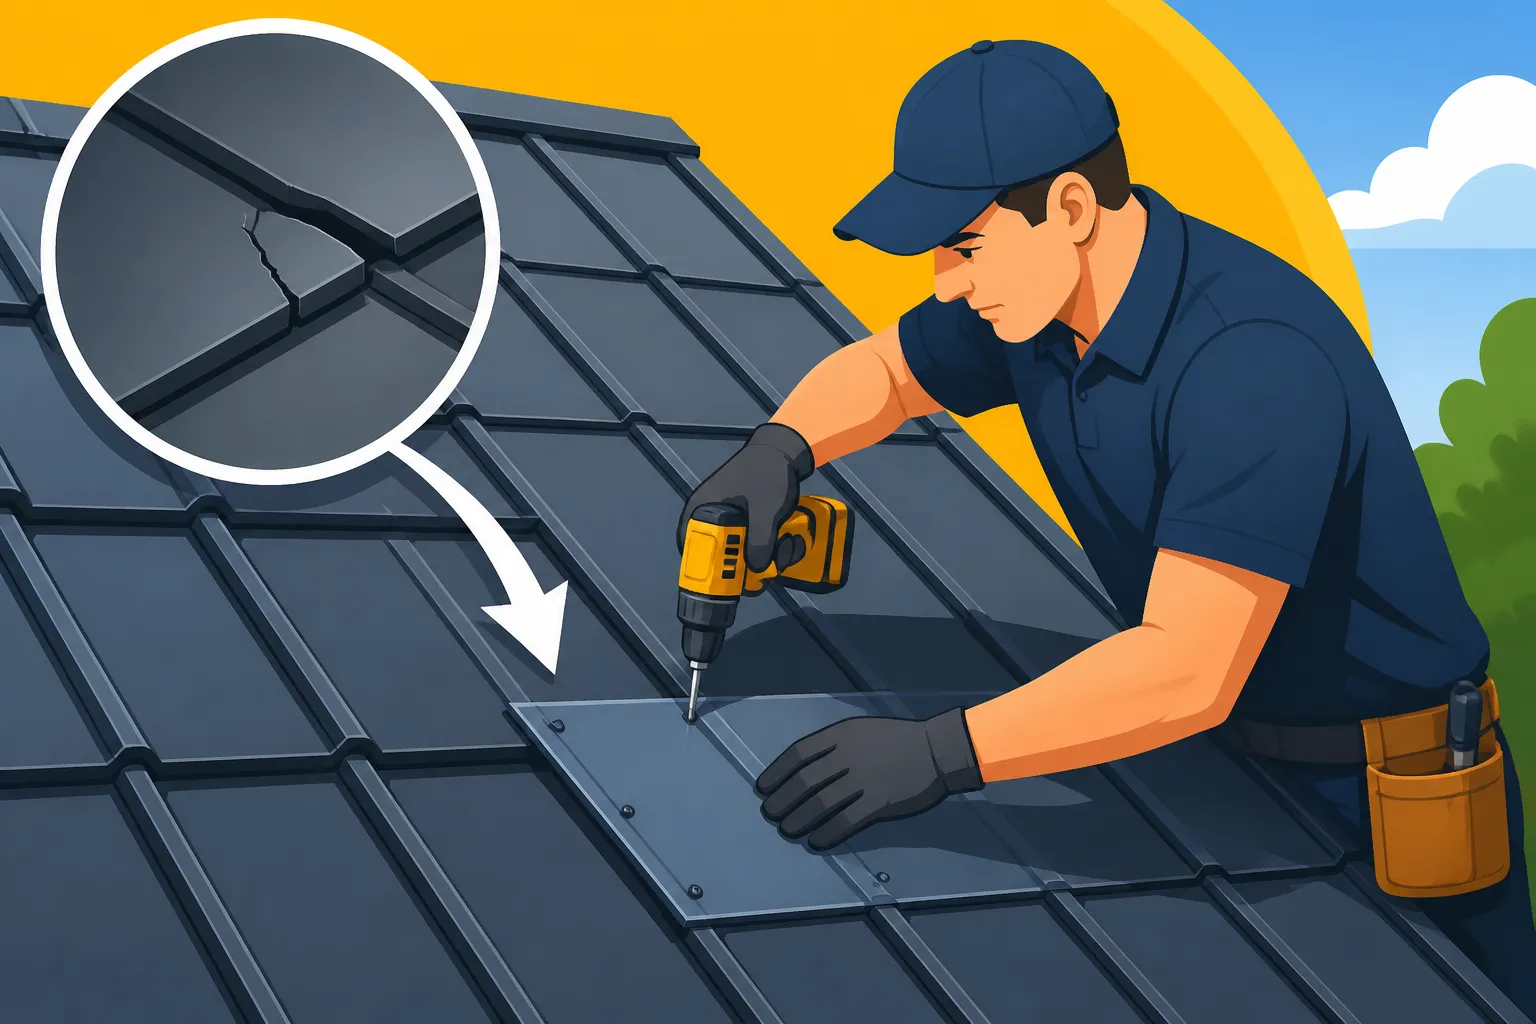
If a panel is severely dented, punctured, or significantly corroded, replacement is often the best solution. The process typically involves carefully disengaging the damaged panel from its neighbors. Metal slate panels are usually installed with hidden fasteners and interlock on all four sides. This means you might need specialized tools to lift the edges of adjacent panels without damaging them. Start by removing any visible fasteners from the damaged panel. Then, carefully lift the overlapping edges of the surrounding panels to expose the interlocking clips or seams. Once disengaged, the damaged panel can be slid out.
Installing the new panel is essentially the reverse process. Carefully slide the new, matching panel into place, ensuring all interlocking features align perfectly with the surrounding panels. Once it's properly seated, secure it with the appropriate hidden fasteners. It's crucial that the replacement panel matches the gauge, profile, and color of your existing roof to maintain uniformity and warranty. If you're struggling to find a matching panel, reaching out to the original manufacturer or a specialized metal roofing supplier is your best bet. While this sounds like a DIY task, it can be tricky to do without causing damage to adjacent panels, especially on a steep pitch or if the panels are very tightly interlocked.
Sealing Leaks Around Flashing and Penetrations
Leaks around flashing and roof penetrations like chimneys, skylights, and vent pipes are incredibly common. These areas are inherently vulnerable because they interrupt the continuous surface of the roof.
First, you need to identify the precise source of the leak. Water can be deceptive, running along surfaces before it drips. Once you’ve located the compromised flashing or penetration, the repair often involves cleaning and resealing. Thoroughly clean the area, removing any old, cracked, or degraded sealant, dirt, or debris. A wire brush or scraper might be necessary for this.
Next, apply a high-quality, durable sealant specifically formulated for metal roofing. Look for sealants that are flexible, UV-resistant, and compatible with your metal type (e.g., silicone, urethane, or butyl-based sealants). Apply a generous bead of sealant to any gaps, cracks, or separations in the flashing. Ensure it bonds well to both the flashing and the roof panels, creating a watertight seal. For larger gaps or areas where the flashing itself is severely corroded or damaged, you might need to apply a metal repair tape (like a butyl tape or EPDM-backed tape) before sealing. This acts as a patch, providing a more robust base for the sealant.
In some cases, the flashing might be beyond simple repair and require full replacement. This is particularly true for lead flashing around chimneys that has cracked, or pre-formed metal flashing that is severely bent or corroded. Replacing flashing is a more advanced task, often requiring the careful removal and reinstallation of adjacent roof panels to properly integrate the new flashing. For more in-depth information on preventing these issues, our guide on How to Prevent Leaks on a Metal Roof is a helpful resource.
Here's a quick reference table for common metal slate roof repairs:
| Issue | Symptoms | DIY Difficulty | Professional Help Often Needed | Typical Solution |
|---|---|---|---|---|
| Minor Scratches | Visible lines, exposed metal | Low | No | Clean, apply color-matched touch-up paint |
| Fading/Chalking | Dull, powdery surface, uneven color | Medium | Yes (for widespread issues) | Clean, re-coat with specialized metal roof coating |
| Loose Fasteners | Screws slightly backed out, small leaks | Low | No | Tighten, replace washers, apply sealant if needed |
| Missing Fasteners | Open holes where screws should be, leaks | Medium | No (unless widespread) | Install new screw with sealing washer, use oversized if needed |
| Minor Dents | Small depressions from hail/debris | Low | No | Often cosmetic, monitor for coating breach; small paint touch-up |
| Severe Dents/Punctures | Deep depressions, holes, compromised coating | High | Yes | Panel replacement |
| Flashing Leaks | Water stains near penetrations, visible gaps | Medium | Yes (for complex areas) | Clean, re-seal with proper caulk/sealant, patch with tape |
| Rust Spots | Orange/brown discoloration on panel surface | Medium | Yes (for extensive rust) | Clean, treat with rust converter, prime, touch-up paint |
| Lifted/Loose Panels | Panel edges visibly raised, rattling in wind | High | Yes | Re-secure with appropriate fasteners, inspect interlocking |
When to Call in the Professionals and How to Choose
While many smaller repairs are entirely within the realm of a capable DIYer, there comes a point where professional expertise is not just recommended, but essential. Knowing when to step back and bring in the cavalry can save you time, money, and potentially prevent further damage to your home.
When DIY Isn't Enough
There are several scenarios where a DIY approach to metal slate roof repair becomes risky or simply insufficient. If you encounter extensive or widespread damage, such as numerous dents across a large section of the roof from a severe hailstorm, or significant corrosion affecting multiple panels, attempting to repair it yourself might be overwhelming and inefficient. A professional can assess the full scope of the damage and recommend the most cost-effective and durable solution, which might even involve a partial or full replacement, something that’s hard to judge without experience.
Another critical factor is roof height and pitch. If your home has a steep pitch (anything over 6/12) or is multiple stories tall, the safety risks associated with DIY repair become significantly higher. Working on such roofs requires specialized safety equipment, training, and experience to prevent falls. Don't risk a serious injury for a repair that a professional can handle safely and efficiently.
Complex leaks that are difficult to pinpoint are also best left to experts. As mentioned, water can travel far from its entry point, making diagnosis tricky. A skilled roofing contractor has the experience and diagnostic tools to accurately locate the source and ensure a watertight repair. If a leak persists after your best efforts, it's a clear sign to call a pro.
Finally, warranty considerations are crucial. Many metal roof manufacturers offer robust warranties, but these often stipulate that repairs must be performed by certified or qualified professionals to remain valid. Attempting DIY repairs on a relatively new roof might inadvertently void your warranty, leaving you unprotected against future issues. If you're unsure, check your warranty documentation before proceeding with any significant DIY work.
Finding a Qualified Metal Slate Roofing Contractor
When you realize it’s time to bring in the pros, finding the right one can feel like a daunting task. You want someone experienced, reliable, and trustworthy.
Start by looking for contractors who specialize in metal roofing, not just general roofers. Installing and repairing metal slate requires specific knowledge and tools that differ from traditional asphalt shingles. Look for contractors with a strong track record and positive reviews for metal roofing projects. You can search online platforms, ask for recommendations from neighbors who have metal roofs, or utilize services like Modernize, which connects homeowners with vetted local roofing contractors. Using a platform like Modernize can streamline the process of getting multiple quotes from vetted experts, ensuring you're comparing apples to apples.
Once you have a few candidates, thoroughly vet them. Here’s what to look for:
- Licensing, Bonding, and Insurance: Verify that the contractor is properly licensed in your state or city (if required), bonded, and carries comprehensive liability insurance and workers' compensation. This protects you from financial responsibility if there's an accident on your property or damage occurs during the repair. You can learn more about Metal Roof Contractor Licensing, Bonding & Insurance in our detailed guide.
- Experience with Metal Slate: Ask for references specifically related to metal slate roof repairs or installations. A contractor who primarily works with standing seam might not have the nuanced experience with interlocking metal slate panels. Ask about their training and certifications from metal roofing manufacturers.
- Clear Communication and Detailed Quotes: A good contractor will explain the problem clearly, outline the proposed repair, and provide a detailed, itemized quote. This quote should specify materials, labor, and any potential unforeseen costs. Don't settle for vague estimates. This also ties into how to effectively How to Read and Compare Metal Roof Quotes.
- Warranty on Workmanship: Inquire about their workmanship warranty. A reputable contractor will stand behind their work, offering a guarantee on the repair itself, separate from the manufacturer's material warranty.
- Local Presence and Reputation: While services like Modernize help find contractors, it’s beneficial to choose a local company with an established presence in your community. They're typically more accessible for follow-up issues and have a vested interest in maintaining a good local reputation.
Don't be afraid to ask tough questions and get multiple quotes (at least three) before making a decision. Investing a little time upfront in vetting can save you a lot of headaches and money in the long run.
Disclaimer
Please note that this guide provides general information and recommendations for repairing metal slate roofs. Specific repair methods, materials, and safety precautions may vary based on your roof's unique characteristics, local building codes, and manufacturer specifications. Always prioritize safety and consult with a qualified, licensed metal roofing professional for complex repairs or if you are unsure about any step of the process. The author and publisher are not responsible for any damage or injury resulting from the application of this information.