How Is a Metal Tile Metal Roof Installed?
Choosing a new roof for your home is a huge decision, and the idea of a metal tile roof probably brings to mind images of beautiful, durable, and long-lasting protection. But once you've fallen in love with the look of metal tiles, the burning question often becomes: "How is this even installed?" It's a valid concern, because while they offer incredible benefits, metal tile roofs aren't like slapping up a few shingles. This guide is here to walk you through the entire process, from understanding the unique nature of these roofing systems to the precise steps involved in their installation, helping you feel prepared and informed for your upcoming project.
Understanding Metal Tile Roofing Before Installation
Before we dive into the nitty-gritty of installation, it's really helpful to understand what metal tile roofing is all about. It's not just a fancy name; these systems are engineered to provide the aesthetic appeal of traditional tiles – think clay, slate, or wood shakes – but with the superior performance and longevity of metal. This blend of beauty and brawn is what makes them such an appealing choice for many homeowners.
What Makes Metal Tiles Unique?
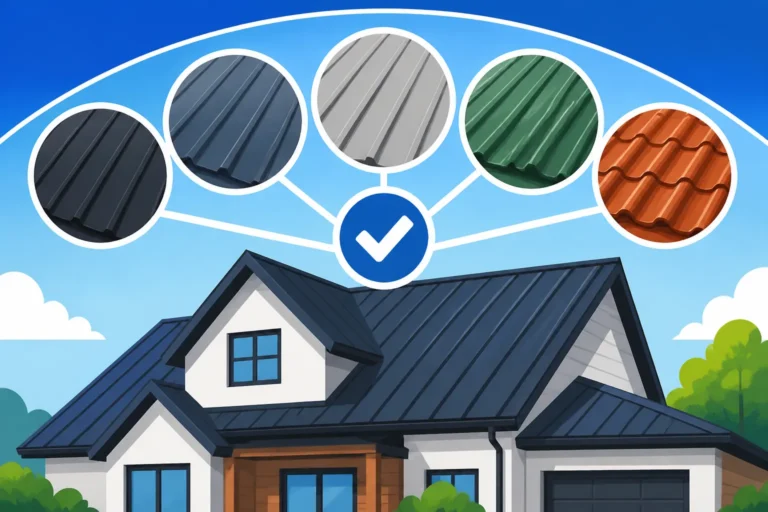
Metal tiles are truly a marvel of modern roofing. Unlike large, continuous metal panels, these are often modular, pressed, or stamped to mimic the exact profiles of more traditional roofing materials. This means you can achieve that classic Mediterranean terracotta look, the rustic charm of wood shake, or the sophisticated elegance of natural slate, all with the underlying strength and light weight of steel or aluminum. It’s the best of both worlds, offering an incredible curb appeal without the drawbacks of their heavier, more fragile counterparts.
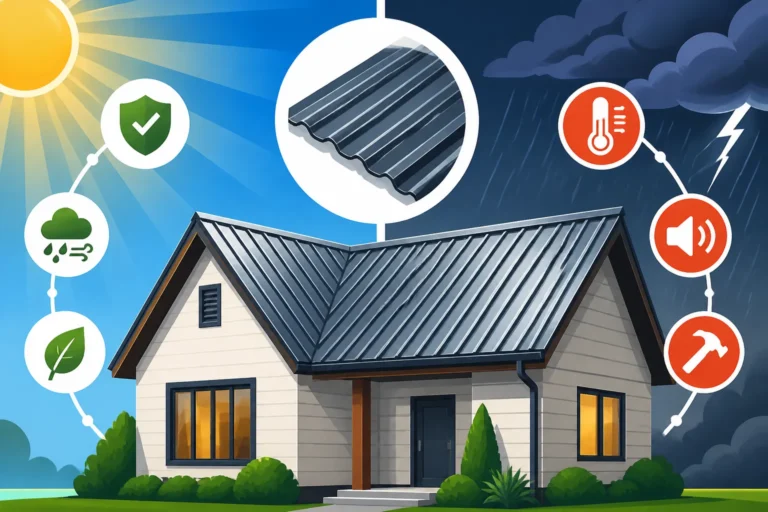
The materials themselves typically involve high-grade steel, often galvanized or Galvalume-coated for corrosion resistance, or sometimes aluminum, particularly in coastal areas. These base metals are then often coated with stone granules (hence "stone-coated steel") or specialized paint systems, like PVDF, to provide color, UV protection, and enhanced durability. This multi-layered construction is what gives metal tiles their exceptional resistance to impacts, fire, and extreme weather, making them a wise long-term investment. If you're curious about the specifics, delving into what is a metal tile metal roof? can offer even more detail on their characteristics.
Key Components of a Metal Tile Roof System
A metal tile roof isn't just a bunch of panels; it's a complete system designed for maximum integrity and performance. Understanding these components is crucial for appreciating the installation process. Beyond the visible tiles, you'll have a robust underlayment, various types of flashing, and specialized trim pieces that all work together to create a watertight and aesthetically pleasing roof. Each piece has a specific role, and when properly installed, they contribute to the roof’s decades-long lifespan.
Here’s a look at the essential parts:
- Underlayment: This is the critical barrier beneath your metal tiles, often made of high-quality synthetic materials or a self-adhering ice and water shield. It acts as a secondary layer of protection against moisture, ensuring that even if water somehow gets past the metal tiles (which is rare), it won't penetrate your roof deck. This layer is non-negotiable for a long-lasting, leak-free roof. You can learn more about this in our Metal Roof Underlayment and Ventilation Guide.
- Metal Tile Panels: These are the stars of the show, varying in shape, size, and profile to achieve the desired aesthetic. They are usually designed with interlocking features or specific fastening points to ensure a secure fit and prevent wind uplift.
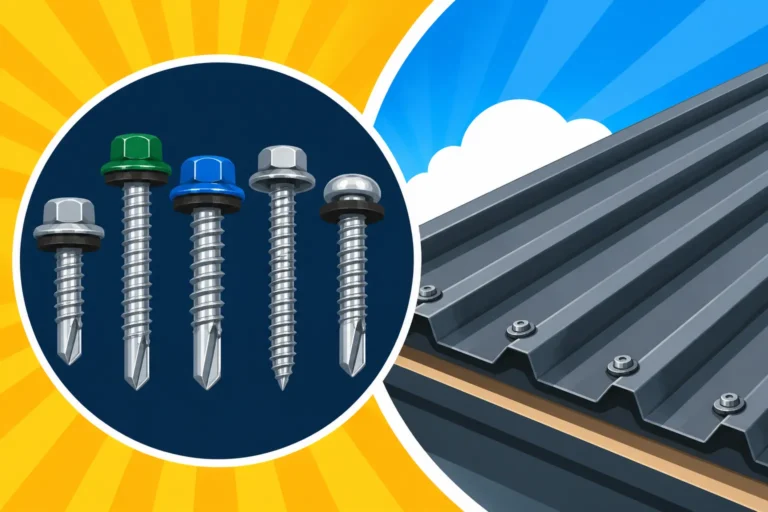
- Fasteners: Specialized screws, clips, or nails are used to secure the metal tiles to the roof deck. The type of fastener is crucial and depends on the specific tile system. Often, these are hidden fasteners, meaning they aren't visible once the roof is complete, contributing to a cleaner look and better weather resistance.
- Flashing: These are thin pieces of metal (often the same material as the tiles) installed at critical junctures of the roof, such as valleys, around chimneys, skylights, and vent pipes. Flashing directs water away from these vulnerable areas, preventing leaks. Without proper flashing, even the best metal tiles won't keep your home dry. Our guide on Metal Roof Components & Accessories Explained covers these in depth.
- Trim: Various trim pieces, like eaves trim, gable trim, and ridge caps, provide a finished look while also protecting the edges and peaks of the roof from weather elements. They cap off the system, making it visually appealing and structurally sound.
The Step-by-Step Metal Tile Installation Process
Installing a metal tile roof is a precise craft, best left to experienced professionals. While the overall Metal Roof Installation Process: Step by Step shares some commonalities with other roofing types, the modular nature of metal tiles requires specific attention to detail. This isn't a weekend DIY project for most homeowners, especially if you want to ensure the warranty remains valid and the roof performs as expected.
Preparing Your Roof Deck
Before any metal tiles even touch your roof, a thorough preparation phase is absolutely critical. This foundational work ensures that the new roof has a solid, stable base and that your home is fully protected from moisture from day one. Skipping steps here is a recipe for headaches down the road.
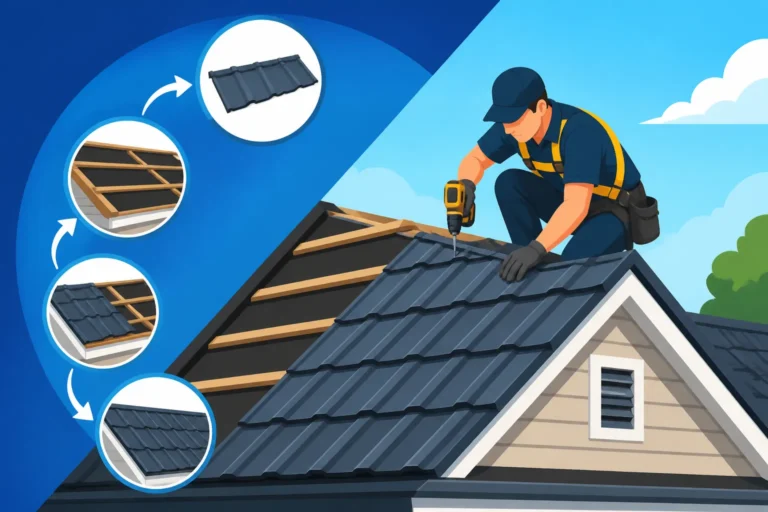
First, the existing roofing material must be removed entirely, down to the bare roof deck. This tear-off process is messy and labor-intensive, often involving multiple trips to the dumpster. It's essential to properly dispose of old shingles or other materials. Once the old roof is off, the underlying roof deck, typically plywood or OSB, needs to be meticulously inspected. Any damaged, rotted, or soft sections must be repaired or replaced to ensure a smooth, stable surface. A strong roof deck is paramount; consider reviewing Metal Roof Decking Requirements to understand the standards your roof needs to meet. After the deck is sound, the underlayment is installed. This is usually laid out in horizontal courses, starting from the eaves and overlapping as it progresses up to the ridge. Proper overlap and secure fastening are vital here to create that seamless, secondary weather barrier. Many installers also add ice and water shield in vulnerable areas like eaves and valleys, especially in colder climates, to offer an extra layer of protection against moisture intrusion.
Laying Out and Installing the Panels
This is where the magic really starts to happen, transforming your prepared roof deck into a beautiful, resilient metal tile roof. Precision in layout and fastening is key to both the structural integrity and the aesthetic appeal of the finished product. No one wants a crooked roof, after all!
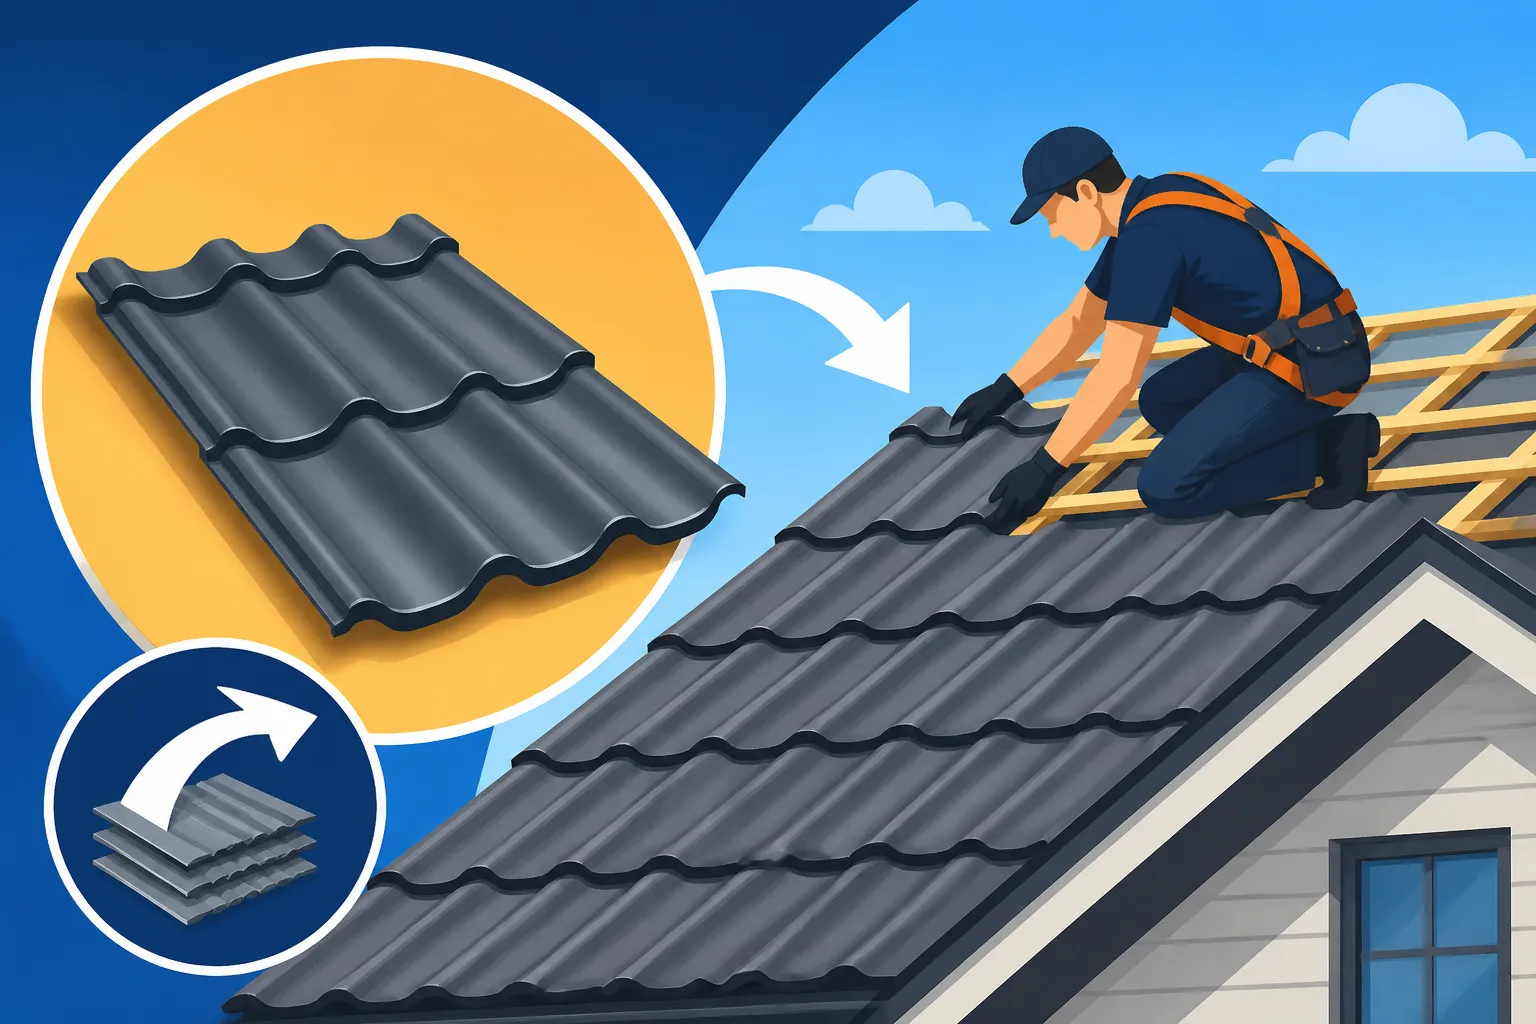
The installation typically begins at a specific edge of the roof, often starting from the eave and working upwards and across. The exact starting point and method will depend on the specific manufacturer's instructions and the type of metal tile profile being used – whether it's a stone-coated steel shingle, a metal slate, or another type from the wide array of Metal Roofing Types Explained: Profiles & Panels. For many systems, the first course of starter strips or panels is precisely aligned and fastened to ensure a straight line for subsequent courses. Individual tiles or panels are then interlocked or overlapped according to the design, ensuring proper drainage and wind resistance. Each tile or panel is secured with appropriate fasteners, often hidden beneath the overlapping section of the next tile, creating a clean, seamless appearance. Cutting panels to fit around roof features or at gable ends is done with specialized metal shears or saws, ensuring clean edges that will be covered by trim. A skilled installer will take their time, making sure each piece is perfectly aligned, particularly since any small deviation early on can compound into noticeable issues across the entire roof plane. If you are looking for a qualified professional, platforms like Modernize can connect you with experienced metal roofing contractors who understand these intricacies.
Flashing and Trim Work for a Watertight Seal
The unsung heroes of any robust roofing system are the flashing and trim components. Without them, even the most expertly installed metal tiles wouldn't stand a chance against rain, wind, and snow. These elements are designed to channel water away from the most vulnerable parts of your roof, ensuring a leak-proof seal. It's often said that a roof is only as good as its flashing, and with metal tiles, this holds especially true.
Installation of flashing happens at all changes in plane and penetrations. This includes:
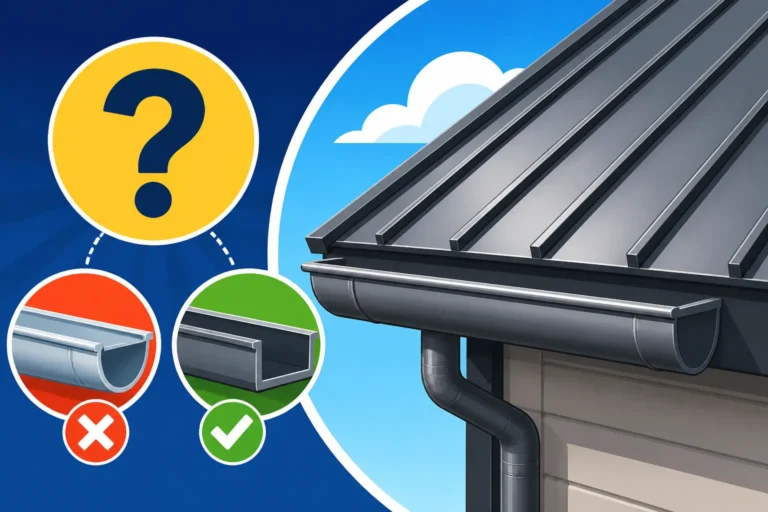
- Eaves Flashing: Installed along the bottom edge of the roof, directing water off the roof and into the gutters.
- Gable Flashing (Rake Trim): Covers the exposed edges of the roof along the gables, providing a finished look and protecting the roof edge.
- Valley Flashing: Critical for areas where two roof planes meet, forming a "valley." These custom-formed metal pieces are installed beneath the tiles to create a watertight channel for runoff.
- Pipe Collars and Vent Flashing: Flexible or custom-made metal boots are installed around vent pipes and other roof penetrations, sealing them off from water intrusion.
- Chimney and Skylight Flashing: Complex multi-piece flashing systems are used to integrate these structures into the metal tile roof, creating a tight seal where the roof plane meets the vertical elements.
Finally, ridge caps are installed along the peaks of the roof. These are typically ventilated, allowing for proper airflow and preventing moisture buildup in the attic while providing a clean, finished appearance. Every piece of flashing and trim must be meticulously installed, sealed, and fastened to prevent water infiltration, a primary cause of roof problems. Ignoring these crucial details can lead to leaks, which can be expensive and frustrating to fix down the line. A properly executed flashing and trim job is a hallmark of a high-quality metal roof installation, significantly contributing to the roof's overall Metal Roof Lifespan: How Long Do They Last?.
Crucial Considerations for a Successful Metal Tile Roof Installation
While the step-by-step process might seem straightforward on paper, the real world throws plenty of variables into the mix. Achieving a high-quality, long-lasting metal tile roof means paying attention to details beyond just laying panels. It involves making smart decisions about who does the work, understanding potential pitfalls, and committing to ongoing care.
Professional Installation vs. DIY
The temptation to save money by tackling a big home improvement project yourself is understandable. However, when it comes to a metal tile roof, this is almost always a job for the pros. The complexity, specialized tools, and safety risks involved in a DIY Metal Roof Installation: What to Know are significant. Metal tile systems often require specific techniques for cutting, fastening, and flashing that differ greatly from traditional asphalt shingles.
An experienced metal roofing contractor, particularly one specializing in metal tile systems, brings a wealth of knowledge and expertise. They understand local building codes, proper ventilation requirements, and how to handle unforeseen challenges that often pop up during a roof replacement. Critically, professional installation is usually a prerequisite for honoring your metal roof's warranty. Many manufacturers will void warranties if the roof isn't installed by a certified professional. When seeking a contractor, consider using services like Modernize to find local, vetted experts. This ensures not only a proper installation but also that you have recourse if any issues arise. Our guide on How to Hire a Metal Roofing Contractor can help you navigate this important decision.
Common Challenges and How to Avoid Them
Even with the best intentions, things can go awry if proper care isn't taken. Metal tile roof installation, while durable, isn't immune to potential problems that can compromise its performance and appearance. Being aware of these challenges can help you ensure your contractor addresses them proactively.
One common concern is "oil canning," which refers to the visual waviness or distortion that can sometimes appear in flat metal panels. While often cosmetic and not affecting performance, it can be an aesthetic disappointment. Proper panel manufacturing, careful handling during installation, and adequate fastening can help minimize this effect. Another major challenge, of course, is preventing leaks. Leaks are typically not a problem with the metal tiles themselves, but rather with improper installation around flashing, penetrations, or seams. Meticulous attention to detail in these areas, using the correct sealants, and ensuring proper overlaps are essential to How to Prevent Leaks on a Metal Roof. Lastly, issues like improper fastening (too tight, too loose, or wrong type of fastener) can lead to panel damage, wind uplift, or premature wear on the washers. A reputable contractor will understand these nuances and implement best practices to avoid such issues.
Ensuring Longevity and Performance
You're investing in a metal tile roof for its incredible durability and lifespan, which can easily be 50 years or more. To truly maximize that investment, it's not enough to just install it correctly; you also need to ensure its ongoing longevity and performance. While metal roofs are famously low-maintenance, they're not entirely maintenance-free.
Regular inspections are a simple yet powerful tool. At least once a year, or after any major storm, it's wise to visually inspect your roof from the ground (or hire a professional for a closer look) for any signs of damage, loose fasteners, or debris accumulation. Keeping your roof clean of leaves, branches, and other organic matter prevents moisture buildup and potential staining or corrosion. Any minor damage, like a dislodged piece of trim or a scratched coating, should be addressed promptly to prevent it from escalating. Understanding Metal Roof Maintenance Guide can provide detailed instructions on what to look for and how to handle minor issues. Furthermore, ensuring proper attic ventilation is critical; good airflow prevents condensation from forming on the underside of your metal roof, which can lead to moisture issues and even rust over time. By taking these proactive steps, your metal tile roof will not only look fantastic for decades but will also continue to protect your home effectively and efficiently.
Metal Tile Roof Installation Considerations at a Glance
To give you a quick overview of some of the key aspects discussed, here's a table summarizing important considerations during the installation of a metal tile roof.
| Aspect | Description | Importance |
|---|---|---|
| Roof Deck Prep | Removal of old roofing, inspection, and repair of existing deck. | Essential for a stable base and prevention of structural issues. |
| Underlayment Type | High-quality synthetic or self-adhering ice & water shield. | Critical secondary moisture barrier, often required for warranty. |
| Panel Layout | Precise alignment, starting point, and consistent overlap. | Ensures proper drainage, aesthetic appeal, and structural integrity. |
| Fastener Type | Manufacturer-specified screws, clips, often hidden. | Prevents wind uplift, maintains aesthetic, and ensures longevity. |
| Flashing & Trim | Custom pieces for valleys, eaves, gables, penetrations, ridge. | Absolutely vital for creating a watertight seal and finished look. |
| Professional Skill | Experience with metal tile systems, adherence to codes & manufacturer specs. | Ensures proper installation, warranty validity, and long-term performance. |
| Ventilation | Adequate attic airflow (e.g., ridge vents, soffit vents). | Prevents condensation, extends roof life, and improves home energy efficiency. |
| Weather Conditions | Installation ideally in dry weather; cold can affect material flexibility. | Safety for installers and proper adhesion/sealing of components. |
Disclaimer
Please remember that the information provided in this guide is intended for general informational purposes only and does not constitute professional advice. Roofing projects involve inherent risks and complex technical details. Always consult with a qualified, licensed, and insured metal roofing contractor for specific advice tailored to your property and to ensure compliance with local building codes and safety regulations.