How to Inspect a Metal Roof for Leaks
There's nothing quite as disheartening as spotting that tell-tale stain on your ceiling or feeling a drip when a storm hits, especially when you thought your metal roof was invincible. Many homeowners choose metal roofing for its legendary durability, only to be caught off guard by a leak. It’s frustrating, confusing, and often leads to panic. This comprehensive guide is here to walk you through the process of how to inspect a metal roof for leaks, pinpointing common culprits and giving you the confidence to either tackle minor issues or call in the pros effectively.
Understanding Common Metal Roof Leak Sources
You installed a metal roof because you wanted something that would last forever, right? So when you discover a leak, it feels like a betrayal. But here's the honest truth: even the most robust metal roofs can develop leaks. It's not usually a flaw in the material itself, but rather a vulnerability in the system or its installation. Think of it like this: a high-performance sports car is amazing, but if a single spark plug is faulty, it's not going to run right. With metal roofs, those "spark plugs" are often the points where panels connect, where they're fastened down, or where they meet other roof features.
One of the biggest misconceptions is that metal roofs are one solid, impenetrable shield. In reality, they're a complex system of panels, fasteners, sealants, and flashing, all working together. Over time, or due to improper initial setup, any one of these components can become a weak link.
The Usual Suspects: Fasteners, Seams, and Flashing
When we talk about metal roof leaks, there are a few areas that pop up more frequently than others. Knowing these can help you focus your inspection efforts and understand why your seemingly sturdy roof might be letting you down.
-
Fasteners: These are arguably the most common culprit, especially on exposed fastener metal roofs. Think about it: every screw penetrating the metal panel creates a potential entry point for water. Most metal roofing screws come with a rubber or neoprene washer designed to create a watertight seal. However, these washers are exposed to the elements 24/7. UV radiation, extreme temperatures, and even general wear and tear can cause them to degrade, crack, or become brittle over time. When that happens, the seal fails, and water can seep in around the shank of the screw. Screws can also loosen due to thermal expansion and contraction of the metal panels, or they might have been over-torqued during installation, crushing the washer and compromising its integrity from day one. If you're wondering, "Why Is My Metal Roof Leaking at the Screws?", this is almost always the reason.
-
Seams: Whether you have a standing seam roof with interlocking panels or a corrugated roof with overlapping sheets, seams are critical. On standing seam roofs, the seams are typically raised and interlocked, often with a sealant applied during installation for extra protection. If this sealant breaks down, or if the interlocking mechanism isn't properly crimped, water can find its way through. For exposed fastener systems, overlaps between panels are usually sealed with caulk or tape and secured with screws. If these seals dry out, crack, or lose their adhesion, the seam becomes a pathway for water, especially during high winds that can drive rain sideways.
-
Flashing: This is perhaps the most vulnerable area on any roof, not just metal ones. Flashing refers to the metal pieces installed around obstructions or transitions on your roof, such as chimneys, skylights, vents, valleys, and walls. Its purpose is to direct water away from these critical junctures. If the flashing isn't installed correctly, if it comes loose, if the sealant around it fails, or if it gets damaged, it's a prime spot for leaks. A common scenario is a leak around a chimney where the counter-flashing has pulled away from the masonry or the caulk has cracked. Proper installation of these elements is vital, as a minor oversight can lead to significant water intrusion. This is why knowing how to execute a thorough Metal Roof Flashing Repair is so important.
Contributing Factors: Age, Installation, and Weather
Beyond the specific points of failure, several broader factors can contribute to leaks.
-
Age: Nothing lasts forever, and while metal roofs boast impressive lifespans, components like sealants and washers have a shorter life expectancy than the metal panels themselves. After 15-20 years, even a well-installed roof might start showing signs of sealant fatigue. Regular Metal Roof Maintenance Guide can help identify and address these age-related issues before they become major leaks.
-
Installation Quality: This is huge. A poorly installed metal roof is a ticking time bomb for leaks. If fasteners aren't driven correctly, if seams aren't properly engaged and sealed, or if flashing isn't meticulously crafted and integrated, you're setting yourself up for problems. A contractor rushing the job or lacking specific experience with metal roofing profiles can make costly mistakes. Always verify the expertise of your installer.
-
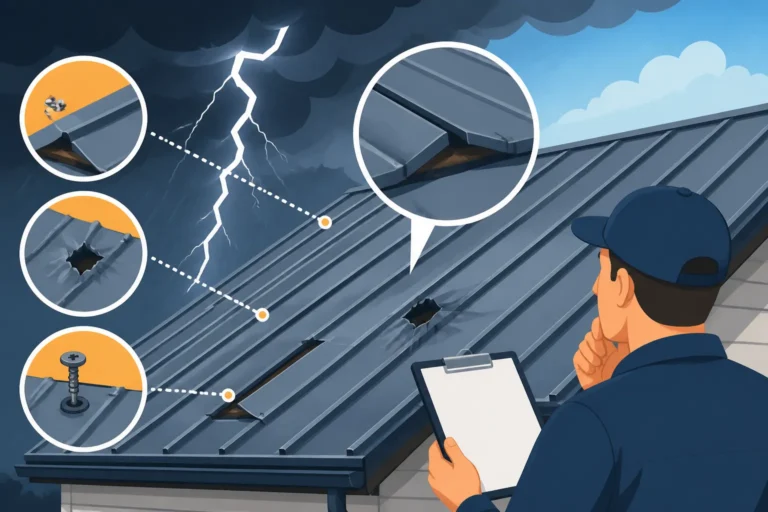
Weather Extremes: Mother Nature is relentless. High winds can lift panels, stress fasteners, and tear away flashing. Heavy downpours can expose even tiny gaps. Hail can dent panels, dislodge fasteners, and compromise coatings. Snow and ice dams can force water into places it normally wouldn't go. If you live in an area prone to severe weather, your roof faces a greater challenge, and you should be particularly vigilant about post-storm inspections. The article Metal Roof Storm, Hail & Wind Damage goes into more detail about these specific challenges.
Understanding these common leak sources and contributing factors is your first line of defense. It transforms a vague fear of "a leak" into a targeted strategy for finding and fixing the problem.
The Step-by-Step Metal Roof Inspection Process
Okay, you suspect a leak. Don't just grab a bucket and hope for the best! A methodical inspection can save you a lot of headache and expense down the line. Before you even think about climbing a ladder, safety is paramount.
Prioritizing Safety First
Working on a roof is inherently dangerous, even more so with metal roofs, which can be slippery when wet, icy, or even dusty. Seriously, don't take risks.
- Footwear: Wear soft-soled shoes with good grip. Avoid anything with hard soles that could scratch the roof or slip easily.
- Ladder Safety: Always use a sturdy ladder, placed on firm, level ground. Extend it at least three feet above the eave line. Have someone spot you if possible.
- Roof Safety Gear: For anything beyond a quick ground-level scan, especially if you're going on the roof, consider a fall arrest system. This includes a harness, lanyard, and anchor point. If you're uncomfortable or unsure about working at heights, please, please, call a professional. It's not worth a trip to the emergency room. Also, understand that How to Walk on a Metal Roof Without Damage requires specific techniques and knowledge, particularly for certain panel types like standing seam.
Exterior Inspection From the Ground Up
Before you even think about getting on the roof, do a thorough check from the safety of the ground. This can reveal a surprising amount and help you identify areas for closer examination.
-
Walk Around Your Home: Take a full lap, looking up at your roof from different angles. Use binoculars if you have them. What are you looking for?
- Loose or Missing Panels: Can you see any panels that appear to be lifted, misaligned, or outright missing? This is a clear red flag.
- Damaged Flashing: Look at the areas around chimneys, vents, skylights, and where the roof meets any walls. Does the flashing look bent, pulled away, or rusted? Are there visible gaps where water could enter?
- Missing or Damaged Fasteners: This might be harder to spot from the ground, but sometimes a glint of sunlight on a missing screw hole, or a visibly popped screw head, can be seen.
- Rust or Corrosion: Any signs of rust, especially along seams, around fasteners, or near the edges of panels, can indicate water pooling or consistent moisture exposure.
- Oil Canning or Dents: While oil canning (wavy appearance of panels) is often aesthetic, severe dents from hail or falling debris can create low spots where water collects, potentially exacerbating issues at fasteners or seams.
- Debris Accumulation: Leaves, branches, and other debris can trap moisture and accelerate the degradation of coatings, sealants, and washers. Check valleys and behind chimneys or other roof features.
-
Check Gutters and Downspouts: Are they clogged? Overflowing gutters can cause water to back up under the roof's edge, leading to leaks, especially during heavy rain. Water cascading over the sides can also cause splash-back that finds its way into eaves or wall junctions.
Getting Up Close: Ladder and On-Roof Inspection
If your ground inspection reveals suspicious areas, or you still can't find the source of a known leak, it's time for a closer look. Again, emphasize safety. Bring a small notebook, a camera (your phone works great), and maybe some chalk to mark suspicious spots.
-
Focus on Penetrations and Transitions: These are the weak points.
- Chimneys: Inspect the step flashing and counter flashing, looking for cracks in mortar, separation from the chimney, or deteriorated caulk.
- Vents (Plumbing, Attic): Check the rubber boots or metal collars around these. Are they cracked, torn, or has the sealant failed? Critically, make sure the vent pipes themselves aren't loose and wobbling, which could break their seal.
- Skylights: This is a big one. Inspect the curb flashing, step flashing, and head/sill flashing. Look for any compromised seals between the glass and the frame, or between the frame and the roof deck. Many skylight leaks aren't actually roof leaks but rather condensation or flashing failures.
- Valleys: These are high-flow areas for water. Look for proper overlapping of metal panels, intact sealant, and no signs of rust or debris accumulation.
- Roof Edges and Drip Edge: Ensure the drip edge is properly installed and not damaged, directing water into the gutters and away from the fascia.
- Wall Flashings: Where your roof meets a vertical wall (like a dormer or an adjacent wall), check the kick-out flashing and step flashing for tightness and sealant integrity.
-
Examine Panels and Seams:
- Fasteners: Go over every exposed fastener. Look for screws that are backed out, missing, or have visibly degraded rubber washers. A good test is to gently try to tighten any loose screws, but be careful not to over-tighten and crush the washer.
- Panel Surfaces: Look for punctures, severe dents, scratches that have gone through the protective coating, or areas of significant Metal Roof Rust and Corrosion Treatment. Pay attention to low-slope areas where water might linger.
- Seams: On standing seam roofs, check the integrity of the crimps. Are they tight and uniform? On exposed fastener panels, check the sealant tape or caulk in the overlaps. Is it cracked, missing, or pulling away?
-
Gutter and Downspout Integration: While on the roof, you can get a better view into the gutters. Clear any leaves, twigs, or granules from old shingles if your metal roof was installed over them. Ensure downspouts are securely attached and directing water away from the foundation.
Interior Inspection: The Clues Within
Sometimes, the exterior doesn't give you all the answers, or the leak is only visible inside. This is where your attic and interior ceilings come in.
-
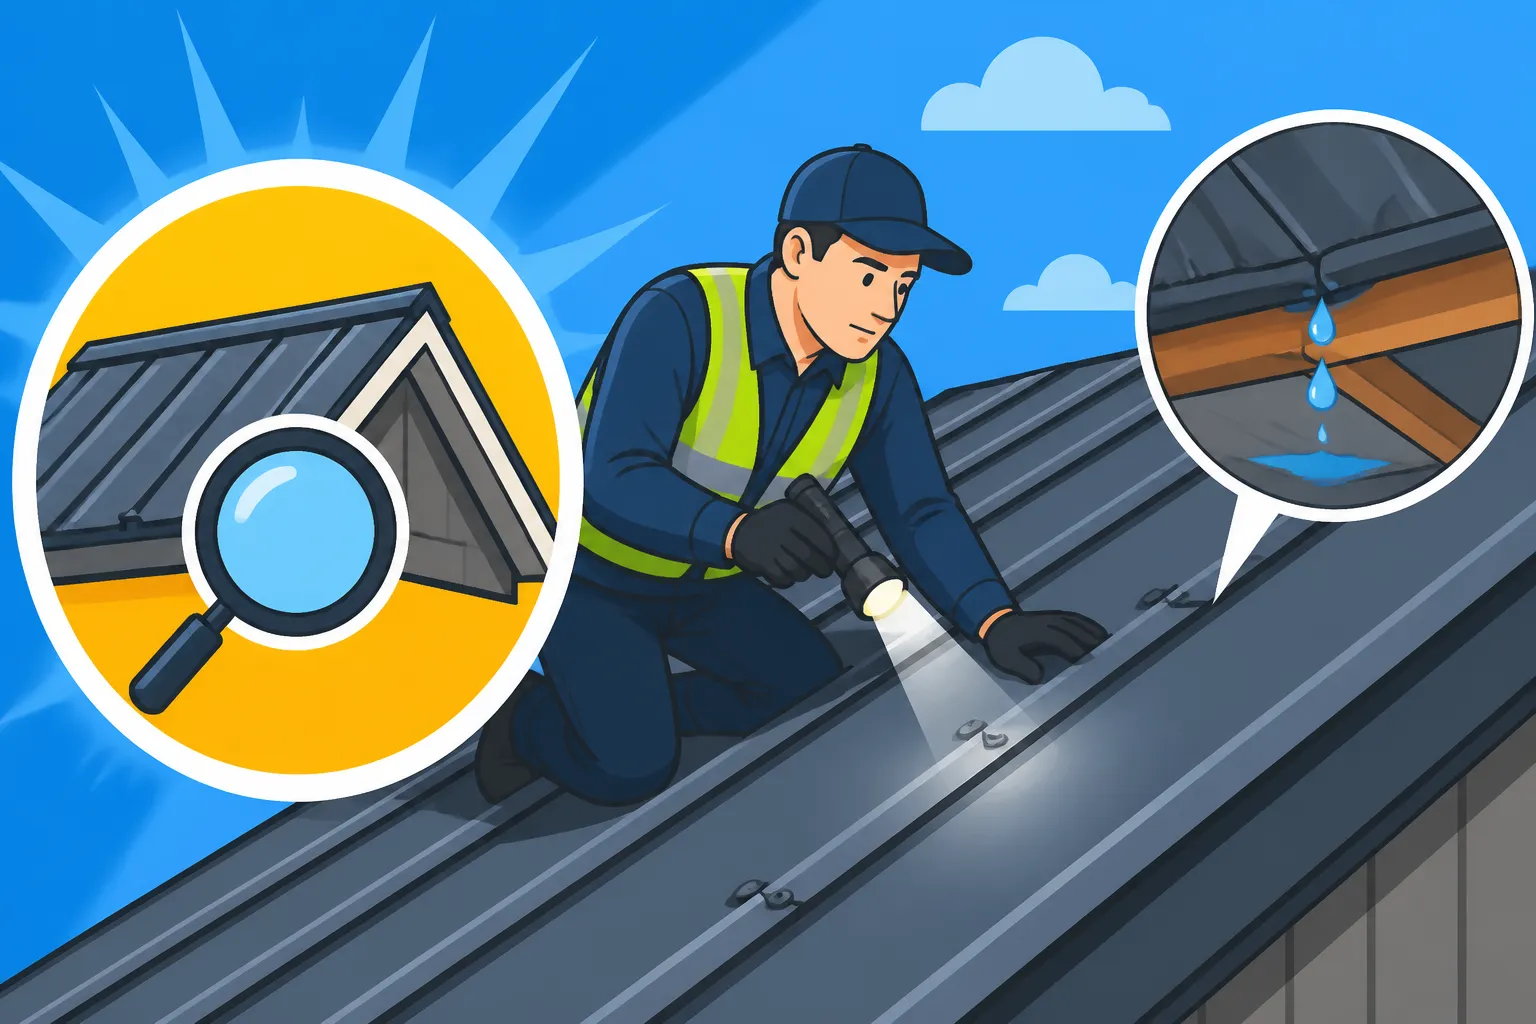
Attic Exploration: Grab a flashlight and head up there. This is often the quickest way to confirm a leak.
- Water Stains: Look for discoloration on the underside of your roof deck, rafters, or insulation. Water always flows downhill, so the actual entry point on the roof might be uphill from where you see the stain in the attic.
- Mold or Mildew: Any fuzzy growth indicates prolonged moisture.
- Dripping Water: On a rainy day, you might be lucky (or unlucky, depending on how you look at it) enough to see the actual drip.
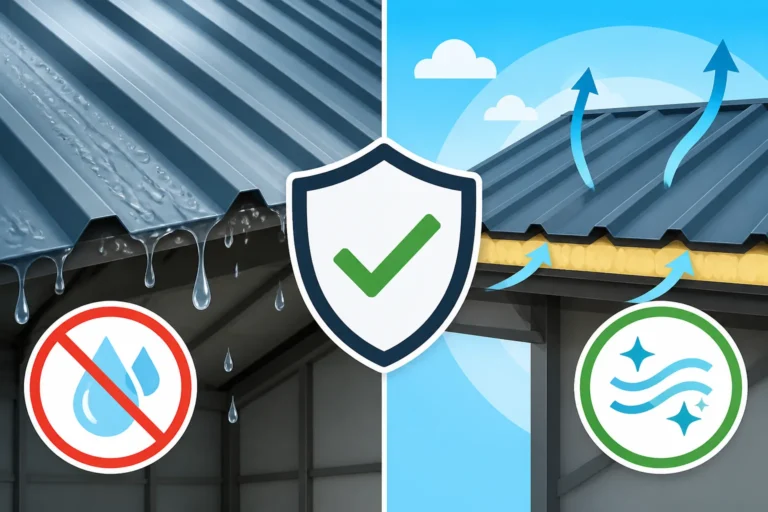
- Ventilation Issues: While not a leak, excessive condensation can mimic a leak. If your attic feels damp, or you see frost/water on the underside of the decking, it could be a ventilation problem rather than a breach in the roof.
-
Interior Ceilings and Walls:
- Stains or Discoloration: Dark spots, yellowish rings, or bubbling paint are classic signs of water damage.
- Dampness or Soft Spots: Gently press on suspected areas. If the drywall feels soft or spongy, there's active or recent water intrusion.
- Musty Odors: Lingering dampness or mold can create a distinct musty smell, even if you can't see visible damage.
By combining a thorough exterior and interior inspection, you're much more likely to pinpoint the source of your metal roof leak. Remember, patience and a keen eye are your best tools.
Identifying Specific Leak Signs and Their Causes
Knowing where to look is half the battle; knowing what you're looking for is the other half. Let's dig into specific visual cues and the underlying causes of those pesky metal roof leaks. Understanding these connections can help you communicate more effectively with contractors or even attempt a DIY fix for minor issues.
Visual Cues: Stains, Mold, Rust, and Damage
When water enters your home, it leaves a trail. These are the distress signals your house sends out.
-
Water Stains on Ceilings and Walls: This is often the first visible sign for homeowners. These stains can appear as yellowish, brownish, or dark rings or streaks. On drywall, they might be crisp and defined, while on plaster, they might spread more diffusely. Remember that gravity plays a role; the spot where you see the stain isn't necessarily directly under the leak source. Water can travel along rafters, insulation, or the underside of the roof deck before dripping down. It's often helpful to look above the stain in the attic to trace the water's path back to its origin.
-
Mold or Mildew Growth: Where there's persistent moisture, mold often follows. You might see fuzzy green, black, or white patches on ceilings, walls, or even inside cabinets. Beyond being unsightly, mold can pose health risks. Its presence indicates a leak that has been active for some time, providing a consistent water source for the fungal growth. Even if you don't see visible mold, a persistent musty or earthy smell is a strong indicator of hidden mold and moisture.
-
Rust and Corrosion on Panels or Fasteners: While metal roofs are designed to resist rust, they aren't entirely immune, especially if their protective coatings are compromised. Reddish-brown streaks on panels, particularly near fasteners or seams, are clear signs of rust. This not only points to water exposure but also indicates that the metal itself is degrading. On galvanized or Galvalume steel roofs, rust means the zinc or aluminum-zinc coating has been breached. On aluminum roofs, you might see white powdery corrosion. This can be an early warning sign that the metal is continuously getting wet in an area it shouldn't be, and if left untreated, it can lead to bigger problems. Timely Metal Roof Rust and Corrosion Treatment can prevent widespread issues.
-
Damaged or Missing Panels: This is an obvious one, but sometimes subtle. A panel might be slightly uplifted, bent, or have a tear that's hard to spot from a distance. High winds are a common culprit here, causing panels to lift or even detach entirely. If a panel is compromised, it creates a direct path for water.
Specific Component Failures
Drilling down, specific parts of your metal roof system can show particular signs of failure.
-
Fastener Issues:
- Degraded Washers: This is a big one for exposed fastener systems. The rubber or neoprene washers beneath the screw heads are crucial. Over time, UV rays, heat, and cold cause these washers to dry out, crack, shrink, or even disintegrate. When they fail, water seeps through the screw hole. Visually, they might look brittle, chalky, or have noticeable cracks.
- Loose or Backed-Out Screws: Thermal expansion and contraction of the metal panels can cause screws to slowly loosen over years. You might see the screw head slightly raised above the panel surface. A loose screw means the washer is no longer compressed, and water can get in.
- Over-tightened Screws: Paradoxically, a screw tightened too much during installation can also cause problems. Over-torquing can crush the rubber washer, compromising its ability to seal effectively from day one. You might notice a visible indentation or deformation in the panel around the screw head.
-
Seam Issues:
- Sealant Failure: For both standing seam and exposed fastener systems, sealants are used to provide a watertight barrier at seams and overlaps. These sealants, typically silicone or butyl, can dry out, crack, peel, or lose adhesion over time. You'll see visible gaps or brittle, detached sealant along the length of the seam. This is especially true on corrugated or R-panel roofs where the side laps are often sealed with a bead of caulk or strip of tape before fastening. When this fails, water can wick right through the overlap. Learning How to Fix a Leaking Metal Roof Seam often involves replacing this failed sealant.
- Panel Separation: In rare cases, especially with extreme weather or improper installation, the interlocking mechanisms of standing seam panels can separate, or the overlaps on exposed fastener panels can pull apart. This creates a direct opening for water ingress.
-
Flashing Issues:
- Damaged or Lifted Flashing: Flashing around chimneys, skylights, vents, and walls can become bent, ripped, or pulled away from the adjacent surface. This can happen due to wind, impacts from falling debris, or simply poor installation.
- Failed Sealant at Flashing: Much like seam sealants, the caulk or mastic used around flashing to create a watertight seal can degrade. Look for cracking, shrinking, or missing sealant where the flashing meets a chimney, a skylight curb, or a wall.
- Improper Installation: Sometimes, flashing was never installed correctly to begin with. Missing kick-out flashing where a roof meets a wall can direct water directly down the wall instead of into the gutter, leading to rot and leaks. Similarly, improper layering of step flashing can allow water to bypass the system.
By methodically checking these specific areas and understanding the visual cues they present, you can become a true detective for your metal roof. This detailed approach is far more effective than just a quick glance.
Documentation and Next Steps After Finding a Leak
Finding a leak can feel like a punch to the gut, but once you've identified the source, you're already in a much better position. The next crucial steps involve documenting what you've found and deciding on the best course of action. This information will be invaluable whether you attempt a repair yourself or, more commonly, bring in a professional.
The Importance of Thorough Documentation
Think of yourself as a forensic investigator for your roof. Every detail matters, especially if you might need to involve insurance or discuss repairs with a contractor.
-
Photos, Photos, Photos: Your smartphone is your best friend here. Take clear, well-lit photographs of everything you've found.
- Overall Shots: Start with wider shots showing the general area of the leak on the roof and inside the home.
- Close-Up Shots: Get detailed close-ups of specific issues: cracked washers, lifted panels, rusted areas, failed sealants, or compromised flashing.
- Contextual Shots: Take pictures of any water stains, mold growth, or structural damage inside your attic or living space.
- Date and Time Stamp: Most phones automatically add this, but ensure your photos are dated. This creates a timeline, especially if the leak has been ongoing or you're tracking its progression.
-
Detailed Notes: Write down everything.
- Location: Be specific. "Leak is on the north-facing slope, about 10 feet from the ridge, near the plumbing vent stack."
- Observation: Describe what you saw. "Rubber washer on screw #12 (from left) is cracked and discolored. Panel seam appears to have peeling sealant."
- Conditions: Note the weather conditions when the leak was observed (e.g., "Heavy rain, strong winds," or "After a day of melting snow"). This can help determine if it's a wind-driven rain issue or something else.
- Measurements: If possible, measure the size of a water stain or the length of a compromised seam.
-
Sketch the Roof (Optional but Helpful): A simple diagram of your roof with the leak location marked can be incredibly useful, especially when explaining the issue to a contractor or insurance adjuster.
This documentation serves multiple purposes: it helps you accurately describe the problem, provides evidence for insurance claims (if applicable), and allows contractors to quickly understand the scope of work, leading to more accurate estimates.
When to Call a Professional Metal Roofing Contractor
While a thorough inspection helps you understand the problem, not every homeowner is equipped or comfortable with performing complex roof repairs. Knowing when to call in the experts is a sign of smart homeownership.
- Safety Concerns: As mentioned earlier, if you're uncomfortable with heights, lack proper safety gear, or the roof pitch is steep, it's always best to defer to professionals.
- Lack of Expertise/Tools: Metal roofing requires specialized knowledge and tools for proper repair, especially for standing seam systems or complex flashing. Attempting a repair without the right skills can often make the problem worse, leading to more costly fixes down the road.
- Extensive or Complex Damage: If you're dealing with multiple leaks, widespread panel damage, significant flashing issues around complex structures like dormers, or structural concerns in your attic, a professional assessment is essential. They can diagnose the root cause and provide a comprehensive solution.
- Warranty Concerns: Many metal roof warranties, both manufacturer and workmanship, require repairs to be performed by certified or licensed professionals to remain valid. Check your warranty documents carefully. You don't want to void your Metal Roof Warranties: Workmanship vs Manufacturer by attempting a DIY fix that ends up causing more harm.
- Insurance Claims: If the leak is due to storm damage (hail, wind, falling trees), you'll likely need to file an insurance claim. A professional roofer can provide a detailed damage report and work with your insurance adjuster. Many reputable contractors, like those found through
Modernize's network, are experienced in navigating insurance claims.
When you decide to call a professional, be prepared with your documentation. This will streamline the process and help them give you a more accurate How Much Does Metal Roof Repair Cost? estimate. When it comes time to find a contractor, our guide on How to Hire a Metal Roofing Contractor offers excellent advice.
Temporary Fixes Versus Permanent Repairs and Replacement
Once the leak is located and documented, you have decisions to make.
-
Temporary Fixes: These are usually for emergencies or to buy you time until a permanent repair can be scheduled.
- Roofing Tar/Mastic: For small punctures or minor flashing gaps, a dab of high-quality roofing tar or specialized metal roof sealant can offer a temporary patch.
- Butyl Tape: This self-adhesive, flexible tape can be pressed over small holes or minor seam separations to provide a watertight seal for a short period.
- Remember: Temporary fixes are exactly that—temporary. They're not a substitute for addressing the underlying problem.
-
Permanent Repairs: The goal is to restore the roof's integrity.
- Fastener Replacement: For degraded washers, replacing the old screws with new, oversized screws with fresh neoprene washers is a common and effective repair.
- Sealant Application: Reapplying a high-quality, UV-resistant metal roof sealant (silicone or butyl) to compromised seams or flashing joints.
- Panel Patching/Replacement: For small holes, specialized patches can be applied. For severely damaged individual panels, it might be possible to replace just that section, though this depends on the roofing system (standing seam panels are often harder to replace individually).
- Flashing Repair/Replacement: Loose flashing can be re-secured and re-sealed. Severely damaged or improperly installed flashing needs to be replaced entirely.
-
Considering a Full Replacement: Sometimes, a leak is a symptom of a larger, systemic issue.
- Widespread Degradation: If fasteners are failing across large sections of the roof, or if sealants are uniformly deteriorating, individual repairs might be a never-ending game of whack-a-mole.
- Age of the Roof: If your metal roof is nearing the end of its projected lifespan (e.g., 40-50 years for steel, even longer for copper), or if it was a budget-friendly option with a shorter life expectancy, a series of costly repairs might not be financially sound. It might be more economical in the long run to invest in a new roof. Our article on Metal Roof Repair vs Replacement: How to Decide can help you weigh these options.
- Structural Damage: If the leak has caused significant water damage to the underlying roof deck, rafters, or insulation, a full replacement allows for a complete assessment and remediation of these issues.
Here's a quick overview of common leak indicators and their likely causes:
| Leak Sign Observed | Likely Location(s) & Cause | Immediate Action | Long-Term Solution |
|---|---|---|---|
| Interior Ceiling/Wall Stains | Anywhere above stain in attic; compromised roof barrier | Locate source in attic, clear debris, temporary patch | Professional repair of source (fastener, seam, flashing), clean/treat mold |
| Degraded Fastener Washers | Exposed fasteners on panels (especially common on ribbed panels) | Apply roofing mastic over screw head, gently tighten if loose | Replace old fasteners with new oversized screws/washers, reseal |
| Cracked/Peeling Seam Sealant | Panel overlaps (exposed fastener) or standing seam joints | Clean area, apply temporary butyl tape or sealant | Scrape old sealant, reapply high-quality, flexible metal roofing sealant (e.g., urethane, silicone) |
| Loose/Bent Flashing | Around chimneys, vents, skylights, dormers, valleys | Press into place, temporarily seal with caulk or tape | Re-secure flashing, replace damaged sections, re-seal with durable caulk |
| Rust Spots/Streaks | Anywhere on panels, especially around fasteners or low spots | Clean rust, apply rust-inhibiting primer and paint | Treat rust, apply protective coating, address water pooling cause (e.g., drainage, panel replacement) |
| Punctures/Holes | Any panel, often from falling debris, walking damage, or old satellite dishes | Clean area, apply temporary waterproof patch or tape | Professional patch, panel replacement, or repair kit designed for metal roofs |
| Clogged Gutters/Downspouts | Eaves, valleys, areas where roof meets walls | Clear all debris immediately | Regular gutter cleaning, consider gutter guards |
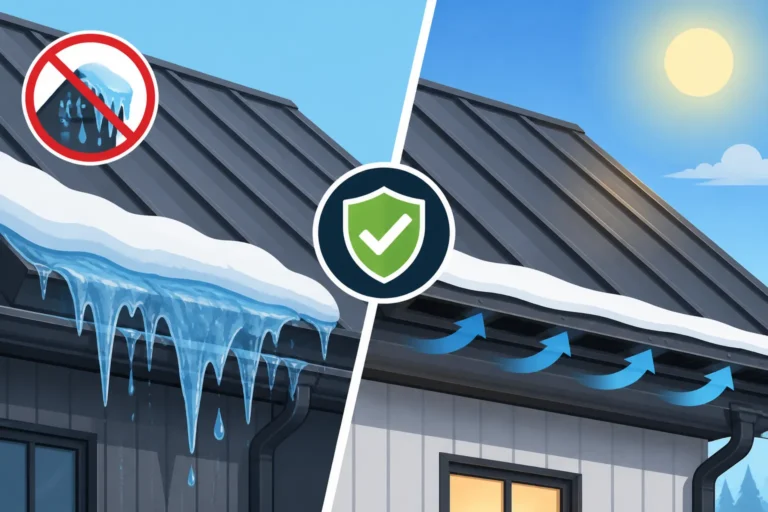
| Ice Dams | Eaves in cold climates | Remove snow/ice safely, create channels for water to drain | Improve attic insulation/ventilation, consider heating cables, professional evaluation |
By being proactive, thoroughly inspecting your metal roof, documenting what you find, and choosing the right course of action, you can protect your home and ensure your metal roof continues to perform as it should for decades to come.
Disclaimer
Please remember that this guide provides general information and recommendations. Roofing work can be dangerous, and specific situations may require specialized knowledge and tools. Always prioritize safety. If you are uncertain about any aspect of inspecting or repairing your metal roof, it is highly recommended to consult with a qualified and licensed metal roofing professional. They can provide an accurate assessment and ensure repairs are done correctly and safely, often backed by warranties.