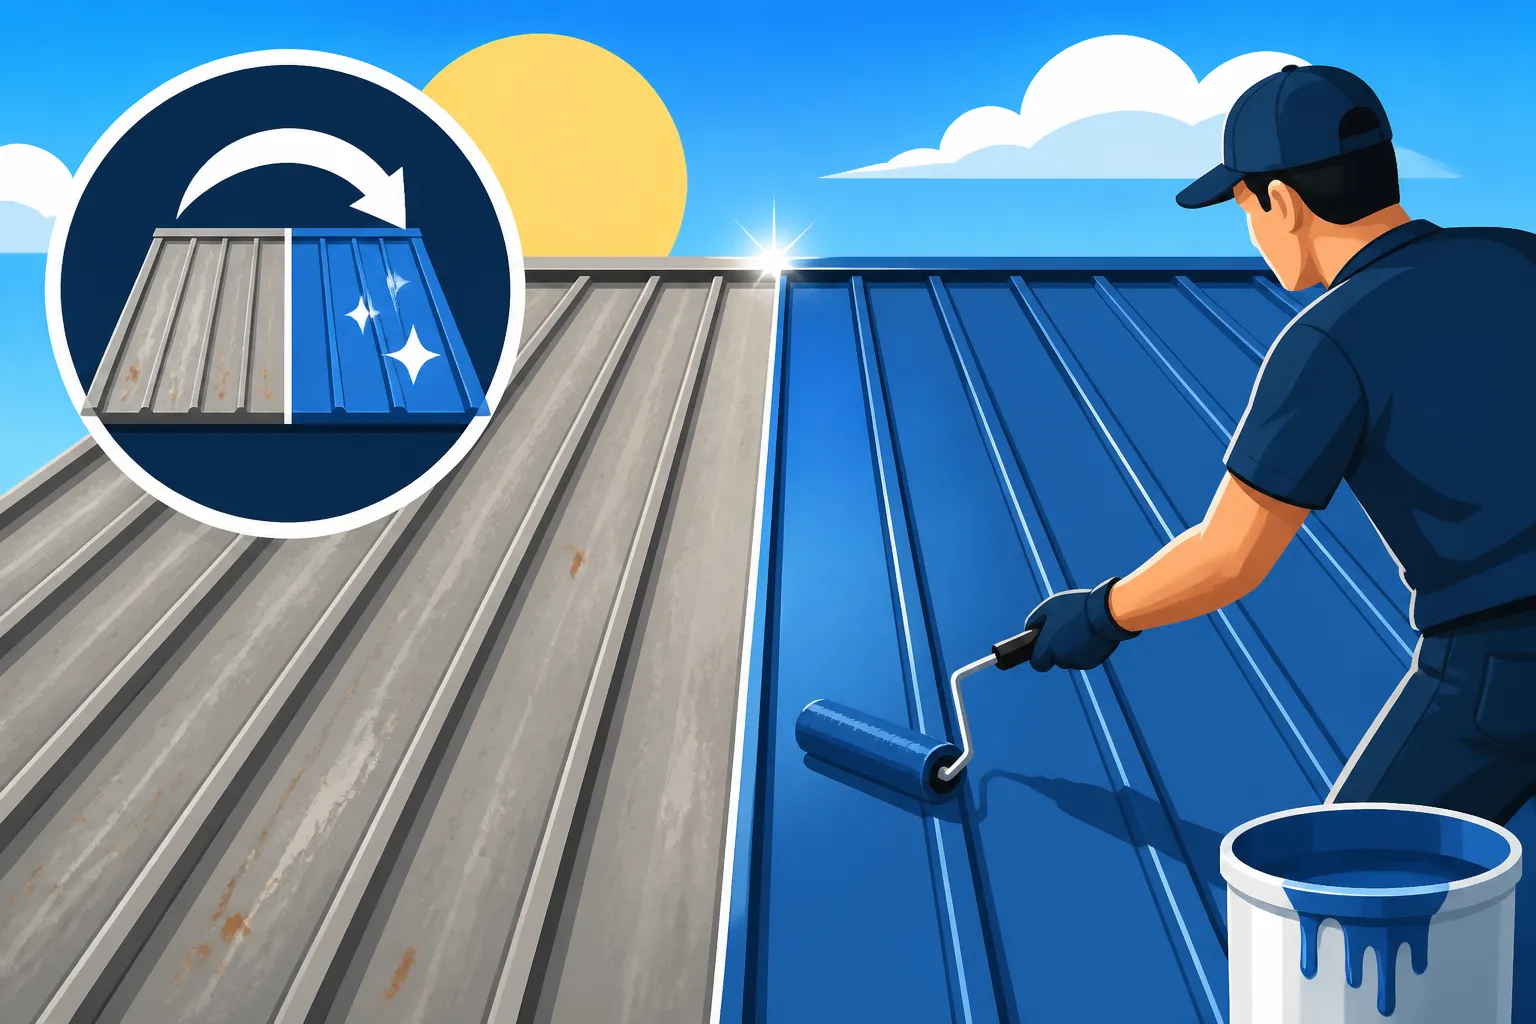
How to Repaint a Faded Metal Roof
There’s nothing quite like seeing your beautiful metal roof, once vibrant and protective, start to lose its luster. That dull, chalky appearance can be disheartening, making your home look tired and less appealing. But don't despair! Repainting a faded metal roof is a fantastic way to restore its curb appeal and extend its life. This comprehensive guide will walk you through everything you need to know, from understanding why it fades to the best methods for bringing back its shine.
Why Your Metal Roof Fades and What It Means
It's a common sight: a once brightly colored metal roof slowly losing its vibrancy, looking chalky or dull. This isn't just about aesthetics; it's a sign that your roof's protective coating is facing the relentless forces of nature. Understanding why this happens is the first step in effectively bringing it back to life.
Understanding UV Degradation and Weathering
The primary culprit behind a faded metal roof is often a combination of ultraviolet (UV) radiation from the sun and constant exposure to the elements. Think about it: your roof takes the brunt of sunny days, rainy seasons, and everything in between, year after year. Most metal roofs come with a high-performance paint finish, often a Kynar 500® (PVDF) or SMP (Siliconized Modified Polyester) coating, designed to protect the metal underneath. These coatings contain pigments that absorb or reflect UV rays. Over time, the UV light breaks down the chemical bonds in these pigments and resins.
This breakdown process leads to what's known as "chalking." You might notice a fine, powdery residue if you run your hand across a faded panel. This chalking is essentially the paint's resin binder degrading, leaving behind loose pigment particles on the surface. It's a natural aging process for most exterior coatings. While PVDF coatings are renowned for their superior fade and chalk resistance compared to SMPs, even the best finishes will eventually show signs of wear after decades of constant sun exposure, especially in areas with intense sunlight like Florida or Arizona. This fading doesn't mean your roof is structurally failing, but it does indicate a diminished protective layer.
The Impact of Fading Beyond Aesthetics
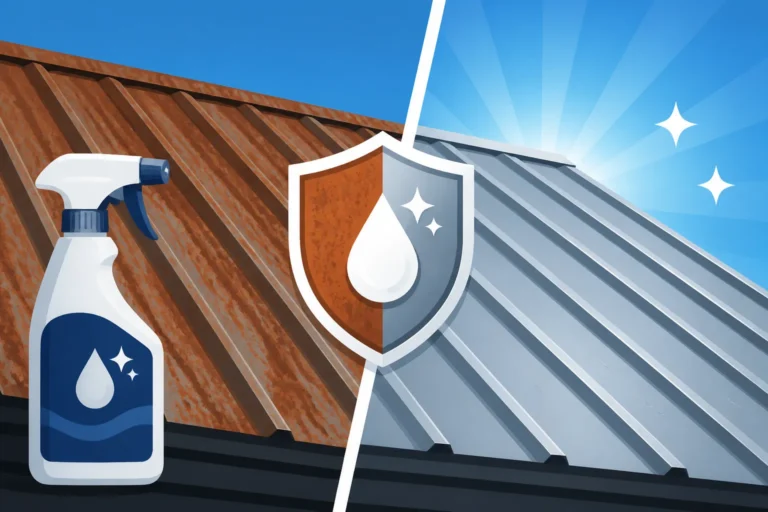
While a faded roof certainly impacts your home's curb appeal – making it look older and less well-maintained – the consequences go a bit deeper than just looks. The paint coating on your metal roof isn't just for color; it's a critical layer of defense against corrosion and rust. When the paint fades and chalks, its ability to protect the underlying metal, whether it's steel, aluminum, or zinc, becomes compromised.
For instance, if you have a galvanized or Galvalume steel roof, the coating helps prevent moisture from reaching the steel and accelerating the corrosion process. A weakened paint layer can eventually lead to surface rust or other signs of degradation, especially if small scratches or imperfections were already present. In coastal areas, where salt spray is a constant factor, a failing paint layer can expose the metal to accelerated corrosion. Furthermore, a faded roof might lose some of its initial energy-efficient properties. Many lighter-colored metal roofs are designed to reflect solar radiation, keeping your home cooler. As the surface chalks and dulls, its reflectivity can decrease, potentially leading to slightly higher cooling costs during hot months. Addressing the fading not only restores beauty but reinforces your roof's long-term resilience and protective capabilities. If you're wondering how much a metal roof replacement might cost, you can look into a guide like Metal Roof Cost: Complete 2026 Guide.
Preparing Your Metal Roof for Repainting
Repainting a metal roof isn't just about slapping on a new coat of paint. Proper preparation is absolutely crucial for ensuring the new coating adheres correctly and lasts for years to come. Skipping steps here will only lead to disappointment and premature failure of your new paint job.
Thorough Cleaning for Optimal Adhesion
This is perhaps the most important step in the entire process. You absolutely cannot paint over dirt, chalk, or loose debris. The goal is to create a clean, sound surface that the new paint can bond to.
First, start by removing any large debris like leaves, twigs, or accumulated dirt. A leaf blower or a soft-bristled broom can work wonders here. Next, you'll need to power wash the entire roof surface. Be careful with the pressure! While a good power washer is effective, too much pressure can damage the existing coating or even force water into seams or under panels, leading to leaks. A pressure of 1500-2500 PSI is usually sufficient, but always test a small, inconspicuous area first. When power washing, make sure to direct the spray downwards, following the slope of the roof, to avoid lifting panels or forcing water where it shouldn't go, especially around flashing and seams.
The real secret to cleaning a faded, chalky roof is using a high-quality detergent specifically designed for exterior cleaning or metal surfaces. Many roofing professionals recommend specialized roof cleaning solutions or a strong degreaser to cut through the chalking and grime. Apply the cleaner liberally, let it dwell for the recommended time (usually 5-15 minutes), and then scrub any stubborn areas with a soft-bristled brush, particularly around seams, valleys, and areas with heavy buildup. Finally, rinse the entire roof thoroughly with clean water, making sure no detergent residue is left behind. Any remaining chalk or cleaner will prevent proper adhesion. Allow the roof to dry completely – and I mean completely – before moving on to the next step.
Addressing Rust, Corrosion, and Old Coatings
Once your roof is clean and dry, it's time to inspect it meticulously for any damage that needs addressing before painting. Spotting and treating these issues now will prevent them from compromising your new paint job later.
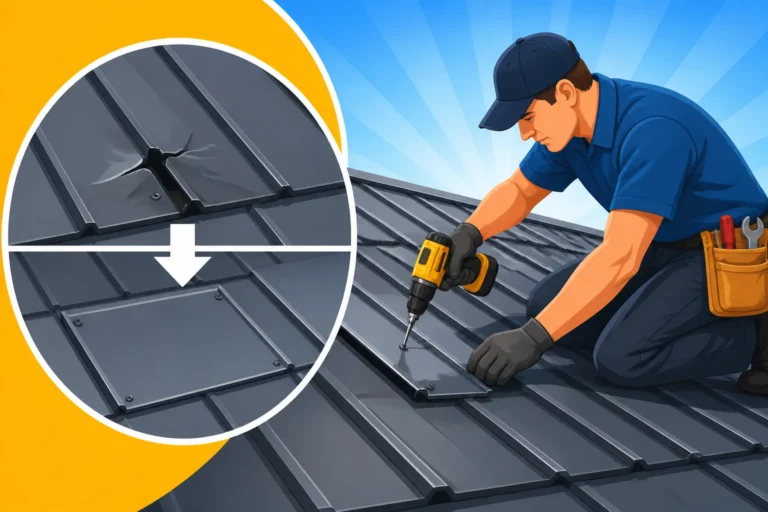
Look for any areas of rust. Even minor surface rust needs attention. For light surface rust, you can use a wire brush or sandpaper to gently remove it. After removing the loose rust, treat the area with a rust-inhibiting primer or a rust converter product. These products chemically change the rust into a stable, paintable surface. For more significant rust or corrosion, especially around fasteners or panel edges, you might need to use a grinding wheel or even replace individual panels if the damage is extensive. Remember, painting over active rust is like building on quicksand – it won't last. If you're dealing with extensive rust, you might need to dive into more specialized repair guides like Metal Roof Rust and Corrosion Treatment.
If your roof has an existing, peeling, or delaminating paint coating (which is less common with high-quality metal roof finishes but can happen with cheaper or poorly applied paints), you'll need to remove any loose flakes. A scraper or wire brush can be used carefully to feather the edges of the old paint, creating a smooth transition. Some extremely old or poorly adhered coatings might require a chemical paint stripper, but this is usually a last resort due to safety concerns and disposal requirements. Ensure all surfaces are smooth, clean, and free of any loose materials before priming or painting. Any caulk or sealant that is cracked, dried out, or peeling should also be removed and replaced with a high-quality, paintable exterior sealant, particularly around penetrations like vents, pipes, and chimneys.
Essential Safety Precautions and Equipment
Working on a roof, especially a metal one, can be hazardous. Safety should always be your number one priority. Don't take shortcuts here.
First and foremost, secure your ladder properly. It should extend at least three feet above the eave and be placed on a firm, level surface. Consider tying it off at the top for added stability. For working on the roof itself, always wear appropriate fall protection. This typically includes a safety harness securely anchored to a strong point on the roof, like a temporary anchor point or a designated structural element. Even on low-slope roofs, a fall can result in serious injury. If you're working on a steeper pitch, safety lines and toe boards are non-negotiable.
Wear non-slip footwear – shoes specifically designed for roofing or with excellent grip are essential. Avoid open-toed shoes or anything that can easily slip. Protect your skin and eyes with long sleeves, pants, gloves, and safety glasses or goggles, especially when cleaning with chemicals, wire brushing, or painting. If you're using a paint sprayer, a respirator mask is critical to protect your lungs from paint fumes. Always have a first-aid kit readily accessible, and ideally, have someone else present to assist or call for help if needed. If you feel uncomfortable with any aspect of working on the roof, it’s always best to call in professionals. You can find excellent advice on How to Hire a Metal Roofing Contractor if you decide to go that route.
Choosing the Right Paint and Application Method
Once your metal roof is perfectly prepared, the exciting part begins: selecting the right coating and applying it properly. This choice can drastically impact the longevity and appearance of your refreshed roof.
Types of Coatings for Metal Roofs
Not all paints are created equal, especially when it comes to metal roofs. You can't just grab a can of house paint and expect it to perform. Metal roofs require specialized coatings designed to withstand extreme temperatures, UV radiation, expansion and contraction, and moisture without peeling, cracking, or further fading.
The most common and highly recommended types of paint for metal roofs fall into a few categories:
- Acrylic Elastomeric Coatings: These are highly flexible, water-based coatings that form a thick, rubber-like membrane. They're excellent for sealing minor cracks, reflecting heat (especially in white or light colors), and tolerating temperature fluctuations without cracking. Brands like Acrylabs offer robust elastomeric systems. They are particularly popular in hotter climates for their reflective properties, which can help reduce cooling costs.
- Urethane Coatings: Urethanes offer superior hardness, abrasion resistance, and excellent adhesion. They provide a very durable finish that stands up well to foot traffic and harsh weather. They come in both water-based and solvent-based formulations, with solvent-based versions generally offering higher performance but requiring more careful application due to fumes.
- Epoxy Primers with Urethane Topcoats: For surfaces with rust issues or where maximum adhesion and durability are required, a two-part system is often used. An epoxy primer provides excellent bonding to the metal and rust-inhibiting properties, followed by a UV-stable urethane topcoat for color and weather resistance.
- Direct-to-Metal (DTM) Acrylics: These are easier to apply and can sometimes act as both primer and topcoat, though a separate primer is often still recommended for optimal results. They offer good durability for less severe environments and are typically more budget-friendly.
When selecting your paint, consider the specific type of metal your roof is made from (e.g., steel, aluminum, copper) and its current condition. Always choose a product specifically labeled for metal roofing. Many reputable manufacturers like Sherwin-Williams, PPG, and Conklin offer specialized lines of roofing coatings. If you’re looking for options, sometimes services like Modernize can help connect you with suppliers or contractors who use these specialized paints. Don't forget to think about the color; lighter colors generally reflect more heat. You can explore options like Best Metal Roof Colors and How to Choose for ideas.
Application Techniques for a Professional Finish
Once you've got your high-quality paint, proper application is key to achieving a lasting, professional finish. The method you choose will depend on the type of paint, the size of your roof, and your comfort level.
- Rollers and Brushes: For smaller roofs, intricate areas, or if you prefer a more controlled application, rollers and brushes work well. Use high-quality synthetic rollers (often with a 3/8" or 1/2" nap) for smooth application, and brushes for cutting in edges, around vents, and in tight spots. This method is slower but allows for precision and ensures good coverage. Apply thin, even coats, rather than one thick coat, which can lead to drips, uneven drying, and poor adhesion.
- Airless Sprayers: For larger roofs, an airless sprayer is often the most efficient and effective method. It provides a uniform finish much faster than rolling or brushing. However, it requires significant preparation, including extensive masking of walls, windows, and surrounding areas to protect them from overspray. It also requires a certain level of skill to operate correctly to avoid streaks or uneven application. If you choose this method, ensure your sprayer is capable of handling the viscosity of roofing coatings, which can be quite thick. Always start with a primer coat if recommended by the paint manufacturer, followed by two topcoats for optimal durability and color retention. Allow adequate drying time between coats as specified by the manufacturer. Proper Metal Roof Installation Process: Step by Step also touches on coating applications for new roofs, offering a good reference for technique.
Regardless of the method, always apply paint in suitable weather conditions. Avoid painting in direct, scorching sun (which can cause the paint to dry too quickly and not adhere properly), during high winds (for spray applications), or when rain is expected. Optimal conditions are typically overcast but dry days, or in the morning/late afternoon when temperatures are moderate.
Understanding Cost and Longevity Factors
The cost of repainting a metal roof can vary widely depending on the size of your roof, the type of coating chosen, and whether you do it yourself or hire professionals. Expect to pay anywhere from $1.50 to $4.00 per square foot for professional application, including labor, materials, and prep work. High-end elastomeric or urethane systems will be at the higher end of this range. If you DIY, the cost will mainly be for materials, which can range from $0.50 to $2.00 per square foot.
Here's a breakdown of common coating costs:
| Coating Type | Material Cost (per gallon) | Coverage (sq ft per gallon) | Expected Longevity (years) | Notes |
|---|---|---|---|---|
| Acrylic Elastomeric | $40 – $80 | 50 – 100 | 10 – 20 | Excellent for heat reflection, flexibility. Good for existing roofs with minor issues. |
| Urethane (Solvent-based) | $60 – $120 | 100 – 150 | 15 – 25 | Very durable, good chemical resistance. Requires careful application due to fumes. |
| Direct-to-Metal (DTM) Acrylic | $30 – $60 | 100 – 150 | 5 – 10 | Easier to apply, budget-friendly. Less durable than urethanes or thick elastomeric systems. |
| Epoxy Primer | $50 – $100 | 150 – 200 | N/A (base coat) | Essential for rust treatment and superior adhesion before a topcoat. |
Note: Prices are estimates and can vary based on brand, region, and market conditions.
The longevity of your repaint job is directly tied to the quality of the preparation, the type of paint used, and the application quality. A properly prepared roof with a high-quality elastomeric or urethane coating can provide another 10-25 years of protection and aesthetic appeal. In contrast, a rushed job with inferior paint might only last a few years before fading or peeling again. This is why investing in good materials and taking your time with the prep work pays off significantly in the long run. When considering whether it's worth the investment, think about the overall Metal Roof Cost vs Lifespan Value. It's often much more cost-effective to repaint a quality metal roof than to replace it entirely, especially if the underlying structure is sound.
Post-Painting Care and Maintenance
So you've successfully repainted your faded metal roof – congratulations! But the job isn't quite finished. Just like any new investment, a little post-painting care and ongoing maintenance will ensure your newly vibrant roof stays looking fantastic and continues to protect your home for many years.
Curing Time and Initial Protection
One of the most critical aspects immediately after painting is allowing the coating to properly cure. "Curing" isn't just about the paint being dry to the touch; it's the chemical process where the paint hardens and reaches its maximum durability and adhesion. This process can take anywhere from a few days to several weeks, depending on the type of paint, humidity, and temperature. Always refer to the paint manufacturer's specifications for exact curing times.
During this curing period, it's crucial to minimize any stress on the new coating. Avoid walking on the roof if at all possible. If you must access it for any reason (though it's best to wait), wear soft-soled shoes and step lightly. Protect the roof from heavy debris or anything that could scratch or gouge the still-soft surface. For instance, if a major storm is expected with falling branches, take extra precautions to clear surrounding trees beforehand if safe to do so. A freshly painted roof is most vulnerable during this initial curing phase, and proper care here will prevent early damage and ensure the coating reaches its full potential.
Long-Term Maintenance for Extended Vibrancy
To keep your newly repainted metal roof looking its best and performing optimally, a routine maintenance schedule is highly recommended. Thankfully, metal roofs are generally low-maintenance, but "low" doesn't mean "no."
- Regular Inspections: Twice a year (typically in spring and fall), perform a visual inspection of your roof. Look for any signs of debris accumulation, especially in valleys and around chimneys or skylights. Check for any loose fasteners, peeling paint, or damage from storms. Addressing small issues quickly prevents them from becoming major problems. You can consult a Metal Roof Inspection: What to Check guide for a detailed checklist.
- Cleaning: While metal roofs are excellent at shedding water and debris, they can still accumulate dirt, pollen, and mildew over time, especially in humid climates or under trees. A light cleaning every 1-3 years can help maintain its vibrancy. You can usually do this with a soft-bristled brush and a mild, non-abrasive detergent, followed by a thorough rinse with a garden hose. Avoid harsh chemicals or high-pressure washing that could damage the new coating.
- Trim and Flashing Checks: Pay special attention to the trim, flashing, and sealant around penetrations. These are often vulnerable areas. Ensure that all sealants are intact and flexible. If you notice any cracking or separation, reseal them with a high-quality, paintable exterior sealant. Checking your Metal Roof Trim and Flashing Cost can give you an idea of potential repair expenses if these elements need attention.
- Vegetation Management: Keep trees and bushes trimmed back from your roof to prevent branches from scratching the surface or depositing leaves and debris that can trap moisture and promote mildew growth.
By dedicating a little time to these simple maintenance tasks, you'll significantly extend the life and beauty of your repainted metal roof.
When to Consider Professional Recoating
While a good repaint job can last 10-25 years, no coating lasts forever. Eventually, even the best products will start to show signs of wear again. Knowing when to consider a professional recoating (or another repaint) is important for proactive home maintenance.
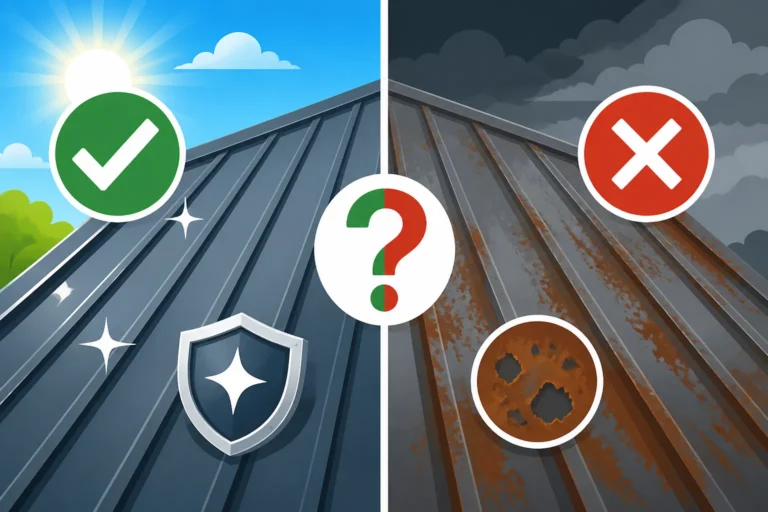
Look for widespread signs of chalking returning, significant fading that impacts the home's appearance, or early signs of rust re-emerging, especially in areas where the paint has thinned or worn away. If you start to see isolated areas of peeling or cracking that go beyond minor cosmetic issues, it might be time for a professional assessment. A recoating isn't necessarily a full tear-off and replacement; it often involves thorough cleaning, minor repairs, and the application of a new, high-performance coating system, similar to what you've just done. Many roofing companies, including those found through services like Modernize, specialize in roof restoration and recoating, which can be a more budget-friendly and environmentally friendly option than a complete roof replacement. These professionals have the expertise, equipment, and access to industrial-grade coatings that can deliver exceptional longevity and performance. They can also advise you on whether your roof is a good candidate for recoating or if it's nearing the end of its structural life, which might prompt a deeper look into Metal Roof Repair vs Replacement: How to Decide. Proactive planning ensures your metal roof continues to be a durable, attractive asset to your home for decades to come.
Disclaimer
Please remember that this guide provides general information and best practices. Always consult with a qualified roofing professional and refer to the specific instructions and safety guidelines provided by paint manufacturers before undertaking any roof work. Working on a roof can be dangerous, and individual circumstances, local building codes, and product specifications may vary.