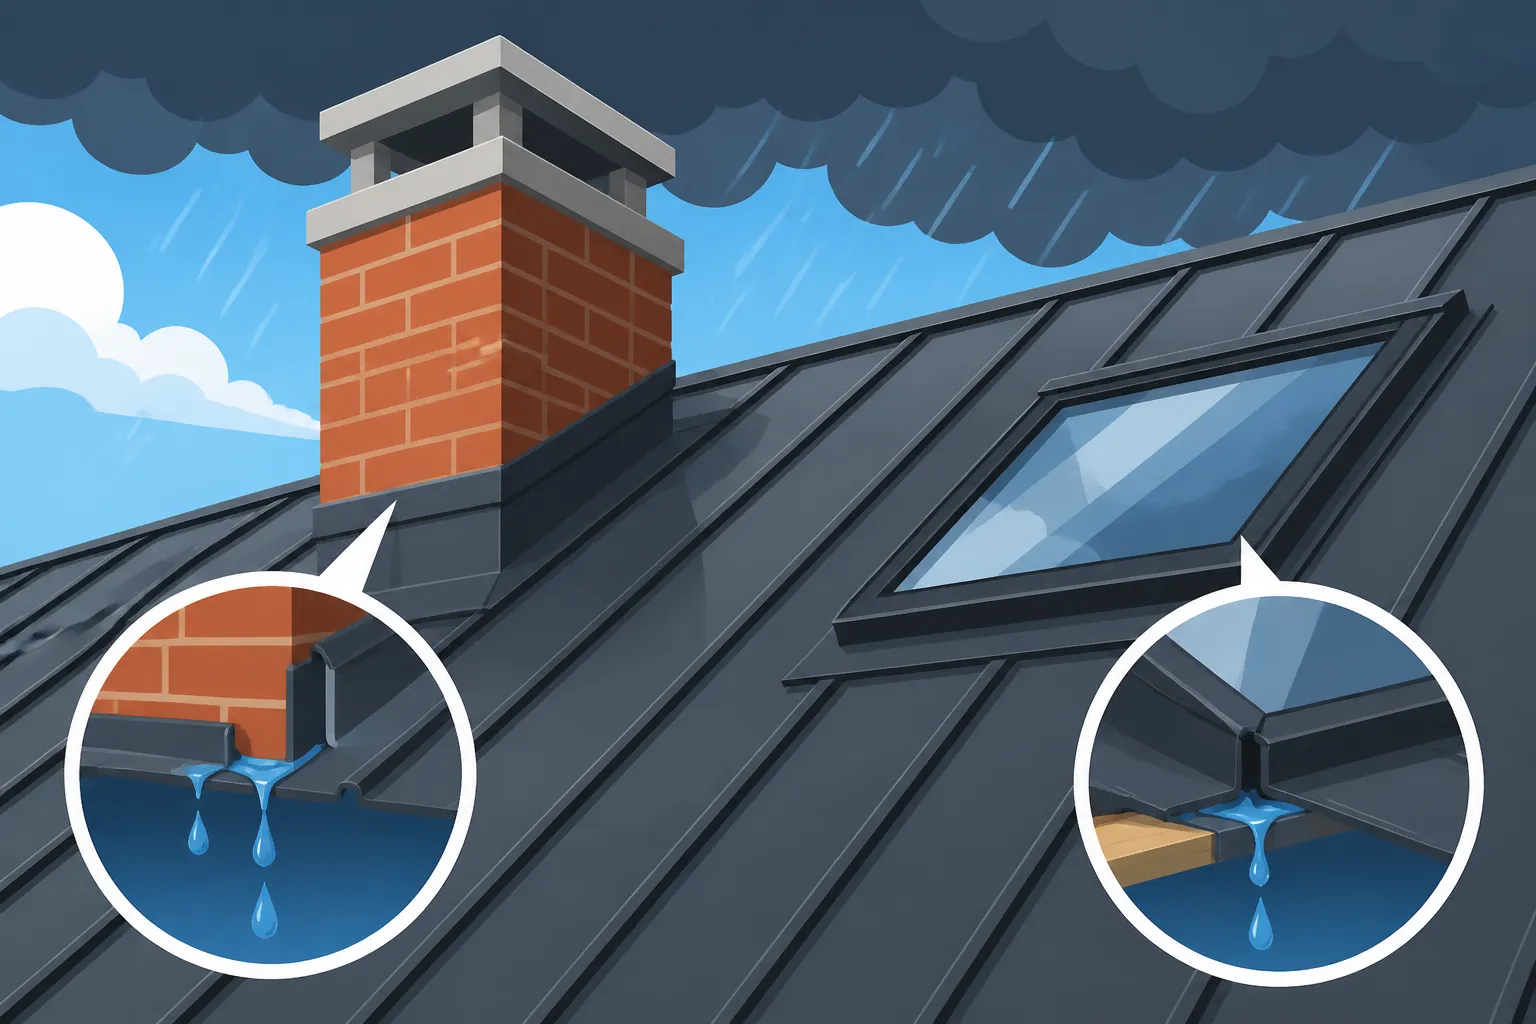
Metal Roof Leak Around Chimney or Skylight
Oh, the dreaded drip! Few things are more unsettling for a homeowner than discovering a water stain spreading across their ceiling, especially when you’ve invested in a durable metal roof. And when that leak seems to originate around a chimney or a skylight, it adds another layer of complexity and worry. These areas are notorious weak spots on any roof, presenting unique challenges for metal roofing systems. This guide will walk you through understanding why these penetrations leak, how to effectively diagnose the problem, and the most common repair strategies to get your metal roof watertight again.
Understanding Why Chimneys and Skylights Leak on Metal Roofs
It’s easy to assume a metal roof is invincible, given its incredible longevity and resistance to the elements. But even the best metal roof installation isn't entirely monolithic; it has openings. Any interruption in the continuous metal surface—like a chimney stack or a skylight frame—creates a potential entry point for water if not meticulously installed and maintained. These areas are where different materials meet, where thermal expansion and contraction are most pronounced, and where gravity and weather work hardest to find a way in.
The Unique Challenges of Roof Penetrations
When we talk about roof penetrations, we're discussing any element that breaks through the main surface of your roof. Chimneys and skylights are prime examples, but you could also include vents, pipes, and other utilities. The very nature of these features means the metal roofing panels have to be cut, bent, and sealed around them. This process introduces seams, joints, and transitions that simply don’t exist on a wide-open expanse of roof. Think of it like a chain: it’s only as strong as its weakest link. For a metal roof, these penetrations are often those critical links.
Firstly, there's the issue of differing materials. Your metal roof panels are typically steel, aluminum, or copper, while a chimney is often brick or stone, and a skylight is glass and a frame (often aluminum or vinyl). Each of these materials expands and contracts at different rates with temperature changes. This constant movement, though subtle, can stress sealants, flashing, and fasteners over time, eventually leading to cracks or separations that invite water. Secondly, these areas inherently create valleys and ledges where water and debris can accumulate, increasing the likelihood of saturation and eventual penetration. It’s not uncommon for a meticulous inspection to reveal that the issue isn't the metal roof itself, but rather the ancillary components designed to seal around these features.
Common Failure Points and Materials
The weak points around chimneys and skylights are almost always related to how they interface with the roofing material. For chimneys, the flashing system is paramount. Traditional step flashing, counter flashing, and apron flashing, often made of galvanized steel, copper, or lead, are designed to create a watertight seal. However, if these are improperly overlapped, nailed incorrectly, or if the material itself degrades (e.g., rust on galvanized steel), leaks will occur. The mortar joints of the chimney itself can also deteriorate, allowing water to wick through the brickwork.
Skylights, on the other hand, have their own set of vulnerabilities. The seal between the glass and the frame can fail, or the gasket around the entire skylight unit where it meets the roof curb can dry out and crack. The flashing kit that comes with the skylight, intended to integrate it with the roof, might be improperly installed or damaged. Even the curb (the raised frame the skylight sits on) can sometimes be compromised, or the underlayment beneath the metal panels around the skylight wasn't extended correctly. Understanding these specific failure points is the first step toward a lasting solution. For a broader look at common vulnerabilities, you might find our guide on Metal Roof Leak Repair Guide helpful.
Diagnosing the Source of Your Metal Roof Leak
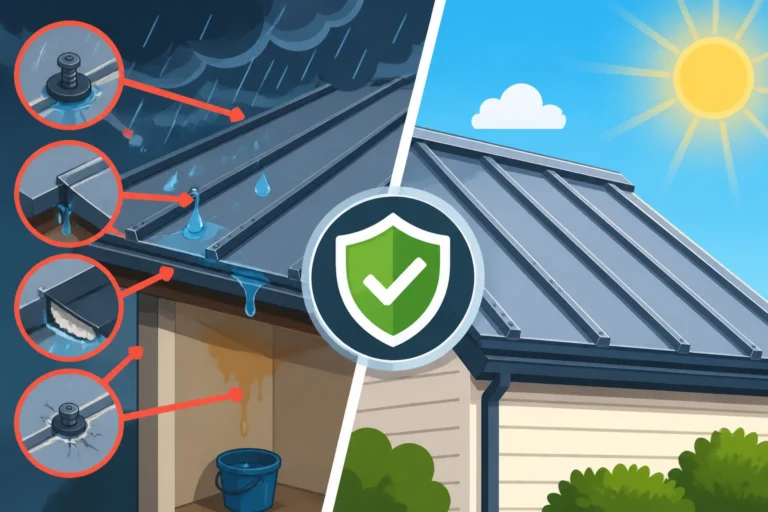
Finding the exact source of a roof leak can feel like detective work, and it's often more challenging than you'd expect. Water has a sneaky way of traveling, entering in one spot and showing up in a completely different area inside your home. This is especially true with metal roofs, where panels often run continuously, guiding water away from the point of entry. Patience and a methodical approach are key to pinpointing the culprit. Don't just assume the water spot directly below the skylight is the entry point; it could be much higher up or to the side.
Visual Inspection Techniques
Start with a thorough visual inspection from both inside and outside your home. Inside, look for water stains, peeling paint, or damaged drywall on ceilings and walls, especially in the attic space around the chimney or skylight. Note the exact location and size of these stains. The highest point of the stain will often give you a clue about the general area of the leak. In the attic, use a flashlight to examine rafters, insulation, and the underside of the roof deck for dampness, mold, or streaks.
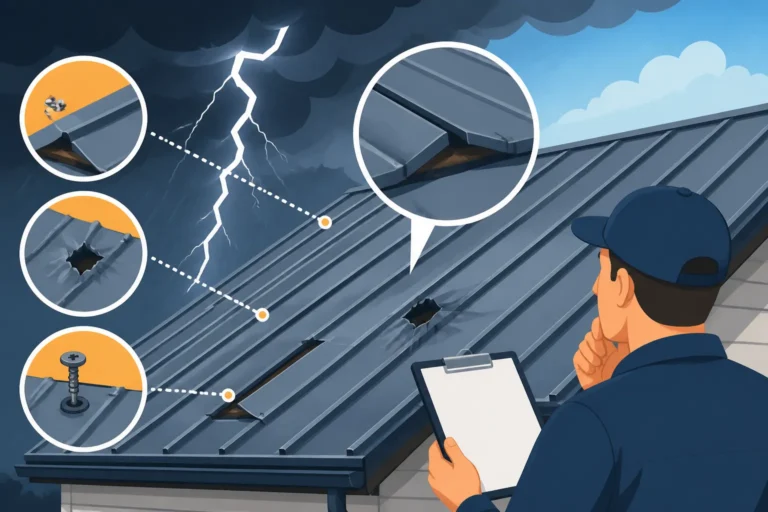
Outside, your inspection should be even more meticulous. Safely get onto your roof, or use binoculars if you're uncomfortable with heights. Pay close attention to the chimney's flashing: are there any gaps, rust spots, torn sections, or lifted edges? Check the counter-flashing embedded in the mortar joints – is it properly mortared and free of cracks? For skylights, examine the entire perimeter. Look for cracks in the glass, damaged seals between the glass and frame, or any signs of deteriorated gaskets where the skylight meets the roof deck. Are the metal roof panels cut and flashed neatly around the skylight? Are there any exposed fasteners that might have worked loose or had their washers degrade? Sometimes, debris accumulation, like leaves and pine needles, can block water flow, leading to backup and penetration; clear any such blockages. Our Metal Roof Inspection: What to Check article has more tips on comprehensive inspections.
Water Testing and Professional Assessment
If a visual inspection doesn't reveal the leak's source, it's time for some controlled water testing. This is best done with a helper and a garden hose. Have one person inside watching for drips while the other systematically wets specific sections of the roof around the penetration. Start with the lowest point of the chimney or skylight, just above where the internal leak appears, and work your way upwards. Apply water for several minutes to each section, allowing time for it to penetrate if there's a breach.
For a chimney, begin by saturating the base flashing on one side, then move to the other, then the apron flashing, then the step flashing, and finally the mortar joints. For a skylight, focus on the base of the frame, then the surrounding flashing, and finally the seal between the glass and the frame. If water appears inside, you've narrowed down the area. This process requires patience and can be time-consuming, but it’s often the most effective way to pinpoint elusive leaks. If you're not comfortable on your roof or the leak remains a mystery, don't hesitate to call in a professional. Reputable metal roofing contractors have specialized knowledge and tools to locate leaks accurately. A company like Modernize can help you connect with local, experienced professionals who can provide a thorough assessment and estimate.
Common Causes of Leaks Around Chimneys
Chimneys are perhaps the most complex roof penetrations to seal properly, especially on a metal roof. They involve a combination of masonry, flashing, and roofing materials, all of which need to work in harmony to keep water out. When leaks occur, it's almost always due to a failure in one of these interconnected components, often exacerbated by weather exposure and age.
Flashing Failures and Types
Flashing is the unsung hero of a watertight roof, a system of metal pieces designed to direct water away from vulnerable areas. Around a chimney, you typically find a multi-layered flashing system:
- Step Flashing: Individual L-shaped pieces woven in with each course of shingles (or strategically placed and sealed for metal panels) along the sides of the chimney.
- Apron Flashing: A single, larger piece of flashing that covers the lower side of the chimney, directing water over the roof panels below it.
- Back Pan/Head Flashing: A piece installed on the upper side of the chimney, tucked under the roof panels above and directing water around the chimney.
- Counter Flashing (or Cap Flashing): These pieces are cut into the mortar joints of the chimney itself, bent downwards to overlap the step and apron flashing, creating a seal and protecting the edges of the primary flashing.
Failure in any of these components can lead to leaks. The most common issues include:
- Improper Installation: If the flashing pieces are not overlapped correctly, not tucked under the panels or into the mortar, or not adequately sealed, water will find its way in. A common mistake is using caulk as a primary sealant where mechanical flashing is required.
- Corrosion and Deterioration: Over time, especially if made from galvanized steel, flashing can rust, developing holes or weakening critical seams. This is particularly prevalent in areas with high moisture or salt air.
- Movement and Separation: As the roof and chimney expand and contract at different rates, the flashing can tear, buckle, or pull away from the chimney or the roof deck, creating gaps.
- Damaged Sealants: While flashing is mechanical, sealants are often used to complement it. If these sealants dry out, crack, or lose adhesion, water can seep past. Choosing the right sealant for metal roofs, like a high-quality polyurethane or silicone caulk, is crucial, but even the best will eventually fail.
Understanding the proper installation of flashing is critical. For more on this, check out our guide on Metal Roof Components & Accessories Explained.
Masonry and Mortar Issues
Beyond the flashing, the chimney itself can be a source of leaks. Brick and stone chimneys are built with mortar joints, which are essentially a mixture of cement, sand, and water. While durable, mortar is porous and can degrade over time due to weather exposure, freeze-thaw cycles, and general aging.
- Cracked Mortar Joints: As mortar ages, it can develop hairline cracks, allowing water to wick into the chimney structure. This water can then travel down the flue or through the brickwork to the inside of your home. Repointing (grinding out old mortar and replacing it with new) is the solution here.
- Porous Bricks: Some older or lower-quality bricks can be quite porous, absorbing water like a sponge. In heavy rains, this water can saturate the brickwork and eventually penetrate to the interior. Applying a breathable masonry sealant can help in such cases.
- Chimney Crown Damage: The chimney crown is the concrete slab at the very top of the chimney, designed to shed water away from the flue and the masonry below. If the crown cracks or deteriorates, water can pool on it and seep directly into the chimney structure.
Any of these issues can independently or collectively lead to significant water infiltration, often mimicking a flashing problem, which makes diagnosis even trickier.
Cap and Crown Problems
The very top of your chimney, the crown and cap, are crucial for diverting water and preventing entry.
- Chimney Crown: As mentioned, a cracked or improperly sloped chimney crown allows water to sit and eventually seep into the chimney chase. A well-constructed crown should extend beyond the chimney's edges, creating a drip edge to prevent water from running down the sides of the chimney.
- Chimney Cap: This metal or concrete cover sits on top of the flue, protecting it from rain, snow, and debris. If the cap is missing, damaged, or poorly sealed to the crown, water can easily enter the flue and travel downwards. This is often an overlooked source of leaks because the internal leak may appear lower down, leading homeowners to suspect flashing.
- Missing or Damaged Spark Arrestor: While primarily for safety, a damaged spark arrestor (part of the cap) can also create openings for water.
Regular inspection of your chimney's cap and crown is a smart preventative measure, especially before the rainy season sets in.
Common Causes of Leaks Around Skylights
Skylights offer beautiful natural light, but they are also a common source of leaks if not properly installed and maintained. Unlike chimneys, skylights are entirely manufactured units, so their leak points are often more consistent, but no less frustrating when they appear. The interaction between the factory-sealed unit and the field-installed roofing materials is where most problems arise.
Seal and Gasket Degradation
Modern skylights are generally robust, but their seals and gaskets are subject to constant exposure to UV radiation, extreme temperatures, and moisture.
- Glass-to-Frame Seal: The sealant or gasket that holds the glass pane in place within the skylight frame can dry out, crack, or shrink over time. This creates a direct pathway for water to enter the skylight unit and drip into your home. This type of leak often manifests as water dripping directly from the skylight frame itself, rather than from around the perimeter where it meets the roof.
- Unit-to-Curb Gasket: If your skylight is mounted on a curb (a raised wooden frame built into the roof deck), there will be a gasket or sealant where the skylight unit sits on top of this curb. This gasket can also degrade, leading to leaks around the base of the skylight.
- Condensation vs. Leak: It's important to distinguish between a leak and condensation. In humid conditions or homes with poor ventilation, moisture can condense on the interior glass pane of a skylight, sometimes dripping down and mimicking a leak. This usually occurs uniformly across the glass rather than from a specific point. If you suspect condensation, check your home’s humidity levels and ventilation first. Proper Metal Roof Underlayment and Ventilation Guide can help mitigate condensation issues.
Frame and Curb Issues
The structural components of the skylight and its support can also be the culprits.
- Skylight Frame Damage: The frame of the skylight itself, whether aluminum, vinyl, or wood, can become damaged. Dents from hail, cracks from thermal stress, or rot in wooden frames can compromise its integrity and allow water penetration.
- Improperly Built Curb: If the skylight is curb-mounted, the wooden curb that it sits on must be constructed correctly. It needs to be plumb, level, and adequately flashed. If the curb itself is not sealed properly to the roof deck, or if it settles or warps, it can break the seal with the skylight unit or compromise the surrounding flashing.
- Underlayment Failure: The underlayment beneath your metal roof panels is a critical secondary barrier. Around a skylight, this underlayment (often ice and water shield) needs to be carefully cut and sealed to the curb or deck. If it’s not properly adhered or extends incorrectly, water that bypasses the primary flashing can get underneath the metal panels and eventually into your home.
Installation Errors
While manufacturer defects are rare, installation errors are unfortunately a more common cause of skylight leaks. Even the best skylight from a reputable brand like VELUX or Andersen can leak if not installed correctly, especially when integrating with metal roofing panels.
- Incorrect Flashing Kit Installation: Most skylights come with specific flashing kits designed to integrate them with various roofing materials. If these kits are not installed according to the manufacturer's instructions – for instance, if overlaps are incorrect, or if the panels aren't cut precisely – water will inevitably find a path.
- Skipping Steps or Using Wrong Sealants: Sometimes installers might cut corners, failing to apply proper sealants, forgetting crucial components of the flashing kit, or using generic caulk where a specific sealant is required.
- Damaged During Installation: The skylight unit or its flashing can be damaged during the installation process itself, creating a vulnerability from day one.
- Poorly Fitted Panels: With metal roofing, the panels need to be precisely cut around the skylight. If the cuts are ragged or too large, it can create difficulties in sealing and increase the chances of water infiltration. This is particularly challenging for standing seam metal roofs, which require specialized fabrication around penetrations.
Always ensure your installer is experienced with both skylights and metal roofing. For guidance on hiring qualified professionals, our article on How to Hire a Metal Roofing Contractor is a valuable resource.
Effective Repair Strategies for Leaking Chimneys
Once you’ve accurately diagnosed the source of a chimney leak, you can move on to repairs. The good news is that many chimney-related leaks are fixable without requiring a full roof replacement, though the complexity varies depending on the issue. Prioritizing safety is paramount when working on a roof, and if you're uncomfortable, always bring in a professional.
Flashing Repair and Replacement
Repairing flashing can range from a simple patch to a complete overhaul.
- Minor Flashing Repairs: If you find small holes, tears, or lifted edges in the existing flashing, they might be amenable to repair. Clean the area thoroughly, removing any rust or debris. For small holes, a quality metal roof repair tape, like those from Permaloc or Henry, specifically designed for roofing applications, can be applied, followed by a layer of suitable sealant. For lifted edges, carefully re-secure them with appropriate roofing fasteners and then seal the edges. Ensure any sealant used is compatible with your metal roof's coating (e.g., Kynar 500 or SMP). Our guide on Best Sealant for Metal Roof Leaks offers more details.
- Full Flashing Replacement: If the flashing is extensively rusted, torn, or was improperly installed from the start, a full replacement is usually the best long-term solution. This involves carefully removing the old flashing, inspecting the underlying roof deck for rot or damage (and repairing it if necessary), and then installing new step flashing, apron flashing, and counter flashing according to industry best practices. For metal roofs, it’s often best to use flashing material that matches the roof’s composition (e.g., galvanized steel with a similar coating for steel roofs, aluminum for aluminum roofs). It's a meticulous process, often requiring specialized tools and expertise to properly cut and bend the metal to integrate seamlessly with your metal roof panels. This is definitely a job where a skilled roofer, perhaps found through Modernize, will shine.
When dealing with counter flashing embedded in mortar, a process called "re-grinding" might be necessary to carefully remove old mortar and install new counter flashing correctly before re-mortaring.
Masonry Sealing and Repointing
If your diagnosis points to the chimney's masonry, the repairs will focus on improving its water resistance.
- Repointing Mortar Joints: This is a common and highly effective repair for deteriorated mortar. A professional mason or roofer will carefully grind out the old, cracked mortar to a consistent depth (typically twice the width of the joint), then pack in new mortar. The new mortar must be carefully matched in composition and color to the original to ensure structural integrity and aesthetic consistency. This is crucial as poorly done repointing can actually make the problem worse or damage the bricks.
- Applying Masonry Sealants: For porous bricks or to add an extra layer of protection after repointing, a breathable masonry sealant can be applied. These sealants penetrate the surface of the brick and mortar, creating a water-resistant barrier without trapping moisture inside, which could lead to spalling (flaking) during freeze-thaw cycles. Always choose a product specifically designed for exterior masonry.
- Chimney Crown Repair/Replacement: For cracked chimney crowns, minor cracks can sometimes be repaired with a high-quality crown sealant or patching compound specifically designed for masonry. However, if the crown is severely deteriorated, spalling, or improperly sloped, a full replacement with a new, correctly constructed concrete crown is often necessary. This ensures proper water shedding and protection for the flue and masonry below.
Effective Repair Strategies for Leaking Skylights
Repairing a leaking skylight can sometimes be simpler than a chimney, as the unit itself is often self-contained. However, proper integration with the surrounding metal roof is critical, and any repairs must be done carefully to maintain the skylight's functionality and warranty.
Resealing and Gasket Replacement
For leaks directly from the skylight unit, focusing on its factory seals and gaskets is the starting point.
- Resealing Glass-to-Frame: If water is leaking between the glass and the frame, carefully inspect the existing sealant. If it's cracked or missing in areas, it might be possible to clean the joint thoroughly and apply a fresh bead of high-quality, exterior-grade silicone or polyurethane sealant. Ensure the sealant is UV-resistant and flexible to accommodate thermal movement. This is a common fix for older skylights where the original seals have simply worn out.
- Replacing Unit-to-Curb Gaskets: For curb-mounted skylights, the gasket between the skylight frame and the curb can degrade. Some skylight manufacturers offer replacement gasket kits. This repair involves carefully removing the skylight unit from the curb, cleaning both surfaces, applying the new gasket (often a sticky foam or rubber strip), and then re-securing the skylight. Always consult the skylight manufacturer's instructions for this type of repair to ensure proper sealing and to avoid voiding any warranties.
- Addressing Condensation: If you’ve determined it's condensation and not a leak, the solution lies in improving ventilation and reducing indoor humidity. This could involve using exhaust fans, dehumidifiers, or ensuring your attic has adequate airflow.
Frame Repair and Flashing Integration
When the leak is around the perimeter of the skylight, where it meets the roof, the issue often lies with the flashing or the roof’s integration.
- Flashing Repair for Skylights: Similar to chimney flashing, minor damage to skylight flashing can sometimes be patched. This involves cleaning the area, applying a compatible metal repair tape, and sealing the edges. However, if the flashing is extensively damaged, improperly installed, or corroded, a complete replacement of the skylight flashing kit is necessary. This requires carefully lifting or removing the surrounding metal roof panels, installing new flashing according to the skylight manufacturer’s instructions, and then re-installing the metal panels correctly. This is a critical step, as improperly integrated flashing can lead to continuous leaks.
- Curb Repair: If the wooden curb supporting the skylight is damaged (e.g., rotted wood), it must be repaired or replaced. This can be a more involved process, requiring temporary removal of the skylight and potentially some roofing materials to access and repair the underlying structure.
- Addressing Installation Errors: If the original metal roofing panels were poorly cut or installed around the skylight, leading to gaps or inadequate overlaps, those panels may need to be adjusted, recut, or even replaced to ensure a tight, weather-resistant fit with the skylight’s flashing. This is where the expertise of a metal roofing specialist is invaluable, as metal panels are less forgiving than shingles when it comes to cutting and bending.
Considering a Full Replacement
Sometimes, repairing an old, leaking skylight might not be the most cost-effective or long-term solution.
- Age and Condition: If your skylight is very old (20+ years), constantly leaking, or showing extensive frame damage, replacing the entire unit is often the best choice. Newer skylights offer improved energy efficiency, better seals, and integrated flashing systems that are easier to install and more durable.
- Cost-Benefit Analysis: Compare the cost of multiple complex repairs with the cost of a new, warrantied skylight installation. Often, the long-term peace of mind and energy savings from a new skylight outweigh repeated repair expenses.
- Warranty Considerations: An old, leaking skylight often means its warranty has expired. A new skylight comes with a fresh warranty, both on the product and potentially on the installation if done by a certified professional.
When considering a full replacement, remember that the cost of a new skylight will vary by size, type (fixed vs. venting), and features. Factor in not just the skylight unit itself, but also the labor involved in removing the old one and installing the new one, including integrating it with your metal roof. You may find our article on How to Tell If Your Metal Roof Needs Replacing relevant here.
| Leak Source | Common Symptoms | Typical Repair Strategy | When to Consider Professional Help |
|---|---|---|---|
| Chimney Flashing | Water stains on ceiling/wall near chimney, visible gaps/rust on flashing. | Patching small holes, re-securing loose flashing, full flashing replacement. | Extensive damage, complex metal roof integration, multiple leak points. |
| Chimney Masonry/Mortar | Damp spots on chimney brickwork, water inside flue, crumbling mortar. | Repointing mortar joints, applying masonry sealant, crown repair/replacement. | Large areas of damaged mortar, structural concerns, crown replacement. |
| Skylight Glass Seal | Water dripping directly from glass/frame, fogging between panes. | Cleaning and resealing glass-to-frame, replacing internal gaskets. | Persistent leaks, fogging, signs of unit failure. |
| Skylight Flashing/Curb | Water stains around skylight perimeter, damaged roof panels near skylight. | Patching flashing, replacing flashing kit, repairing/replacing curb. | Improper initial installation, extensive damage, underlying roof deck rot. |
| Installation Error | New leaks after recent installation, multiple issues. | Reworking flashing, adjusting/replacing poorly cut panels. | Any new roof leak after installation, especially metal. |
Preventing Future Leaks Around Penetrations
The best defense against leaks is a good offense. Taking proactive steps during installation and maintaining your roof diligently can significantly reduce the chances of future problems around chimneys and skylights. Investing in quality upfront and performing regular check-ups will save you headaches and costly repairs down the line.
Proper Installation Practices
This is arguably the most critical factor in preventing leaks. If your metal roof and its penetrations are installed correctly the first time, you'll avoid many common issues.
- Choose Experienced Contractors: Always select a roofing contractor with specific, verifiable experience in metal roofing and working with penetrations like chimneys and skylights. Metal roofing requires different techniques and tools than asphalt shingles. A reputable contractor will be able to provide references for past metal roof installations and will understand the nuances of flashing integration. Using a service like Modernize can help you find local contractors who are experienced in these specialized installations.
- Adhere to Manufacturer Specifications: For both the metal roofing system and any skylights, ensure that all components are installed strictly according to the manufacturers' guidelines. This includes proper underlayment, flashing techniques, fastener types, and sealant applications. Deviating from these instructions can void warranties and create vulnerabilities. Our guide on Metal Roof Installation Process: Step by Step delves into this further.
- Quality Materials: Don’t cut corners on materials. Use high-quality flashing materials that are compatible with your metal roof (e.g., copper flashing for a copper roof, or coated steel for a galvalume roof). For skylights, choose reputable brands known for durable seals and robust flashing kits.
- Integrated Flashing Systems: For new skylights, opt for models that come with integrated flashing systems specifically designed for metal roofs. These are engineered to provide a tight, weather-resistant seal and simplify installation compared to trying to create custom flashing on-site.
- Proper Mortar and Crown Work: For chimneys, ensure that any new construction or significant repair includes high-quality masonry work, proper mortar mixes, and a correctly sloped, durable chimney crown with a drip edge.
Regular Maintenance and Inspections
Even a perfectly installed roof needs a little love and attention over its long life. Regular maintenance and periodic inspections are your best tools for catching minor issues before they escalate into major leaks.
- Seasonal Clean-Up: Twice a year (typically in spring and fall), clear any debris like leaves, pine needles, and branches from around your chimney and skylights. Clogged areas can trap moisture, promote corrosion, and lead to water backing up under flashing.
- Visual Inspections: From the ground, use binoculars to scan the flashing around penetrations. Look for obvious signs of trouble: lifted edges, cracks in sealants, rust spots, or missing mortar. If safe, a closer inspection from the roof can reveal more subtle issues.
- Check Sealants and Gaskets: Pay close attention to the sealants around your skylights and any exposed sealants on flashing. If you see signs of cracking, drying, or peeling, address them promptly. You can often carefully remove old sealant and apply a fresh bead of a compatible, high-quality exterior-grade sealant.
- Address Minor Repairs Promptly: Don't put off small repairs. A tiny crack in flashing or a loose screw can quickly become a significant leak during a heavy storm. Patching a small hole or re-securing a loose piece of flashing immediately can prevent extensive interior water damage.
- Professional Check-ups: Consider having a professional metal roofing contractor perform a thorough inspection every few years. They can spot issues that a layperson might miss and ensure that all components, including those like Metal Roof Underlayment Cost and Metal Roof Trim and Flashing Cost are performing as expected. They can also advise on the overall Metal Roof Maintenance Guide.
By staying vigilant and addressing concerns as they arise, you can extend the life of your metal roof and ensure those beautiful skylights and functional chimneys remain leak-free for decades to come.
Disclaimer
Please remember that this guide provides general information and recommendations. Metal roofing repairs, especially around complex penetrations like chimneys and skylights, can be dangerous and require specialized skills. Always prioritize safety. If you are not comfortable performing inspections or repairs yourself, it is highly recommended to consult with a qualified and licensed metal roofing professional. They can accurately diagnose issues and perform repairs in compliance with local building codes and safety standards.