How Is a R-Panel Metal Roof Installed?
Thinking about installing an R-panel metal roof can feel like a huge undertaking, especially when you start picturing all those panels, fasteners, and intricate trim pieces. It’s easy to get overwhelmed by the sheer number of steps and the precision required to get it right. This comprehensive guide is designed to break down the R-panel metal roof installation process into manageable, easy-to-understand steps, ensuring you feel confident and informed whether you're hiring a pro or tackling some aspects yourself.
Understanding R-Panel Metal Roofing Before Installation
Before we dive headfirst into the installation nitty-gritty, it's really important to have a solid grasp of what R-panel roofing actually is and why it's such a popular choice for so many property owners. Knowing the ins and outs of this material helps you appreciate the installation process and understand the "why" behind each step.
What Exactly Is an R-Panel Roof?
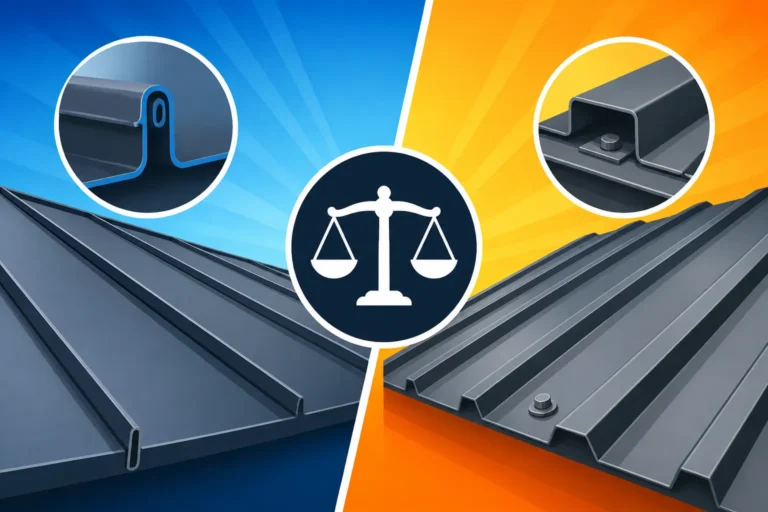
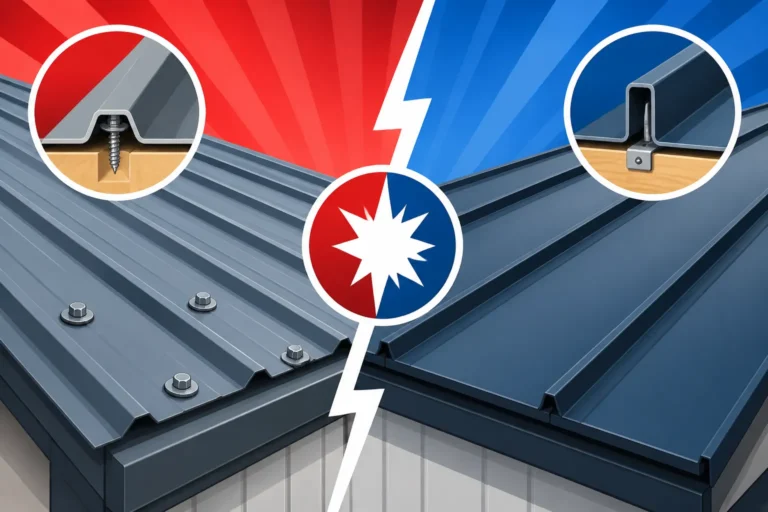
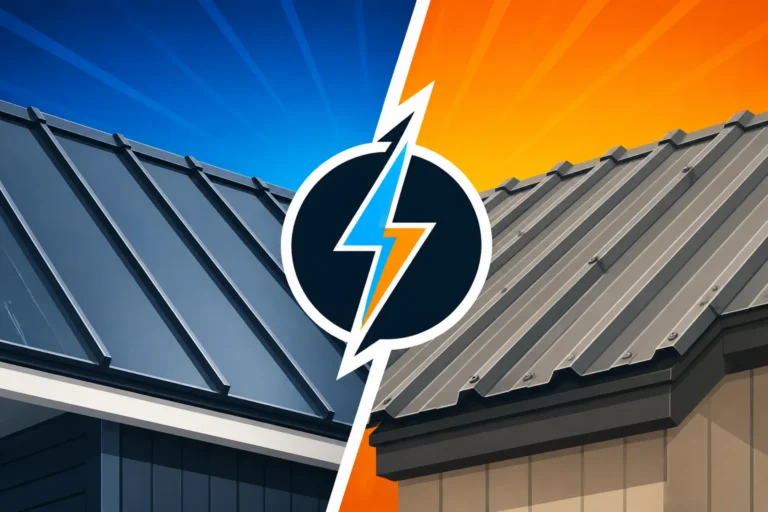
An R-panel roof is a type of metal roofing characterized by its distinct, robust ribs, typically 1.25 inches high and spaced 12 inches on center. The "R" in R-panel often refers to its "R-rib" profile, which is engineered for strength and broad coverage. These panels are typically made from galvanized steel or Galvalume-coated steel, offering excellent durability and resistance to the elements. Unlike some other metal roofing types, R-panels utilize an exposed fastener system, meaning the screws go directly through the panel and into the roof deck or purlins, with the fastener heads visible on the surface.
This profile is a workhorse, commonly seen on agricultural buildings, commercial properties, and increasingly, on residential homes where a sturdy, modern, or even rustic aesthetic is desired. They're designed for functionality and resilience, capable of handling a good amount of punishment from weather. Understanding the different types of panels is crucial, and you can explore more about them in our guide to Metal Roofing Types Explained: Profiles & Panels.
Why Choose R-Panel for Your Home or Business?
So, why do folks gravitate towards R-panel? It boils down to a few key advantages. Firstly, they are incredibly durable. Made from steel, they can withstand severe weather conditions, including high winds and hail, far better than traditional asphalt shingles. Their robust construction means a longer lifespan, often extending 40-60 years with proper installation and maintenance. This longevity often makes people wonder, Is a Metal Roof Worth It? ROI, Resale & Payback, and for many, the answer is a resounding yes.
Secondly, R-panels are often more cost-effective than other standing seam metal roofing options. While metal roofing, in general, has a higher upfront cost than asphalt, R-panel offers a more budget-friendly entry point into the metal roofing world without sacrificing much in terms of performance. They provide excellent protection and can significantly enhance a property's resilience. For those looking to manage costs effectively, understanding the different options is key; you might find our article on Cheapest Metal Roof Options helpful.
Lastly, there's the aesthetic appeal. While traditionally utilitarian, R-panels have found their way into modern architectural designs, providing a sleek, industrial look that many homeowners love. They come in a wide array of colors and finishes, allowing for significant customization to match your home's exterior. This versatility makes them a practical and visually appealing choice for a variety of projects, from a new garage roof to a full home re-roof.
Key Components of an R-Panel System
An R-panel roofing system is more than just the panels themselves; it's an assembly of specialized components that work together to create a watertight and durable roof. Understanding these parts is essential for a successful installation. You have the main panels, of course, which are the stars of the show. These are typically cut to length to fit your roof's dimensions, minimizing waste and seams.
Then there are the fasteners, which are arguably the most critical component of an exposed fastener system. These are usually self-tapping screws with neoprene washers that seal the penetration point against water. The quality and correct application of these fasteners cannot be overstated; they're the primary defense against leaks. Different types of screws exist, and knowing How Many Screws Per Sheet of Metal Roofing is vital for proper securement.
Finally, you have the trim and flashing pieces. These are specially bent metal components that seal the edges, hips, ridges, valleys, and wall transitions of your roof. Think of them as the protective armor for all the vulnerable spots. Ridge caps cover the peak, rake trim protects the gable ends, and eave trim finishes the lower edge. These components ensure water flows off the roof efficiently and doesn't seep into the structure. All these parts contribute to the overall Metal Roof Cost: Complete 2026 Guide, so it's good to be aware of each element.
Essential Preparations for R-Panel Roof Installation
Alright, so you're excited about your R-panel roof! That's fantastic. But before any panels even touch your roof, there's some crucial groundwork to lay. Proper preparation isn't just a suggestion; it’s the bedrock of a successful, long-lasting metal roof. Skipping steps here can lead to headaches and costly repairs down the line, and nobody wants that.
Safety First: Gear and Precautions
Let's be real, working on a roof is inherently dangerous. Whether you're a seasoned DIYer or just helping a contractor, prioritizing safety is non-negotiable. Slips, falls, and cuts are very real risks, and it’s always better to be overly cautious than to regret it later. You'll need personal protective equipment (PPE), and this isn't just for show. Think sturdy work boots with good grip, a hard hat to protect against falling objects, and eye protection to shield against flying debris or metal shavings. Heavy-duty gloves are also a must to protect your hands from sharp metal edges.
Beyond personal gear, consider your surroundings. Make sure your ladders are stable, properly secured, and extend at least three feet above the edge of the roof you’re trying to access. If your roof has any significant pitch, consider a fall arrest system – harnesses, ropes, and anchors – especially if you're not used to working at heights. It's also smart to ensure the weather forecast is clear for your installation days; high winds or rain can turn an already tricky job into a dangerous one. If you're tackling any part of this yourself, make sure you've read up on DIY Metal Roof Installation: What to Know.
Preparing the Roof Deck
Once safety is locked in, it's time to get the roof deck ready. This is where the actual panels will sit, so it needs to be in tip-top shape. If you're replacing an old roof, the first step is usually a tear-off. This involves removing all existing roofing materials down to the structural decking. Inspect the decking thoroughly for any rot, damage, or soft spots. Any compromised sections need to be repaired or replaced to provide a solid, even surface for your new metal roof.
Many homeowners often ask about installing a metal roof over existing shingles. While it's sometimes possible, it's crucial to assess the condition of the existing roof layers and consult local building codes. If you decide to go this route, you’ll likely need to install furring strips or purlins to create a level surface and an air gap. This can be a cost-effective option, but it also adds complexity. For a deep dive into this, check out our guide on Installing a Metal Roof Over Shingles. Whether tearing off or roofing over, the goal is a clean, sturdy, and flat substrate that will properly support the R-panels.
Laying the Underlayment
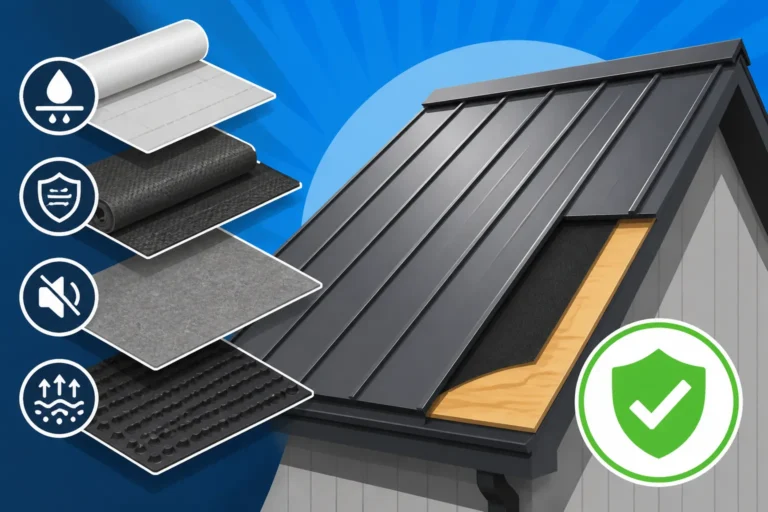
After the roof deck is prepared, the next critical step is installing the underlayment. Think of this as your roof's first line of defense against moisture, even before the metal panels go on. It’s an extra layer of protection that provides a temporary waterproof barrier during installation and a permanent vapor barrier once the metal is down. This is particularly important for exposed fastener systems, as it acts as a safeguard against any potential moisture penetration around the screws or seams.
You have a few choices when it comes to underlayment, with synthetic underlayments being a popular modern option due to their durability, water resistance, and tear strength. Traditional felt paper (tar paper) is another option, though often less robust. Regardless of the type, it should be installed smoothly, without wrinkles or buckles, and overlapped correctly according to the manufacturer's instructions, usually starting from the eaves and working your way up to the ridge. Proper underlayment installation is non-negotiable for the long-term health of your roof, as it guards against condensation and ensures any minor water intrusion doesn't become a major problem. For more comprehensive information, refer to our detailed article on Metal Roof Underlayment and Ventilation Guide.
The Step-by-Step R-Panel Installation Process
With your roof deck prepped and underlayment laid, you're finally ready for the main event: installing those R-panels! This is where precision and patience really pay off. Each step builds on the last, so taking your time and getting it right from the beginning will ensure a watertight and professional-looking finish.
Starting Point and Panel Alignment
Choosing your starting point is more critical than you might think. Generally, you'll want to start at one corner of the roof, typically the lowest eave, and work your way across. This helps ensure consistent panel overlap and easier alignment. Before you even lift the first panel, measure your roof carefully and snap chalk lines. These lines are your best friends for keeping everything perfectly square and preventing a "creeping" effect where panels gradually go off-kilter. A slightly crooked start can lead to major headaches by the time you reach the other side of the roof.
Once you have your starting lines, position the first panel. Ensure it has the correct overhang at the eave (typically 1-2 inches, but always check manufacturer specs) and that it's perfectly aligned with your chalk line. This initial panel is the benchmark for the entire roof, so take your time. Temporarily secure it with just a few screws to allow for minor adjustments before full fastening. Remember, precision here means fewer issues later, especially when dealing with trim pieces that rely on straight edges.
Fastening the Panels
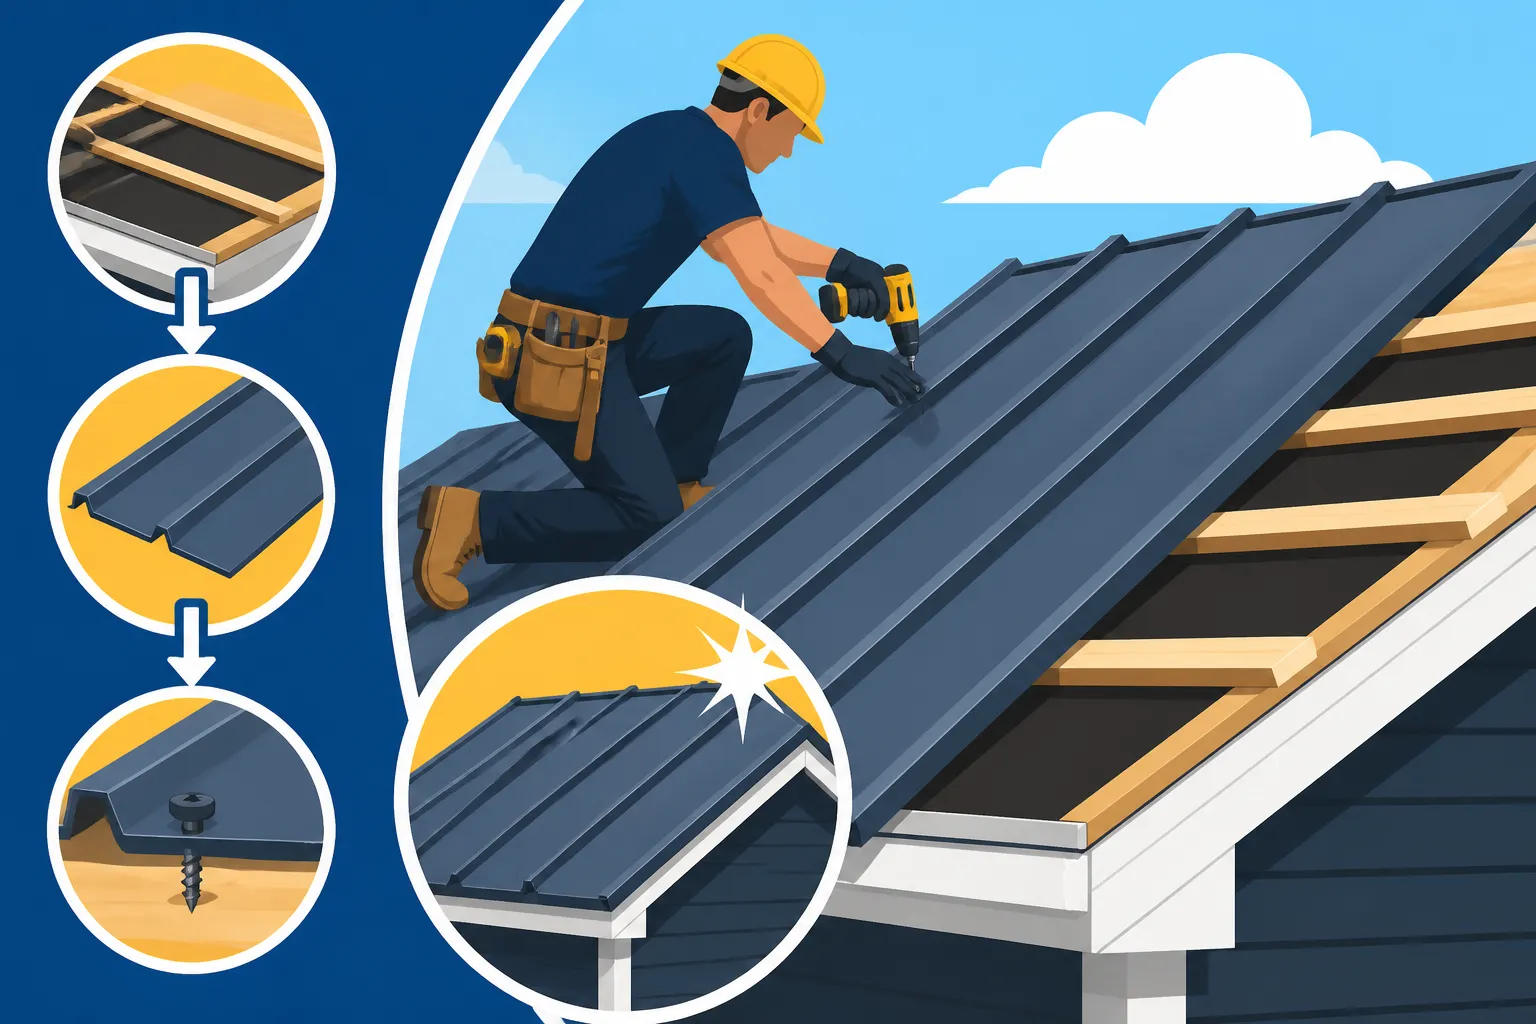
Now for the heart of R-panel installation: fastening. Since R-panels use an exposed fastener system, choosing the right screws and applying them correctly is paramount to preventing leaks. You'll use self-tapping screws, typically 1.5 to 2 inches long, equipped with a neoprene washer. This washer is designed to compress and create a watertight seal around the screw shaft when properly tightened.
The placement and spacing of your screws are critical. They should typically be driven into the "flats" or valleys of the panel, not on the raised ribs, and into a solid support structure (decking or purlin) underneath. Manufacturer specifications will provide precise guidelines for screw patterns and spacing – often every 12 to 24 inches along each flat, and every foot or so along the overlaps. The trick is to tighten them enough to compress the washer and create a seal, but not so much that you "strip" the screw hole or crush the washer entirely. Over-tightening is a common mistake that can compromise the seal and lead to leaks down the road. If you're looking for an experienced contractor, platforms like Modernize can connect you with professionals who understand these nuances.
Overlapping and Sealing Panels
As you install each successive panel, you'll need to overlap it with the previous one. R-panels are designed with a specific side lap that typically covers one of the raised ribs of the adjoining panel. This overlap creates a channel for water runoff. To ensure a watertight seal at these overlaps, especially in areas prone to heavy rain or wind-driven moisture, a sealant is often used.
Butyl tape or a mastic sealant is typically applied along the overlapping edge before the new panel is secured. This creates a continuous gasket-like seal between the two panels. When you drive the screws through the overlap, they'll pass through this sealant, further enhancing the waterproof integrity. It's a small step that makes a huge difference in the long-term performance of your roof, preventing water from wicking up or being driven through the seam during storms. Paying attention to these details is a crucial part of knowing How to Prevent Leaks on a Metal Roof.
Installing Trim, Flashing, and Accessories
Once all the main field panels are securely in place, it's time to turn your attention to the finishing touches: the trim, flashing, and accessories. These components are just as vital as the panels themselves, as they protect the vulnerable edges and transitions of your roof from water intrusion. Think of them as the precise seals that complete the waterproof envelope. For a deeper understanding of these crucial parts, check out our guide on Metal Roof Components & Accessories Explained.
You'll install various trim pieces:
- Eave Trim (or Drip Edge): This goes along the bottom edge of the roof, underneath the R-panels, extending slightly beyond the fascia to direct water away from the eaves. It helps protect the fascia board and ensures proper water runoff into gutters.
- Rake Trim (or Gable Trim): These pieces cover the exposed edges of the panels along the gable ends of your roof, providing a neat finish and protecting against wind and weather.
- Ridge Cap: This specially formed piece caps the peak of your roof, covering the intersection of the two opposing roof planes. It's often vented to allow for proper attic ventilation, preventing heat and moisture buildup.
- Valley Flashing: For roofs with valleys (where two roof planes meet), pre-formed metal valley flashing is installed first, underneath the R-panels, to create a smooth, watertight channel for water to flow down.
- Wall Flashing and Pipe Boots: Any penetrations through the roof, such as chimneys, skylights, or plumbing vents, require custom flashing or specialized pipe boots to create a watertight seal. This is often the most challenging part of the installation and where many leaks originate if not done meticulously.
Each trim piece is typically fastened with color-matched screws, again with neoprene washers, placed at appropriate intervals. The goal is to create continuous, sealed connections that guide water off the roof without finding any entry points. Proper layering and sealing of these components are paramount for the roof's overall integrity.
Common Challenges and Troubleshooting During Installation
Even with the best intentions and meticulous planning, installing a metal roof, especially an R-panel system, can throw a few curveballs your way. It’s not always a perfectly smooth process, and knowing what challenges to anticipate and how to troubleshoot them can save a lot of frustration and potential rework.
Dealing with Irregular Roof Lines or Obstructions
Let’s be honest, very few roofs are perfectly square or free of obstructions. You might encounter an old chimney, a skylight, a quirky roofline on an older home, or even a vent pipe that doesn't quite fit your perfectly measured panels. These irregularities are where custom work comes into play, and it can be intimidating. You’ll often need to cut panels to fit around these obstacles, which requires precise measurements and specialized tools like metal shears or nibblers.
When cutting, always ensure you're using proper protection and that the cut edges are clean. Any exposed cut edges might need a touch-up paint or sealant to prevent corrosion, especially if the underlying metal coating (like Galvalume) is exposed. For complex transitions, like around a chimney, custom-bent flashing pieces are usually required. This is often where a seasoned professional's experience truly shines, as they can accurately measure, bend, and install flashing that ensures a watertight seal, even on the most challenging roof features. If you're connecting with a contractor through a service like Modernize, ensure they have a strong portfolio of handling similar challenges.
Preventing Leaks and Water Infiltration
The biggest fear with any roof installation is, of course, leaks. And with an exposed fastener system like R-panel, there are specific points where water infiltration can occur if not properly addressed. The most common culprit is often the fasteners themselves. If screws are over-tightened, under-tightened, or angled incorrectly, the neoprene washer may not form a perfect seal. This allows water to seep in, often slowly, leading to drips or staining inside your home.
To prevent this, ensure every screw is driven straight, with just enough torque to compress the washer without crushing it. Regularly inspect your work as you go, especially in areas that will be covered by subsequent panels or trim. Another common leak point is insufficient sealing at panel overlaps or trim pieces, particularly in valleys or around penetrations. Always use the recommended butyl tape or sealant in these areas, ensuring continuous coverage. In climates with freeze-thaw cycles, proper sealing becomes even more critical, as expanding ice can exploit tiny gaps. For issues that might arise later, knowing about Metal Roof Repair vs Replacement: How to Decide can be very useful.
Minimizing Oil Canning and Aesthetic Issues
While not a structural or leak issue, "oil canning" is an aesthetic concern that homeowners often notice and dislike. It refers to the visible waviness or distortion in the flat parts of metal panels, creating an uneven, wavy appearance, especially in direct sunlight. It's a natural characteristic of light-gauge cold-rolled metal and isn't usually a sign of a defective product. However, improper installation can exacerbate it.
To minimize oil canning, ensure the roof deck is perfectly flat and free of bumps or dips before installation. Using strapping or purlins that are dead level can help. Avoid over-tightening fasteners, which can put excessive stress on the panels and cause them to buckle. Some manufacturers also offer panels with stiffening ribs or striations that help reduce the appearance of oil canning. While you can't always eliminate it entirely, careful handling of the panels, precise fastening, and a perfectly flat substrate can go a long way in ensuring your R-panel roof looks as smooth and clean as possible.
Post-Installation Considerations
You've done it! The last panel is down, the trim is installed, and your new R-panel roof gleams in the sun. But the job isn't quite finished yet. There are a few crucial steps to take after installation to ensure everything is perfect and to set your roof up for a long, happy life.
Final Inspection and Cleanup
Once the installation crew packs up their tools, don't just admire the view from your driveway – it's time for a thorough final inspection. This isn't about nitpicking; it's about confirming that every single detail is up to snuff. Walk around the entire perimeter of your home and, if safe to do so, carefully inspect the roof surface. Look for any fasteners that might be missing, improperly seated, or over-tightened. Check all trim pieces, especially around eaves, gables, ridges, and valleys, to ensure they are securely fastened and properly overlapped.
Pay particular attention to areas around chimneys, skylights, and vent pipes – these are common spots where small omissions can lead to big problems. Also, ensure that all sealant applications are uniform and complete. After all the metalwork, there will inevitably be small metal shavings and debris left behind. It's absolutely crucial that these are meticulously cleaned up. Metal shavings, if left on the roof, can rust and stain your new panels or, worse, wash into your gutters and clog them. A magnetic sweeper is often used to pick up any stray screws or metal bits. A pristine cleanup not only looks better but also contributes to the long-term health of your roof.
Maintenance Tips for Your New R-Panel Roof
The beauty of a metal roof, including R-panel, is its low maintenance. However, "low" doesn't mean "no." A little proactive care goes a long way in ensuring your investment lasts its full projected lifespan. The most important tip is regular visual inspection. Twice a year, typically in spring and fall, take a look at your roof from the ground with binoculars, or if safe, from a ladder. Look for any signs of loose fasteners, damaged sealant, or displaced trim pieces.
Keep your roof clear of debris. Leaves, twigs, and other organic matter can trap moisture and accelerate wear. Gently remove any buildup, especially in valleys or around chimneys. While R-panels are very durable, they can still accumulate dirt or mildew over time. A gentle cleaning with a soft brush and a mild, non-abrasive detergent can help maintain their aesthetic appeal. Avoid harsh chemicals or high-pressure washers, as these can damage the paint coating. Lastly, ensure your gutters are clean and free-flowing. Clogged gutters can cause water to back up onto your roof, potentially compromising the integrity of your eave trim and leading to rot. Regular maintenance not only prolongs the life of your roof but also helps keep your home looking its best.
| R-Panel Installation Component | Purpose | Key Consideration During Install |
|---|---|---|
| R-Panels | Primary roof surface, weather barrier | Alignment, proper overhang, smooth handling |
| Underlayment | Secondary moisture barrier, deck protection | Smooth, correct overlap, securely fastened |
| Fasteners (Screws) | Secure panels to deck/purlins, exposed | Self-tapping, neoprene washer, correct torque |
| Butyl Tape/Sealant | Watertight seal at panel overlaps and critical joints | Continuous bead, proper compression |
| Eave Trim | Directs water off edge, protects fascia | Proper overhang, tight fit to fascia |
| Rake Trim | Covers gable ends, wind protection | Neat finish, secure fastening along edges |
| Ridge Cap | Covers roof peak, often vented | Secure seal at peak, ventilation considerations |
| Valley Flashing | Channels water in valleys | Smooth, proper overlap under panels, watertight seal |
| Pipe Boots/Wall Flashing | Seals penetrations (vents, chimneys) | Custom fit, flexible seal, multi-layered protection |
Disclaimer
Please remember that this guide provides general information about R-panel metal roof installation. Building codes, regulations, and best practices can vary significantly by location and specific product. Always consult with a qualified, licensed roofing professional and adhere to local building codes and manufacturer specifications for your specific metal roofing materials. Working on a roof can be dangerous; always prioritize safety and consider hiring experienced professionals for any complex roofing project.