How to Repair a R-Panel Metal Roof
There’s nothing quite as disheartening as looking up at your sturdy R-panel metal roof, known for its resilience and long life, only to spot an unsightly dent, a loose fastener, or worse, a tell-tale streak of a leak. It’s easy to feel a knot in your stomach, wondering if this means a complete roof replacement or if there’s a way to tackle these issues head-on without breaking the bank. You’re not alone in feeling this frustration; even the toughest roofs can take a beating over time. This guide is here to walk you through the precise steps to identify and effectively repair common problems on your R-panel metal roof, empowering you to address issues confidently and extend your roof's lifespan.
Understanding R-Panel Metal Roof Damage
R-panel metal roofs are a fantastic choice for many homes, barns, and commercial buildings, loved for their durability, cost-effectiveness, and often, their straightforward installation. They typically feature deep, angular ribs and exposed fasteners, making them visually distinct and incredibly strong. However, "strong" doesn't mean impervious, and over time, various factors can lead to damage. Knowing what to look for and what causes it is the first step toward a successful repair.
Common Culprits: What Causes R-Panel Roof Damage
The lifespan of an R-panel roof is impressive, often stretching 30 to 50 years, but that doesn't mean it's immune to the everyday wear and tear or the occasional dramatic event. Weather is, by far, the most frequent culprit. Intense hailstorms can leave behind unsightly dents, compromising the panel's coating and potentially creating weak spots. High winds, especially in areas prone to severe weather, can lift panels, loosen fasteners, or even cause tears where the panels meet. Think about those blustery spring storms that roll through the Midwest, or the relentless sun and occasional monsoon downpours in places like Arizona – these elements take a toll.
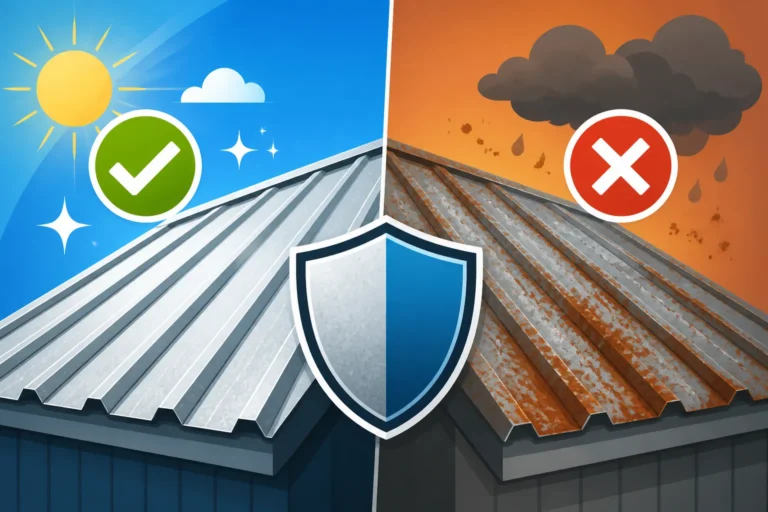
Beyond Mother Nature, human error or simple age can play a role. Improper installation, where fasteners are over-tightened or under-tightened, can lead to premature failure. Over-tightening can strip the screws or crush the washers, while under-tightening leaves them vulnerable to backing out. Foot traffic on the roof, perhaps during routine maintenance or satellite dish installation, can cause dents or even punctures if care isn't taken. Over decades, even the best fasteners can degrade, with their rubber washers cracking or deteriorating, allowing water to seep in. Rust and corrosion, while often prevented by modern coatings like Galvalume or Galvalume Plus, can still occur if the coating is scratched or damaged, especially in coastal areas with high salt exposure.
Spotting the Signs: How to Identify R-Panel Roof Problems
Catching problems early is paramount to preventing minor issues from escalating into major, costly repairs. The most obvious sign of an R-panel roof problem is, of course, a leak inside your home or building. Water stains on ceilings or walls below the roof are a clear indicator that something needs attention, but finding the exact source on the roof itself can be like finding a needle in a haystack. Often, the entry point for water is far from where it eventually drips.
Beyond leaks, a visual inspection from the ground and, if safe to do so, from the roof itself, can reveal many clues. Look for any screws that appear raised, have damaged washers, or are missing entirely. These are common culprits for leaks and are often the easiest to fix. Keep an eye out for dents, particularly those that have chipped away at the paint or coating, as these areas are prime for rust development. Discoloration or streaking on the panels could indicate corrosion or the breakdown of the roof's protective coating. You might also notice panels that look slightly misaligned or warped, which can happen due to thermal expansion and contraction or improper fastening. Remember, safety should always be your top priority when inspecting your roof. If you're uncomfortable or the roof pitch is too steep, it's always best to call a professional. Regular inspections, perhaps once a year or after a major storm, can save you a lot of headache and expense down the road. For more guidance on what to look for, check out our article on Metal Roof Inspection: What to Check.
Essential Tools and Materials for R-Panel Roof Repair
Alright, so you've identified some issues on your R-panel roof. Before you climb up there with good intentions and a can-do attitude, it's crucial to gather the right tools and materials. Having everything you need readily available will not only make the repair process smoother but also safer and more effective.
Safety First: Personal Protective Equipment
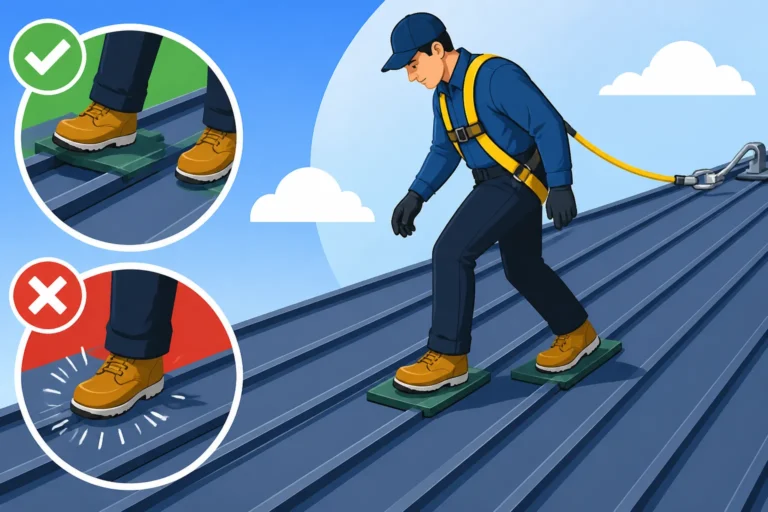
I cannot stress this enough: safety is non-negotiable when you're working on a roof. Even if your R-panel roof has a relatively low slope, falls are always a risk. Start with appropriate footwear – sturdy, slip-resistant work boots are a must. Don't even think about flip-flops or worn-out sneakers. Next, protect your hands with heavy-duty work gloves; metal edges can be sharp, and you'll be handling tools and sealants. Eye protection, like safety glasses or goggles, is essential to shield your eyes from debris, metal shavings, or splashes from sealants.
If your roof has any significant pitch or you're working at a considerable height, a fall protection harness and ropes are not just a good idea, they're a necessity. Investing in a reliable harness and knowing how to properly anchor it could literally save your life. Additionally, a sturdy ladder with non-slip feet is crucial for safe access to the roof. Never work alone, especially on a roof; having someone on the ground to assist and ensure your safety is invaluable. Take the time to secure your ladder and always maintain three points of contact when climbing.
Repair Kit Essentials: What You'll Need
Once you're geared up for safety, it's time to assemble your repair arsenal. For R-panel roofs, a few core items are absolute must-haves. First up, sealants. You'll want a high-quality, professional-grade sealant specifically designed for metal roofing. These are typically urethane, silicone, or butyl-based, offering excellent adhesion, flexibility, and UV resistance. Brands like Geocel, OSI Quad, or SikaLastomer are often recommended by pros for their durability. Make sure you have a reliable caulk gun for easy application.
Next, fasteners. For replacing loose or failed screws, you'll need new self-tapping screws with oversized washers, typically made of EPDM rubber, to create a watertight seal. Often, you'll need screws that are slightly longer or a gauge larger than the originals to ensure they bite into fresh wood if the old hole is stripped. It’s a good idea to bring a variety of sizes if you’re unsure. For cutting panels or patches, a good pair of metal shears (often called snips) or a metal-cutting saw with an appropriate blade (like a fine-tooth carbide-tipped blade for a circular saw, or a nibbler tool for precise cuts) will be necessary. A power drill with various bits, including a magnetic nut setter for your roofing screws, will be your best friend.
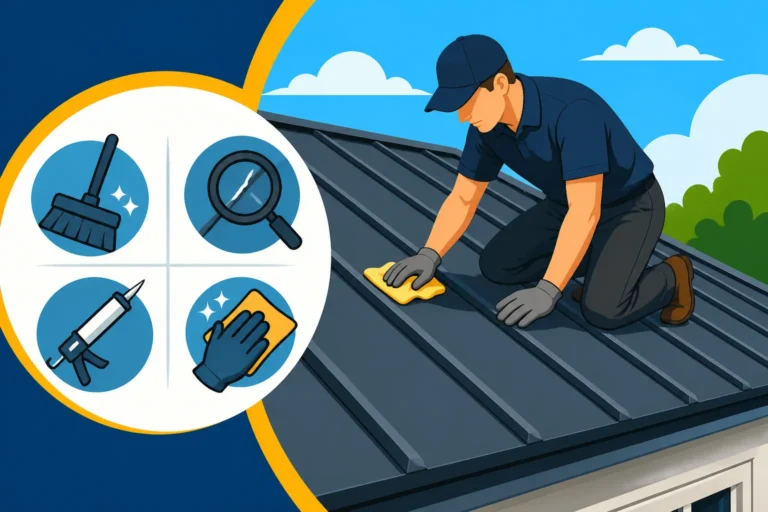
Don't forget cleaning supplies like a stiff brush, rags, and a metal-safe cleaner (like rubbing alcohol or mineral spirits) to ensure surfaces are free of dirt, debris, and old sealant before applying new materials. For minor holes or coating damage, a small repair patch made from the same metal (or a compatible material like aluminum flashing tape) and exterior-grade metal paint matching your roof's color can also be incredibly useful. Knowing which materials to use is critical for a lasting repair, and you can find more detail in our article on Best Sealant for Metal Roof Leaks.
Step-by-Step Guide to R-Panel Metal Roof Repair
Now for the practical stuff! Tackling repairs on your R-panel roof doesn't have to be daunting. With the right approach, you can effectively resolve many common issues yourself. Remember, preparation and patience are key.
Addressing Loose or Failed Fasteners
Loose or failed fasteners are arguably the most common cause of leaks in R-panel roofs. The exposed nature of these screws means their rubber washers are constantly exposed to UV rays and temperature fluctuations, which can cause them to crack and lose their seal over time. Additionally, thermal expansion and contraction of the metal panels can slowly work screws loose or strip the decking they're screwed into.
Step-by-Step Process:
- Locate the Problem: Carefully inspect the roof for screws that are visibly raised, missing their washers, or have cracked/deteriorated washers. You might even see a ring of rust around a failing screw head.
- Preparation is Key: Before doing anything, thoroughly clean the area around the problem fastener. Use a stiff brush to remove any dirt, moss, or old sealant. For stubborn residue, a metal-safe cleaner can help ensure a clean surface for the new sealant.
- Remove the Old Fastener: Gently unscrew the compromised fastener. If it's stripped, you might need to pry it up slightly with a flat-head screwdriver while unscrewing.
- Seal the Old Hole: This is a critical step. Inject a generous bead of your high-quality metal roofing sealant directly into the old screw hole. Also, apply a ring of sealant around the hole on the panel surface. This creates a redundant waterproof barrier.
- Install the New Fastener: Take a new, self-tapping metal roofing screw, preferably one that is slightly larger in diameter or longer than the original (e.g., if the old was a #10, use a #12, or a longer #10 if the old hole is just stripped), ensuring it has an intact EPDM washer. Drive the new screw directly through the sealed hole. Be careful not to over-tighten; you want the washer to be compressed enough to create a seal, but not so much that it's crushed. A slight dimpling of the washer is generally sufficient.
- Wipe Excess Sealant: While the sealant is still wet, you can carefully wipe away any excessive squeeze-out to maintain a clean appearance.
This straightforward process is often all it takes to stop a pesky leak. For a more detailed look, check out our guide on How to Replace Metal Roof Screws and Fasteners.
Repairing Small Holes and Punctures
Small holes or punctures can occur from dropped tools, errant footsteps, or even minor impacts from falling branches. While an R-panel roof is tough, a sharp impact can create a vulnerable spot.
Step-by-Step Process:
- Clean the Area: Just like with fasteners, cleaning is essential. Remove any debris, dirt, and rust from around the hole, both on the top of the panel and, if possible, from underneath. Light sanding with fine-grit sandpaper can help improve adhesion if the surface is too smooth or oxidized.
- Apply Sealant: For very small pinholes (smaller than a pencil eraser), you might get away with just filling the hole completely with a durable metal roofing sealant, smoothing it over.
- For Larger Punctures: For holes up to about half an inch, a combination of sealant and a new screw with a washer is often the most effective. Fill the hole with sealant, then drive a new roofing screw (with its EPDM washer) through the center of the hole. This creates a mechanical seal with the washer compressing the sealant.
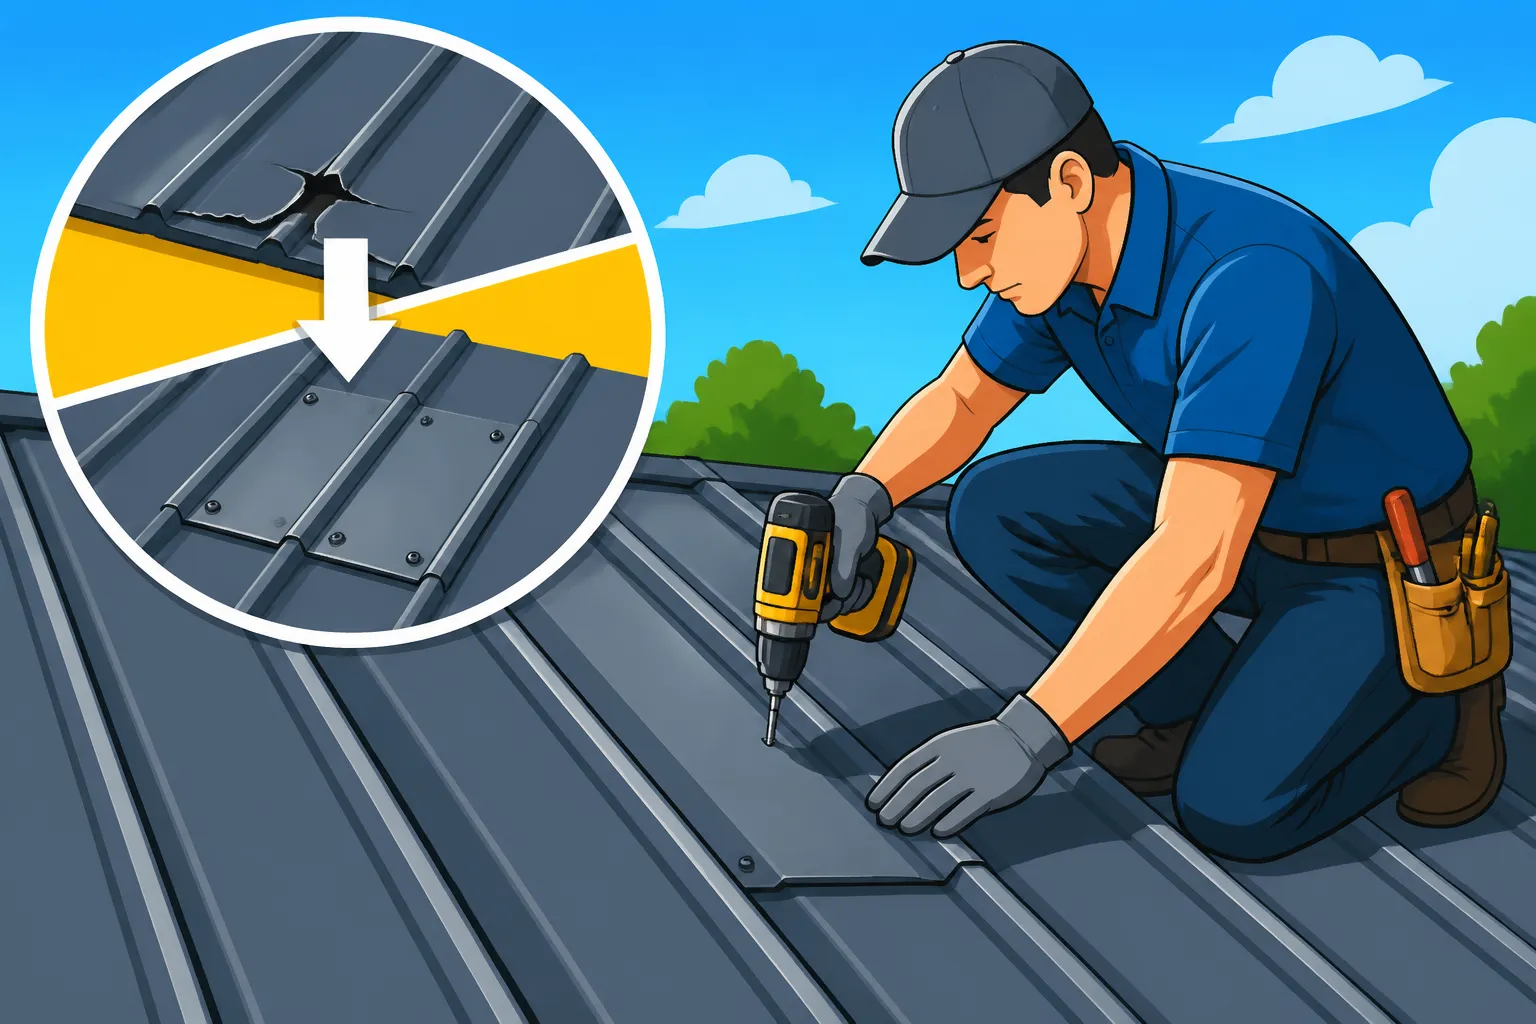
- Using a Metal Patch (for bigger holes or tears): For holes larger than half an inch or small tears, a metal patch is the way to go.
- Cut a piece of metal flashing (aluminum is often flexible and easy to work with) that is significantly larger than the hole, overlapping the damage by at least 2-3 inches on all sides.
- Clean the underside of the patch and the area around the hole on the roof panel thoroughly.
- Apply a generous amount of sealant to the underside of the metal patch, especially around its edges.
- Carefully position the patch over the hole and press down firmly to ensure good adhesion, squeezing out any air bubbles.
- Secure the patch by driving self-tapping roofing screws with washers around its perimeter, approximately every 2-3 inches, making sure they pass through both the patch and the existing roof panel, getting a good bite into the purlin or decking below.
- Apply a final bead of sealant along all edges of the patch for an extra layer of protection.
- Touch-Up Paint: Once the sealant has cured, consider applying exterior-grade metal paint that matches your roof color to the repaired area for aesthetic consistency and added UV protection.
Fixing Leaks at Seams and Overlaps
The unique profile of R-panel roofs means that panels overlap each other. While these overlaps are designed to shed water, sometimes due to thermal movement, aging sealant, or improper fastening, leaks can develop at these crucial seam points.
Step-by-Step Process:
- Identify the Leaky Seam: This often requires careful observation after rain. Look for water intrusion points along the overlaps where panels connect. Sometimes you'll see rust streaks or water trails below the seam.
- Clean the Seam Thoroughly: This is where attention to detail really pays off. Use a wire brush or scraper to remove any old, cracked sealant, dirt, or loose paint from the seam. Wipe the area clean with a rag and metal-safe cleaner to ensure perfect adhesion for the new sealant. You want a completely dry, clean surface.
- Apply New Sealant: Choose a high-quality, flexible, and durable metal roofing sealant.
- For the panel end laps (where one panel ends and the next begins along the slope), apply a continuous, generous bead of sealant across the entire width of the overlap. Ensure it fills any gaps and creates a smooth, watertight barrier. You might need to lift the edge of the upper panel slightly to get the sealant underneath if the original sealant has failed completely.
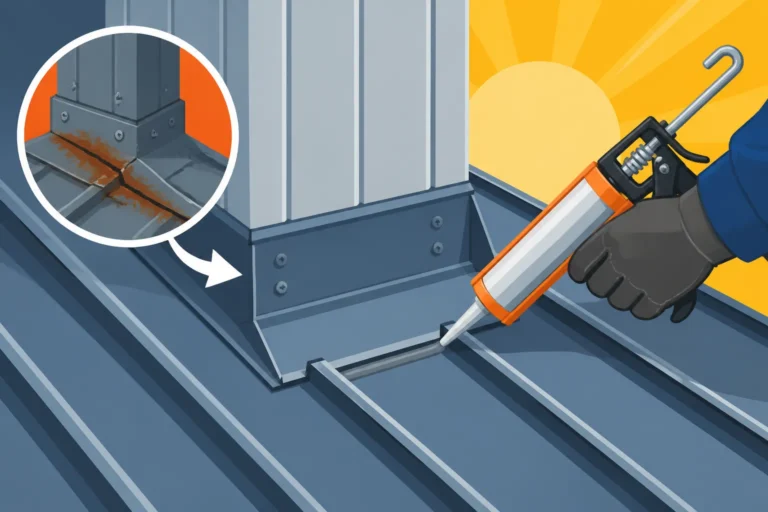
- For side laps (where panels overlap along their ribs), inspect if the existing lap screws are tight. If not, replace them as per the fastener repair steps. Then, if leaks persist or if the original sealant between the overlap has deteriorated, you might need to carefully apply a thin, continuous bead of sealant along the exposed edge of the overlap, making sure it gets into the crevice. This requires a steady hand and a good caulk gun.
- Smooth and Secure: After applying the sealant, you can smooth it with a wet finger or a putty knife for a neater finish. If there are any exposed fasteners along the seam, ensure they are tight and have healthy washers, replacing them if necessary, and adding a dab of sealant over their heads for extra protection.
- Allow to Cure: Give the sealant ample time to cure according to the manufacturer's instructions before exposing it to heavy rain. This ensures a strong, lasting bond.
Replacing Damaged R-Panel Sections
Sometimes, damage is too extensive for a simple patch or sealant. Large dents, widespread rust, or multiple holes in a single area may necessitate replacing an entire R-panel section. This is a more involved repair and often requires a second pair of hands.
Step-by-Step Process:
- Assess and Plan: Determine the exact panel (or panels) that needs replacement. Measure its dimensions carefully and order a new panel with the identical profile, gauge, and color. Color matching can be tricky with aged roofs, so be prepared for a slight variation. You might find resources on Metal Roofing Materials Compared: Steel, Aluminum, Copper & Zinc helpful for material selection.
- Safety First (Again): Ensure all safety precautions are in place: harness, sturdy ladder, and a helper.
- Remove Existing Fasteners: Carefully locate and remove all screws securing the damaged panel. These will be along the side laps and potentially across the ribs into purlins or decking. Keep these fasteners separate; you may need to use new ones.
- Carefully Detach the Panel: Once all fasteners are removed, gently lift the edges of the adjacent panels that overlap the damaged section. With careful prying and pulling, you can slide out the old, damaged R-panel. Take care not to damage the surrounding panels during removal.
- Inspect and Prepare Substrate: Once the old panel is removed, inspect the underlying roof decking or purlins for any damage, rot, or corrosion. Make any necessary repairs to the substrate before installing the new panel. If your roof uses an underlayment, inspect it for tears and repair or replace any damaged sections. This is a good time to consider the best Metal Roof Underlayment and Ventilation Guide options.
- Install the New Panel:
- Carefully position the new R-panel into place, ensuring it aligns perfectly with the adjacent panels. This is crucial for proper water shedding and aesthetic appeal.
- Ensure the new panel's ribs interlock correctly with the overlapping existing panels.
- Apply a continuous bead of high-quality sealant along the overlap where the new panel meets the existing ones, especially on the side laps, before fastening.
- Secure the new panel with fresh self-tapping metal roofing screws with EPDM washers, following the original fastening pattern. Again, be mindful not to over-tighten.
- Seal and Finish: Apply a final bead of sealant along all exposed seams and over each new screw head for added waterproofing. Wipe away any excess sealant for a clean finish.
Replacing a full panel is a task that benefits greatly from experience and proper tools. If you're feeling overwhelmed, or if the panel is in a difficult-to-reach spot, it might be time to call in the experts.
When to Call the Pros: Recognizing Beyond DIY Repairs
While many R-panel roof repairs are manageable for a diligent homeowner, there are definite limits to DIY capabilities. Knowing when to step back and call a professional isn't a sign of weakness; it's a mark of wisdom, ensuring safety, quality, and often, long-term savings.
Complex Damage and Structural Concerns
Sometimes, the problems go deeper than a loose screw or a small puncture. If you're dealing with widespread rust that's affecting large sections of your roof, or if you've noticed multiple panels warping or detaching after a severe storm, these are usually indicators of more complex issues. For instance, extensive wind damage might not only lift panels but could also compromise the underlying purlins or decking, leading to structural weaknesses. Significant hail damage might create widespread minor impacts that, while individually small, collectively weaken the roof's integrity and protective coating. Trying to patch dozens of small dents or address underlying structural problems yourself can be incredibly time-consuming, frustrating, and potentially ineffective in the long run.
Moreover, if you suspect issues with the roof's overall ventilation system or if you're experiencing persistent condensation problems, these are often systemic issues that require a professional assessment. A qualified metal roofing contractor has the expertise to diagnose these deeper problems, propose comprehensive solutions, and execute them correctly, often preventing recurring issues. When the repair involves major structural elements, large-scale panel replacement on a multi-story home, or extensive flashing around chimneys or skylights, the complexity usually outweighs the DIY benefit. For situations like these, getting a professional evaluation is always the best course of action. You can often start by getting a free estimate to gauge the scope and cost, as detailed in How Much Does Metal Roof Repair Cost?.
Safety Risks and Warranty Considerations
Let's be brutally honest: working on a roof, especially a steep or high one, carries significant risks. A momentary lapse in judgment, a slippery surface, or an improperly secured ladder can lead to serious injury or worse. If you don't have the proper fall protection equipment, aren't comfortable with heights, or if your roof has a particularly challenging pitch or layout, it's far safer to entrust the job to experienced professionals. They have the training, insurance, and specialized equipment to work safely and efficiently. Never gamble with your personal safety to save a few dollars on a repair.
Beyond safety, there's the critical issue of your roof's warranty. Many metal roofing manufacturers offer robust warranties that cover material defects and sometimes even paint finishes. However, these warranties often include clauses that can be voided by improper installation or repairs performed by uncertified individuals. If you attempt a DIY repair and it goes wrong, or if it's not done according to manufacturer specifications, you could inadvertently void your entire roof warranty, leaving you exposed to significant costs down the line if further issues arise. A professional, manufacturer-certified installer, on the other hand, can perform repairs that keep your warranty intact, often backing their work with their own labor guarantee.
When you're facing repairs that seem too big, too complex, or too dangerous, it’s a smart move to seek out qualified metal roofing contractors. Services like Modernize can connect you with local, reputable professionals who specialize in metal roofing. They can provide quotes, assess the damage accurately, and ensure the repair is done correctly, safely, and without voiding your valuable warranty. Before hiring, make sure to ask the right questions about their experience with R-panel roofs and their warranty policies, as outlined in Questions to Ask a Metal Roofing Contractor Before You Hire.
Disclaimer
Please remember that this guide offers general advice. Always consult with a qualified roofing professional for specific guidance tailored to your unique situation and local building codes. Safety should be your top priority when performing any roof work.