How to Repair a Metal Tile Metal Roof
Seeing issues with your metal tile roof can be incredibly stressful. You've invested in a durable, beautiful roofing solution, and the last thing you want is to see a loose tile or a dreaded water stain on your ceiling. It’s frustrating to wonder if a minor issue is a sign of something much bigger, and whether it’s a fix you can tackle yourself or if you need to call in the experts. This comprehensive guide will walk you through common metal tile roof problems and provide actionable steps for effective repairs, helping you maintain the longevity and integrity of your home.
Understanding Your Metal Tile Roof and Common Issues
Metal tile roofs, often designed to mimic the aesthetic of traditional clay, slate, or wood shake, are a fantastic choice for many homeowners. They offer incredible durability and a long lifespan, but like any roofing system, they aren't entirely immune to wear and tear or accidental damage. Before you jump into fixing anything, it's crucial to understand what kind of metal tiles you have and the specific issues they're prone to. This foundational knowledge will make your repair efforts much more targeted and effective.
Identifying Different Types of Metal Tiles
The world of metal roofing is wonderfully diverse, and metal tiles are a specific and popular segment. Unlike long, continuous panels found in standing seam or corrugated roofs, metal tile systems consist of individual, often interlocking, panels designed to look like traditional roofing materials. They can be made from various metals, each with its own characteristics. Steel tiles, often galvanized or Galvalume coated, are incredibly strong and typically cost-effective. Aluminum tiles are lighter, excellent for coastal areas due to their rust resistance, and often a bit pricier. Copper tiles offer unmatched beauty and longevity, developing a distinct patina over time, but come with a significant investment. Zinc tiles are another high-end option known for their extreme durability and self-healing properties.
Beyond the material, the profile of metal tiles varies widely. You might have stone-coated steel tiles that look remarkably like traditional asphalt shingles, clay tiles, or even wood shakes, complete with a granular surface. Other types might be stamped or pressed metal panels designed to replicate the classic barrel shape of Spanish tiles or the flat, overlapping look of slate. Understanding your specific tile type – its material, profile, and how it interlocks or fastens – is the first step in any successful repair. A damaged stone-coated steel tile, for instance, might require a different repair approach than a dented aluminum tile or a loose copper shingle. If you’re unsure, checking your original roofing contract or searching for the manufacturer's name on existing tiles can often provide clues.
Common Problems Specific to Metal Tile Roofs
While metal tile roofs are robust, they do face specific challenges. One of the most frequent complaints homeowners have is with loose or lifted tiles. This often happens due to high winds, improper installation, or the natural expansion and contraction of the metal over time, which can gradually loosen fasteners or interlocks. If you live in an area prone to strong weather events, like the coastal regions of Florida or Texas, checking for loose tiles after a storm should be part of your routine. These loose tiles can then clang in the wind, create unsightly gaps, and, most importantly, provide pathways for water intrusion.
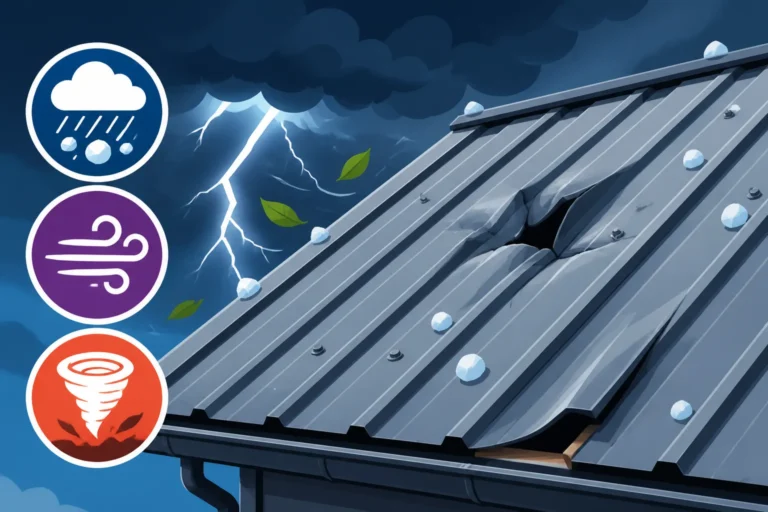
Another common issue is cosmetic damage, such as dents from hail storms or falling debris, or scratches that compromise the protective coating. While a small dent might not immediately lead to a leak, it can chip the paint or coating, exposing the base metal to the elements. Over time, this exposed area can begin to rust, particularly if it's a steel tile. For those with stone-coated steel, the granular coating can wear off or flake, especially in high-traffic areas or under harsh conditions, diminishing its aesthetic appeal and protective qualities. Leaks, of course, are the ultimate nightmare. They often occur around penetrations like skylights or chimneys, where flashing might fail, or due to fasteners backing out, allowing water to seep through the screw holes. Understanding these specific vulnerabilities helps you focus your inspection and repair efforts. You might find our guide on Warning Signs Your Metal Roof Needs Attention helpful for a more detailed overview of what to look for.
Step-by-Step Guide to Repairing Loose or Damaged Tiles
When you spot a problem with a metal tile, the good news is that many common issues are quite manageable for a DIY-savvy homeowner. However, never underestimate the importance of safety and proper technique. Rushing into a repair without the right preparation can turn a minor fix into a major headache, or worse, lead to injury.
Safety First: Preparing for Your Repair
Before you even think about climbing a ladder, you need to prioritize safety. Working on a roof can be incredibly dangerous, especially if it's steep, wet, or slippery. Always use a sturdy ladder placed on firm, level ground, ensuring it extends at least three feet above the eave for easy access. Invest in proper fall protection gear, including a safety harness and anchor system, especially for roofs with a significant pitch. This is non-negotiable. Wear slip-resistant shoes, work gloves, and eye protection.
Gather all your tools and materials before you go up. This saves multiple trips and reduces the risk of accidents. For most metal tile repairs, you'll likely need:
- A sturdy ladder and fall protection.
- Work gloves and safety glasses.
- A drill/driver with appropriate bits (often magnetic hex bits for roofing screws).
- A pry bar or flat bar for carefully lifting tiles.
- Metal snips or shears for trimming.
- A caulk gun and high-quality exterior-grade sealant (polyurethane or silicone specifically for metal roofing).
- Replacement fasteners (screws with neoprene washers).
- If replacing tiles, new matching metal tiles.
- A soft-bristle brush and cleaning solution.
It's also a good idea to have a friend or family member spot you from the ground, ready to assist if needed. Check the weather forecast; avoid working on windy days or when rain is expected. A wet metal roof is an accident waiting to happen.
Fixing Loose or Lifted Tiles
Loose tiles are one of the most common and fixable issues. Often, the problem isn't the tile itself, but the fasteners holding it down, or the interlocking mechanism has come undone.
- Assess the Situation: Carefully approach the loose tile. Is it just one corner lifted, or is the entire tile flapping? Is the fastener visible and loose, or has the interlocking side become disengaged? Take photos for reference.
- Clean the Area: Gently brush away any debris, leaves, or dirt from around the loose tile and the surrounding area. This will help you get a clear view and ensure any sealants adhere properly.
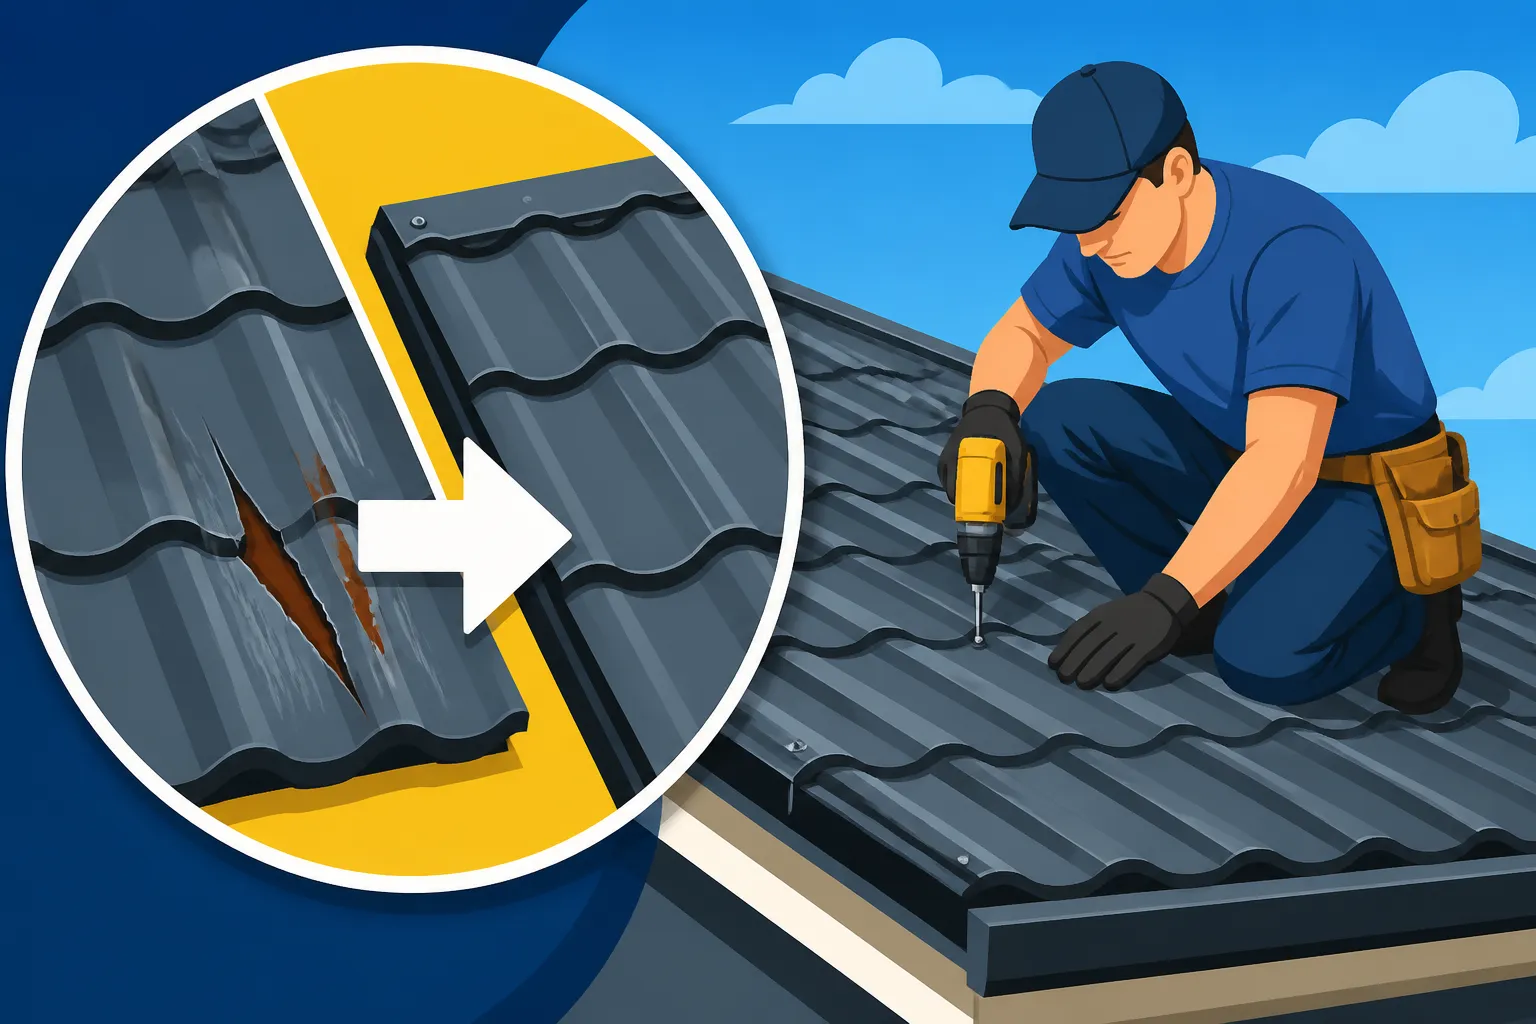
- Tighten or Replace Fasteners: If the tile is secured with exposed fasteners (screws), check if they are simply loose. Using your drill/driver, gently tighten them. Be careful not to overtighten, which can strip the screw hole or deform the metal. If a screw head is stripped, rusted, or the rubber washer is degraded, it's best to remove it completely and replace it with a new roofing screw, ensuring it has an intact neoprene washer for a watertight seal. If you notice several screws backing out, it might be an indication of normal expansion and contraction. Consider applying a small dab of sealant over the head of newly tightened or replaced screws for extra protection.
- Re-engage Interlocking Systems: Many metal tile systems rely on a hidden interlocking mechanism. If the tile has simply shifted and disengaged, you might be able to carefully lift the edge of the overlapping tile above it (using a flat bar with a piece of wood for leverage to prevent denting) and then gently slide or snap the loose tile back into place. Once re-engaged, gently tap it down to ensure it's seated firmly.
- Secure with Hidden Fasteners (if applicable): If your system uses hidden fasteners, the trickiest part is accessing them. You might need to gently lift the overlapping tile to expose the fastening flange of the loose tile. Re-secure the flange with new screws, and then carefully re-seat the overlapping tile. Sometimes, an extra, strategically placed screw (with sealant under the head) in a less visible area can secure a persistent problem tile, but this should be a last resort to maintain aesthetics.
For systems that use a specific clip or bracket, consult the manufacturer's installation guide if possible. If you find multiple tiles consistently coming loose, it might indicate an underlying issue with the original installation or the overall roof decking, and it's wise to consider a professional inspection. Our guide on Metal Roof Fastener Washer Replacement offers more insights into fasteners.
Replacing Severely Damaged or Missing Tiles
Sometimes, a tile is beyond repair due to significant denting, tearing, or it's simply gone missing after a severe storm. Replacing it is the only option.
- Obtain Matching Replacement Tiles: This is critical. You need tiles that match not only in material and profile but also in color and coating. Manufacturers like Boral Steel or DECRA often produce various styles and colors. Try to find spare tiles from your original installation, or contact the manufacturer with your roof's specifications. A mismatch will be very noticeable.
- Remove the Damaged Tile:
- Exposed Fastener Tiles: If the damaged tile is secured with exposed fasteners, remove all screws holding it in place. Carefully lift the tile out. You may need to gently pry up adjacent tiles to free any interlocking edges.
- Hidden Fastener/Interlocking Tiles: This is more challenging. You'll typically need to gently lift the tiles immediately above the damaged one to expose its fastening points. Use a flat bar, carefully inserted under the overlapping edge of the tile above, to lift it just enough to access the fasteners on the top edge of the damaged tile. Be extremely careful not to dent or bend the good tiles. Once fasteners are removed, gently disengage the damaged tile from its side and bottom interlocks and slide it out.
- Prepare the Area: Clean the area where the new tile will sit, ensuring there’s no debris or old sealant residue. Check the underlayment beneath for any damage, and repair it if necessary using roofing tape or appropriate patches.
- Install the New Tile:
- Placement: Carefully slide the new tile into position, ensuring it engages properly with the adjacent tiles' interlocks (if applicable). Make sure it sits flush and level.
- Fastening: Secure the new tile using appropriate new fasteners. For exposed fastener systems, use new screws with neoprene washers, ensuring they are driven straight and not overtightened. For hidden fastener systems, drive new fasteners through the designated points on the top flange of the new tile, making sure they penetrate the roof decking securely.
- Re-seat Overlapping Tiles: Once the new tile is securely fastened, carefully lower and re-seat any adjacent or overlapping tiles you had to lift. Ensure all interlocks are engaged and that everything lies flat.
- Seal and Finish: Apply a small bead of high-quality metal roofing sealant around any newly installed exposed fasteners or along seams if recommended by the manufacturer. Clean up any excess sealant immediately. Stand back and inspect your work from a distance to ensure a uniform appearance.
Replacing a metal tile can be more involved than it seems, especially with interlocking systems. If you're not comfortable, or if you're dealing with multiple damaged tiles, consider reaching out to a professional. Services like Modernize can connect you with experienced metal roofing contractors who specialize in these types of repairs. For a broader understanding of when replacement might be a better option than repair, check out our guide on Metal Roof Repair vs Replacement: How to Decide.
Addressing Leaks and Other Water-Related Damage
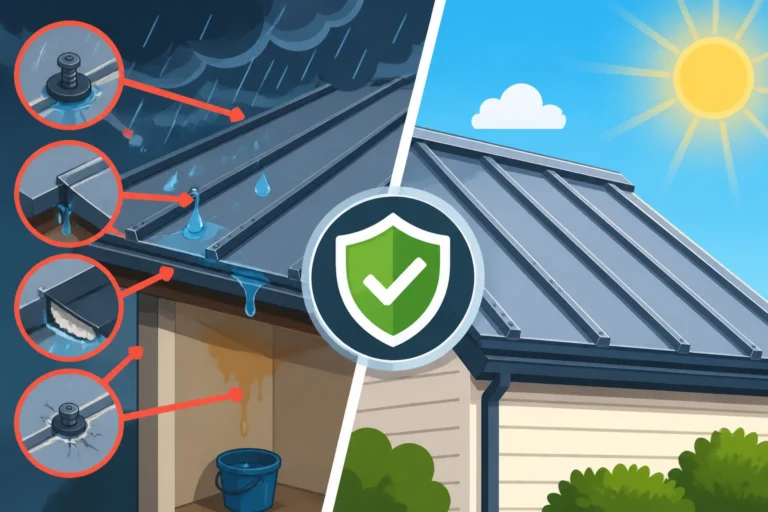
A leaking roof is every homeowner's nightmare. It’s not just about the drips; leaks can lead to costly interior damage, mold growth, and compromised structural integrity if left unchecked. Metal tile roofs are designed to be watertight, but even the best systems can develop leaks over time due to various factors. The key is swift and accurate intervention.
Pinpointing the Source of Leaks
Finding a leak can be like playing detective. Water doesn't always drip directly below where it enters the roof. It can travel along beams, underlayment, or even inside walls before manifesting as a visible stain.
- Start from the Inside: Begin your investigation in your attic or crawl space directly above where you see the water stain. Look for water marks, discoloration, or active drips on the underside of the roof deck, insulation, or rafters. Trace the path of the water upstream as far as you can.
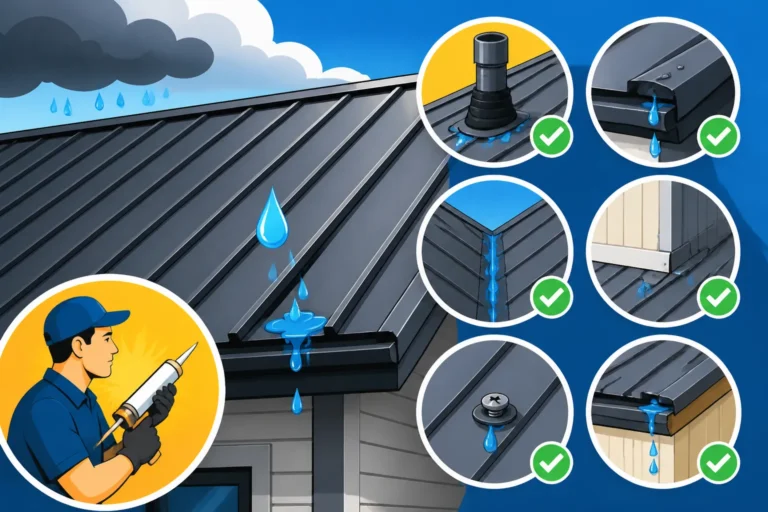
- Inspect Penetrations: The vast majority of roof leaks occur around penetrations: chimneys, skylights, plumbing vents, exhaust fans, and satellite dishes. These areas require careful flashing, and any failure in the flashing (cracks, gaps, missing caulk, loose components) is a prime suspect. Check around these areas on the roof first.
- Examine Fasteners and Seams: For exposed fastener metal tile systems, check every screw head. Over time, the neoprene washers under the screw heads can degrade, crack, or become brittle, allowing water to seep through the screw holes. Similarly, if tiles overlap and are sealed, check the integrity of those seams.
- Check for Physical Damage: Look for any obvious signs of damage to the tiles themselves – large dents, punctures, or torn sections that might be allowing water in.
- Water Test (Carefully): If you can't find the source by visual inspection, a controlled water test can help. With a helper inside the house watching for drips, use a garden hose to apply water to the roof above the suspected leak area. Start low and work your way up, isolating sections of the roof. Be patient, as it can take time for water to travel. Never spray water directly into a penetration, as this might create a leak where none existed.
It's important to remember that heavy rain and high winds can sometimes drive water up under tiles or flashing in ways that don't occur during a gentle drizzle. This makes storm-related leaks particularly tricky to diagnose. A thorough guide to Metal Roof Leak Repair Guide can give you even more detailed strategies for finding and fixing leaks.
Sealing Leaks Around Fasteners and Edges
Once you've identified the leak source, the repair often involves sealing.
- Prepare the Surface: Ensure the area to be sealed is clean, dry, and free of any loose debris, rust, or old caulk. Use a wire brush or scraper if necessary, followed by a clean rag and appropriate cleaner if grease or oil is present. Adhesion is key for a lasting seal.
- Repair Fastener Leaks: If the leak is coming from a screw, first try tightening it. If that doesn't work, remove the old screw and its degraded washer. Apply a small amount of high-quality sealant (like a urethane or silicone specifically formulated for metal roofing) into the screw hole, then drive in a new roofing screw with an intact neoprene washer. You can also apply a dab of sealant over the new screw head for added protection. For multiple leaky screws in an area, consider recoating the entire region if the underlying coating is also failing.
- Seal Gaps and Seams: For leaks along seams or gaps in flashing, apply a continuous, even bead of metal-compatible sealant directly into the gap. Ensure full coverage and good contact with both surfaces. Smooth the bead with a wet finger or a caulk tool for a neat, watertight finish. If the gap is large, you might need to insert a backer rod first to support the sealant. For areas where tiles butt against each other or a wall, a flexible metal flashing with a sealant can bridge the gap effectively.
- Flashing Repairs: If the flashing around a chimney or skylight is the culprit, the repair might be more involved. Minor cracks or holes in flashing can often be sealed with a high-quality flashing tape or sealant. However, if the flashing is severely corroded, bent, or improperly installed, it might need partial or full replacement, which is typically a job for a professional to ensure proper integration with the surrounding tiles and a long-term seal.
Always allow adequate curing time for sealants according to the manufacturer's instructions before exposing the roof to rain.
Dealing with Rust and Corrosion on Metal Tiles
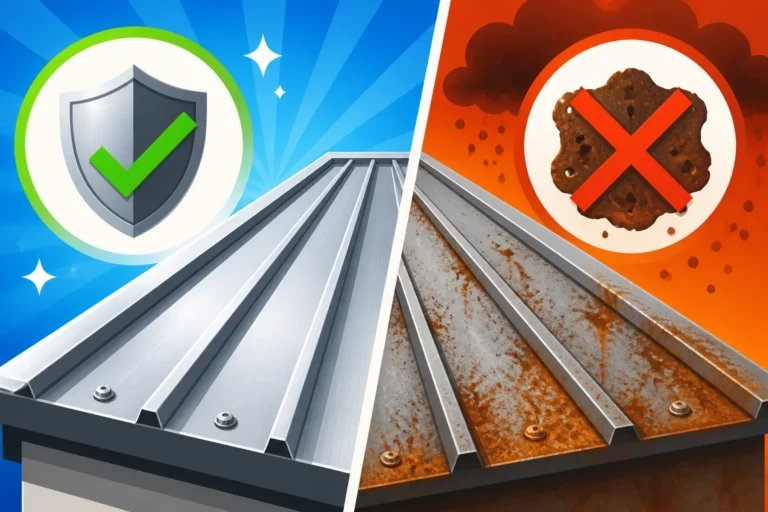
Rust and corrosion are typically concerns for steel-based metal roofs, especially if their protective coatings (like galvanized, Galvalume, or paint) have been scratched, chipped, or have worn away. Aluminum, copper, and zinc are naturally more resistant to rust, though they can develop patinas or other forms of corrosion over time.
- Assess the Extent of Rust: Small, surface rust spots that are caught early are much easier to treat than widespread, deep corrosion. If the rust has perforated the metal, replacement of the tile might be necessary.
- Clean and Prepare: Carefully clean the rusted area with a wire brush or sandpaper to remove all loose rust, paint flakes, and debris. You want to expose the solid metal underneath. Wipe the area clean with a rag and a suitable degreaser, ensuring it’s completely dry.
- Apply Rust-Inhibiting Primer: Apply a rust-inhibiting primer specifically designed for metal surfaces. Follow the manufacturer's instructions for application and drying time. This primer encapsulates any remaining microscopic rust particles and provides a suitable base for the topcoat.
- Topcoat with Metal Paint: Once the primer is dry, apply a high-quality exterior-grade metal paint that matches your roof color as closely as possible. For stone-coated steel, you might need a specialized touch-up kit provided by the manufacturer that includes granules and an adhesive, such as those from reputable brands like Boral. Apply several thin coats rather than one thick one for better adhesion and durability.
- Consider Coatings for Wider Areas: If you have widespread surface rust or fading, and the structural integrity of the roof is still good, a full roof recoating or repainting might be a cost-effective solution to extend its life and restore its appearance. This is a significant undertaking, however, and often requires professional application. You can learn more about this in our guide on Metal Roof Rust and Corrosion Treatment.
Maintenance Tips to Prevent Future Metal Tile Roof Damage
The best repair is often the one you never have to make. Proactive maintenance is key to maximizing the lifespan of your metal tile roof and avoiding costly repairs down the line. A little attention now can save you a lot of headache and expense in the future.
Regular Inspections and Cleaning
Think of your roof as the first line of defense for your home; it deserves regular check-ups.
- Seasonal Visual Inspections: Aim to inspect your roof visually at least twice a year – once in the spring after winter storms, and again in the fall before winter sets in. From the ground using binoculars, look for any signs of trouble:
- Loose or missing tiles: Are any tiles visibly lifted, flapping, or missing altogether?
- Dents or punctures: Check for damage from hail, falling branches, or dropped tools.
- Rust spots: Especially around fasteners, cut edges, or areas where the coating might be compromised.
- Gaps in sealant or flashing: Look closely at areas around chimneys, vents, and skylights.
- Debris accumulation: Piles of leaves or pine needles can trap moisture and accelerate corrosion.
- Gutter and Downspout Maintenance: Clogged gutters are a primary cause of water overflow, which can lead to fascia rot, landscape damage, and even water backing up under your roof. Clean your gutters regularly, especially after heavy leaf fall, to ensure proper water drainage away from your roof and foundation.
- Gentle Cleaning of the Roof Surface: While metal roofs are low-maintenance, they're not no-maintenance. Algae, moss, or mildew can grow, especially in shaded areas, and can retain moisture against the roof surface. Gently clean your metal tile roof with a soft-bristle brush and a mild, non-abrasive cleaning solution (like a diluted dish soap or a specialized roof cleaner). Avoid harsh chemicals or pressure washers, which can damage the coating and void warranties. Always rinse thoroughly with clean water. For a full breakdown, our Metal Roof Maintenance Guide is an excellent resource.
Remember, if you decide to go onto your roof for a closer inspection, always follow safety guidelines and consider hiring a professional if you're uncomfortable or unable to safely access all areas.
Professional Check-ups and Preventative Measures
While DIY inspections are valuable, nothing beats the experienced eye of a professional roofing contractor.
- Annual Professional Inspections: Even if your roof seems fine, scheduling an annual or bi-annual professional inspection is a wise investment. Contractors can spot subtle issues you might miss, such as minor flashing defects, early signs of fastener fatigue, or potential problems with your underlayment or ventilation system. They have the training and specialized tools to safely access and thoroughly evaluate your entire roofing system. Many contractors offer maintenance plans that include these inspections. If you're looking for a trusted expert, platforms like Modernize can help you find qualified local roofing professionals who specialize in metal tile roofs.
- Trim Overhanging Branches: Trees close to your house, while beautiful, can pose a risk. Overhanging branches can drop leaves and debris, contributing to clogs, and in a storm, a falling branch can cause significant damage to your metal tiles. Regularly trim back any branches that extend over your roof to minimize this risk.
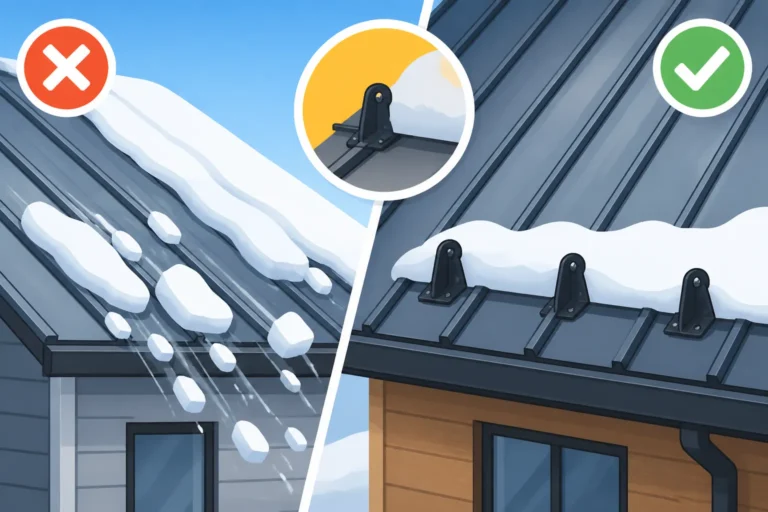
- Consider Snow Guards: If you live in a region with heavy snowfall, metal roofs are known for sudden snow slides. While this can be dramatic, it can also damage gutters, landscaping, and even people below. Installing snow guards (small brackets that hold snow in place until it melts gradually) can be a crucial preventative measure for metal tile roofs in snowy climates. This is usually a job for a professional to ensure proper placement and attachment.
- Understand Your Warranty: Familiarize yourself with your metal tile roof's warranty. This includes both the material warranty from the manufacturer and the workmanship warranty from your installer. Knowing what's covered (and for how long) can be invaluable if a significant issue arises. Keep records of all maintenance and repairs, as this documentation can be important for warranty claims. Our article on Metal Roof Warranties: Workmanship vs Manufacturer delves deeper into this topic.
By combining diligent DIY maintenance with periodic professional oversight, you can significantly extend the life of your metal tile roof, keep it looking great, and protect your home for decades to come.
| Problem Type | Common Causes | DIY Fix Feasibility | Recommended Action | When to Call a Pro |
|---|---|---|---|---|
| Loose/Lifted Tile | High winds, loose fasteners, expansion/contraction | High | Tighten screws, re-engage interlocks, apply sealant | Multiple loose tiles, persistent issues, inaccessible areas |
| Dented Tile | Hail, falling debris, foot traffic | Medium | Minor cosmetic repair kits, touch-up paint | Deep dents affecting structural integrity, widespread damage |
| Missing Tile | Severe storms, inadequate fastening | Medium | Obtain matching tile, carefully remove surrounding tiles, install new | Difficulty finding match, extensive surrounding tile removal |
| Leaking Fastener | Degraded washers, loose screws, overtightening | High | Replace screw/washer, apply metal roofing sealant | Persistent leaks after DIY attempt, multiple leak sources |
| Leaking Seam/Flashing | Worn sealant, cracked flashing, improper installation | Medium | Clean and re-seal small gaps/cracks with metal sealant | Large flashing damage, complex leak paths, ongoing leaks |
| Surface Rust | Scratches, worn coating, standing water | Medium | Clean, prime with rust inhibitor, paint match | Extensive rust, perforation, structural compromise |
| Granule Loss (Stone-Coated) | Abrasion, weathering, foot traffic | Medium | Apply manufacturer's touch-up kit | Widespread granule loss, affecting protective layer |
Disclaimer
Please note that this guide provides general information and recommendations for metal tile roof repairs. While we strive for accuracy, individual roofing systems can vary greatly. Always prioritize safety, consult your roof manufacturer's guidelines, and consider hiring a qualified and insured professional for any repairs you are uncomfortable performing yourself or for issues that seem extensive or complex. Improper repairs can lead to further damage, void warranties, and pose safety risks.