How Are Metal Roof Panels Attached?
Deciding on a new metal roof is a big step, and once you start looking into it, you quickly realize there's a lot more to it than just picking a color. One of the questions that often pops up, and rightly so, is about how those panels are actually attached to your home. It's not just a matter of nailing them down; the attachment method is crucial for durability, weather resistance, and even the aesthetic appeal of your roof. This guide will walk you through the various ways metal roof panels are attached, demystifying the process and helping you understand what makes a secure and long-lasting installation.
Understanding the Primary Metal Roof Panel Attachment Systems
When you're considering a metal roof, you'll primarily encounter two main categories of attachment systems: exposed fastener and concealed fastener. Each has its own distinct method of securing the panels, offering different benefits and considerations for homeowners. It’s not a one-size-fits-all situation, and understanding these differences is key to making an informed decision for your home.
Exposed Fastener Systems: The Nuts and Bolts (Literally)
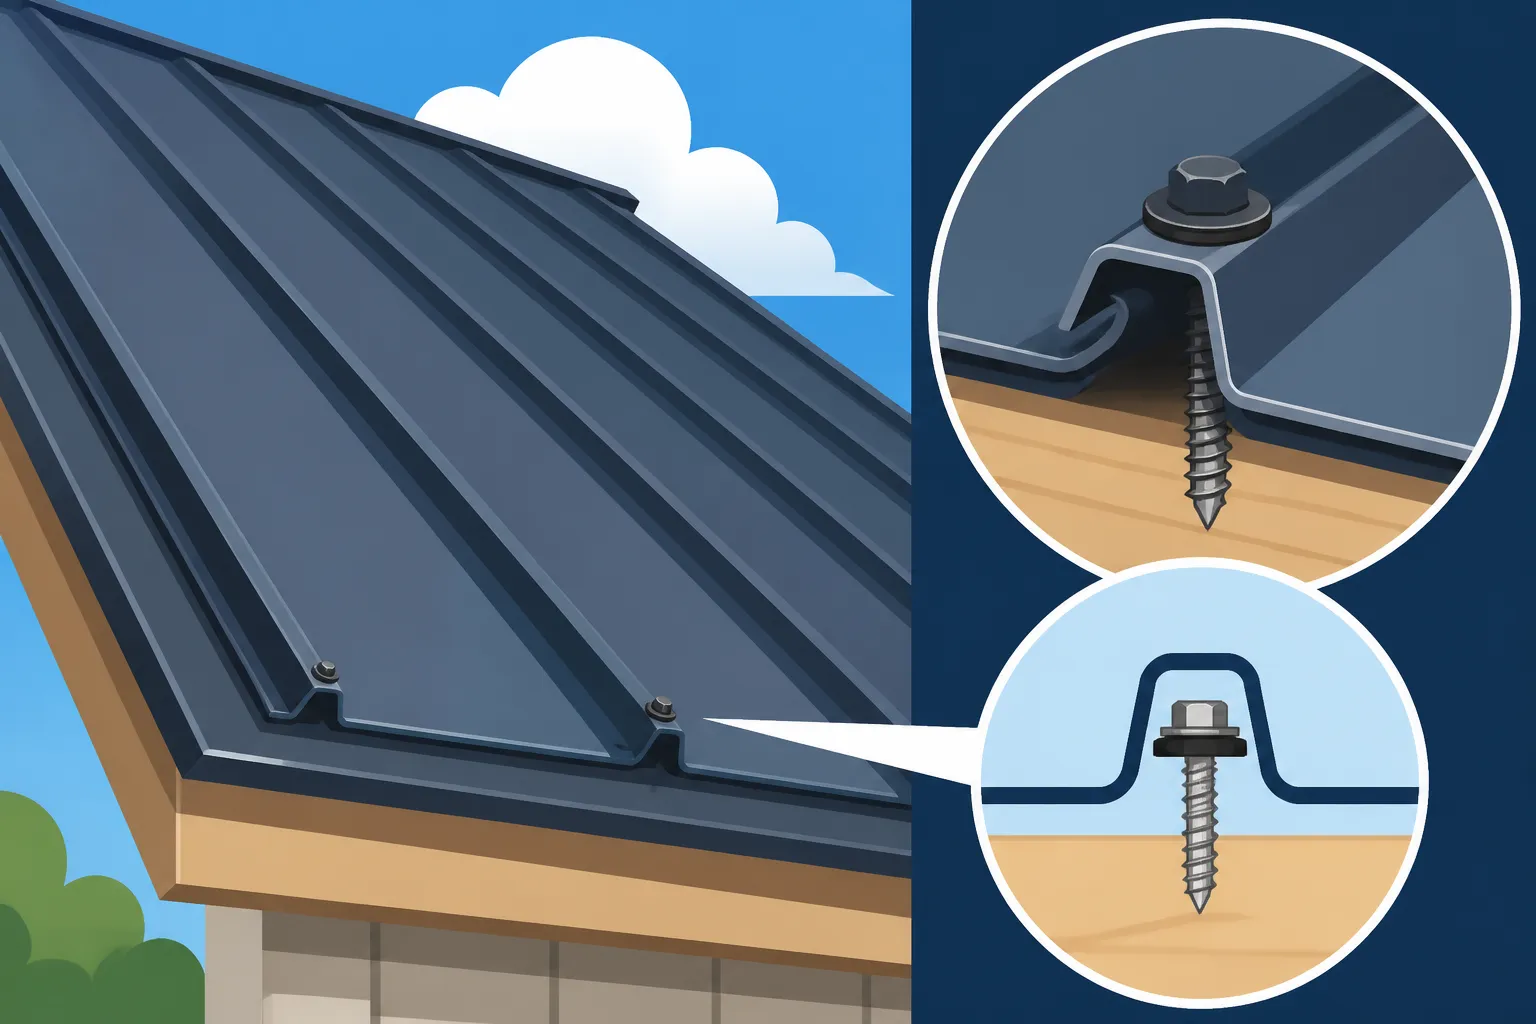
Exposed fastener metal roofing is probably what most people picture when they think of a metal roof, especially on barns, sheds, or commercial buildings. As the name suggests, the fasteners – typically screws with washers – are driven directly through the metal panel and into the roof deck or purlins below. These screws remain visible on the surface of the roof once installed.
The appeal of exposed fastener systems is often their straightforward installation and lower initial cost compared to concealed options. These systems are incredibly popular for a wide range of applications, from residential homes to agricultural buildings, thanks to their robust nature and relative ease of repair. Panels like corrugated, R-panel, and 5V Crimp are common examples that utilize this attachment method. Each panel design typically has specific patterns and recommendations for How Many Screws Per Sheet of Metal Roofing. The screws themselves are designed to be weather-resistant, often made of stainless steel with a neoprene or EPDM washer that creates a watertight seal as the screw is tightened. However, over decades, these washers can degrade, leading to potential leak points if not maintained.
Concealed Fastener Systems: The Sleek, Hidden Approach
On the other end of the spectrum, we have concealed fastener systems, with standing seam metal roofing being the most prominent example. This system is often preferred for its sleek, modern aesthetic and superior long-term performance, particularly in residential applications. What makes it "concealed" is that the fasteners used to secure the panels are completely hidden beneath the interlocking seams of the panels themselves.
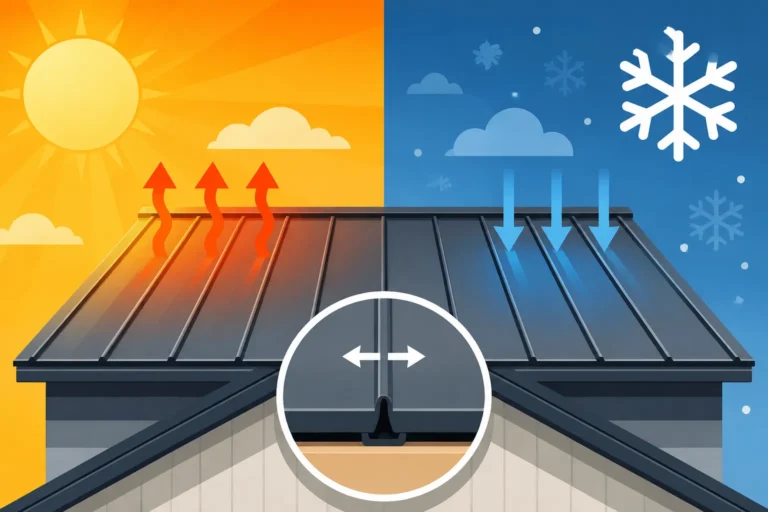
Instead of screwing through the face of the panel, concealed fastener systems use clips that attach to the roof deck. The metal panels then snap onto or are mechanically seamed to these clips, effectively hiding all the attachment points. This ingenious design not only creates a much cleaner look but also eliminates many common leak points associated with exposed fasteners. The absence of through-panel penetrations means fewer opportunities for water infiltration, making these roofs incredibly resilient against harsh weather. This method also allows the panels to expand and contract freely with temperature changes, significantly reducing stress on the metal and extending the roof's lifespan. To learn more about this, check out our guide on How Metal Roofs Handle Expansion and Contraction.
A Deeper Dive into the Installation Process for Each System
Understanding how the panels attach is one thing, but knowing the actual installation steps for each system can help you appreciate the craftsmanship involved and what to expect when a contractor is working on your home. Even if you're not planning a DIY project, being familiar with the process helps you ask the right questions and ensure a quality installation. For a broader overview, you might find our article on Metal Roof Installation Process: Step by Step helpful.
Step-by-Step for Exposed Fastener Systems
Installing an exposed fastener system like a corrugated metal roof involves a sequence of steps designed for efficiency and durability. It starts with preparing the roof deck and then progresses to the careful placement and secure fastening of each panel.
First, the existing roof material, if any, is usually removed, and the roof deck is inspected. Any damaged plywood or decking needs to be repaired or replaced. Next, a high-quality underlayment is installed over the entire roof deck. This underlayment acts as a crucial secondary barrier against moisture and is absolutely essential, even though the metal roof itself is waterproof. Then, perimeter trim, such as drip edge and rake trim, is installed to finish the edges of the roof and guide water effectively into the gutters.
Once the underlayment and trim are in place, the metal panels are brought up to the roof. Installation typically begins at one end of the roof, with the first panel meticulously aligned and secured. Roofing screws, generally self-tapping with neoprene or EPDM washers, are driven through pre-drilled holes (or directly through the metal) into the underlying purlins or roof decking. These screws are placed in specific patterns, often in the flats or valleys of the panel, depending on the profile. The washers compress to create a watertight seal around each penetration. Subsequent panels are then overlapped – usually by one or two corrugations – and fastened in the same manner, ensuring a consistent overlap to prevent water intrusion. This overlapping and fastening continues across the entire roof, with special attention paid to proper alignment and tight seals at all seams and fastener locations.
Step-by-Step for Concealed Fastener Systems (Standing Seam Focus)
Concealed fastener systems, particularly standing seam, involve a more intricate installation process due to their hidden attachment mechanisms, but the result is a highly durable and aesthetically pleasing roof. A standing seam system often means working with precision-formed panels and specialized tools. If you're looking for a specialist, our guide on How to Find a Standing Seam Roof Specialist can point you in the right direction.
The process for a standing seam roof also begins with thorough roof deck preparation and the installation of a premium underlayment, often a high-temperature synthetic type, particularly important for the longevity of a metal roof. Next, starter strips are installed along the eaves, which are the first components the standing seam panels will engage with. Then, individual standing seam panels are hoisted onto the roof. These panels have male and female ribs (or legs) that interlock. The first panel is positioned, and then specialized clips are used to secure the male leg of the panel to the roof deck. These clips are designed to allow for the metal's natural expansion and contraction, which is a key benefit of this system.
Once the clips are in place and the panel is secured, the next panel is brought into position, and its female leg is placed over the male leg of the first panel, encapsulating the clips. The interlocking seam is then either "snapped" together (in the case of snap-lock systems) or "mechanically seamed" using a specialized seaming tool that folds the metal over itself, creating a weather-tight, robust interlock that completely hides the fasteners. This process continues across the entire roof, with careful attention to detail at valleys, hips, and penetrations like chimneys or vents, where custom flashing is fabricated and integrated to ensure absolute watertightness. The final result is a continuous, unbroken metal surface where no fasteners are visible, offering superior protection and a clean, elegant look. This method is a big part of what makes What Is a Standing Seam Metal Roof? such a popular choice.
Factors Influencing Attachment Choices and Performance
Choosing the right attachment system isn't just about what looks good or what's cheapest. There are critical environmental and material factors that play a huge role in determining the best fit for your home and how well your metal roof will perform over its long lifespan. It's about ensuring your investment stands up to everything nature throws at it, year after year.
Roof Pitch, Wind Zones, and Snow Loads
The angle of your roof, known as its pitch, significantly impacts which metal roof panel attachment system is most suitable. For very low-slope roofs, where water might sit longer, concealed fastener systems like standing seam are often preferred because they offer a superior watertight seal with no exposed fastener penetrations. Exposed fastener systems can work on lower pitches, but they require very careful sealant application around each screw to prevent leaks. Generally, most metal roofing manufacturers specify minimum pitch requirements for their products, and adhering to these is critical for warranty and performance.
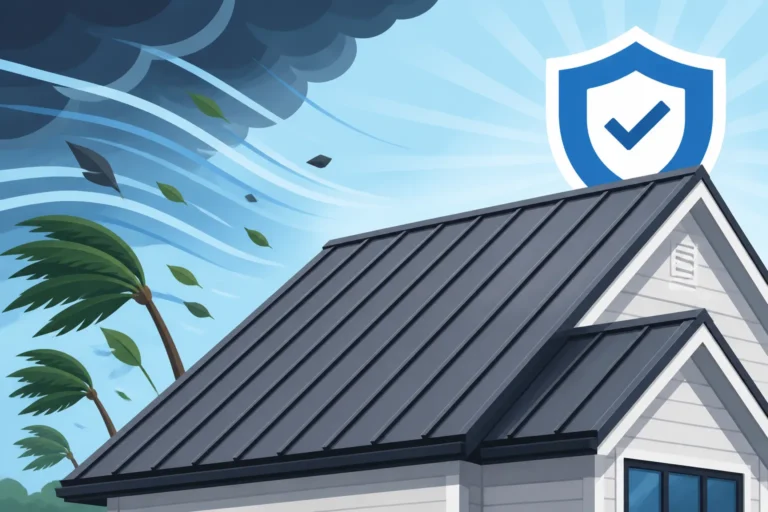
Beyond pitch, your local climate's wind and snow loads are huge considerations. In high-wind zones, such as coastal areas or regions prone to hurricanes like Florida, the attachment method becomes even more critical. Concealed fastener systems, with their interlocking seams and robust clips, generally offer superior wind uplift resistance compared to exposed fastener systems, where the integrity of each screw's seal and its pull-out strength are paramount. Many modern standing seam systems are engineered to withstand extremely high winds, often exceeding 150 mph. When discussing your options with a contractor, like those found through Modernize, always ask about the wind ratings of the specific panels and attachment methods they recommend. Similarly, in areas with heavy snow, the roof must be able to support significant weight. While the metal panels themselves are strong, the attachment system must securely anchor the entire roof to prevent shearing or detachment under heavy snow loads, which is why engineering considerations are vital.
Material Compatibility and Thermal Expansion
The type of metal material you choose – be it steel, aluminum, copper, or zinc – also influences the best attachment strategy. Different metals have different rates of thermal expansion and contraction. For example, aluminum expands and contracts more significantly than steel. If a roofing system doesn't properly account for this movement, it can lead to oil canning, buckling, fastener fatigue, or even panel deformation over time.
This is where concealed fastener systems truly shine. Their clipping mechanisms often incorporate design features that allow panels to "float" slightly, accommodating thermal movement without putting undue stress on the fasteners or panels themselves. This is a primary reason why standing seam roofs typically last longer and maintain their aesthetic integrity better than exposed fastener systems, especially with materials like aluminum or copper. For exposed fastener systems, proper pilot hole sizing and careful tightening of fasteners are essential to allow for some movement, but the direct penetration inherently creates more points of stress. It's a delicate balance that an experienced installer understands well, ensuring that the Metal Roof Fasteners and Washers Explained are appropriate for the chosen material and local climate.
Common Issues and Best Practices for Secure Attachment
Even the best materials and systems can run into trouble if not installed correctly or if certain factors are overlooked. Understanding common issues related to metal roof attachment and the best practices to avoid them is vital for homeowners. After all, you want your new metal roof to be a set-it-and-forget-it solution for decades, not a source of constant worry.
Preventing Leaks and Fastener Failures
One of the most common worries homeowners have about metal roofs, especially exposed fastener ones, is the potential for leaks. The truth is, most leaks don't come from the metal panels themselves but from faulty attachment points or improper flashing.
For exposed fastener roofs, the primary culprit for leaks is often the degradation of the rubber washers on the screws. Over time, UV exposure, temperature fluctuations, and general weathering can cause these washers to crack, dry out, or lose their elasticity, compromising the watertight seal. When this happens, water can seep through the screw penetrations. Best practices to prevent this involve using high-quality, long-life fasteners with durable EPDM washers, correctly torquing them during installation (not too tight, not too loose), and performing periodic inspections to identify and replace failing fasteners. Some contractors even recommend specialized sealing compounds or caps over fasteners in particularly vulnerable areas. You might be interested in our article on Why Is My Metal Roof Leaking at the Screws? for more detailed information.
Concealed fastener systems, by design, largely avoid through-panel penetrations, making them inherently more resistant to fastener-related leaks. However, leaks can still occur if the seams aren't properly seamed or snapped, if the clips aren't correctly installed, or if flashing details around chimneys, vents, and valleys are poorly executed. Proper seaming techniques, whether mechanical or snap-lock, are paramount. Experienced installers understand the nuances of creating a consistently tight and durable seam across the entire roof. This is why when you're considering a significant investment like a standing seam roof, ensuring you have a contractor with specialized experience is non-negotiable.
The Importance of Professional Installation
This brings us to a crucial point: the installer. While some exposed fastener systems might seem straightforward enough for a handy DIYer, the complexities of metal roof installation, especially with concealed fastener systems, make professional expertise invaluable. The difference between a good installation and a bad one often boils down to meticulous attention to detail and a deep understanding of metal roofing mechanics.
A professional metal roofing contractor understands specific local building codes, manufacturer specifications for installation, and how different components interact to create a watertight and durable system. They know about What Goes Under a Metal Roof? Layers Explained, ensuring the right underlayment is used. They are skilled in flashing techniques, cutting and bending metal to precision, and understanding how to handle thermal movement. Furthermore, reputable contractors will offer robust workmanship warranties, giving you peace of mind that their work is guaranteed. If a problem arises, you have a professional to call.
Trying to cut corners on installation to save money often leads to costly repairs down the road, negating any initial savings. When seeking quotes, don't just compare prices; compare the experience, credentials, and track record of the installers. Resources like Modernize can help connect you with reputable local professionals who specialize in metal roofing, ensuring your roof is installed correctly and provides the protection and longevity you expect. The long-term performance and value of your metal roof are inextricably linked to the quality of its installation.
Comparing Exposed vs. Concealed Fastener Systems
To help visualize the differences and benefits, here's a table summarizing key aspects of exposed and concealed fastener systems:
| Feature | Exposed Fastener Systems (e.g., Corrugated, R-Panel) | Concealed Fastener Systems (e.g., Standing Seam) |
|---|---|---|
| Fastener Visibility | Visible on the panel surface | Hidden beneath panel seams |
| Primary Leak Points | Screw penetrations, washers | Flashing, seam integrity (less common) |
| Thermal Movement | Limited accommodation, can stress fasteners/panels | Clips allow for movement, reducing stress |
| Aesthetics | Industrial, utilitarian look | Sleek, modern, clean lines |
| Installation Cost | Generally lower | Generally higher |
| Installation Complexity | Simpler, quicker | More complex, requires specialized skills |
| Wind Uplift Resistance | Good, but dependent on fastener quality/spacing | Excellent, inherent structural strength |
| Lifespan | 30-50 years (with maintenance) | 50-70+ years (often low maintenance) |
| Common Materials | Steel, Galvalume | Steel, Aluminum, Copper, Zinc |
This table highlights why the choice between these two systems often comes down to a balance of budget, desired aesthetic, and long-term performance expectations for your home. For a detailed cost comparison, refer to our article on Concealed Fastener vs Exposed Fastener Cost & Durability.
Metal Roof Components Beyond the Panels
While the panels and their attachment method are the stars of the show, a metal roof system is a symphony of various components working together. Understanding these additional elements provides a holistic view of what goes into a durable and effective metal roof installation.
Underlayment: The Unsung Hero
Beneath the gleaming metal panels lies the underlayment, a crucial layer that often goes unnoticed but is absolutely essential. Its primary role is to provide a secondary barrier against moisture. Even with a perfectly installed metal roof, extreme weather, condensation, or a rare compromised seam could allow moisture to reach the roof deck. The underlayment ensures that this moisture doesn't penetrate to your home's interior, protecting your attic and structural components from water damage and mold.
Modern metal roofing typically uses synthetic underlayments, which are far superior to traditional felt paper. These synthetic options are tear-resistant, don't absorb moisture, and can withstand high temperatures, which is particularly important directly beneath metal panels that can get very hot. Some high-end installations even use self-adhering ice and water shield products, especially along eaves, valleys, and around penetrations, to create an extra layer of protection against ice dams and wind-driven rain. The choice of underlayment depends on your climate, roof pitch, and the specific metal roofing system being installed. Ignoring or skimping on the underlayment is a common mistake that can lead to significant problems down the line.
Flashing and Trim: Sealing the Edges and Openings
Flashing and trim pieces are the specialized metal components that seal the transitions and edges of your roof, making it truly watertight. Without properly installed flashing, even the most robust panels are vulnerable.
Flashing refers to custom-bent metal pieces used around roof penetrations like chimneys, skylights, pipe vents, and along wall intersections (e.g., dormers). These pieces are designed to divert water away from these vulnerable areas. For instance, step flashing is often used where a roof meets a vertical wall, with individual pieces integrated with each course of siding or roofing panels. Valley flashing is installed in the "V" shaped troughs where two roof planes meet, channeling water efficiently. Each type of flashing requires precise measurement, cutting, and sealing to ensure a seamless, watertight connection.
Trim, on the other hand, finishes the edges of the roof panels. This includes:
- Drip Edge: Installed along the eaves (bottom edges) of the roof, it helps direct water off the roof and into the gutters, preventing it from running back under the roofing material.
- Rake Trim: Covers the gable ends (sloped edges) of the roof, protecting the edge of the roof deck and sealing off the ends of the panels.
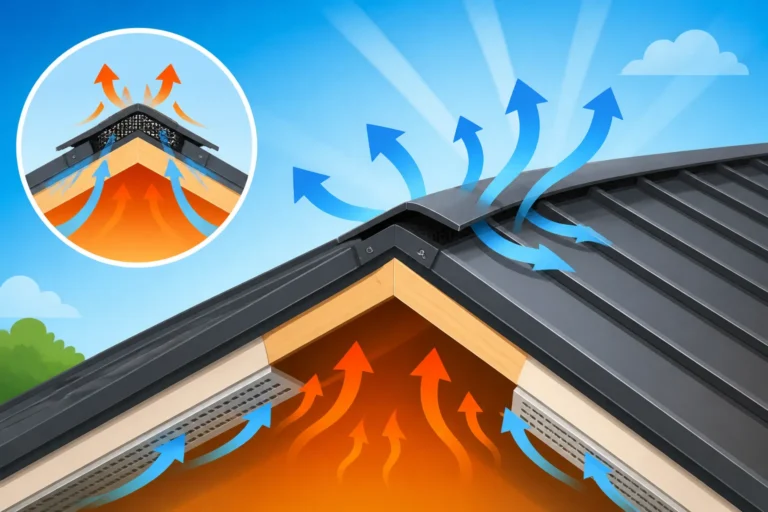
- Ridge Cap: Sits over the peak (ridge) of the roof, covering the intersection of the two roof planes and providing ventilation in many systems.
The quality and installation of these components are just as critical as the panels themselves. They are often custom-fabricated on-site or pre-bent to match the specific dimensions and profile of your roof. Using the same metal material for flashing and trim as the main roof panels is generally a best practice to ensure consistent expansion and contraction and to avoid galvanic corrosion between dissimilar metals.
Final Thoughts on Your Metal Roofing Journey
Choosing a metal roof is a fantastic decision for many homeowners looking for durability, energy efficiency, and a long-lasting solution. However, it's clear that the "how" of metal roof panel attachment is far more nuanced than simply screwing metal to wood. Whether you opt for the robust, visible fasteners of a corrugated system or the sleek, hidden sophistication of standing seam, the integrity of the attachment is paramount to your roof's performance.
Remember, a metal roof is an investment, and like any significant home improvement, its success hinges on careful planning, quality materials, and expert installation. Don't hesitate to ask your prospective contractors about their preferred attachment methods, the specific fasteners or clips they use, and how they address issues like thermal expansion and weather resistance. A knowledgeable contractor will be happy to explain these details and ensure you feel confident in your decision. Platforms like Modernize can be a great starting point for finding qualified professionals who can guide you through these crucial decisions and provide a roof that will protect your home for decades to come.
Disclaimer
Please note that this guide provides general information about metal roof panel attachment methods. Specific recommendations and requirements can vary significantly based on your geographic location, local building codes, roof pitch, chosen metal material, and manufacturer specifications. Always consult with a qualified, licensed metal roofing contractor and local building authorities for advice tailored to your specific project and to ensure compliance with all applicable regulations.