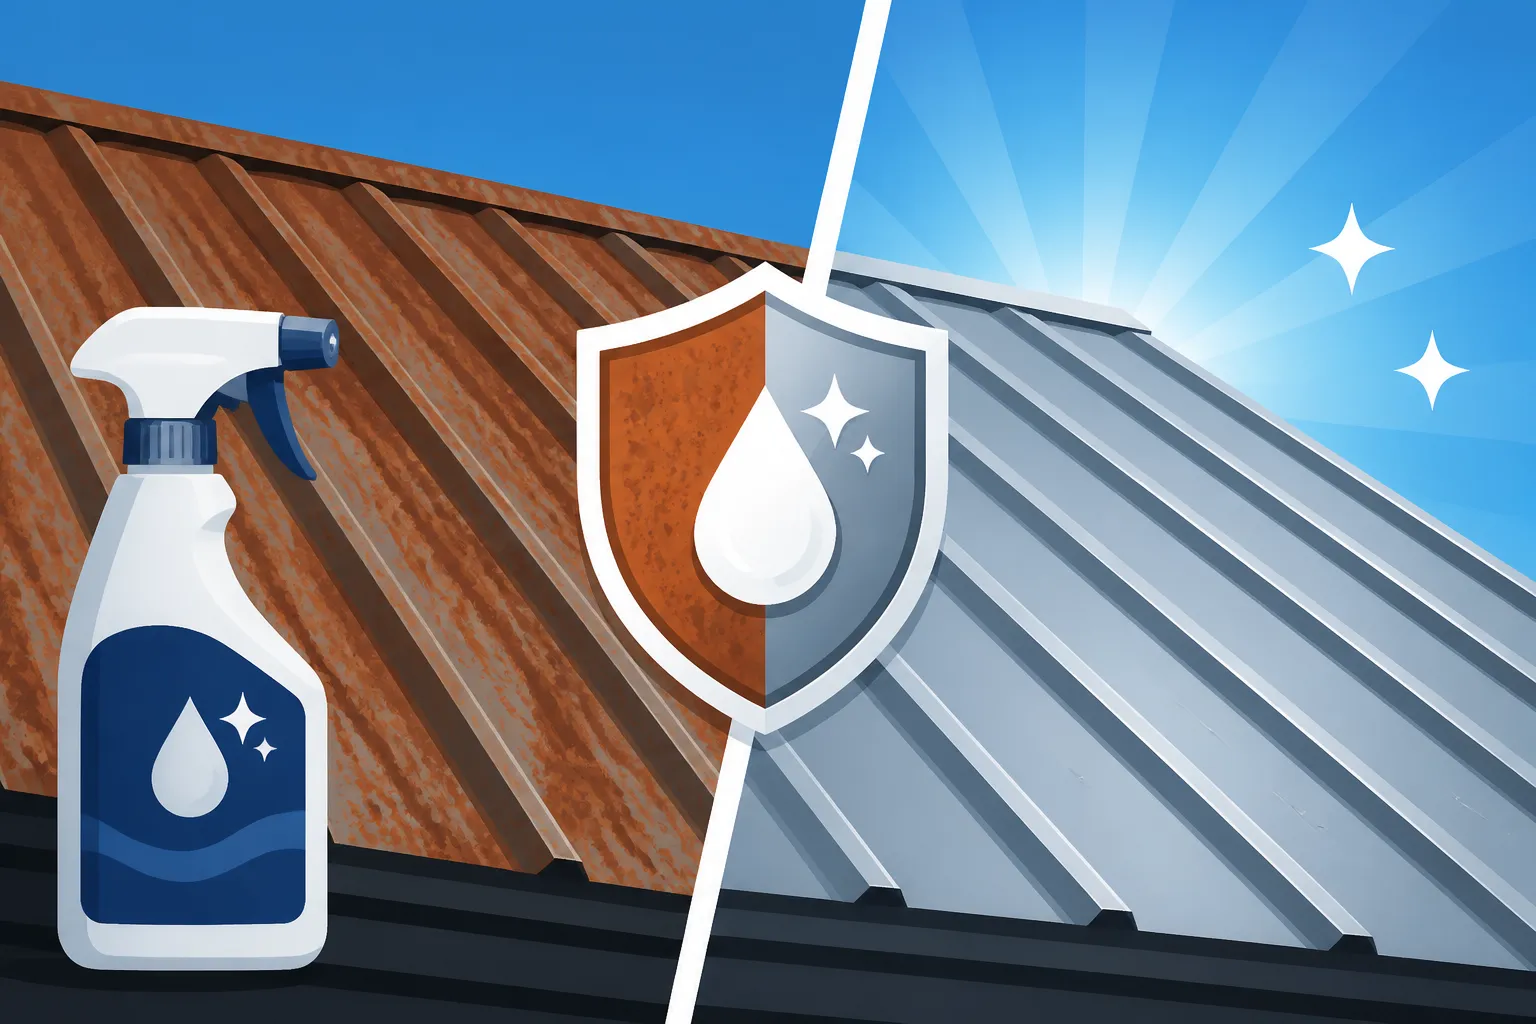
Metal Roof Rust Converter and Treatment
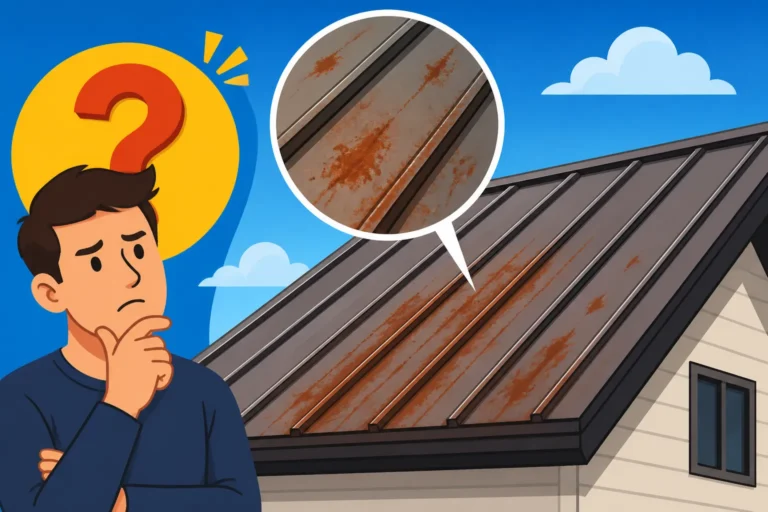
Seeing rust start to creep across your beautiful metal roof can feel like a punch to the gut. You invested in a metal roof for its legendary durability and longevity, and now you’re seeing those tell-tale orange-brown stains, making you wonder if you made the right choice. It’s a frustrating moment for any homeowner, but don't despair! This comprehensive guide will walk you through everything you need to know about understanding, identifying, and effectively treating metal roof rust, ensuring your investment stays protected and looking its best for decades to come.
Understanding the Enemy: What Exactly is Metal Roof Rust?
When we talk about rust on a metal roof, we’re generally referring to corrosion, a natural process that happens when certain metals react with oxygen and moisture. It’s a slow, insidious process that can compromise the integrity and appearance of your roof if not addressed. Understanding what kind of rust you’re dealing with and why it formed is the first step toward effective treatment.
The Science Behind Metal Corrosion
At its heart, rust is iron oxide, and it's most commonly seen on steel-based roofing materials. When iron in the steel is exposed to both oxygen and water, an electrochemical reaction occurs, leading to the formation of hydrated iron(III) oxides, which we recognize as reddish-brown flakes. This isn't just a surface issue; if left unchecked, rust can penetrate the material, weakening it and eventually causing holes or structural damage.
However, not all metal roofs are created equal when it comes to rust. While steel is highly susceptible without proper protection, materials like aluminum, copper, or zinc react differently. Aluminum forms a passive oxide layer that protects it from further corrosion, a process called anodization. Copper develops a beautiful green patina. Zinc also forms a protective layer, often called a patination, which actually enhances its durability. The primary concern for most homeowners, then, is typically with steel or Galvalume roofs, which are steel sheets coated with a mixture of aluminum and zinc. Even these highly durable coatings can be compromised. If you're curious about the specifics of your roof's material, you might want to delve into information like how to determine if your roof does not "Does a Steel Roof Rust or Corrode?".
Common Causes of Rust on Metal Roofs
Rust doesn't just appear out of nowhere; there's always a reason. Identifying the cause can help you not only treat the current problem but also prevent future occurrences. One common culprit is surface scratches or abrasions. During installation, heavy hail storms, or even routine maintenance, the protective coating on steel panels can get scratched. Once that bare steel is exposed to the elements, rust can begin its relentless work.
Another significant factor is the accumulation of debris. Leaves, pine needles, and other organic matter can trap moisture against the roof surface, creating a persistently damp environment. This constant moisture speeds up the corrosive process, even on areas that might otherwise be well-protected. Furthermore, poor drainage can lead to standing water, which is a rust accelerator. Even tiny metallic particles, such as those from grinding tools used during installation or nearby construction, can settle on the roof and begin to rust, causing what’s known as "flash rust." If dissimilar metals are in contact, such as a copper flashing on a Galvalume roof, galvanic corrosion can occur, accelerating the deterioration of the less noble metal.
Pinpointing the Problem: Identifying Rust on Your Metal Roof
Before you can treat rust, you need to find it, and sometimes it's not as obvious as a large, orange patch. Regular inspections are key, especially if you live in a coastal area with salt air, an industrial zone with airborne pollutants, or simply experience frequent heavy rains or snow. Catching rust early can save you significant time, money, and headaches down the road.
Visual Inspection: What to Look For
The most straightforward way to identify rust is through visual inspection. Look for any discoloration that isn't part of your roof's original color. This can range from subtle orange spots to dark reddish-brown streaks. Pay close attention to areas where water tends to collect or drain slowly, like valleys, around flashing, and at the edges of panels. If you have an exposed fastener system, the heads of the screws are notorious spots for rust to begin, as their protective coatings can wear down over time.
Don't just look from the ground; if it's safe to do so, get up on the roof or use binoculars to get a closer look. What might seem like a small spot from afar could be a more advanced issue up close. Check the underside of eaves or overhangs for any signs of rust bleed, which can indicate that corrosion is already working its way through the panel. Remember, even modern coatings like those on a Galvalume roof are not entirely invincible against deep scratches or sustained abrasive wear. For more comprehensive insights into maintaining your roof, refer to a detailed guide on your Metal Roof Maintenance Guide.
Common Rust Hotspots and Their Significance
Certain areas on a metal roof are simply more prone to rust. Fasteners, as mentioned, are a prime location. The rubber washers that seal the screws can degrade, allowing water to penetrate, or the screw heads themselves can get damaged. Flashing, particularly around chimneys, skylights, and vents, is another hotspot. These areas often involve more complex bends and cuts, which can expose raw edges of the metal to the elements, making them vulnerable.
Valleys, where two roof planes meet, channel a significant amount of water and debris, making them susceptible to prolonged moisture exposure and potential rust. The edges of panels, especially if they weren't properly sealed or if the coating was chipped during installation, can also show signs of rust. Even seemingly small rust spots on the surface should not be ignored. What starts as a cosmetic issue can quickly become a structural one, leading to leaks and compromising the longevity of your roof. Addressing these "Warning Signs Your Metal Roof Needs Attention" early on can make all the difference.
The Foundation of Success: Preparing Your Roof for Rust Treatment
You wouldn't paint a dirty wall, and you certainly shouldn't treat rust without proper preparation. This critical phase often makes the difference between a temporary fix and a long-lasting solution. Skimping on preparation can lead to the rust returning quickly, undermining all your efforts. Think of it as laying the groundwork for your roof's renewed health.
Safety First: Gear and Precautions
Working on a roof, especially one with slippery rust or cleaning solutions, demands utmost caution. Always prioritize safety. Wear non-slip work boots, and consider a safety harness, especially on steeper pitches. Gloves and eye protection are non-negotiable when dealing with chemicals like rust converters or strong cleaning agents. A respirator might also be advisable if you’re working with fumes or generating a lot of dust from sanding or wire brushing. Ensure you have a stable ladder and someone else nearby who knows you're on the roof.
Beyond personal safety, think about the environment around your home. Protect plants, shrubs, and nearby vehicles from runoff with tarps. Chemical solutions can be harmful to vegetation and can stain concrete or asphalt. If you're using a pressure washer, be mindful of the force, as too much pressure can damage the roof's coating or even warp panels.
Thorough Cleaning and Surface Preparation
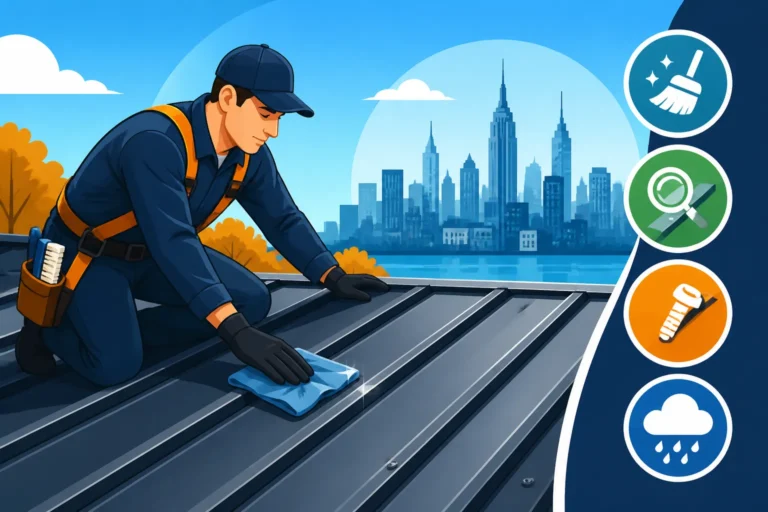
Once safety measures are in place, the real work begins: cleaning and preparing the rusted areas. Start by removing any loose debris like leaves, twigs, or dirt. A stiff broom or leaf blower can handle this. Next, a thorough wash is essential. For general grime and surface dirt, a mild detergent and water, applied with a soft brush, often suffice. Rinse thoroughly with a garden hose.
For more stubborn dirt, mildew, or algae, a pressure washer can be effective, but use it with caution and at a lower PSI setting (generally under 1500-2000 PSI for residential roofs) to avoid damaging the existing finish. Always work in manageable sections and rinse immediately to prevent cleaning solutions from drying on the surface. After cleaning, allow the roof to dry completely. Any remaining moisture can hinder the effectiveness of rust treatments.
Finally, tackle the rust itself. For loose, flaky rust, use a wire brush or a sanding pad on a grinder with a fine grit disc. The goal is to remove as much of the loose, oxidized material as possible without aggressively grinding into the healthy metal. For lighter surface rust, a stiff nylon brush might be enough. Feather out the edges of any deeply rusted spots to create a smooth transition. After brushing or sanding, wipe down the area with a clean cloth to remove dust and debris. Some professionals also recommend a degreaser or mineral spirits to ensure the surface is perfectly clean and free of oils or residues that could interfere with adhesion.
The Treatment Arsenal: Rust Converters vs. Encapsulators
When it comes to treating existing rust, you primarily have two powerful allies in your corner: rust converters and rust encapsulators. While both aim to neutralize and contain rust, they do so through different mechanisms, and choosing the right one depends on the nature and extent of your roof’s corrosion.
Rust Converters: Chemical Transformation
Rust converters are truly remarkable products. Instead of just covering up the rust, they chemically react with it. Typically, these solutions contain phosphoric acid or tannic acid. When applied to rust (iron oxide), the acid converts it into a stable, inert black layer, often iron phosphate or iron tannate. This new layer is a protective barrier that not only stops the rusting process but also creates an excellent primer for subsequent paint or coating applications.
The beauty of rust converters is that they eliminate the need for extensive rust removal, as they require rust to work. You still need to remove loose, flaky rust, but you don't have to get down to bare metal. This can be a huge time-saver and less labor-intensive, especially on a large roof area. However, they are most effective on surface rust and light to moderate corrosion. For deeply pitted or structural rust, their effectiveness might be limited, and physical removal or more aggressive treatment might be necessary. It’s crucial to follow the manufacturer’s instructions regarding application and curing times, as these can vary between products and impact the final outcome. Many high-quality rust converters are available from brands like Corroseal or Rust-Oleum.
Rust Encapsulators: Sealing and Protecting
Rust encapsulators, on the other hand, don't chemically change the rust. Instead, they form a tough, impenetrable barrier over the rusted surface, effectively sealing it off from oxygen and moisture. By cutting off these essential ingredients for rust formation, they stop the corrosion in its tracks. These products are often epoxy-based or polyurethane-based and are designed to adhere incredibly well to rusted surfaces.
Encapsulators are particularly useful for areas with more advanced rust or where getting down to bare metal is impractical. They provide a durable, flexible coating that can withstand harsh weather conditions and physical abrasion. Many encapsulators are also tintable, allowing you to match your existing roof color or apply a new one directly over them, often functioning as a primer and topcoat in one. The downside, if you can call it that, is that they rely solely on adhesion to contain the rust, so thorough surface preparation to remove loose rust and ensure good bonding is still absolutely critical. If adhesion fails, the rust underneath could continue to spread. Brands like POR-15 are well-known for their robust rust encapsulating paints.
Here's a quick comparison of the two:
| Feature | Rust Converter | Rust Encapsulator |
|---|---|---|
| Mechanism | Chemically transforms rust into inert compound | Forms an airtight, waterproof barrier over rust |
| Primary Active | Phosphoric acid, tannic acid | Epoxy, polyurethane, proprietary polymers |
| Surface Prep | Remove loose rust, no need for bare metal | Remove loose rust, ensure strong adhesion |
| Appearance | Often turns rust black; usually requires topcoat | Can be colored, often functions as primer/topcoat |
| Best For | Surface rust, light to moderate corrosion | Moderate to heavy rust, difficult-to-reach areas |
| Durability | Good, especially with proper topcoat | Excellent, forms a very tough barrier |
| Cost | Generally moderate | Can be higher, but often acts as primer/topcoat |
Applying the Treatment: A Step-by-Step Guide
Once you've prepared your roof and chosen your weapon—be it a rust converter or an encapsulator—it's time for the application. This isn't a race; patience and precision are your best friends here. Rushing through these steps can compromise the effectiveness and longevity of your repair.
Tools and Techniques for Application
The tools you’ll need are fairly straightforward: brushes (natural or synthetic bristles, depending on the product), rollers (short-nap for smooth surfaces), and possibly a sprayer for larger areas or if the product allows. Always check the product label for specific recommendations. For smaller, isolated rust spots, a good quality paintbrush will offer the control you need to ensure precise application without getting product on un-rusted areas. For broader, uniformly rusted sections, a roller can be more efficient.
When applying, aim for even coverage. Don't slop it on too thickly, as this can lead to uneven drying, runs, or poor adhesion. Multiple thin coats are always better than one thick coat. If using a brush, work the product into the rusted areas, ensuring it saturates the porous rust. For a sprayer, maintain a consistent distance and overlap your passes to prevent streaks. Always apply when the roof is dry and temperatures are within the manufacturer's recommended range, usually between 50-90°F (10-32°C), and avoid direct, scorching sunlight which can cause flash drying.
Curing Times and Multiple Coats
Curing time is a critical, yet often overlooked, aspect of rust treatment. This isn't just about the product feeling dry to the touch; it's about the chemical reaction or sealing process fully completing. Rust converters, for instance, need time to react with the rust, which can take several hours, or even overnight, depending on temperature and humidity. Applying a second coat too soon will disrupt this process and can lead to a less effective conversion.
Most products will recommend at least two coats, sometimes more, for optimal protection. The first coat acts as a primary bond, while subsequent coats build up the protective layer. Always allow the recommended drying time between coats. For rust encapsulators, this might be a few hours, while for some converters, it could be longer. Once the final coat is applied, allow the full curing time before exposing the roof to heavy rain or foot traffic. This typically means 24-48 hours, but again, defer to the product manufacturer’s guidelines. If you're planning to repaint or recoat the entire roof, this treated area will now serve as a stable primer. For extensive projects, understanding the nuances of "Repainting and Recoating a Metal Roof" will be beneficial.
Long-Term Protection: Preventing Future Rust
Treating existing rust is crucial, but preventing its return is the ultimate goal. A proactive approach to metal roof care will extend its lifespan, maintain its aesthetic appeal, and save you from the hassle and expense of future repairs. Think of it as investing in your roof's future.
Regular Maintenance and Inspections
The simplest, yet most effective, defense against rust is a consistent maintenance routine. Regularly inspect your roof, ideally twice a year (spring and fall), and after any major storm. Look for scratches, dents, accumulating debris, or any new signs of discoloration. Pay special attention to the usual suspects: fasteners, flashing, and valleys. Clear away leaves, branches, and any other organic matter that can trap moisture against the roof surface.
During your inspection, also check your gutters and downspouts to ensure they are clear and draining properly. Clogged gutters can cause water to back up onto the roof, leading to pooling and accelerated corrosion. If you notice any small scratches or areas where the protective coating looks compromised, address them promptly with a touch-up paint or sealant specifically designed for metal roofs. This proactive approach is part of a comprehensive "Metal Roof Maintenance Guide". If you are unsure about conducting these inspections yourself or find extensive damage, consider reaching out to professionals. Platforms like Modernize can connect you with experienced metal roofing contractors who can provide thorough inspections and expert advice.
Protective Coatings and Touch-Up Paints
After treating existing rust, or even on a perfectly healthy roof, applying a high-quality protective coating is one of the best ways to prevent future corrosion. These coatings add an extra layer of defense against UV radiation, moisture, and physical abrasion. Options range from acrylic elastomeric coatings, which offer flexibility and UV protection, to more industrial-grade epoxy or urethane coatings that provide superior chemical and abrasion resistance. Some coatings are even infused with rust-inhibiting pigments.
For steel and Galvalume roofs, maintaining the integrity of the factory-applied paint system (often PVDF or SMP coatings) is paramount. If you have areas that are faded, dull, or have small scratches, specialized touch-up paints are available from roofing material suppliers that precisely match the existing color and finish. These aren't just for aesthetics; they restore the protective barrier that keeps moisture and oxygen away from the steel substrate. Regular application of these coatings can significantly extend your metal roof's overall "Metal Roof Lifespan: How Long Do They Last?". Always ensure compatibility between the coating and your specific metal roof material, as certain coatings might not adhere well to all types of metal or existing finishes. For instance, some coatings may react differently with aluminum than with steel.
When to Call the Pros: Recognizing Beyond DIY Repair
While many rust treatment tasks can be handled by a diligent homeowner, there are times when the scope or complexity of the problem warrants professional intervention. Knowing when to step back and call in the experts can prevent further damage and ensure your roof gets the robust, lasting solution it needs. It's about recognizing the limits of DIY and safeguarding your investment.
Extensive or Deeply Pitted Rust
If you're dealing with widespread rust across large sections of your roof, or if the rust has started to deeply pit the metal panels, it might be time to bring in a professional. Extensive rust removal and treatment can be incredibly labor-intensive and require specialized equipment, such as commercial-grade power washers or specific abrasive tools, that most homeowners don't have. Deep pitting is a sign that the metal's structural integrity could be compromised, and a professional can accurately assess the extent of the damage.
In severe cases, individual panels might need replacement, which is a job best left to experienced metal roofing contractors. They have the expertise to safely remove and install panels without damaging the surrounding roof structure, ensuring proper sealing and aesthetic continuity. Trying to patch deeply rusted areas yourself might only offer a temporary cosmetic fix, leaving the underlying problem to worsen. Professionals can also apply industrial-grade rust treatments and coatings that may not be readily available or easily applied by the average homeowner.
Structural Concerns and Leakage
The most alarming sign that you need professional help is if the rust has progressed to the point of causing leaks or raises structural concerns. Any sign of water intrusion, whether it’s drips in your attic or staining on your ceiling, means the rust has breached the protective barrier and penetrated the metal. This indicates a serious problem that requires immediate attention. A leaky roof can lead to mold growth, damaged insulation, and even compromised structural components of your home, costing far more in the long run than a professional roof repair.
Metal roofing specialists can identify the exact source of leaks, which might not always be directly where the rust is visible. They can also assess if the rust has weakened the underlying decking or framing, requiring more than just surface treatment. Platforms like Modernize are an excellent resource for finding qualified metal roofing contractors in your area who specialize in "How to Repair a Rusted Metal Roof" and complex metal roof repairs. These contractors are equipped to handle everything from minor repairs to full panel replacements and ensure your roof is watertight and structurally sound. Don't gamble with your home's protection; when in doubt, consult with a professional.
Disclaimer
This guide is intended for informational purposes only and does not constitute professional advice. Always consult with a qualified metal roofing contractor or building professional before undertaking any significant roof repairs or renovations. Working on a roof can be dangerous; always prioritize safety and use appropriate personal protective equipment.