How to Repair a Ribbed Panel Metal Roof
Dealing with a damaged ribbed panel metal roof can be a real headache, especially when you're trying to figure out if it's a DIY fix or something that requires a pro. From minor cosmetic blemishes to actual structural compromises, the thought of expensive repairs can be daunting. This comprehensive guide will walk you through the common issues with ribbed panel metal roofs and provide detailed, actionable steps on how to identify and repair them effectively, saving you time and stress.
Understanding Ribbed Panel Metal Roofs and Common Issues
Ribbed panel metal roofs are a popular choice for many homeowners and commercial buildings, and for good reason. They offer durability and a distinctive aesthetic. However, like any roofing system, they aren't immune to wear and tear. Understanding the specific characteristics of these panels and the types of damage they commonly face is the first step toward effective repair.
What Makes Ribbed Panels Unique?
Ribbed panel metal roofs, sometimes known as exposed fastener panels or agricultural panels, are characterized by their raised ribs (or "major ribs") that run vertically along the length of each panel, separated by flat valleys. These ribs provide structural rigidity and help with water runoff, making them highly efficient in shedding rain and snow. The panels are typically secured to the roof decking or purlins using screws that go directly through the panel’s flat sections or sometimes through the ribs themselves, exposing the fasteners. Common profiles include R-Panel, PBR-Panel, and 5V Crimp, each with slightly different rib spacing and heights. This exposed fastener design is what often dictates the nature of common problems, primarily related to the integrity of those fasteners and the areas where they penetrate the metal. If you're wondering, "What Is a Ribbed Panel Metal Roof?" you're probably already appreciating its functional design, but knowing its specifics is key to maintenance.
Many homeowners choose ribbed panels because they offer a cost-effective and robust roofing solution that can withstand harsh weather conditions for decades. They are often seen on barns, commercial structures, and increasingly, on residential homes, particularly those seeking a more industrial or rustic aesthetic. The installation process for ribbed panels is generally straightforward, which can contribute to their lower overall Metal Roof Cost Per Square Foot compared to more complex systems like standing seam. However, this ease of installation means that if corners are cut or improper materials are used, problems can arise down the line, affecting the roof's lifespan and requiring repair.
Common Damage Types on Ribbed Panels
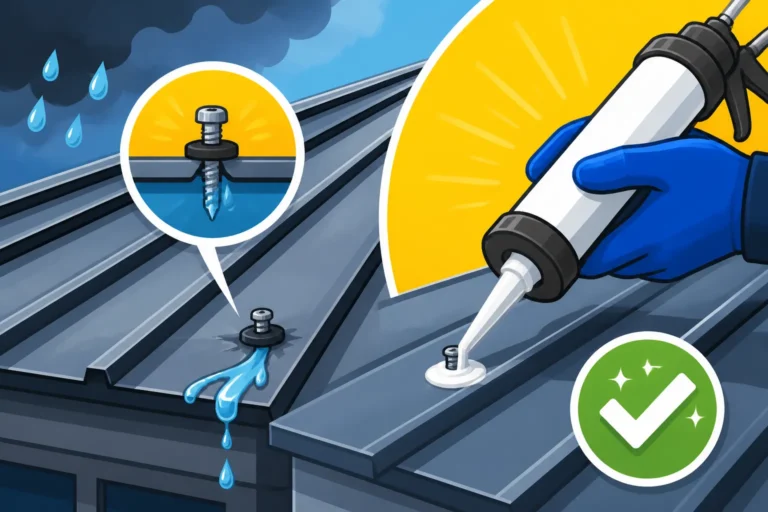
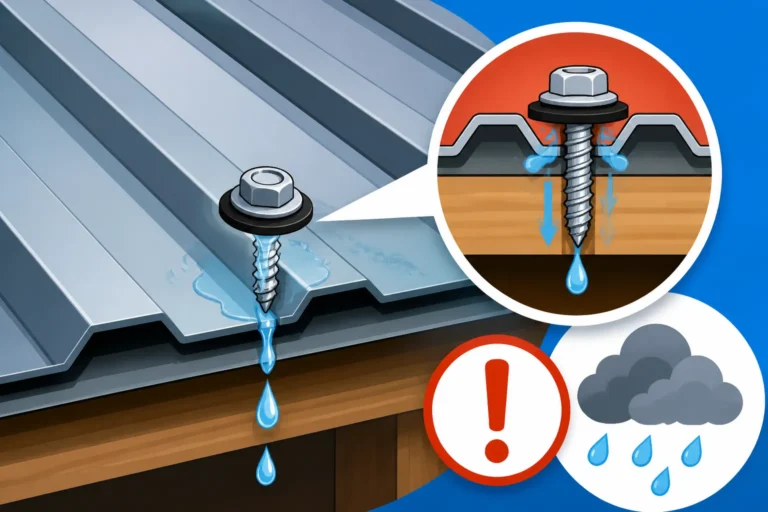
While resilient, ribbed panel metal roofs are susceptible to specific types of damage that homeowners frequently encounter. The most common culprit is often the exposed fasteners. Over time, the rubber washers beneath the screw heads can degrade due to UV exposure and temperature fluctuations, leading to loosening, backing out, or even breaking down completely. When this happens, water can seep through the screw holes, causing leaks. These leaks often start subtly, perhaps as a small stain on the ceiling, and can escalate into more significant water damage if not addressed promptly. This is a classic example of why your metal roof might be leaking at the screws.
Another prevalent issue is surface damage to the panels themselves. Scratches and abrasions can occur from falling debris, improper walking on the roof, or even during installation. While seemingly minor, deep scratches can compromise the protective coating on the metal, leading to rust and corrosion, especially if the underlying metal (often steel) is exposed to moisture. Hail damage is also a common concern, particularly in areas prone to severe storms. Hail can cause dents and dings, which, depending on their severity, might be purely cosmetic or could indicate a more serious structural impact that compromises the panel's integrity. Finally, issues like oil canning, where panels develop a wavy or buckling appearance, can be a visual nuisance, though often not a structural one. Understanding these specific damage types is crucial for effective Metal Roof Repair vs Replacement: How to Decide.
Essential Tools and Materials for Ribbed Panel Repair
Before you even think about climbing onto your roof, it’s critical to have the right tools and materials at hand. Attempting repairs without the proper equipment can lead to further damage, or worse, serious injury. Preparation is key to a successful and safe repair job.
Gathering Your Repair Kit
For most common ribbed panel metal roof repairs, you'll need a specific set of tools and materials. First and foremost, you'll need a quality cordless drill or impact driver with the appropriate bit for your existing fasteners (usually a hex head). This is crucial for tightening or removing screws. Replacement screws are a must-have, and ensure they are self-tapping, corrosion-resistant, and come with high-quality EPDM rubber washers – these washers are paramount for creating a watertight seal. When selecting screws, consider upgrading to a larger gauge or length if you find existing fasteners are stripping out in the purlins.
You'll also need a reliable metal sealant, specifically formulated for roofing applications, such as a high-grade silicone or urethane caulk. Brands like Geocel or OSI Quad are well-regarded for their durability and flexibility in various temperatures. For minor scratches and surface issues, you might need a touch-up paint kit that matches your roof color, often available from the original panel manufacturer. For larger holes, you'll want metal patch kits, which typically include pre-cut metal pieces and specialized sealants or fasteners. A caulk gun, wire brush for cleaning, degreaser, rags, and a utility knife will also prove invaluable. For larger panel replacements, you might need tin snips or a metal shear for precise cuts, and possibly a panel crimper. Remember, if you're not sure about the right materials, a quick consultation with a local roofing supply company can often point you in the right direction. When looking for help, using a service like Modernize can help connect you with suppliers or contractors who know exactly what you need.
Safety First: Gear and Precautions
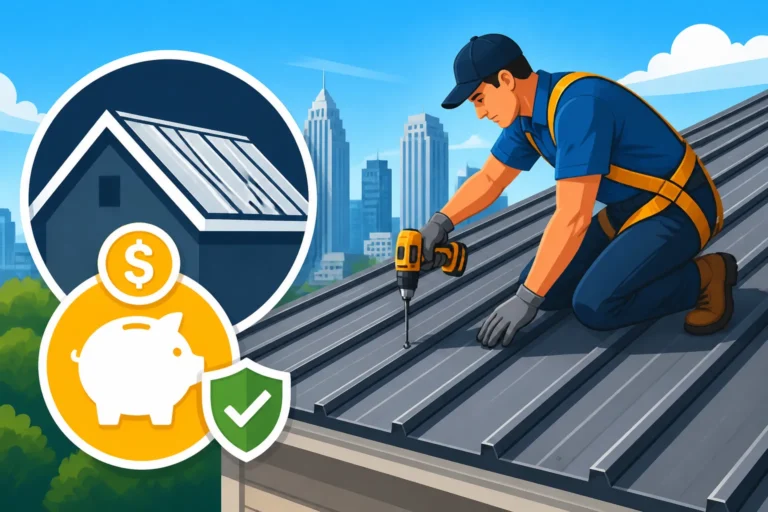
Working on a roof, especially a metal one, carries inherent risks. Safety should always be your top priority. Start with appropriate footwear – soft-soled, slip-resistant shoes are non-negotiable to prevent falls on slippery metal surfaces, particularly if there's any moisture or dew. A sturdy ladder, properly secured, is your access point, and it should extend at least three feet above the eave line for safe transitions. For any work at height, a fall arrest system, including a harness, lanyard, and anchor point, is highly recommended, especially for steeper pitches or if you’ll be spending a significant amount of time on the roof. Never work alone, and always let someone know you'll be on the roof.
Gloves are essential to protect your hands from sharp metal edges, screws, and sealants. Eye protection, such as safety glasses or goggles, should be worn to shield your eyes from debris, metal shavings, or splashes from sealants. If you're cutting metal, hearing protection is also a good idea. Before starting any work, thoroughly inspect the roof for any unstable areas or hidden hazards. Clear away any loose debris or leaves that could pose a tripping hazard. If the weather looks iffy – high winds, rain, or extreme heat – postpone your repair. Metal roofs can become extremely hot in direct sunlight, leading to burns if skin comes into contact, and can become dangerously slippery when wet. Always remember that attempting a DIY repair that feels beyond your skill level or comfort zone isn't worth the risk. Sometimes, knowing when to call a professional is the safest decision.
Step-by-Step Guide to Ribbed Panel Metal Roof Repair
Now that you're prepared with the right tools and safety gear, let's dive into the common repair scenarios you might face with a ribbed panel metal roof. Each type of damage requires a specific approach, but attention to detail is critical across the board.
Addressing Minor Scratches and Fading
Minor scratches and fading on your ribbed panel metal roof are primarily cosmetic issues, but they can become more serious if neglected. Scratches, especially those that penetrate the paint and primer layer, expose the underlying metal to moisture and oxygen, leading to rust. Fading, while not immediately damaging, diminishes your home's curb appeal and can be a sign that the protective coating is degrading.
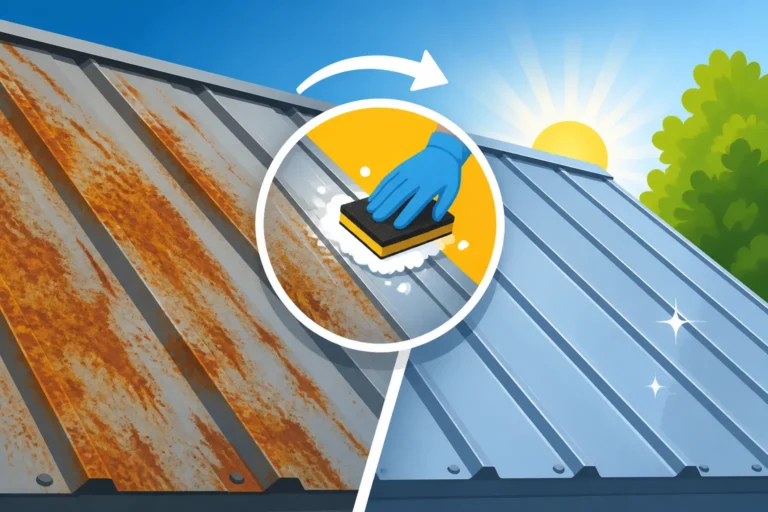
To tackle scratches, start by thoroughly cleaning the affected area with a mild detergent and water, then rinse and allow it to dry completely. A wire brush can be used gently to remove any surface rust that may have already formed, followed by another cleaning. Once dry, apply a rust-inhibiting primer to any exposed metal. Once the primer is dry, you can use a touch-up paint kit. Many metal roofing manufacturers offer these kits, perfectly matched to their panel colors. Apply the paint in thin, even coats, allowing each coat to dry according to the manufacturer's instructions. For fading, a full roof recoating might be necessary, but for smaller areas, a touch-up can blend it in. This process is very similar to how you would approach Metal Roof Rust and Corrosion Treatment. Regular cleaning and inspection, as outlined in a good Metal Roof Maintenance Guide, can prevent many of these issues from developing into larger problems.
Fixing Loose or Missing Fasteners
Loose or missing fasteners are one of the most common causes of leaks in ribbed panel metal roofs. The continuous expansion and contraction of the metal, coupled with wind uplift and degradation of the rubber washers, can cause screws to back out or lose their sealing ability. When a screw loosens, it creates a small gap through which water can easily penetrate, often leading to leaks directly into the structure below.
To fix a loose fastener, gently tighten it with your drill or impact driver. Be careful not to overtighten, as this can strip the screw hole or damage the rubber washer, compromising the seal. You want it snug enough that the washer creates a good seal without crushing it. If the screw is rusted, the washer is visibly cracked, or the screw simply won't tighten and spins freely (indicating a stripped hole), it's time for a replacement. Remove the old screw and insert a new, slightly larger diameter or longer screw into the same hole. Ensure the new screw has a high-quality EPDM washer. If the hole is severely stripped, you might need to move the new screw slightly to the side (about half an inch) and then seal the old hole with a quality roofing sealant. For panels with multiple loose fasteners, replacing all compromised screws is often the most effective long-term solution to prevent future leaks. For a deeper dive, check out our guide on How to Replace Metal Roof Screws and Fasteners.
Repairing Small Holes and Punctures
Small holes or punctures, perhaps from dropped tools, sharp branches, or impact from falling debris, can be a serious issue. Even a pinhole can allow a surprising amount of water into your home. The key is to address these promptly before water damage escalates.
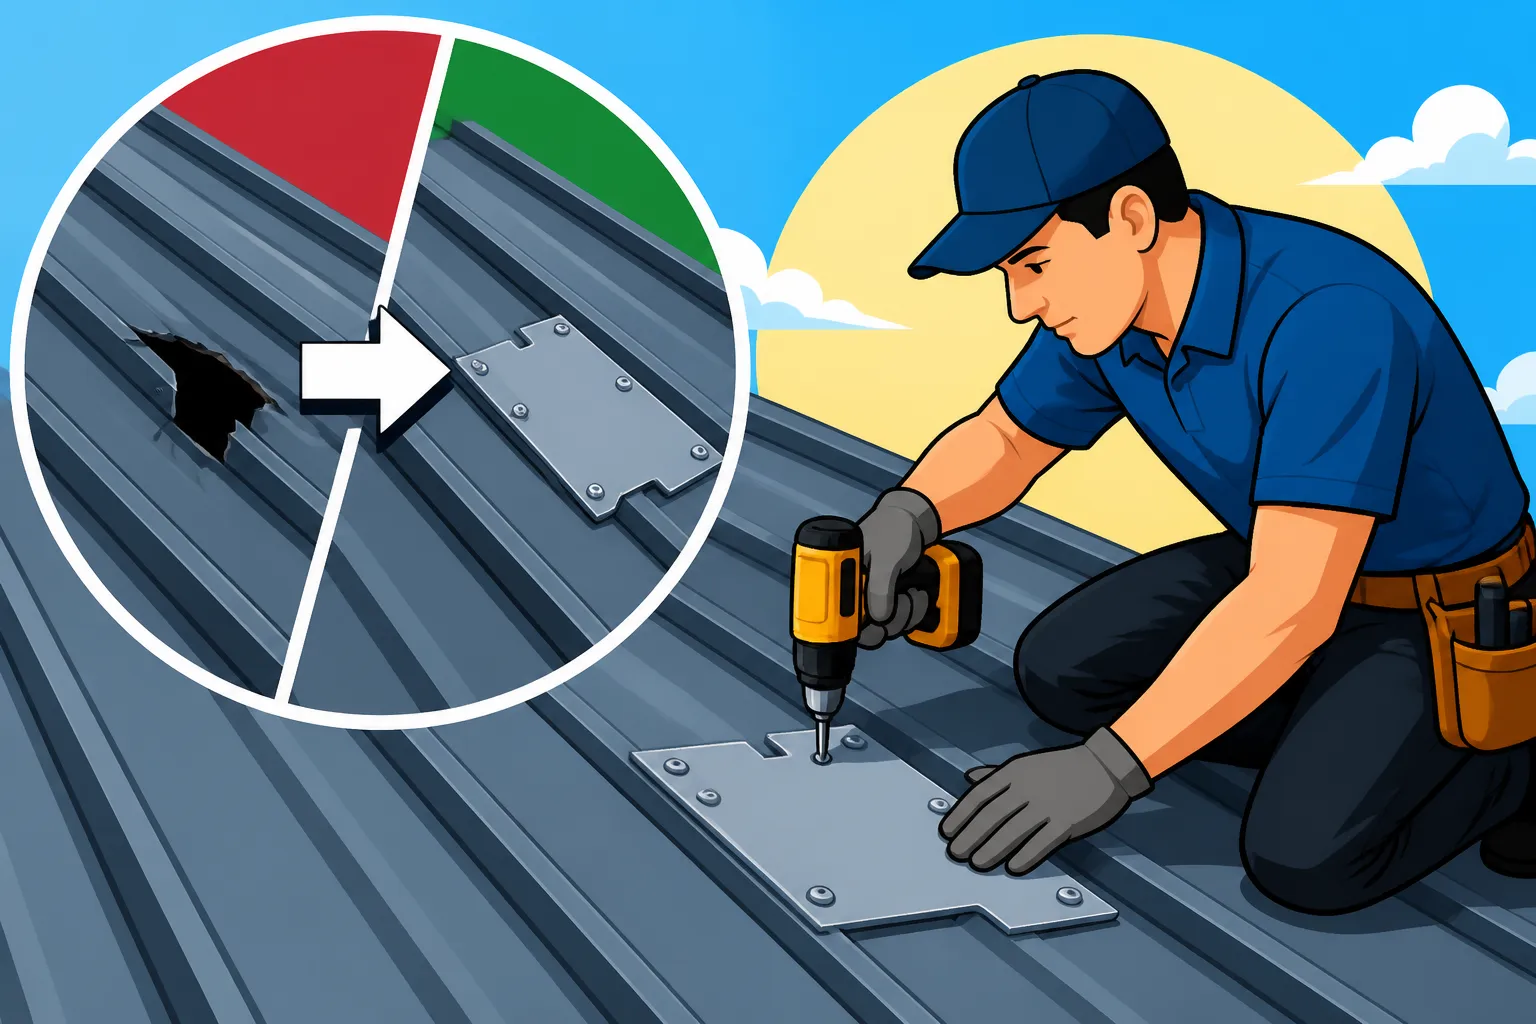
For small holes (up to about 1/2 inch in diameter), you can often use a specialized metal roofing patch kit or a combination of sealants and fasteners. First, clean the area around the hole thoroughly with a wire brush and degreaser. Make sure it's completely dry. Apply a generous bead of high-quality, UV-resistant roofing sealant directly over and around the hole. While the sealant is still wet, place a small, flat metal patch (often aluminum or galvanized steel, slightly larger than the hole) over the sealant, pressing it firmly into place. Secure the patch with self-tapping screws at its corners, making sure to use screws with robust EPDM washers. Finally, apply another layer of sealant around the edges of the patch and over the screw heads to ensure a completely watertight seal. For very small punctures, sometimes a thick application of Best Sealant for Metal Roof Leaks alone, smoothed over the hole, can suffice, but a patch offers greater durability.
Replacing Damaged Panels
Replacing an entire ribbed panel is a more involved repair, typically reserved for panels that are severely dented, ripped, or extensively corroded beyond simple patching. This often requires the removal of multiple fasteners and careful handling of large, unwieldy metal sheets. This is also where a service like Modernize can be particularly helpful, connecting you with experienced contractors who specialize in such repairs.
Here’s a general overview of the process:
- Preparation: Identify the exact panel(s) to be replaced. Ensure you have new panels of the correct profile, gauge, color, and length.
- Access and Fastener Removal: Carefully access the damaged panel. You'll need to remove all the fasteners securing the damaged panel, as well as any fasteners that secure the adjacent panels that overlap or are overlapped by the damaged one. This might mean removing screws from 2-3 panels in total to free up the damaged section. Use a drill with the appropriate hex head bit.
- Removing the Damaged Panel: With the fasteners removed, carefully slide the damaged panel out from under the overlapping panels. Be mindful of sharp edges. If the panel is crimped or interlocked in any way, you may need specific tools like a panel crimper or knowledge of the panel system to safely disengage it without damaging adjacent panels.
- Installing the New Panel: Slide the new panel into position, ensuring it aligns perfectly with the adjacent panels and the roof structure. Make sure the rib overlaps are correct and tight.
- Fastening: Secure the new panel using new, self-tapping screws with EPDM washers. Re-fasten any adjacent panels that were loosened during the removal process. Ensure all screws are tightened to the correct torque – snug, but not overtightened – to create a watertight seal. This might also be a good time to inspect the condition of the screws on neighboring panels and replace any that look suspect, following guidelines on How to Replace a Metal Roof Panel.
- Sealing and Inspection: Apply sealant to any exposed seams or screw heads if your panel system calls for it, or as an extra layer of protection. Finally, perform a thorough visual inspection to ensure all fasteners are tight and seals are secure. Consider doing a water test with a hose to confirm the integrity of your repair before adverse weather hits.
| Damage Type | Severity | Recommended Repair Action | Typical Materials/Tools | When to DIY vs. Pro |
|---|---|---|---|---|
| Minor Scratches/Fading | Low | Clean, prime, touch-up paint | Wire brush, cleaner, primer, touch-up paint | DIY |
| Loose/Missing Fasteners | Low-Medium | Tighten or replace screws, seal stripped holes | Drill, hex bit, new screws with EPDM washers, sealant | DIY |
| Small Holes/Punctures (<1") | Medium | Clean, apply sealant, cover with metal patch, secure | Wire brush, degreaser, sealant, metal patch, screws | DIY (with caution) |
| Severe Dents/Rips | Medium-High | Panel replacement | New panel, drill, hex bit, new screws, sealant, tin snips | Pro recommended |
| Widespread Rust/Corrosion | High | Extensive treatment, coating, or full replacement | Rust converter, coatings, potentially full panels | Pro recommended |
| Structural Damage | High | Professional assessment and repair/replacement | N/A | Professional Only |
When to Call a Professional for Ribbed Panel Repair
While many minor repairs can be handled by a diligent homeowner, there are definitive situations where calling in a professional metal roofing contractor is not just advisable, but essential. Understanding these thresholds can save you from costly mistakes, further damage, or even personal injury.
Identifying Complex Damage
Some damage types simply go beyond the scope of a typical DIY repair. If your ribbed panel roof has suffered extensive storm damage, such as multiple large dents from hail, widespread panel deformation from high winds, or significant tears, it’s time to call in the experts. These issues often affect the structural integrity of the entire roofing system, not just an isolated panel. Attempting to straighten severely bent panels or patch large rips without proper training and equipment can lead to a roof that’s still compromised, leaks, or even fails prematurely.
Another complex scenario arises when you detect leaks but can't pinpoint their source. Water can travel surprisingly far under metal panels before showing up inside your home, making diagnosis a challenge for the untrained eye. Professionals have specialized tools and experience in conducting thorough Metal Roof Inspection: What to Check and identifying hidden moisture intrusion points. Moreover, if you find that rust and corrosion are widespread, affecting multiple panels or structural components like purlins, this indicates a larger issue that likely requires extensive treatment or even a full roof replacement, rather than piecemeal repairs. Similarly, if you suspect any damage to the underlying roof deck or insulation, which might occur with long-term leaks, a professional needs to assess and address it to prevent mold growth or structural weakening. These are all critical factors to consider when you're asking, "How Much Does Metal Roof Repair Cost?"
The Value of Professional Expertise
Hiring a professional metal roofing contractor brings invaluable expertise, specialized tools, and a level of safety that most homeowners cannot achieve. Experienced contractors have seen it all and can quickly diagnose issues that might stump a DIYer, ensuring the right repair is done the first time. They understand the nuances of various ribbed panel systems, from proper fastening techniques to handling expansion and contraction, which are crucial for long-term performance. A professional will also adhere to local building codes and safety regulations, ensuring your repair is up to standard and durable.
Beyond their technical skills, contractors often provide warranties on their workmanship, giving you peace of mind. They also have access to higher-quality materials and can procure matching panels or specialized components that might be difficult for an individual to source. For instance, reputable companies like McElroy Metal or Metal Sales often work directly with contractors, ensuring proper installation and product matching. If you're dealing with an insurance claim due to storm damage, a professional contractor can help navigate the complexities, providing accurate estimates and communicating with adjusters on your behalf. While there's an upfront cost, the long-term savings from avoiding botched repairs, potential future damage, and ensuring the longevity of your roof often make professional intervention the most economical choice. If you're looking for a qualified professional, platforms like Modernize can connect you with pre-vetted local roofing contractors who specialize in metal roofs.
Maintaining Your Ribbed Panel Roof to Prevent Future Issues
The best repair is often the one you never have to make. Proactive maintenance is crucial for extending the lifespan of your ribbed panel metal roof and minimizing the need for costly repairs down the line. A little effort each year can save you a lot of headache and money.
Regular Inspections and Cleaning
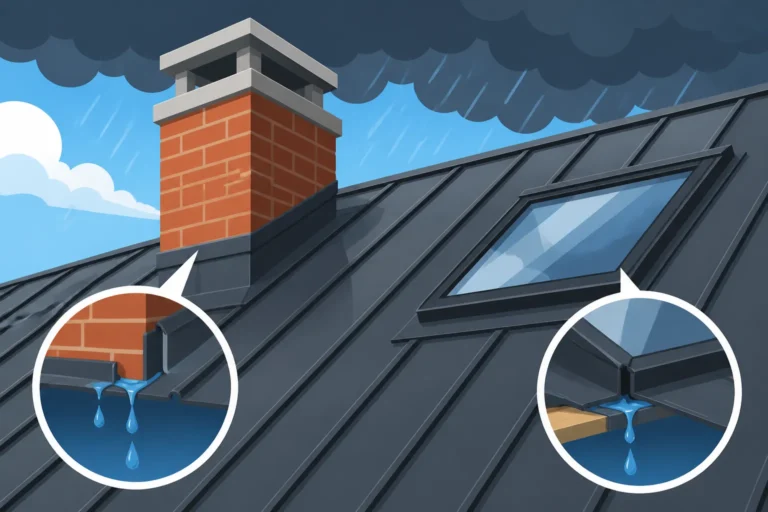
Establishing a routine for inspections and cleaning is the cornerstone of effective metal roof maintenance. You should aim to inspect your ribbed panel roof at least twice a year – once in the spring after winter storms and once in the fall before winter sets in – and always after any significant weather event like a heavy hailstorm or strong winds. During these inspections, pay close attention to the exposed fasteners. Look for any screws that appear loose, have corroded heads, or show signs of degraded rubber washers. Check for any visible scratches, dents, or signs of rust on the panel surfaces. Examine the seams and flashing around penetrations like chimneys, skylights, and vents for cracks or gaps in sealant. The gutters and downspouts should also be clear of debris to ensure proper water drainage.
Cleaning your metal roof is equally important. Accumulated leaves, dirt, and debris can trap moisture, leading to corrosion, or encourage the growth of moss and algae, which can degrade coatings and create slippery spots. A soft-bristle brush and a mild, non-abrasive detergent with water are usually sufficient. Avoid pressure washers, as high pressure can damage coatings, lift panel edges, or force water into seams. Always rinse thoroughly to remove all cleaning solution residue. For more detailed advice, consider reviewing a comprehensive Metal Roof Maintenance Guide.
Proactive Measures for Longevity
Beyond regular cleaning and inspections, there are several proactive steps you can take to enhance the longevity and performance of your ribbed panel metal roof. One critical measure is ensuring proper ventilation in the attic space beneath your roof. Adequate ventilation helps to regulate temperature and humidity, preventing condensation from forming on the underside of the metal panels, which can lead to rust and moisture issues. A well-designed Metal Roof Underlayment and Ventilation Guide can provide insights into optimal airflow.
Another proactive step is to consider applying a high-quality reflective coating to your roof, especially if the original coating is starting to show signs of wear or fading. These coatings not only protect the metal from UV degradation and corrosion but can also significantly improve your home's energy efficiency by reflecting solar radiation. If you live in an area prone to severe weather, investing in robust, oversized fasteners with durable washers during installation or replacement can provide extra resistance against wind uplift and wear. Regularly trimming any overhanging tree branches will prevent debris from accumulating on your roof and reduce the risk of impact damage during storms. Finally, if you notice any small areas of concern during your routine checks, addressing them immediately – even if it's just a tiny patch of rust or a slightly loose screw – will prevent them from escalating into larger, more expensive problems. Remember, a well-maintained ribbed panel metal roof can last for 40 to 70 years, a testament to the value of consistent care.
Disclaimer
This guide provides general information for repairing ribbed panel metal roofs and is not a substitute for professional advice. Metal roof work can be dangerous and should only be undertaken with proper safety precautions and appropriate expertise. Always consult with a qualified and licensed metal roofing contractor for complex repairs or if you are unsure about any steps involved. Local building codes and regulations may apply and should be followed.