How to Fix a Dent in a Standing Seam Panel
There’s nothing quite like the sleek, modern look and incredible durability of a standing seam metal roof. It’s an investment that promises decades of protection for your home, standing strong against the elements. But then, you spot it – a dent. Whether it’s from a stray tree branch after a storm, an accidental dropped tool during maintenance, or even just some particularly robust hail, that dent can feel like a punch to the gut. It’s not just an aesthetic blemish; depending on its severity and location, it could potentially compromise the integrity of your roof. This guide is here to walk you through understanding why these dents happen, how to assess the damage, and the practical steps you can take to either fix minor issues yourself or determine when it’s time to call in the pros.
Understanding Standing Seam Dents: Causes and Impact
When you invest in a standing seam metal roof, you’re often looking for that combination of elegance and resilience. The panels interlock with raised seams, providing a clean look and excellent weather protection. However, even the toughest materials aren't entirely impervious to damage, and dents are a common concern for homeowners. Knowing what causes them and the potential implications is the first step toward effective repair.
Common Causes of Dents
Dents in standing seam metal panels can pop up from a variety of sources, and sometimes it's an unfortunate combination of factors. One of the most frequent culprits, especially if you live in certain regions, is hail. While metal roofs are generally quite impact-resistant, severe hailstones, particularly those the size of golf balls or larger, can leave visible depressions. This is especially true for softer metals like aluminum or thinner gauge steel panels. You might find a single, deep impact or a widespread peppering of smaller dimples across your roof surface.
Another significant cause is falling debris. Think about those windy days or heavy storms when tree branches become projectiles. A large branch, even if it's not huge, can create a noticeable dent, particularly if it strikes flat against a panel. During autumn, you might even have an acorn or a pinecone leave a mark if it falls from a substantial height onto a thinner gauge panel. Construction or maintenance accidents are also common. It’s not unheard of for a dropped hammer, a slipped ladder rung, or even clumsy foot traffic from an inexperienced person walking on a metal roof to cause a depression. Even something as seemingly benign as a large icicle falling off a higher point of your house onto the roof below can cause damage.
Assessing the Damage
Before you jump into fixing anything, you need to take a good, hard look at the dent. This isn’t just about the aesthetics; it’s about understanding the potential for water infiltration and structural compromise. Start by determining the size and depth of the dent. Is it a shallow, broad depression that just catches the light differently, or is it a sharp, deep indentation that might have stretched or creased the metal? A small, shallow ding might just be a cosmetic issue, while a deep crease could indicate significant stress on the metal, potentially leading to cracking over time.
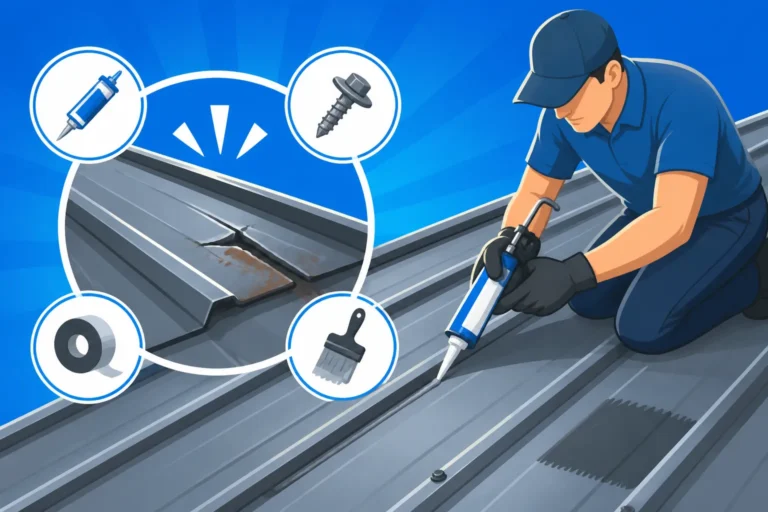
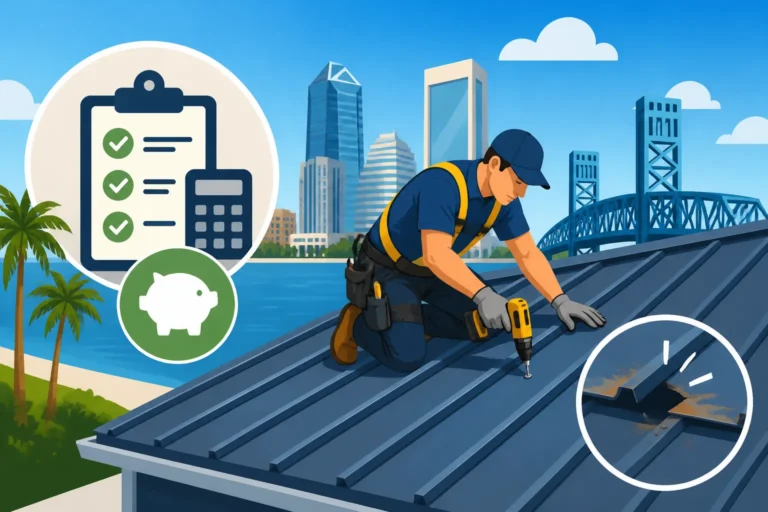
Next, consider its location. Dents that are on the flat part of the panel are often easier to deal with than those that occur near the standing seams or around penetrations like skylights, vents, or chimneys. A dent along a seam could compromise the watertight seal, making your roof vulnerable to leaks. Similarly, damage near flashing components might disrupt their crucial protective function. Look closely for any signs of paint chipping or coating damage within the dented area. If the protective coating is compromised, the exposed metal, especially on steel or Galvalume panels, could be susceptible to rust and corrosion, significantly shortening the lifespan of your roof. For example, a dent in a painted steel panel where the coating has cracked and exposed the steel could start rusting within weeks if not addressed, potentially leading to a much larger repair than just the dent itself. This detailed assessment will guide your repair strategy, helping you decide if it’s a DIY job or if you need professional assistance.
DIY Fixes for Minor Dents
For those smaller, purely cosmetic dents that haven't compromised the roof's integrity, you might be able to tackle the fix yourself. It's incredibly satisfying to restore your roof's smooth appearance without a hefty professional bill, but remember, caution and the right tools are key. Trying to fix a dent without proper preparation or technique can inadvertently cause more damage.
Tools and Materials You'll Need
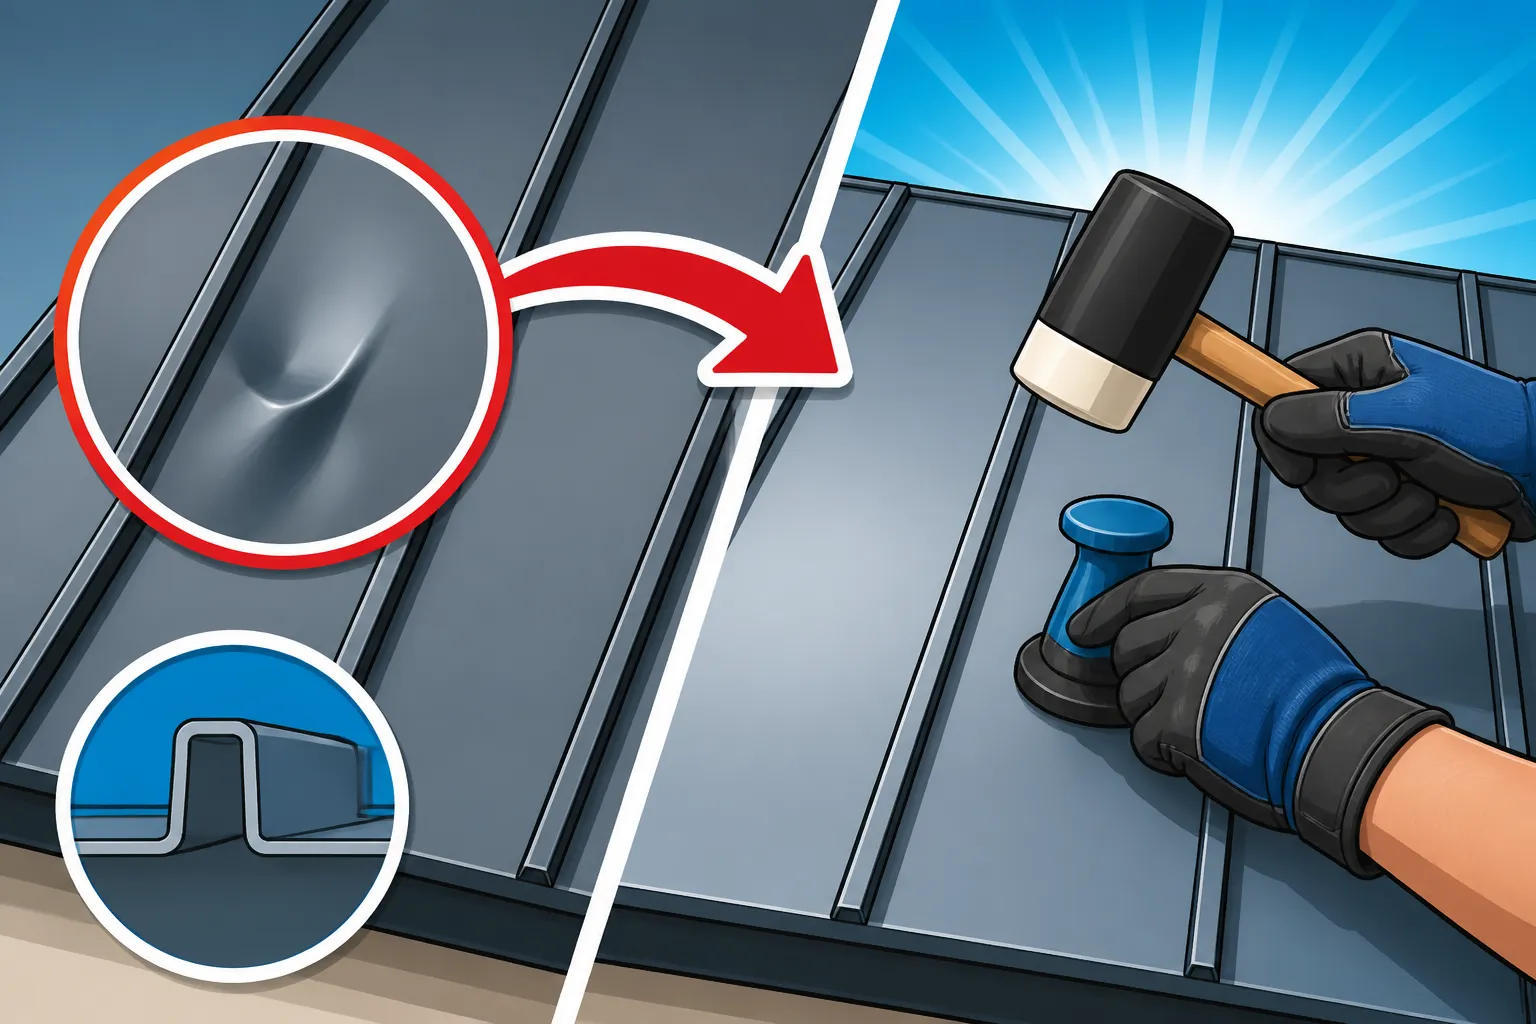
Before you even think about stepping foot on your roof (and only do so if you're comfortable and have proper safety gear!), gather everything you’ll need. Safety should always be your top priority. A sturdy ladder, non-slip shoes, and possibly a safety harness, especially for steeper pitches, are non-negotiable. For the dent itself, you'll want a few specific items. A soft-bristle brush and mild detergent are good for cleaning the area around the dent. For the actual repair, you might need a rubber mallet or a specialized dent-pulling kit designed for car bodywork, which can sometimes work on roof panels. These kits often include suction cups or specialized levers.
You'll also need a soft cloth or a piece of wood for cushioning, especially if you're using a mallet to tap out the dent from underneath. If the dent has caused minor paint scuffs but not a full coating breach, a touch-up paint kit specifically matched to your roof's color and coating type will be essential. Make sure you know whether your roof has a PVDF (Kynar) or SMP coating, as different paints are used. Always check with your roof's manufacturer or installer for recommended touch-up procedures and products. For instance, if you have a Standing Seam Metal Roof, you'll want to ensure any repair materials are compatible with its unique profile and fasteners.
Step-by-Step Dent Removal Techniques
Once you've safely accessed the dented area and have your tools ready, here's how you can attempt a DIY fix for minor dents:
-
Clean the Area: Gently clean the dented area with mild soap and water to remove any dirt or debris. A clean surface helps you see the dent clearly and ensures any repair materials adhere properly. Let it dry completely.
-
Access from Below (If Possible): This is the ideal scenario for pushing a dent out. If your attic or crawl space allows access to the underside of the roof panel, this is your best bet. Place a soft cloth or a small block of wood against the underside of the dent. Using a rubber mallet, gently tap the wood from the underside, working from the edges of the dent towards the center. The goal is to slowly encourage the metal to revert to its original shape. Apply light, consistent pressure rather than hard, forceful blows, which can stretch the metal further or create new damage. Think of it like a gentle massage, easing the metal back into place.
-
Dent Pulling (If No Underside Access): If you can't access the underside, a dent-pulling kit can be an option. These kits typically involve attaching a suction cup to the dent and then using a pulling mechanism to lift the metal. For best results, the dent needs to be relatively smooth and not too sharply creased. Follow the kit instructions carefully. Sometimes, applying heat to the dented area with a heat gun (on a low setting and never holding it in one spot for too long to avoid damaging the paint finish) can make the metal more pliable, assisting the pulling process. However, this method requires extreme caution to avoid scorching the paint or overheating the metal. Only attempt this if you are confident in your ability to control the heat.
-
Touch-Up Paint (If Necessary): After successfully reducing the dent, if there are any minor scuffs or paint chips, clean the area again and apply your touch-up paint. Use a small artist's brush for precision. Apply thin coats, allowing each to dry completely according to the manufacturer's instructions before applying the next. This helps protect the metal from the elements and restores the aesthetic appeal. For more information on maintaining your roof's appearance and integrity, you might find our guide on Metal Roof Maintenance Guide helpful.
It’s crucial to understand that not all dents are created equal, and some may be beyond the scope of a DIY repair. If you find yourself struggling, or if the dent seems more severe than anticipated, it's always better to err on the side of caution and consider professional help.
When to Call a Professional
There comes a point where even the most enthusiastic DIYer needs to step back and recognize when a job requires specialized expertise. This is especially true with something as critical as your roof, which protects your entire home. Knowing the signs that a dent is too complex or severe for a do-it-yourself fix can save you a lot of headache and expense in the long run.
Identifying Severe Damage
Not all dents are minor cosmetic issues. Some indicate deeper problems that require immediate professional attention. If a dent is deep and has a sharp crease, especially if the metal appears stretched or thinned at the center of the crease, it likely means the metal's structural integrity has been compromised. This type of damage can weaken the panel and make it more susceptible to further damage or even cracking over time. Think of it like bending a paperclip too many times; eventually, it breaks. Metal roofs are designed to expand and contract with temperature changes, and a severely creased area might not handle this movement gracefully, potentially leading to premature fatigue and failure.
Another red flag is any sign of cracking, tearing, or puncture within or around the dent. Even a hairline crack, invisible from the ground, can become a significant leak source during heavy rain. You should also be concerned if the dent is located near a seam, flashing, or a roof penetration like a vent or a chimney. Damage in these critical areas can easily compromise the watertight seals that are essential for a leak-free roof. If you see any evidence of water infiltration in your attic or on your ceiling, and you suspect it’s related to a dent, that’s a clear signal to call in a professional immediately. For instances where you suspect leaks, our Metal Roof Leak Repair Guide can offer more insights, but a pro should be your first call for actual leaks. Additionally, if the dent spans multiple panels or affects a large section of your roof, the scale of the repair alone warrants professional assessment.
The Professional Repair Process
When you call in a professional metal roofing contractor, they bring a level of expertise, specialized tools, and knowledge that goes beyond what most homeowners possess. Their first step will be a thorough inspection, not just of the dented area but of the entire roof. They’ll assess the extent of the damage, check for any underlying issues, and determine the best course of action. They have experience identifying subtle signs of damage that might be missed by an untrained eye, such as slight delamination of coatings or hidden stress points. Many reputable contractors offer free consultations or estimates, which is a great opportunity to learn about the damage and potential solutions. You can easily find local contractors through services like Modernize, which connect homeowners with qualified professionals in their area.
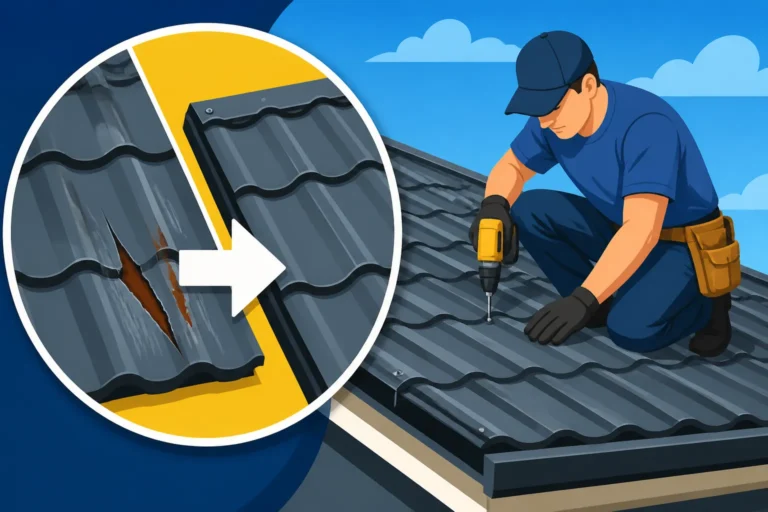
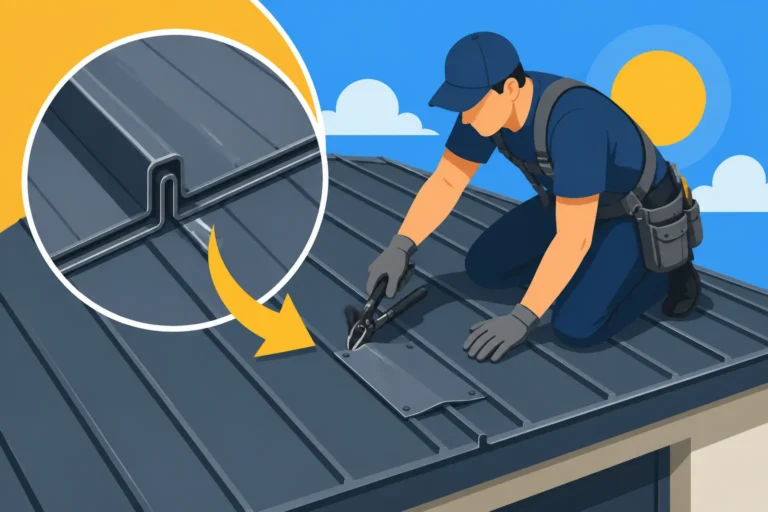
For severe dents or those that have compromised the panel, a professional might recommend several solutions. If the dent is isolated and the panel is otherwise in good condition, they may be able to carefully un-dent it using specialized tools that apply pressure or suction without further damaging the coating or metal. However, for more significant damage, especially with creases or perforations, the most common and effective solution is usually panel replacement. This involves carefully removing the damaged panel and installing a new one that perfectly matches the existing roof in color, profile, and gauge. This process is intricate and requires specific tools and skills to ensure the new panel integrates seamlessly and maintains the roof's watertight seal. A professional contractor will also be able to properly dispose of the old panel and ensure that the repair meets all local building codes and warranty requirements. When considering a contractor, always ask them Questions to Ask a Metal Roofing Contractor Before You Hire to ensure they are the right fit for your project.
Preventing Future Dents and Maintaining Your Roof
Once you’ve successfully dealt with a dent, whether through a DIY fix or professional repair, the natural next step is to consider how to prevent future occurrences. While you can't control every hail storm or falling branch, there are proactive steps you can take to minimize risks and ensure your metal roof continues to look its best and perform flawlessly for its impressive lifespan.
Best Practices for Protection
One of the most effective ways to prevent future dents is to manage potential hazards around your home. Regularly inspect and trim trees whose branches overhang your roof. Removing dead or weak limbs before a storm hits can significantly reduce the risk of impact damage. If you live in an area prone to severe weather, especially large hail, consider upgrading to a thicker gauge metal when it's time for a roof replacement, or choosing a metal alloy known for higher impact resistance. For example, 24-gauge steel is more resistant to denting than 26-gauge, which is often used for residential applications. You can learn more about this by reading our guide on 24 vs 26 Gauge Metal Roof: Cost Difference.
During any roof maintenance, always exercise extreme caution. Use proper safety equipment and ensure anyone working on your roof, including yourself, wears soft-soled shoes to avoid scuffing or denting the panels. If you need to walk on the roof, try to step only on the flat part of the panels, between the seams, and distribute your weight evenly. For tasks requiring heavy tools or materials, consider using plywood sheets as temporary walkways to protect the underlying metal from concentrated weight or accidental drops. If you have to install anything on your roof, like snow guards or solar panels, ensure they are installed by experienced professionals who understand how to work with metal roofing without causing damage.
Regular Inspection and Maintenance
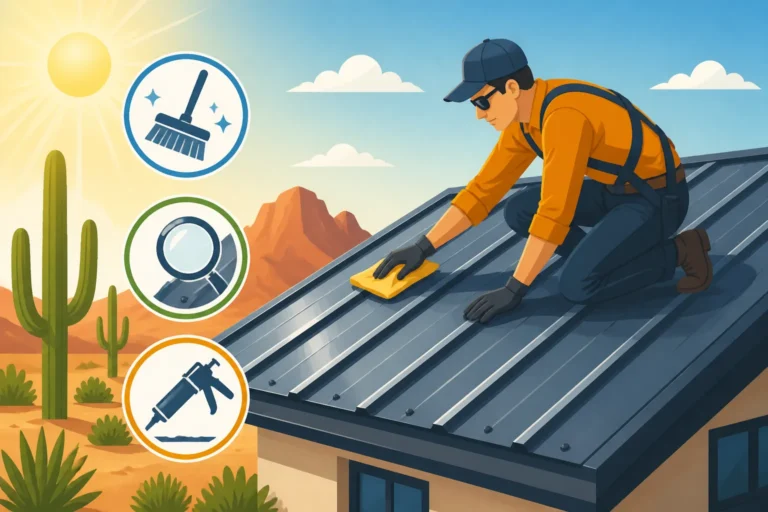
A little proactive effort goes a long way in preserving your metal roof. Make a habit of performing regular visual inspections, ideally twice a year (in spring and fall), and after any significant storm. From the ground, use binoculars to scan your roof for any new dents, scuffs, or areas where the coating might be compromised. Look for debris accumulation, especially in valleys or behind chimneys, as this can trap moisture and accelerate corrosion.
Keeping your roof clean is also vital. Remove leaves, twigs, and other organic matter promptly. If you need to clean the entire roof, use a soft-bristle brush and a mild, non-abrasive detergent, rinsing thoroughly with water. Avoid harsh chemicals or high-pressure washers, which can damage the protective coatings. Check all sealants around flashing and penetrations for signs of cracking or deterioration. While metal roofs are known for their minimal maintenance, these simple steps can help you catch small issues, like a minor dent, before they escalate into larger, more costly problems. By staying vigilant and taking preventive measures, you can ensure your standing seam metal roof provides beauty and protection for decades to come, living up to its expected [Metal Roof Lifespan].
| Dent Type & Severity | DIY Repair Feasibility | Typical Solution | Estimated Cost (DIY materials) | When to Call a Pro |
|---|---|---|---|---|
| Minor Indentation (shallow, cosmetic) | High | Gentle tapping from underneath, dent puller, touch-up paint | $20 – $100 (tools, paint) | If unsure, or dent is near seams |
| Deep Crease (sharp fold, stretched metal) | Low | Panel replacement | N/A | Immediately, potential leak risk |
| Crack/Puncture (any breach in metal) | None | Panel replacement | N/A | Immediately, high leak risk |
| Seam/Flashing Damage (compromises seal) | None | Seam repair, flashing replacement, or panel replacement | N/A | Immediately, high leak risk |
| Multiple/Widespread Dents | Low | Panel replacement or multiple minor repairs | N/A | For efficiency and consistency |
Important Note: The costs listed for DIY materials are estimates and can vary based on tool quality and specific paint requirements. Professional repair costs will be significantly higher, often ranging from hundreds to thousands of dollars, depending on the extent of the damage and labor rates in your area. Modernize can assist in finding local contractors for professional quotes.
Disclaimer
Please note that the information provided in this article is for general guidance only and does not constitute professional roofing advice. Working on a roof can be dangerous, and serious injury or death can occur. Always prioritize safety, use appropriate safety gear, and ensure you are comfortable and capable of performing any DIY tasks. For significant damage, complex repairs, or if you are unsure about any aspect of roof repair, it is strongly recommended to consult with a qualified and licensed metal roofing professional. They can provide an accurate assessment, ensure proper techniques are used, and guarantee the work complies with local building codes and warranty requirements.