How to Get Rid of Rust on a Metal Roof
It's disheartening, isn't it? You invested in a beautiful, durable metal roof, expecting decades of worry-free performance, only to spot those tell-tale orange-brown streaks or patches of rust. It feels like a betrayal of your investment, a sign that perhaps your roof isn't as indestructible as you thought. This guide is here to walk you through exactly how to tackle rust on your metal roof, from understanding its causes to effective removal and long-term prevention, so you can restore its pristine condition and extend its already impressive lifespan.
Understanding Why Your Metal Roof is Rusting
Before we grab any tools or chemicals, let's take a moment to truly understand why your metal roof might be showing signs of rust. It's not always a defect; sometimes, it's a consequence of environmental factors, improper installation, or simply the natural lifecycle of the material if it's not adequately protected. Rust, after all, is a chemical reaction, and certain conditions accelerate it.
Common Causes of Rust Formation
Rust, or iron oxide, forms when iron or its alloys (like steel, a common metal roofing material) are exposed to oxygen and moisture for prolonged periods. While many modern metal roofs, particularly those made of steel, are coated with protective layers like zinc (galvanized steel) or a zinc-aluminum alloy (Galvalume), these coatings aren't impervious to damage or degradation over time.
One of the most frequent culprits for rust spots is simple abrasion. Think about tree branches scraping against the roof during a storm, or even foot traffic during an inspection or cleaning. These incidents can scratch through the protective coating, exposing the steel underneath to the elements. Once that bare metal is exposed to rain, humidity, or even morning dew, the oxidation process begins. Another common cause is the accumulation of debris, like wet leaves or pine needles, which can trap moisture against the roof surface. This creates a consistently damp environment, a perfect breeding ground for rust, even on a seemingly intact coating. Furthermore, galvanic corrosion can occur if dissimilar metals are in contact, especially in the presence of an electrolyte like rainwater. For instance, using galvanized screws with an aluminum roof can lead to localized corrosion if not properly isolated. Even small metal filings left over from installation, if not thoroughly cleaned off, can rust and stain the roof surface.
Identifying Different Types of Rust
Not all rust looks or behaves the same way, and understanding the type you're dealing with can inform your approach to removal.
- Surface Rust (Light Rust): This is the most common and least severe type. It appears as light orange or brownish discoloration on the surface, often in isolated spots. It usually forms when the protective coating is slightly compromised or when metallic dust settles and rusts on the surface. If caught early, surface rust is relatively easy to remove without causing significant damage to the roof panel itself. This is often just aesthetic and hasn't yet eaten into the structural integrity.
- Pitting Rust: This is more concerning. Pitting rust appears as small, localized holes or depressions in the metal. It’s a sign that the corrosion has started to eat into the metal substrate. This can significantly weaken the panel over time and, if left unaddressed, will eventually lead to leaks. Pitting is particularly common in areas where moisture collects or where the coating has been deeply scratched.
- Flaking or Delaminating Rust: This advanced stage of rust indicates severe corrosion. The rust has formed thick layers that are now peeling or flaking off the metal surface, taking the protective coating with it. At this point, the metal beneath is heavily compromised and likely very thin. This type of rust is often found on older roofs where maintenance has been neglected or on roofs exposed to harsh, corrosive environments like coastal areas. When you see this, it might be time to consider whether you need a full Metal Roof Repair vs Replacement: How to Decide. Understanding these distinctions is crucial, as a light surface stain can be treated much differently than deep, structural rust.
The Importance of Early Detection
The old adage "an ounce of prevention is worth a pound of cure" certainly applies to metal roof rust. Catching rust early can save you a significant amount of money and headache down the line. A small patch of surface rust, if ignored, can quickly spread and escalate into pitting or even structural damage, particularly in climates with high humidity or frequent rainfall.
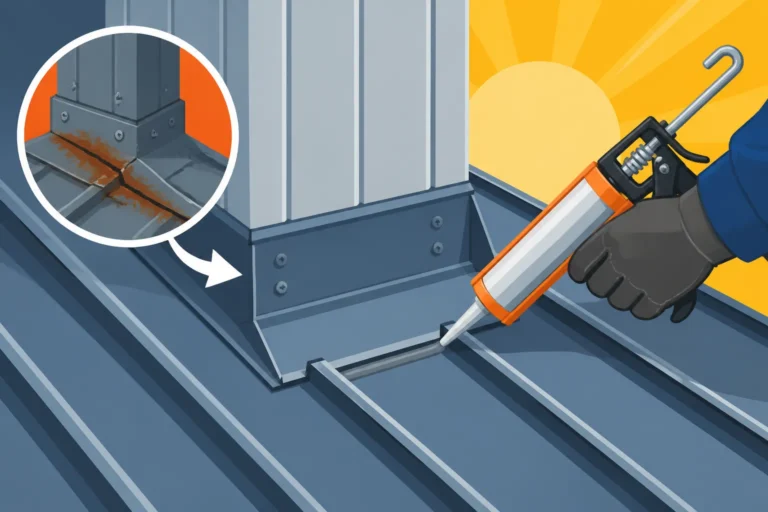
Regular inspections are your best friend here. Aim to inspect your roof at least twice a year, ideally in the spring and fall, and after any major storm. Look for any discoloration, scratches, or areas where debris tends to accumulate. Pay close attention to fasteners, seams, and flashing around chimneys or skylights, as these are common areas where protective coatings can degrade or be compromised. Early detection means you can address the issue with a simple cleaning and touch-up, rather than facing the prospect of panel replacement or extensive Metal Roof Rust and Corrosion Treatment. Don't wait until you see water stains on your ceiling to investigate; by then, the problem has likely advanced far beyond a quick fix. If you're unsure how to perform a thorough inspection, you can always consult with a professional who can provide an expert assessment, guiding you on proper preventative care or necessary repairs.
Preparing Your Metal Roof for Rust Treatment
Rushing into rust removal without proper preparation can be counterproductive, messy, and even dangerous. Taking the time to prepare the roof surface and ensure your own safety is paramount for effective and lasting results.
Safety First: Gear and Precautions
Working on a roof always comes with inherent risks, and adding chemicals and slippery surfaces into the mix only amplifies them. Your safety should be your absolute top priority.
Always wear appropriate personal protective equipment (PPE). This includes sturdy, non-slip work boots with good ankle support to maintain traction, even on wet surfaces. Heavy-duty gloves are essential to protect your hands from rust, sharp metal edges, and the chemicals you'll be using. Eye protection, such as safety goggles or a face shield, is non-negotiable to guard against splashes or flying debris. If you're working with strong chemicals or in an enclosed space (like a low-slope roof with limited ventilation), a respirator or face mask can protect your lungs from fumes. Furthermore, consider fall protection. For sloped roofs, a safety harness securely anchored to a strong point on the roof or structure is highly recommended. Never work alone, especially on a roof, and always let someone know you'll be up there. Check the weather forecast before you start; a dry, calm day is ideal. Avoid working on windy days, which can make ladders unstable and blow debris, and certainly never work during or immediately after rain, as wet metal roofs are incredibly slippery. If the roof has a steep pitch or if you're uncomfortable with heights, it's always best to call a professional. Many reputable contractors, like those found through platforms like Modernize, are equipped with the right safety gear and expertise to handle roof work safely.
Cleaning the Roof Surface
Before you can effectively treat rust, the roof surface needs to be meticulously clean. Any dirt, grime, moss, or loose debris will prevent rust removers and protective coatings from working properly.
Start by removing all loose debris – leaves, twigs, dirt – with a leaf blower or a stiff broom. Be gentle if you suspect the roof has existing damage to avoid scratching the surface further. Next, give the entire roof a good wash. A pressure washer set to a moderate setting can be very effective, but be incredibly careful not to direct the spray directly into seams, flashing, or under panels, as this can force water into your attic or compromise the roof's integrity. A garden hose with a scrub brush and a mild, biodegradable detergent (like dish soap) can also work wonders, especially for areas with significant grime or biological growth. For stubborn moss or algae, specialized roof cleaning solutions are available, but always choose products safe for metal roofs and rinse thoroughly. The goal is a clean, bare surface where the rust is clearly visible and accessible for treatment. Don't forget to clean out your gutters too, as clogged gutters can lead to water pooling on the roof edge and exacerbating rust problems.
Assessing the Damage
Once the roof is clean and dry, it's time for a detailed damage assessment. This is where you determine the type and extent of the rust, which will guide your treatment plan.
Walk the entire roof, systematically checking every panel, seam, fastener, and piece of flashing. Pay close attention to areas around penetrations like chimneys, vents, and skylights, as well as valleys and eaves where water might sit. Photograph any areas of rust you find, noting their location and severity. Are they small, superficial spots of surface rust, or do you see evidence of pitting, flaking, or even holes? Check the integrity of the surrounding coating – is it still firmly adhered, or is it bubbling or peeling? For surface rust, you might be able to simply clean and seal it. For pitting, you might need more aggressive rust removal and possibly a patch. If the rust is widespread, severe, or has compromised the structural integrity of multiple panels, you might be looking at a larger repair, or even a full roof replacement. This assessment helps you decide whether you can tackle the job yourself or if it's time to call in a professional. Remember, pretending a deep rust spot is just surface rust won't make it so. Be honest with your assessment to ensure the right course of action.
Effective Methods for Removing Rust
Once your roof is clean and you've assessed the rust, it's time to choose your weapons. There are several effective methods for tackling rust, ranging from mechanical abrasion to chemical treatments.
Mechanical Removal Techniques
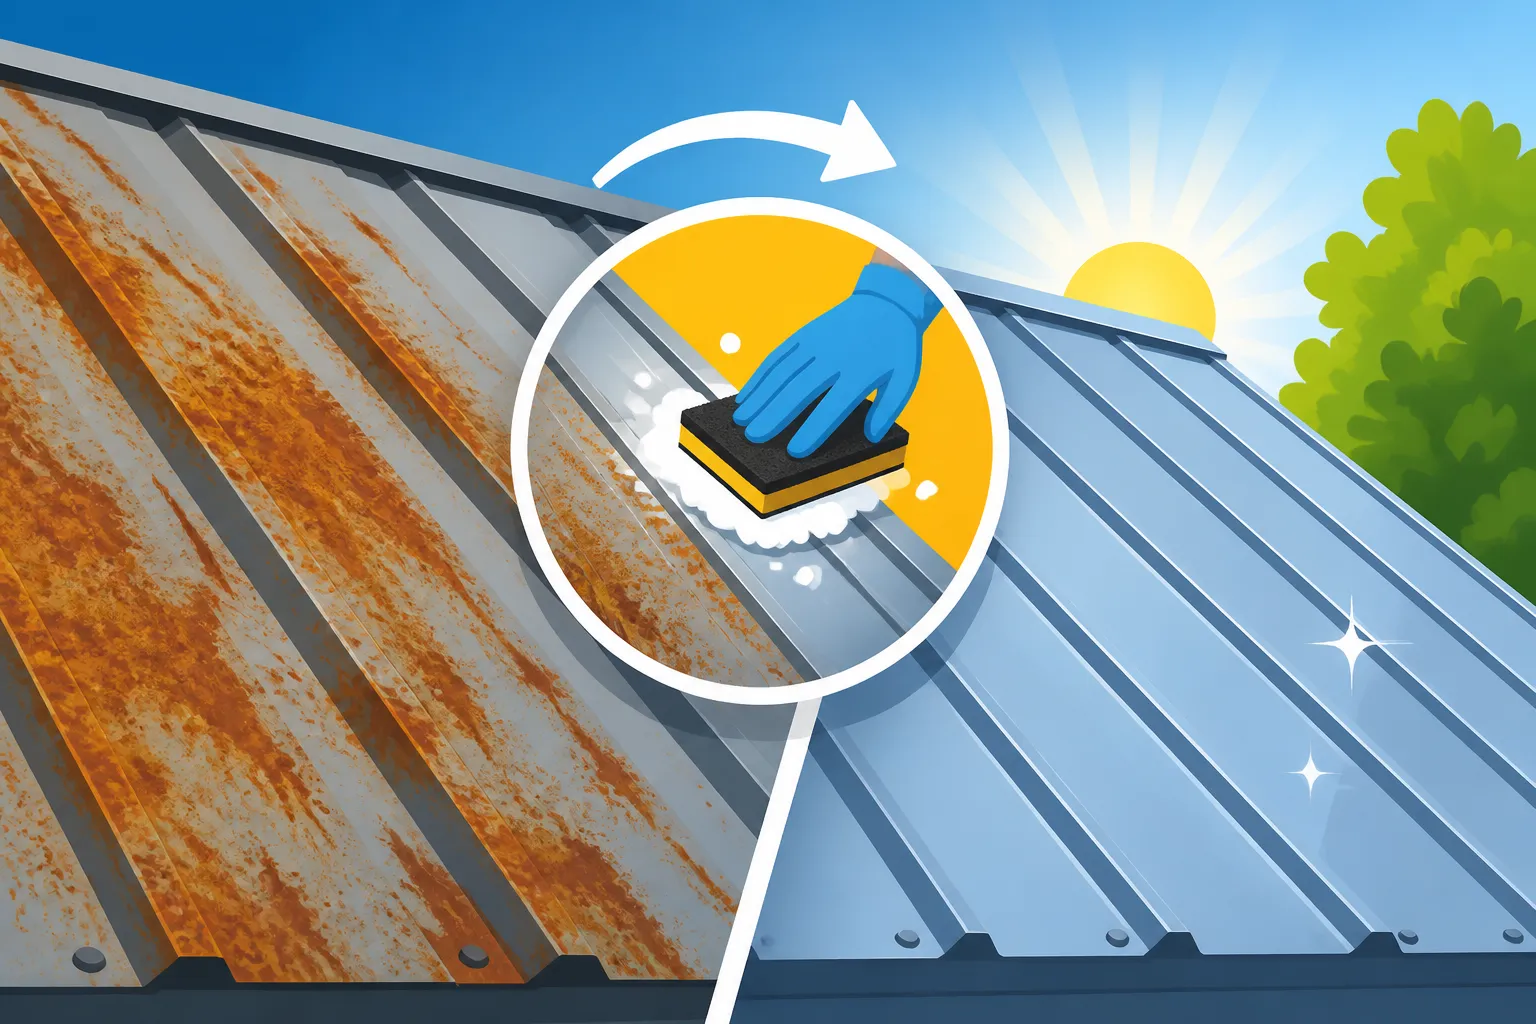
Mechanical removal involves physically scrubbing, scraping, or sanding the rust away. This approach is best suited for surface rust or for preparing areas with heavier rust before applying chemical treatments.
For light surface rust, a stiff wire brush or a sanding block with fine-grit sandpaper (around 120-220 grit) can often do the trick. You want to remove the rust without gouging the metal or excessively scratching the surrounding intact coating. Work in small, controlled motions, always going with the grain of the metal if possible. For more stubborn patches, a rotary tool with a wire brush attachment or a sanding disc can be used, but extreme caution is advised. These tools can quickly remove too much material or damage the protective coating if not handled properly. Always start with the least aggressive method and move up if necessary. The goal is to remove only the rust, revealing clean, bare metal underneath. Once the rust is gone, wipe the area clean with a damp cloth to remove any dust or debris, then dry it thoroughly. This clean surface is crucial for the next steps, especially if you plan on using a rust converter or applying a primer. Be meticulous, because any rust left behind will continue to grow under new coatings, undoing all your hard work.
Chemical Rust Removers and Converters
Chemical solutions offer an alternative, often less labor-intensive, way to deal with rust. These come in two main categories: rust removers and rust converters.
- Rust Removers: These products contain acids (like phosphoric acid or oxalic acid) that dissolve the rust. They are effective for removing surface rust and can penetrate into light pitting. Brands like Rust-Oleum, Evapo-Rust, or CLR often offer suitable products. To use them, you typically apply the solution, let it sit for the recommended time (which can vary from minutes to hours), and then rinse it off thoroughly. Always follow the manufacturer's instructions precisely, as contact time and concentration are critical. Be mindful that these acidic solutions can be harsh on surrounding plants, so protect landscaping with tarps or thoroughly rinse any runoff. While highly effective, they leave bare metal exposed, which then needs to be primed and painted immediately to prevent new rust from forming.
- Rust Converters: These are fascinating products. Instead of removing the rust, they chemically react with it to transform iron oxide (rust) into a stable, black, paintable polymer, often iron tannate. This new layer then acts as a primer. Popular brands include Corroseal, Rust-Oleum Rust Reformer, or Krylon Rust Converter. Converters are great for areas where it's difficult to completely remove all traces of rust mechanically, especially in deeper pitting. They're typically applied directly to the rusted surface after loose rust has been brushed away. Once dry, the treated area will be black and ready for a topcoat of paint. This approach is particularly effective if you're dealing with a large rusted area that would be too time-consuming to mechanically abrade down to bare metal. The key with both removers and converters is thorough preparation – they work best on surfaces free of grease, dirt, and loose, flaky rust.
DIY Solutions vs. Professional Products
When faced with rust, many homeowners wonder if they can simply whip up a solution from common household items or if investing in specialized products is necessary.
For very minor, superficial rust spots, some DIY solutions can offer a temporary fix. For example, a paste made of baking soda and water, or a mixture of white vinegar and salt, can sometimes help lift light surface discoloration. You apply the paste, let it sit for an hour or so, scrub with a non-abrasive pad, and then rinse thoroughly. However, these methods are generally not powerful enough for anything beyond the lightest of stains and rarely provide long-term protection. They also don't address the underlying cause of the rust or prevent its recurrence effectively.
Professional rust removers and converters, on the other hand, are specifically formulated with stronger, more targeted chemicals designed to penetrate and neutralize rust efficiently. They often contain inhibitors that help prevent flash rusting on the newly exposed metal. While they come with a higher price tag than a bottle of vinegar, their effectiveness and durability far outweigh the cost for anything but the most trivial rust spots. When dealing with an investment as significant as your metal roof, relying on products engineered for the job ensures a more lasting and robust repair. If you're tackling this yourself, it's wise to lean towards these proven solutions. For serious rust issues, especially if you're uncomfortable working on a roof or with strong chemicals, seeking out a qualified roofing contractor through a service like Modernize can connect you with local experts who use commercial-grade products and techniques. They can also offer insight into related maintenance, such as Metal Roof Maintenance Guide.
| Rust Type | Mechanical Removal | Chemical Rust Remover | Chemical Rust Converter | DIY Solution (e.g., vinegar/baking soda) |
|---|---|---|---|---|
| Surface Rust | Effective, light sanding | Effective, short dwell | Effective, transforms | Limited effectiveness |
| Pitting Rust | Moderate, requires care | Effective, longer dwell | Very effective, transforms | Not effective |
| Flaking Rust | Necessary to remove flakes | Not suitable alone | Applied after flake removal | Not effective |
| Best Use | Small, localized spots | Bare metal desired | Painting over rust | Very minor, temporary fixes |
| Post-Treatment | Prime & paint immediately | Prime & paint immediately | Paint over converted rust | Re-treatment likely needed |
| Effort | Moderate to high | Low to moderate | Low to moderate | Low |
Protecting Your Metal Roof After Rust Removal
Removing the rust is only half the battle. The exposed metal is now vulnerable, making the next steps crucial for long-term protection and preventing future corrosion. This phase is all about sealing, coating, and maintaining.
Applying Protective Coatings and Sealants
Once the rust is thoroughly removed and the surface is clean and dry, you must immediately apply a protective coating to prevent new rust from forming. This typically involves a two-step process: priming and painting.
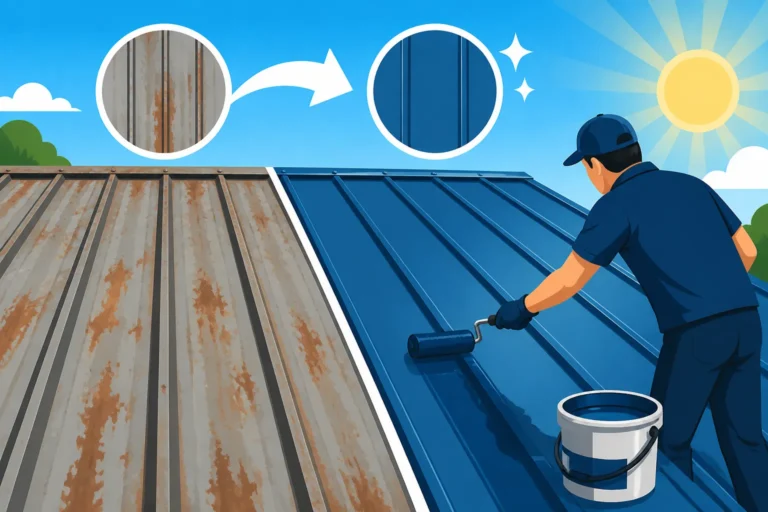
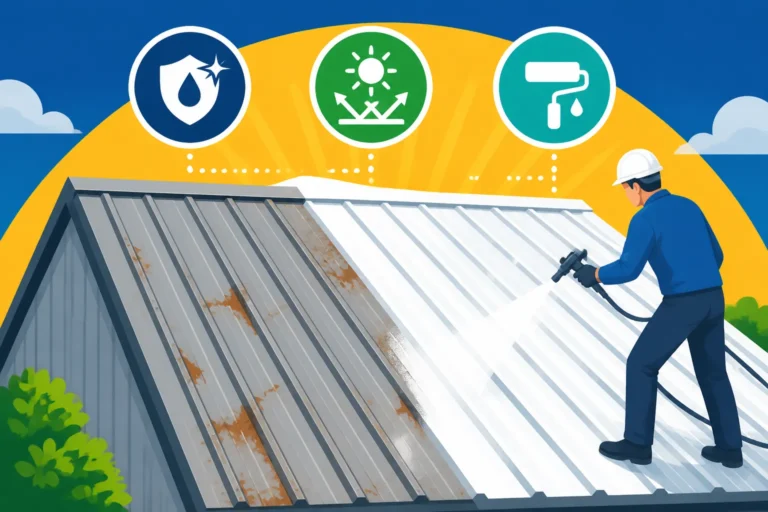
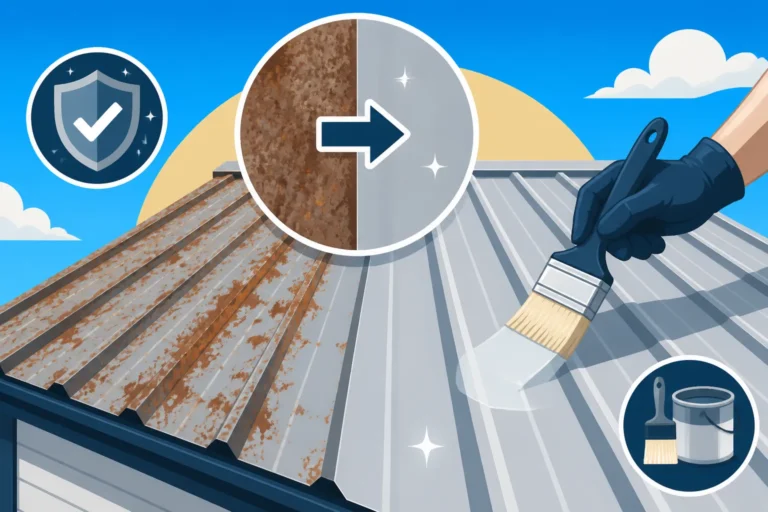
First, apply a high-quality rust-inhibiting primer specifically designed for metal. These primers create an excellent adhesion layer for the topcoat and contain pigments that actively fight corrosion. Brands like Rust-Oleum, Kilz, or specific metal roofing primers offered by manufacturers are good choices. Apply the primer evenly, following the manufacturer's instructions for thickness and drying time. Once the primer is dry, it's time for the topcoat. Use an exterior-grade paint that is compatible with metal roofs. Many metal roofing paints contain UV inhibitors and are formulated to expand and contract with the metal, preventing cracking and peeling. Consider a paint with a PVDF (Kynar 500) or SMP (Siliconized Modified Polyester) coating, as these are known for their exceptional durability and color retention on metal roofs. For smaller patches, you might be able to find touch-up paint directly from your roof panel manufacturer that matches your existing roof color. For larger areas or if your roof's color has faded significantly, you might consider recoating the entire roof for a uniform look and extended protection. This process is detailed further in guides like Repainting and Recoating a Metal Roof. A proper coating not only protects against rust but also enhances your roof's aesthetic appeal and reflective properties.
Regular Maintenance and Prevention Tips
The best way to deal with rust is to prevent it from ever appearing. Regular maintenance is key to extending your metal roof's life and avoiding costly repairs down the road.
- Routine Cleaning: Keep your roof clean of debris like leaves, pine needles, and dirt. These organic materials can trap moisture against the metal, creating a prime environment for rust. A simple annual or semi-annual rinse with a garden hose can prevent buildup. If stubborn grime appears, use a soft brush and a mild detergent.
- Trim Overhanging Branches: Trees are beautiful, but their branches can be a menace to your roof. Trim any branches that are touching or overhanging your roof. This reduces the amount of falling debris and prevents branches from scratching the protective coating, which, as we discussed, is a primary cause of rust.
- Inspect Fasteners and Flashing: These are often the weakest links. Check fasteners for signs of corrosion or if their washers are degraded. Replace any failing fasteners promptly. Inspect flashing around chimneys, skylights, and vents to ensure it's still sealed and free of damage. Minor issues here can lead to leaks and rust. For more guidance on this, see Metal Roof Maintenance Guide.
- Address Scratches Promptly: If you notice any new scratches, even minor ones, address them quickly. Clean the area, prime, and touch up with exterior-grade paint to seal the exposed metal before rust has a chance to set in.
- Ensure Proper Drainage: Make sure your gutters are clean and functional, directing water away from your roof and foundation. Poor drainage can lead to water pooling, accelerating corrosion.
- Consider a Recoating: After many years, even the best protective coatings can begin to degrade. If your roof is looking dull or showing widespread minor surface rust, a full Metal Roof Coatings and Restoration Options might be a wise investment to revitalize and protect it for many more years.
When to Call a Professional
While many minor rust issues can be tackled by a diligent homeowner, there are definitely times when calling in the pros is the smartest, safest, and most effective course of action.
- Extensive or Deep Rust: If you're seeing widespread rust, deep pitting, or flaking over large sections of your roof, it's probably beyond a DIY repair. Professionals have the tools and expertise to assess the full extent of the damage, determine if structural integrity is compromised, and perform more extensive repairs, potentially involving panel replacement.
- Safety Concerns: As mentioned earlier, working on a roof is risky. If your roof is steep, exceptionally high, or you're uncomfortable with heights, don't risk a fall. Roofing contractors are equipped with the proper safety gear and training to work securely.
- Lack of Time or Expertise: Metal roof rust removal and recoating can be time-consuming and require specific techniques. If you don't have the time, or feel unsure about the process, a professional will ensure the job is done correctly.
- Warranty Concerns: Improper repairs can void your roof's warranty. A certified roofing contractor will know the specifics of your warranty and ensure any repairs comply with its terms. They can also often provide their own workmanship warranty.
- Preventative Measures: If you want to ensure your roof is properly maintained to prevent future rust, a professional inspection can be invaluable. They can identify potential problem areas before they escalate. Services like Modernize can help you find reputable local roofing contractors who specialize in metal roofs, offering peace of mind and quality workmanship for jobs large and small. Sometimes, the initial cost of professional help can save you significantly on major repairs later, especially if the alternative is a full Cost to Replace Shingles With a Metal Roof.
Don't let rust diminish the value and longevity of your metal roof. By understanding why it happens, preparing properly, employing effective removal techniques, and diligently protecting your roof, you can keep it looking great and performing its best for decades to come.
Disclaimer
Please remember that this guide provides general information and recommendations. Always consult with a qualified roofing professional for specific advice tailored to your individual roof and local building codes. Working on roofs can be dangerous; prioritize safety and consider professional help when necessary. Always follow the manufacturer's instructions for any products used.