Metal Roof Screws Backing Out: How to Fix
There's nothing quite as unsettling for a homeowner with a metal roof as noticing those little glints of silver where they shouldn't be – the heads of your metal roof screws starting to pop up or back out. It's a frustrating sight, often leading to worries about leaks, structural integrity, and the overall longevity of your investment. This guide is here to walk you through exactly why this happens and, more importantly, how you can effectively fix those troublesome backing-out metal roof screws to restore your peace of mind and the integrity of your roof.
Why Metal Roof Screws Back Out in the First Place
It might seem like a simple screw should just stay put once it's installed, right? But the reality of a metal roof, constantly exposed to the elements, is a bit more complex. There are several key reasons why those fasteners might decide to call it quits and start making their way out. Understanding these underlying causes is the first step toward a lasting solution.
Thermal Expansion and Contraction
This is, hands down, one of the biggest culprits. Think about a scorching summer day followed by a freezing winter night. Your metal roof panels are constantly expanding and contracting with these temperature fluctuations. Metal, by its very nature, responds significantly to heat and cold. As the panels expand and contract, they create a subtle, repetitive movement. This movement puts immense stress on the screws, especially those with exposed fasteners. Over time, this constant tugging and pulling can gradually loosen the screws, causing them to "back out" of the purlins or decking they're anchored into. It's a relentless, natural process that even the best installation can't completely negate without the right type of fastener designed to accommodate it.
Imagine your roof panels are like a giant sheet of metal trying to stretch and shrink. If the screws are too rigidly holding them in place, the panels will pull against the screws. This is particularly true for larger panels that have more surface area to expand and contract. This isn't a sign of a bad roof necessarily, but often an indication that the fasteners weren't perfectly suited for the thermal dynamics of your specific climate or the initial installation didn't account for this movement adequately.
Improper Installation Techniques
Sometimes, the problem starts right from day one. Proper installation is absolutely crucial for a metal roof, and unfortunately, cutting corners or lacking experience can lead to screws backing out prematurely. A common issue is over-tightening or under-tightening the screws.
When screws are over-tightened, the rubber washer (which is designed to seal against water) can be crushed and lose its integrity. This not only compromises the seal but can also strip the screw threads or damage the metal panel itself, making it easier for the screw to back out later. On the flip side, under-tightening means the screw doesn't get a proper bite into the substrate. It might feel secure for a while, but it's prone to loosening with the first significant wind or temperature shift. The fastener needs to be seated just right – snug enough to hold the panel securely and compress the washer for a watertight seal, but not so tight that it deforms the materials. A skilled installer understands this delicate balance, which is why it's so important to hire a reputable professional. You can learn more about finding the right experts by reading our guide on how to hire a metal roofing contractor.
Incorrect angling of screws is another frequent mistake. If a screw isn't driven straight into the purlin or decking, it won't have the full thread engagement needed for a strong hold. It creates an uneven tension point and a weaker anchor, making it much easier for it to wiggle its way free over time.
Wear and Tear of Washers
The rubber washers under the heads of your metal roof screws are the unsung heroes of your roof's waterproofing system. They create a crucial seal that prevents water from seeping into the screw holes. However, these washers are exposed to the same harsh elements as the rest of your roof: intense UV radiation from the sun, extreme temperatures, and constant exposure to rain, snow, and hail.
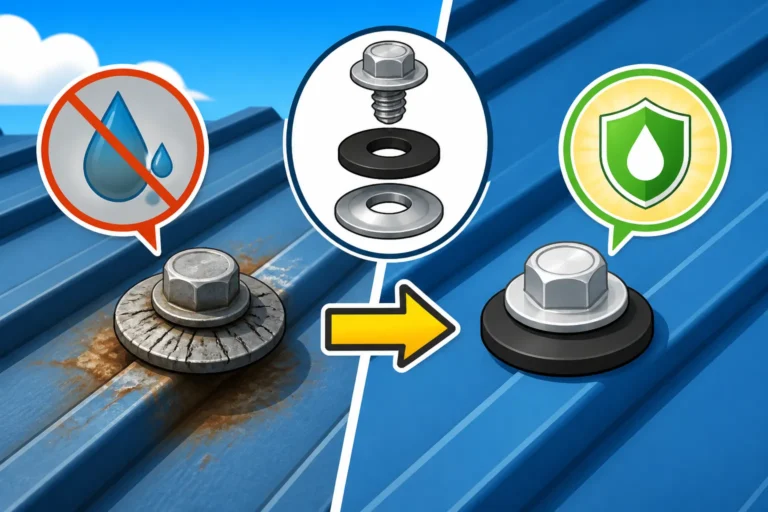
Over a decade or two, sometimes even less depending on the quality of the washer and the severity of your local climate, these washers will inevitably degrade. They can crack, become brittle, shrink, or simply lose their elasticity. Once the washer fails, it loses its grip on the screw head and the panel, allowing the screw to loosen. More importantly, it leaves an open pathway for water to enter, often leading to leaks directly through the screw holes. This is a primary reason why you might find your metal roof leaking at the screws. When a screw backs out, often a degraded washer is a key indicator.
Low-Quality Fasteners
It might seem like all screws are created equal, but when it comes to metal roofing, quality matters immensely. Cheap, low-quality fasteners are a false economy. They might save you a few bucks upfront, but they're a recipe for headaches down the road. These screws might have inferior coatings that quickly corrode, weakening the screw shaft itself. Their threads might be less robust, leading to poor grip, or they might be made of softer metals that are more prone to bending or stripping during installation or under environmental stress.
The rubber washers that come with low-quality screws are often made from cheaper EPDM or PVC compounds that degrade much faster under UV light and temperature extremes compared to higher-grade materials. Investing in high-quality, corrosion-resistant fasteners with durable, UV-resistant EPDM washers is a crucial step in ensuring your roof's longevity and preventing screws from backing out prematurely. Remember, your roof is only as strong as its weakest link, and often, that link can be a cheap fastener.
Identifying the Problem: Signs of Backing Out Screws
Catching issues early can save you a significant amount of trouble and expense down the line. While an obvious leak is a clear sign, there are other, more subtle indicators that your metal roof screws are backing out or are on their way out. Regular inspections are key to spotting these problems before they escalate.
Visible Gaps and Raised Screw Heads
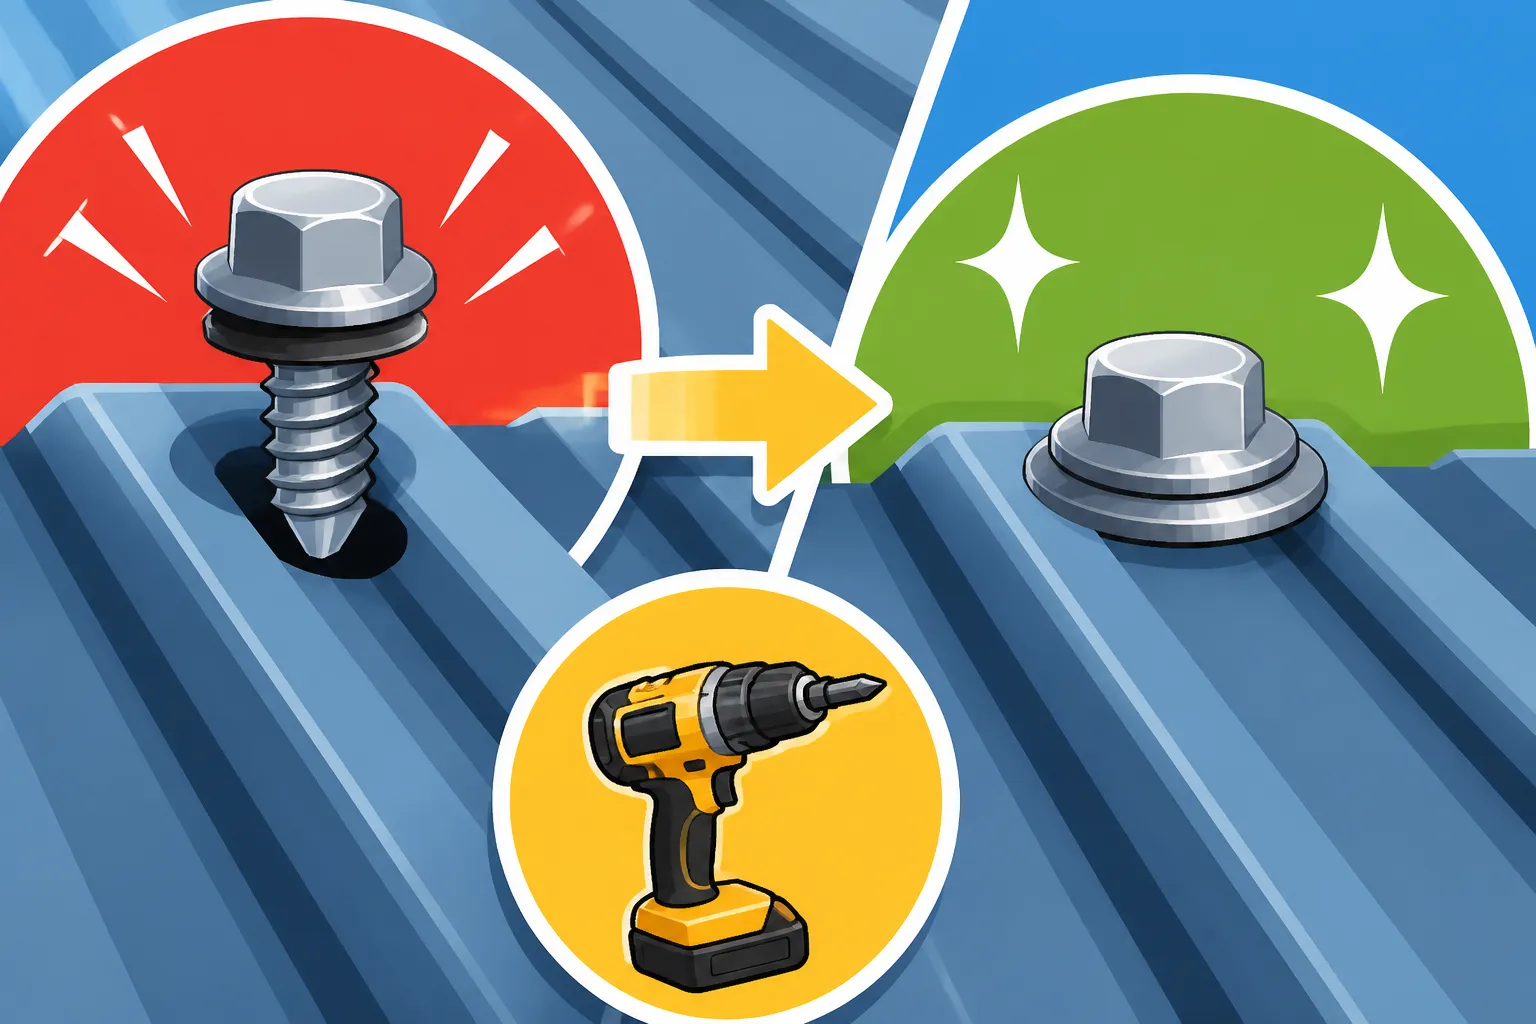
This is the most direct and visually apparent sign. Take some time to walk around your property and, if safe, carefully inspect your roof from various angles. If you see screw heads that appear to be sitting higher than the surrounding panels, or if there's a noticeable gap between the screw head (and its washer) and the metal panel, you've likely got backing-out screws.
Sometimes, the screw itself might still be relatively tight, but the washer underneath it has deteriorated, creating the visible gap. In other cases, the screw has genuinely loosened its grip and has risen. Pay particular attention to areas most exposed to direct sunlight and extreme temperature changes, as these are often the first places to show signs of thermal expansion and contraction stress. Also, check the edges and ridges of your roof, where wind uplift can exert more force on fasteners. These visible signs are a clear call to action, indicating that the seal is compromised and potential entry points for water are forming.
Leaks and Water Damage
This is the consequence everyone fears. If screws are backed out or their washers have failed, water has a direct path into your home. You might notice water stains on your ceiling, particularly in the attic or top-floor rooms. Drips during heavy rain are an undeniable sign.
However, water damage isn't always immediate or obvious. It can sometimes manifest as a musty smell in your attic, indicating hidden moisture or mold growth. Over time, prolonged leaks can damage insulation, compromise the structural integrity of your roof decking or rafters, and lead to costly repairs. If you're seeing any signs of water intrusion inside your home, especially after a storm, it's critical to investigate your roof, paying close attention to fastener points. Addressing a metal roof leak repair guide quickly can prevent minor issues from becoming major disasters.
Loose Panels and Wind Damage Risk
When screws start to back out, they lose their ability to securely fasten the metal panels to the roof structure. This compromise in attachment can lead to larger problems, particularly in areas prone to high winds or severe weather. A panel that is no longer securely fastened can lift, rattle, or even completely detach during a strong gust of wind.
Imagine a section of your roof where several screws have backed out. During a thunderstorm with strong winds, that entire section becomes vulnerable, acting like a sail ready to catch the wind. Not only can a detached panel cause significant damage to your own home, but it can also become a dangerous projectile, posing a risk to neighboring properties or even people. This isn't just a hypothetical scenario; it's a very real concern, particularly in hurricane-prone regions or areas with strong seasonal winds. Beyond the immediate danger, even subtle loosening can cause panels to rub against each other or the fasteners, leading to abrasive wear and premature degradation of the roof finish.
Step-by-Step Guide to Fixing Backing Out Metal Roof Screws
Don't panic when you spot those errant screws. Many of these issues are perfectly fixable, often without needing a full roof replacement. The key is to approach the repair systematically and with the right tools and materials. Remember, roof work can be dangerous, so prioritize safety at all times. If you're not comfortable climbing on your roof, it's always best to call a professional.
Assessing the Damage and Gathering Supplies
Before you start any work, you need a clear picture of what you're dealing with. Begin by carefully inspecting the entire roof. Note every screw that appears loose, backed out, or has a compromised washer. Look for rust around the screws, which can indicate water penetration. Pay attention to the surrounding metal panels for any signs of damage like small holes, dents, or tears that might have occurred if a screw was significantly loose for a while.
Once you know the extent of the problem, gather your supplies. You'll definitely need:
- A Cordless Drill with a Clutch: Essential for driving screws without over-tightening.
- Hex Driver Bits: To match the head of your existing screws.
- New Metal Roofing Screws: Make sure they are specifically designed for metal roofing, are corrosion-resistant (e.g., galvanized, ceramic coated, or stainless steel), and have high-quality EPDM washers. Consider going up one size (e.g., from #10 to #12) if the original screw hole appears stripped.
- High-Quality Sealant: A good quality, UV-resistant, and flexible sealant specifically for metal roofs, like polyurethane or silicone options from brands like GE Silicone or Tremco, can be invaluable for added protection, especially if you're reusing existing holes or dealing with minor panel damage.
- Safety Gear: Crucial! This includes a sturdy ladder, fall protection (harness, rope, anchor, if working on a steep pitch), non-slip shoes, and work gloves.
- Marker or Chalk: To clearly mark problem screws.
- Rag or Brush: For cleaning around screw holes if needed.
Having everything ready before you climb up saves time and reduces repeated trips up and down the ladder.
Replacing or Re-tightening Screws
This is where the hands-on work begins. Always work carefully and methodically.
- Clean the Area: Lightly brush away any debris or old sealant around the problematic screw. This ensures a clean surface for the new washer to seal against.
- Remove the Old Screw (if replacing): If the screw is significantly backed out, stripped, or the washer is completely degraded, it's best to remove it entirely. Use your drill in reverse. Be careful not to strip the head further.
- Inspect the Hole: If you've removed a screw, look into the hole. If it appears stripped or enlarged, this is a prime candidate for using a slightly larger diameter screw for a better grip.
- Install the New Screw:
- For stripped holes: Use a new, slightly larger diameter screw (e.g., a #12 screw if the original was a #10). Drive it straight down, ensuring it bites into the structural material underneath.
- For non-stripped holes or re-tightening: If the existing screw and hole are still in good shape, but the screw is just loose, you can sometimes re-tighten it. However, if the washer is old or cracked, it's strongly recommended to replace the screw entirely with a new one that has a fresh EPDM washer.
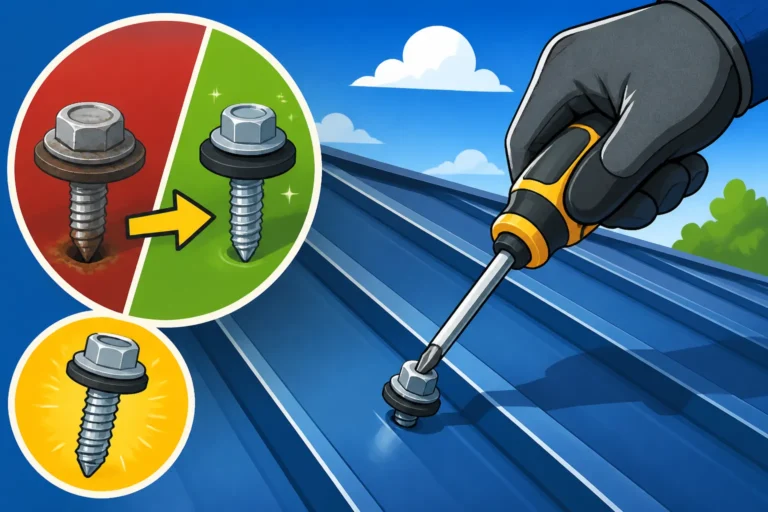
- Tightening Technique: Use your drill with the clutch set to a low-to-medium setting. Drive the screw until the washer is slightly compressed and creates a tight seal. You should see a slight bulging of the washer around the screw head, but not so much that it's squashed flat or squeezed out from under the head. Over-tightening crushes the washer and compromises its sealing ability. Under-tightening leaves room for leaks. This "sweet spot" is often learned with practice, but a good rule of thumb is to stop as soon as the washer makes firm contact and starts to compress.
- Apply Sealant (Optional but recommended): For added protection, especially in critical areas or where the panel might have been slightly damaged, apply a small bead of the metal-compatible sealant around the base of the new screw head and washer. This acts as a secondary barrier against water intrusion.
Continue this process for all identified problematic screws. It's a meticulous job, but crucial for the roof's health.
Upgrading to Better Fasteners
Sometimes, simply replacing old screws with new ones of the same type might only offer a temporary fix if the underlying issues, like significant thermal movement, persist. This is where considering an upgrade to different types of fasteners can be beneficial.
One excellent option is stitch screws. These are designed with finer threads that provide a stronger grip and are often self-tapping, making installation easier. For highly problematic areas, or if you find consistent issues with screws backing out, using a heavier gauge screw (e.g., 22 gauge instead of 26 gauge) can also provide a more secure hold.
Another alternative to consider, especially if you're dealing with extensive exposed fastener issues or looking for a more robust long-term solution, is a standing seam metal roof system. These systems use concealed fasteners, meaning the screws are hidden beneath the panels and are not exposed to the elements or direct thermal cycling. This significantly reduces the risk of leaks and screw-related issues. While a full conversion to standing seam isn't a "fix" for existing exposed fastener screws, it's a consideration for a future roof replacement if your current system proves persistently problematic.
When choosing replacement screws, always prioritize those with high-quality EPDM washers. These are more resistant to UV degradation and temperature extremes than cheaper alternatives. Some advanced screws even feature a cap over the washer to provide an extra layer of protection from the elements. Consult with a roofing supply specialist, or a reputable metal roofing contractor if you’re unsure which fasteners are best for your specific roof and climate. Companies like Modernize can help you connect with qualified professionals in your area who can advise on the best fastener solutions.
Preventing Future Screw Problems
Once you've gone through the effort of fixing those backing-out screws, the last thing you want is to deal with the same problem again a few years down the line. Proactive measures are the best defense.
Choosing the Right Fasteners and Washers
This cannot be stressed enough: the quality of your fasteners directly impacts the lifespan and performance of your metal roof. Don't skimp here.
- Material: Opt for screws made from materials known for their corrosion resistance. Galvanized steel screws are common, but look for those with additional protective coatings like ceramic or specialized paint systems (e.g., Long-life Kynar 500 or Hynar 5000 coatings). Stainless steel screws offer superior corrosion resistance, especially in coastal areas, though they can be more expensive.
- Gauge and Length: Ensure the screw gauge (thickness) and length are appropriate for your metal panels and the substrate (wood purlins, metal purlins, or decking). A screw needs sufficient length to properly anchor into the structural material beneath the panel. For instance, if you're installing over thicker insulation or multiple layers, you'll need longer screws.
- Washers: The EPDM (ethylene propylene diene monomer) washer is key. Ensure it's UV-stabilized and durable. Inferior rubber or PVC washers will degrade quickly, leading to leaks and loose screws. High-quality EPDM maintains its elasticity and sealing properties for decades.
- Self-Drilling vs. Self-Tapping: Most metal roofing screws are self-drilling (they drill their own hole) and self-tapping (they create their own threads). Ensure the drill point is designed for the thickness of your metal panel and the substrate.
Using the right fasteners from the outset, or as replacements, is an investment that pays off in roof longevity and fewer maintenance headaches.
Ensuring Professional Installation
Even the highest quality materials can fail if not installed correctly. This is why professional installation is paramount. A skilled metal roofing contractor understands the nuances of metal roof installation, including:
- Proper Torque: Knowing exactly how much to tighten each screw to create a perfect seal without over-compressing the washer or stripping the threads.
- Screw Pattern and Spacing: Following manufacturer guidelines for screw patterns and spacing to ensure even load distribution and prevent panel movement.
- Thermal Movement Accommodation: Understanding how to account for thermal expansion and contraction, sometimes by using specialized fasteners or leaving subtle allowances.
- Substrate Knowledge: Correctly identifying the underlying roof structure and choosing appropriate screw types and lengths for optimal grip.
Attempting a DIY installation without the necessary experience and tools can lead to costly mistakes, including widespread screw issues. While the cost to install metal roof yourself might seem appealing upfront, the long-term benefits of professional expertise usually outweigh the initial savings. Always check references, licensing, and insurance when hiring a contractor.
Regular Maintenance and Inspections
Your metal roof is designed for durability, but it's not entirely maintenance-free. Regular inspections are crucial for catching minor issues before they become major problems.
- Annual Visual Inspection: At least once a year, preferably in the spring or fall, perform a visual inspection of your entire roof. Look for any signs of raised screw heads, cracked washers, rust spots, or loose panels. If you're comfortable and have the right safety gear, a closer look from the roof is ideal. Otherwise, use binoculars from the ground.
- Post-Storm Checks: After any severe weather event (heavy winds, hail storms, significant snow loads), conduct an immediate visual inspection. Storms can put immense stress on your roof, and problems might surface quickly.
- Cleaning: Keep your roof clear of debris like leaves, branches, and pine needles. Accumulations can trap moisture, promote corrosion, and obscure problems. You can learn more about how to clean a metal roof safely.
- Address Issues Promptly: Don't put off small repairs. A single loose screw, if ignored, can lead to a leak that causes significant internal damage. Early intervention is always less expensive and less disruptive.
By incorporating regular inspections and addressing small issues as they arise, you can significantly extend the life of your metal roof and ensure it continues to protect your home effectively. This proactive approach is a cornerstone of maintaining any long-lasting roof system.
Here's a quick comparison of common screw and washer types:
| Fastener Component | Type/Material | Pros | Cons | Best Use Case |
|---|---|---|---|---|
| Screw Material | Galvanized Steel | Affordable, good basic corrosion resistance | Coatings can wear over time | General residential, mild climates |
| Ceramic Coated Steel | Enhanced corrosion and abrasion resistance | Slightly higher cost | Moderate to harsh climates, industrial | |
| Stainless Steel (410, 304) | Superior corrosion resistance, strong | More expensive, can be harder to drill | Coastal regions, high humidity, corrosive environments | |
| Washer Material | EPDM (Ethylene Propylene Diene Monomer) | Excellent UV, ozone, and temperature resistance, maintains elasticity | Can be crushed if over-tightened | Standard for durable, long-lasting seals |
| PVC (Polyvinyl Chloride) | Cheaper upfront | Less UV resistance, can become brittle faster | Temporary fixes, less critical applications | |
| Neoprene | Good elasticity, chemical resistance | Can degrade faster with UV exposure than EPDM | Specialized industrial, not common for roofing |
Disclaimer
Please note that roofing work can be dangerous. Always prioritize your safety by using appropriate fall protection, sturdy ladders, and non-slip footwear. If you are uncomfortable working on your roof or the pitch is too steep, it is always recommended to hire a licensed and insured professional metal roofing contractor. This guide provides general information and should not replace professional advice tailored to your specific situation.