Best Sealant for Metal Roof Screws
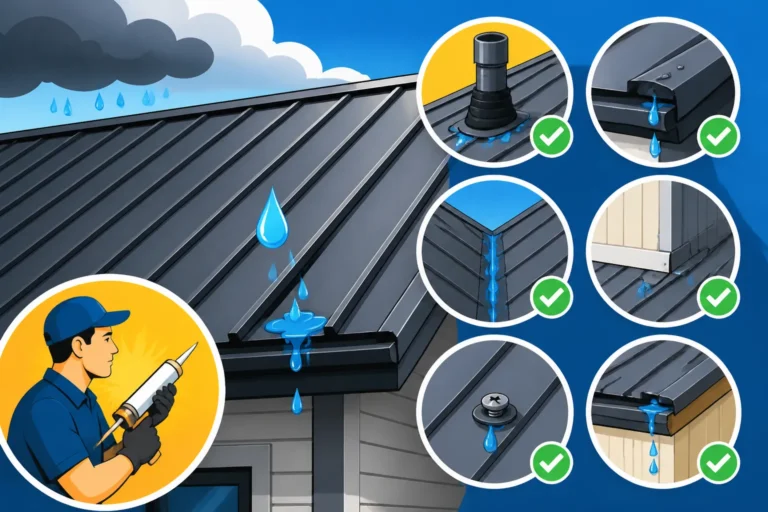
There’s almost nothing more disheartening than looking up at your beautiful, durable metal roof and spotting that tell-tale drip, drip, drip. Often, the culprit isn't a huge tear or a missing panel, but something much smaller, yet just as frustrating: a failing seal around your metal roof screws. This guide is here to walk you through exactly why this happens and, more importantly, to help you find the absolute best sealant for metal roof screws so you can fix those leaks and protect your investment.
Why Metal Roof Screws Leak in the First Place (and Why it's Such a Headache)
It seems counterintuitive, doesn't it? You choose a metal roof for its longevity and resilience, only to find that tiny screws can become points of vulnerability. But understanding why they leak is the first step to truly fixing the problem. It’s not just bad luck; it’s a combination of physics, material science, and sometimes, a little human error.
The Battle Against Nature: Thermal Expansion and Contraction
Imagine your roof panels soaking up the scorching summer sun, expanding ever so slightly, and then contracting when the cool evening air settles in. This isn't just a minor shift; it's a constant, daily dance, especially in climates with wide temperature swings like the desert heat of Phoenix or the chilly nights in Denver. Metal expands and contracts more significantly than many other roofing materials, and while the panels are designed to accommodate this, the points where they're fastened are under immense stress.
Each screw, snugly holding a panel in place, has a rubber washer underneath its head designed to create a watertight seal. As the metal panel expands and contracts, it can drag against this washer. Over time, this friction and movement, coupled with the sheer force of the expanding and contracting metal, can cause the washer to wear down, crack, or lose its elasticity. It’s like constantly bending a piece of plastic back and forth until it eventually breaks. This relentless movement eventually compromises the seal, creating tiny pathways for water to seep in.
Deterioration of the Washer: The Unsung Hero's Downfall
The rubber washer, usually made of EPDM (Ethylene Propylene Diene Monomer) or neoprene, is truly the unsung hero of exposed fastener metal roofing. It’s supposed to be durable, flexible, and UV-resistant. However, even the best washers have a finite lifespan, and they are constantly exposed to the harshest elements. Think about the intense UV radiation beaming down in places like Florida or the constant exposure to ozone and fluctuating temperatures everywhere else.
Over years, these elements wage a slow but steady war on the washers. UV rays break down the polymer chains, making the rubber brittle and prone to cracking. Ozone, a naturally occurring gas, also contributes to this degradation. You might start to see the washers appearing chalky, shrunken, or hardened around the screw heads. Once a washer loses its pliability and tight seal, it can no longer effectively block water. Rain, especially wind-driven rain, will find its way past these compromised seals, leading to those frustrating leaks. Often, when you see a leak around a screw, it's this failing washer that's the primary culprit, not necessarily the screw itself. A regular check, perhaps as part of your annual preventative maintenance, can help catch these before they become major issues.
Improper Installation: The Human Factor
Sometimes, the root cause isn't just nature or time, but how the roof was initially installed. Even the most experienced roofing pros can have an off day, or an inexperienced installer might cut corners. When it comes to metal roof screws, precision is paramount.
One common issue is overtightening the screws. When a screw is driven in too far, it crushes and distorts the EPDM washer, reducing its sealing effectiveness right from the start. It can even strip the metal substrate or the roofing panel itself, weakening the connection. On the flip side, undertightening leaves the washer without enough compression to form a tight seal, allowing water to easily slip past. Another problem is driving screws in at an angle. An angled screw won't compress the washer evenly, leaving a gap on one side where water can collect and eventually penetrate. These seemingly small installation errors can lead to premature leaks, sometimes appearing just a few years after the roof is put on. This is why when you're considering a new installation, it's so critical to find a reputable, experienced contractor who understands the nuances of metal roofing, as highlighted in our guide on How to Hire a Metal Roofing Contractor. Proper installation ensures the longevity of both your panels and their fasteners.
Decoding the Best Sealants for Metal Roof Screws
Okay, so you know why screws leak. Now, let’s talk about how to stop them. When you’re faced with a compromised screw, simply replacing it might not be enough, especially if the washer underneath has failed or if there’s minor wear on the panel itself. That’s where a good sealant comes in. But "good" means different things depending on your needs, so let's break down the main types.
Silicone-Based Sealants: The All-Around Workhorse
When people think of sealants for exterior use, silicone often comes to mind first, and for good reason. It's truly an all-around workhorse for metal roofing applications, particularly around screws.
The Good Stuff:
- Exceptional Flexibility: This is crucial for metal roofs. Silicone remains highly flexible even in extreme temperatures, which allows it to move with your expanding and contracting metal panels without cracking or losing adhesion. This is a massive advantage over more rigid sealants that can fail under thermal stress.
- Superior UV Resistance: Silicone is inherently resistant to UV radiation, making it an excellent choice for roofs exposed to constant sunlight. It won't break down, chalk, or degrade under the sun's harsh rays like many other materials might. This contributes directly to its impressive lifespan.
- Long Lifespan: Because of its flexibility and UV resistance, high-quality silicone sealants can last for decades, often exceeding the lifespan of the original EPDM washers they are protecting.
- Strong Adhesion: Modern silicone sealants adhere incredibly well to various roofing materials, including steel, aluminum, and painted surfaces, creating a durable, watertight bond.
A Few Considerations:
- Difficult to Paint Over: If matching your roof color is critical, many silicone sealants aren't paintable. The paint simply won't adhere properly to the slick silicone surface. You'll need to find a specific paintable silicone or choose a hybrid sealant if aesthetics are a major concern.
- Not Always Compatible with All Substrates: While generally versatile, some silicone formulations might not bond perfectly with certain substrates or existing sealants. Always check product specifications.
- Potential for Mold/Mildew: In very humid or shaded conditions, some silicone formulas can be susceptible to mold or mildew growth, though many exterior-grade silicones now include inhibitors.
When we're talking about specific brands, options like GE Enduris or Momentive RTV108 are highly regarded in the roofing industry. These aren't your basic bathroom caulk; they're high-performance industrial-grade silicones formulated for exterior weatherproofing. They really shine when you need a long-lasting, flexible, and robust seal that can withstand the elements for years without complaint. For example, if you live in an area like Miami where sun exposure and humidity are relentless, a high-quality silicone is often the go-to for ensuring your screw seals hold up.
Urethane-Based Sealants: The Tough Nut for Extreme Conditions
Urethane sealants offer a different set of advantages, often favored for their strength and abrasion resistance. They're a bit like the tough bodyguard of the sealant world.
The Good Stuff:
- Superior Strength and Abrasion Resistance: Urethane sealants cure to a harder, more robust finish than silicone. This makes them ideal for areas where the sealant might experience physical wear or impact, though on a roof, this is less common around screw heads directly.
- Paintable: Unlike many silicones, urethane sealants are generally paintable, allowing you to match your roof color for a seamless aesthetic. This is a huge plus if you have a unique color or are particular about how your repairs look.
- Great for High-Traffic or High-Impact Areas: While less critical for screw heads, their durability means they perform well in situations where there might be occasional foot traffic or other minor impacts, helping protect the fasteners.
- Excellent Adhesion: Urethane bonds very strongly to a wide range of building materials, including metal, wood, and concrete.
A Few Considerations:
- Less Flexible Than Silicone: While flexible, urethane sealants typically don't offer the same extreme flexibility as silicone. This can make them more prone to cracking over a very long period, especially in areas with significant thermal movement.
- Shorter Lifespan Than Some Silicones: Although durable, the typical lifespan of a urethane sealant might be slightly less than top-tier silicones, particularly under constant UV exposure without paint.
- Can Yellow Over Time: Some urethane formulations can yellow or become discolored with prolonged UV exposure if left unpainted.
Brands like SikaLastomer or Tremco offer excellent urethane options. These are often chosen for commercial or industrial applications where their robust nature is highly valued. If you're repairing a section of a roof that might see more unusual stresses, or if paintability is a non-negotiable factor for you, urethane might be a strong contender. However, for sheer flexibility and UV stability around screws, silicone often takes the lead.
Butyl Rubber Sealants: The Reliable, Cost-Effective Choice
Butyl rubber sealants have been around for a long time and are known for their excellent waterproofing capabilities. They're a bit like the "old faithful" of sealants—reliable, straightforward, and generally affordable.
The Good Stuff:
- Excellent Waterproofing: Butyl is renowned for its ability to create a tenacious, waterproof barrier. It doesn't allow water to penetrate easily.
- Good Flexibility: While not as elastic as silicone, butyl sealants offer good flexibility, allowing them to accommodate some movement without cracking.
- Self-Sealing Properties: Some butyl formulations have a degree of self-healing or self-sealing capability, meaning small punctures or movements might be "absorbed" by the material.
- Easy to Apply: Butyl sealants are generally easy to work with and apply, often coming in tubes suitable for standard caulk guns.
A Few Considerations:
- Less UV Resistant Than Silicone/Urethane: This is their main drawback for long-term exposed applications. Without additional UV protection (like a reflective coating), butyl can degrade and harden faster under direct sunlight.
- Can Squeeze Out: Due to its softer nature, butyl can sometimes squeeze out from under pressure points, potentially requiring more careful application or periodic touch-ups.
- Shorter Overall Lifespan: While effective, butyl typically won't last as long as high-performance silicones or urethanes, especially in direct sunlight.
Brands like Henry Tropi-Cool 100% Silicone Sealant (despite its name, some of their other products are butyl-based) or Geocel 2300 (which is a co-polymer, often having butyl-like characteristics) are popular. Butyl sealants are often used for initial sealing, laps, and seams, and can be a good choice for repairing screws if you're looking for a cost-effective solution or if the screws are in an area with less direct sun exposure. They are definitely effective for stopping leaks quickly, but for ultimate longevity, you might want to consider the others. If you're looking into more extensive leak repair, you might also find our guide on How to Fix a Leaking Metal Roof useful.
Advanced Polymer Sealants (Hybrid): The Best of Both Worlds
The sealant industry is always innovating, and advanced polymer or "hybrid" sealants are a fantastic example of that. These products aim to combine the best attributes of different chemistries, often blending silicone and urethane characteristics.
The Good Stuff:
- Combines Benefits: Hybrids often offer the excellent UV stability and flexibility of silicone with the robust adhesion and paintability of urethane. This makes them incredibly versatile.
- Paintable: Most hybrid sealants are paintable, giving you aesthetic freedom to perfectly match your roof color.
- Excellent Adhesion: They typically boast superior adhesion to an even wider array of building materials, including wet or damp surfaces in some cases, which can be a lifesaver in emergency repairs.
- High Flexibility: They are formulated to handle significant movement and thermal expansion without cracking or losing their seal.
- Eco-Friendly Options: Many advanced polymer sealants are low-VOC (Volatile Organic Compounds), making them a greener choice for those concerned about environmental impact.
A Few Considerations:
- Generally More Expensive: Due to their advanced formulations and combined benefits, hybrid sealants usually come with a higher price tag than single-chemistry options.
- Newer to the Market: While increasingly popular, some specific hybrid formulations are newer to the market, meaning long-term performance data might not be as extensive as for traditional silicones or urethanes that have been proven over decades.
OSI Quad Max and Lexel are popular examples of advanced polymer sealants that are highly favored by contractors and DIY enthusiasts alike for their all-around performance. If you're seeking a sealant that offers premium performance, strong adhesion, paintability, and excellent durability against the elements, a hybrid polymer is an outstanding choice. They represent a modern solution that attempts to minimize the trade-offs found in single-chemistry sealants, making them a very strong contender for sealing metal roof screws effectively and durably. For professional guidance, a service like Modernize can help connect you with contractors experienced in using these cutting-edge materials.
Here's a quick comparison table to help you visualize the differences:
| Sealant Type | Key Strengths | Primary Weaknesses | Flexibility | UV Resistance | Paintable | Typical Lifespan |
|---|---|---|---|---|---|---|
| Silicone | Extreme flexibility, excellent UV resistance, long lifespan, strong adhesion | Difficult to paint, some mold susceptibility | Very High | Excellent | No (mostly) | 20-50+ years |
| Urethane | Strong adhesion, paintable, abrasion resistance, durable | Less flexible than silicone, can yellow unpainted | High | Good | Yes | 10-20 years |
| Butyl Rubber | Excellent waterproofing, cost-effective, good flexibility | Less UV resistant, can squeeze out, shorter lifespan | Medium | Moderate | No | 5-15 years |
| Hybrid Polymer | Combines best of silicone/urethane, paintable, excellent adhesion, high flexibility, eco-friendly | Higher cost, newer formulations | Very High | Excellent | Yes | 15-30 years |
Application Techniques for Lasting Metal Roof Screw Sealing
Choosing the right sealant is only half the battle; applying it correctly is just as crucial for a lasting repair. A shoddy application, even with the best product, will lead you right back to square one with those frustrating leaks.
Preparation is Key: Cleanliness and Safety First
Before you even think about grabbing that tube of sealant, you need to prepare the area. This isn't just a suggestion; it's a non-negotiable step that directly impacts how well your sealant adheres and performs.
First and foremost, safety. You're working on a roof, potentially at height. Ensure you have a stable ladder, proper fall protection if needed, and always wear gloves and eye protection. A sturdy pair of work boots with good grip is also essential when walking on a metal roof.
Once you’re safely positioned, thoroughly clean the area around the leaking screw. This means removing all dirt, debris, loose paint flakes, and especially any old, degraded sealant. A stiff brush or a putty knife can help scrape away old caulk. For stubborn residue, mineral spirits or a designated adhesive remover can be effective, but always test on an inconspicuous area first to ensure it won’t damage your roof's finish. The goal is to have a perfectly clean, dry surface for the new sealant to bond to. If there's any rust around the screw, you'll want to address that too. Light rust can often be scrubbed away, and then a rust-inhibiting primer applied before sealing. Ignoring this step is like trying to put a band-aid on a dirty wound – it just won't stick properly or heal effectively.
While you're cleaning, take a moment to really inspect the screw and its existing washer. If the washer is visibly cracked, hardened, or completely missing, simply adding sealant might be a temporary fix. In such cases, the best course of action is often to replace the existing screw with a new, self-sealing roofing screw. You can find detailed instructions on How to Replace Metal Roof Screws and Fasteners to ensure you do it right. Sometimes, it's better to replace the underlying issue rather than just covering it up.
The Right Way to Apply: Don't Just Glob It On
Once your surface is pristine and dry, it's time for application. This isn't a "more is better" situation; it's about precision and technique.
- Cut the Tip Correctly: For most roofing sealants, you'll want to cut the tip of the cartridge at a 45-degree angle, making an opening just wide enough to cover the screw head and its immediate surroundings. A too-small opening means you'll struggle to get enough material out; a too-large opening means waste and a messy application.
- Load Your Caulk Gun: Ensure your caulk gun is properly loaded and ready. If it’s been a while, make sure the plunger rod is retracted before inserting the tube.
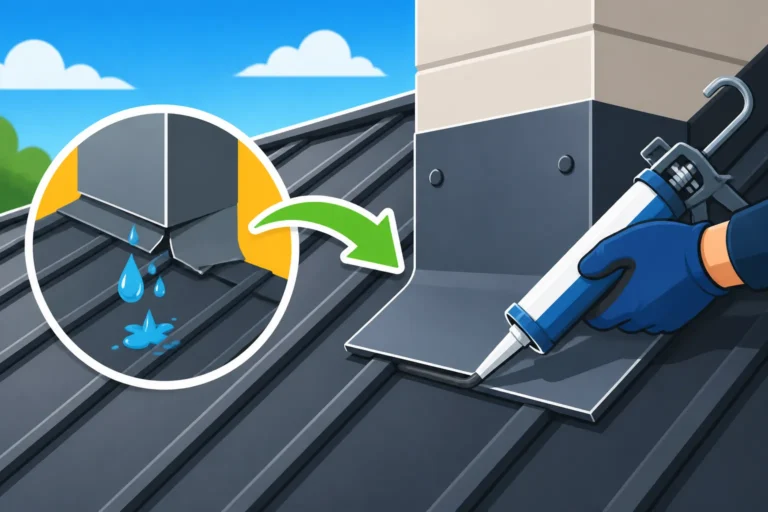
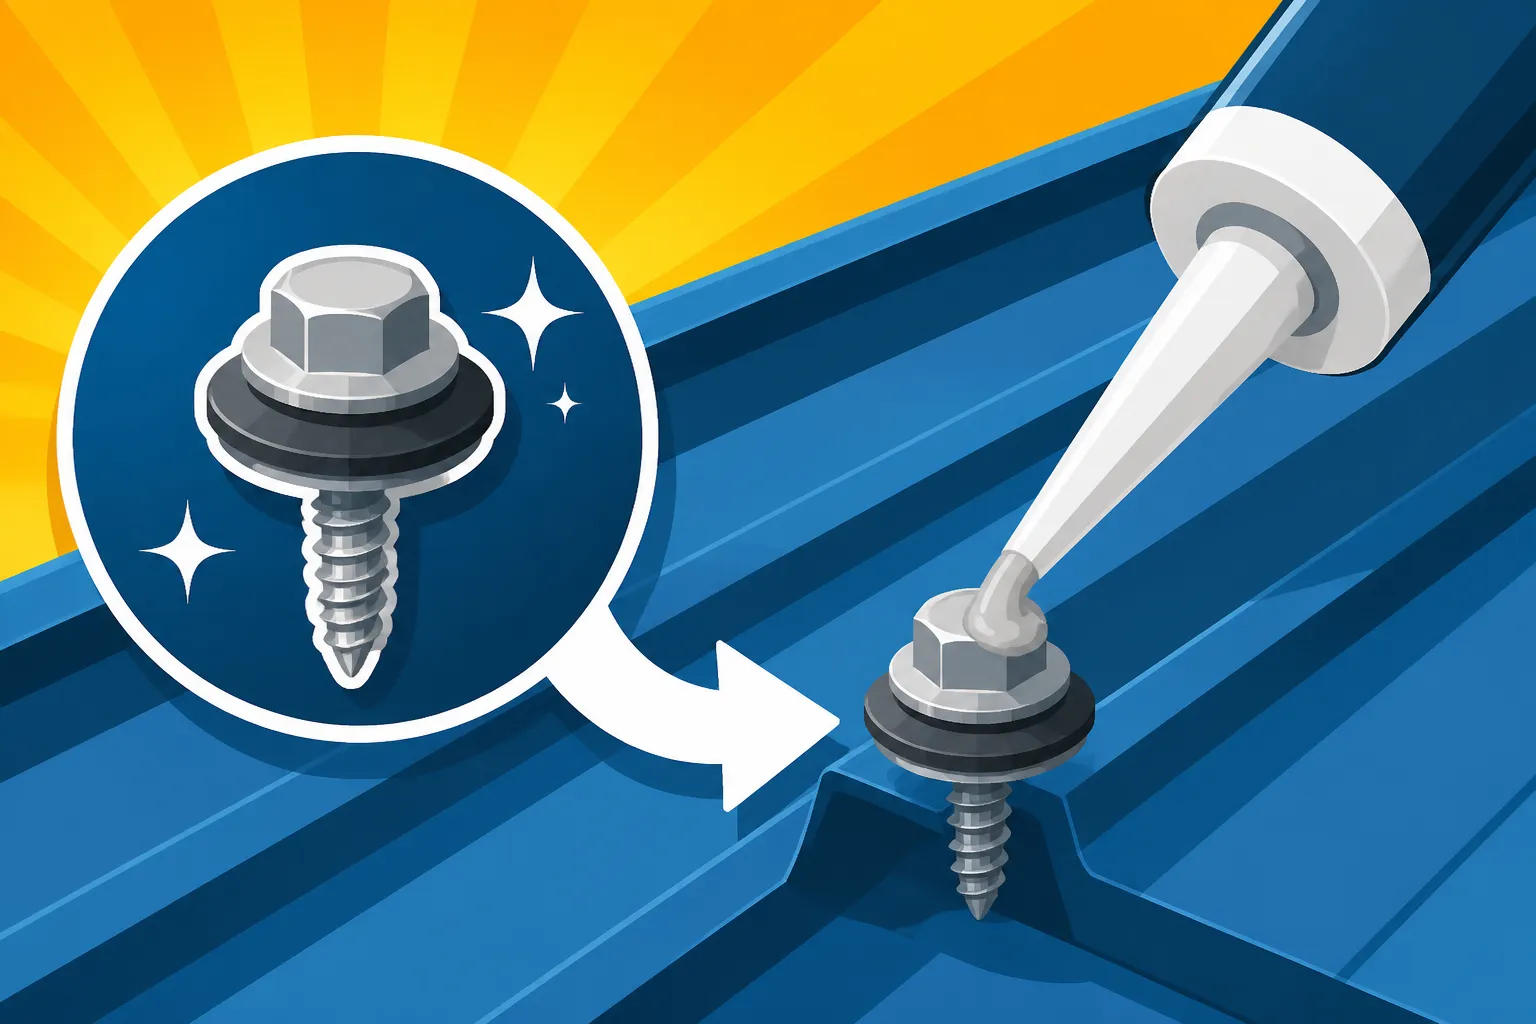
- Apply Deliberately: Don't just squeeze a blob onto the screw. Start by circling the screw head, ensuring the sealant gets underneath the head and completely encapsulates the existing washer (if it's still present and functional). Then, create a small, smooth "cap" over the entire screw head and about a half-inch of the surrounding panel. You want to create a miniature dome that sheds water, not traps it.
- Smooth It Out: For the neatest and most effective seal, smooth the applied sealant with a gloved finger or a caulk tool. This ensures good contact with the roof surface and a professional, water-shedding finish. This smoothing action also helps push the sealant into any microscopic gaps.
- Mind the Temperature: Always check the sealant's manufacturer recommendations for application temperature ranges. Applying sealant when it's too cold can make it difficult to extrude and cure properly, while applying it when it's too hot can cause it to skin over too quickly, leading to poor adhesion or an incomplete cure.
Remember, the goal is to create a long-lasting, watertight barrier that can withstand the elements and the constant movement of your metal roof. Rushing this step or applying sealant haphazardly will only lead to repeated repairs down the line. A reliable service like Modernize can also help you find certified roofing contractors in your area who understand these intricate details for proper metal roof installation and repair.
Maintenance and Monitoring: Your Sealant's Lifespan
Even the best sealant won't last forever without a little TLC. Think of it like changing the oil in your car – regular checks and preventative measures extend its life significantly.
How Often to Inspect:
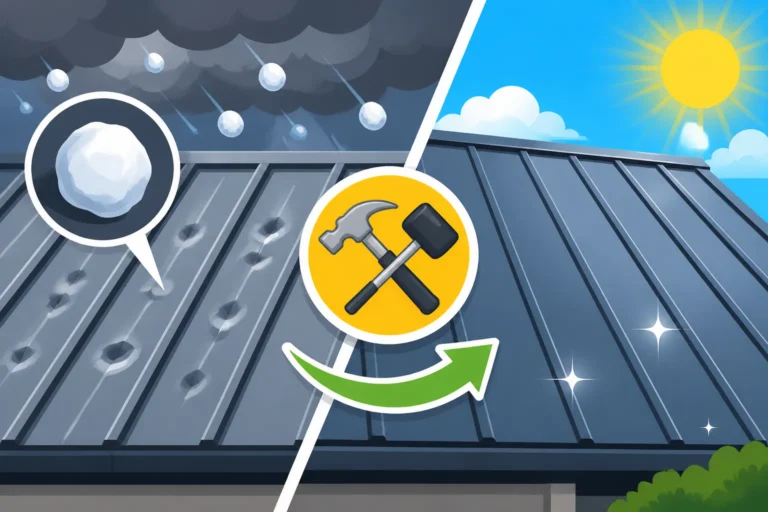
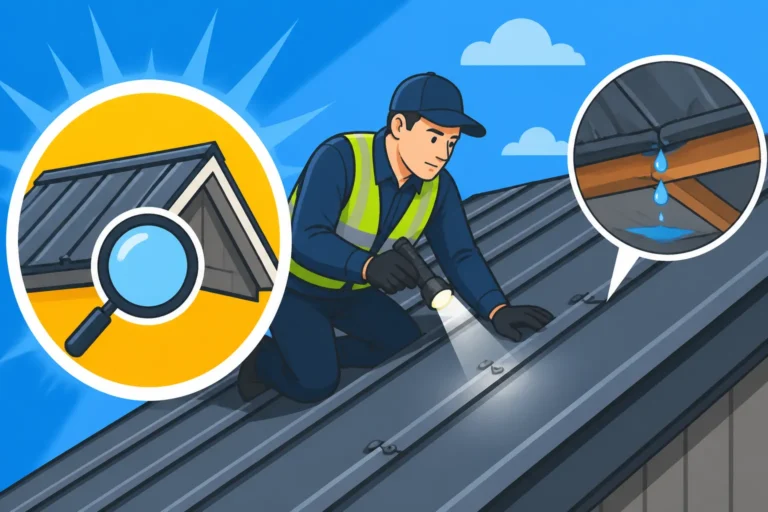
The simplest and most effective maintenance plan is annual inspection. Pick a clear, dry day in the spring or fall when you're already thinking about home maintenance. After a severe weather event, like a hailstorm or high winds, it’s also wise to perform a quick visual check. Look closely at every exposed fastener. This is also a good time to review your overall Metal Roof Maintenance Guide.
Signs a Sealant is Failing:
- Cracking: The most obvious sign. Small hairline cracks can grow into larger fissures, allowing water to penetrate.
- Shrinking or Pulling Away: If the sealant has started to pull away from the screw head or the surrounding panel, it's losing its adhesion and its seal is compromised.
- Chalking or Discoloration: While some urethanes might yellow, excessive chalking or a drastic change in color often indicates UV degradation.
- Loss of Pliability: If the sealant feels hard and brittle to the touch, it has lost the flexibility needed to withstand thermal movement.
- Visible Water Stains: Obvious water trails below a screw are a definitive sign of a leak that needs immediate attention.
Tips for Reapplication or Touch-Ups:
If you spot signs of failure, don't wait for a drip inside your home. Address it promptly. For minor issues like small cracks, you might be able to clean the area and apply a fresh layer of the same sealant. For more significant deterioration, you'll need to remove the old, compromised sealant as much as possible, clean the area thoroughly, and then reapply fresh sealant following the steps above. Remember, it's often more effective to address a few failing screws than to wait until you have widespread issues that might force you into a full Metal Roof Repair vs Replacement decision. By actively monitoring and maintaining your screw seals, you’re not just fixing leaks; you’re significantly extending the overall metal roof lifespan and protecting your home.
Disclaimer
Please note that this guide provides general information and recommendations. Metal roofing repairs can be complex and potentially dangerous. Always prioritize your safety and consult with a qualified, licensed roofing professional for specific advice, inspections, or complex repairs to ensure compliance with local building codes and warranty requirements.