How to Repair a Corrugated Metal Roof
Finding an issue with your corrugated metal roof can feel like a punch to the gut. One minute you're enjoying your home, the next you're noticing a suspicious drip, a patch of rust, or a dent that wasn't there before. It’s disheartening to see damage to what should be a robust, long-lasting roof. But don't despair! Many common corrugated metal roof problems are entirely fixable, and this guide is here to walk you through diagnosing and repairing them, empowering you to address issues effectively.
Understanding Your Corrugated Metal Roof and Its Common Foes
Corrugated metal roofs are a fantastic choice for many homes, barns, and outbuildings, prized for their durability, cost-effectiveness, and often, a charming, rustic aesthetic. That wavy, ribbed profile isn't just for looks; it adds significant strength and allows for excellent water runoff. However, even the toughest materials have their vulnerabilities, and understanding these can help you proactively identify and tackle problems before they escalate into major headaches.
What Makes Corrugated Unique and Vulnerable
The very design that makes corrugated metal so strong can also present unique challenges. The "waves" or ribs, which are essentially repeating folds, provide structural integrity and channels for water. Common materials include galvanized steel, Galvalume, or aluminum, often coated with durable paint systems that offer an extra layer of protection against the elements. You might see profiles like R-panel, PBR panel, or even classic 5V Crimp, each with slightly different rib patterns.
While resilient, the exposed fasteners often used in corrugated roofing are a primary point of vulnerability. Unlike standing seam roofs where fasteners are typically hidden, corrugated panels are screwed directly through the face of the panel into the purlins or decking beneath. Each screw creates a penetration point, sealed by a rubber or neoprene washer. Over time, these washers can degrade, crack, or compress, leading to leaks. Additionally, the thinner gauges sometimes used for corrugated panels can make them more susceptible to denting from hail or falling debris compared to their thicker, smoother counterparts.
Common Culprits: Leaks, Rust, and Damage
You might wake up to the dreaded drip, or perhaps spot an unsightly orange stain. These are often the first signs that something is amiss.
- Leaks: The number one offender, leaks can stem from a variety of sources. Failing fastener washers, improperly sealed overlaps where panels meet, damaged flashing around chimneys or vents, or even punctures from falling branches are all common culprits. A leak might not always appear directly below its source; water can travel along the roof deck before dripping down, making diagnosis a bit of a detective job. Understanding Why Is My Metal Roof Leaking at the Screws? can be incredibly helpful.
- Rust and Corrosion: While modern metal roofs are treated to resist rust, it's not entirely impossible, especially if the protective coating is scratched or compromised. Steel roofs, particularly those with a galvanized (zinc) coating, are more prone to rust if that coating is breached. Galvalume roofs, with their aluminum and zinc alloy coating, offer superior rust resistance but can still corrode if constantly exposed to certain chemicals or standing water. Edge corrosion, especially at cut edges or where two dissimilar metals meet, is also a concern.
- Physical Damage: Dents from hail, falling tree limbs, or even just heavy foot traffic during maintenance can compromise the integrity of the panels. While a small dent might seem cosmetic, a significant impact can warp a panel, create stress points, or even crack the protective coating, inviting rust and potential leaks. Scratches, especially deep ones, remove the protective paint and can expose the bare metal to moisture.
Diagnosing the Problem: Finding the Root of Your Roof's Woes
Before you can fix anything, you've got to know exactly what you're dealing with. This isn't just about spotting a drip; it's about tracing that drip back to its origin. Rushing into repairs without a proper diagnosis can lead to wasted effort and persistent problems. Safety is paramount here – always prioritize it when working on a roof.
The Art of the Roof Inspection
A thorough visual inspection is your first line of defense. Ideally, you want to inspect your roof at least once a year, and definitely after any major storm. Start by walking around your home at ground level, using binoculars if necessary, to look for obvious signs of distress.
When it's safe to get on the roof, wear appropriate slip-resistant footwear and use a sturdy ladder. If you're not comfortable on ladders or roofs, consider hiring a professional for this initial inspection. Look for:
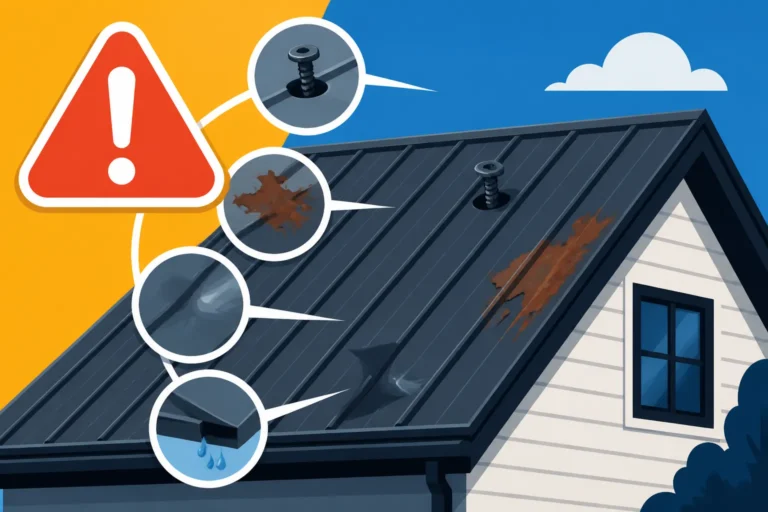
- Loose or Missing Fasteners: Are any screws backed out? Are their washers cracked, missing, or dried out? This is a prime suspect for leaks.
- Rust Spots: Are there any patches of orange or reddish-brown rust, especially around fasteners, cut edges, or areas where water might pool?
- Dents and Scratches: Look for any impact damage. Even small dents can create low spots where water might sit, accelerating wear. Scratches that expose bare metal are also problematic.
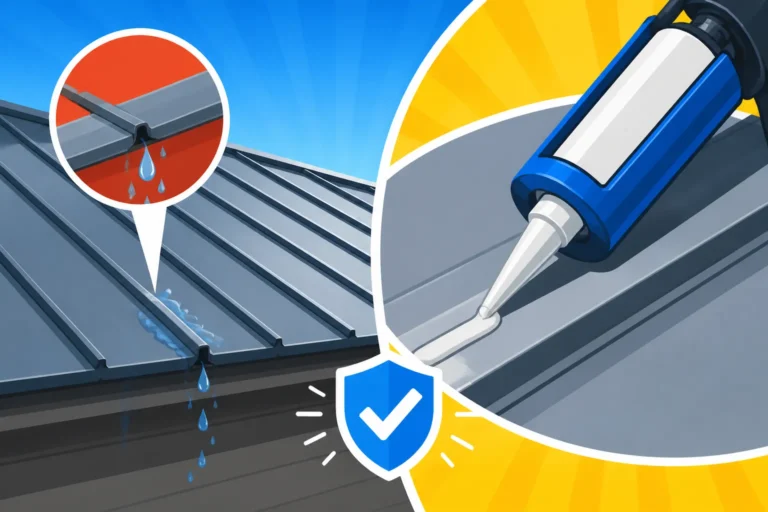
- Panel Overlaps: Check where panels meet. Are they properly sealed? Is there any sign of separation or sealant degradation?
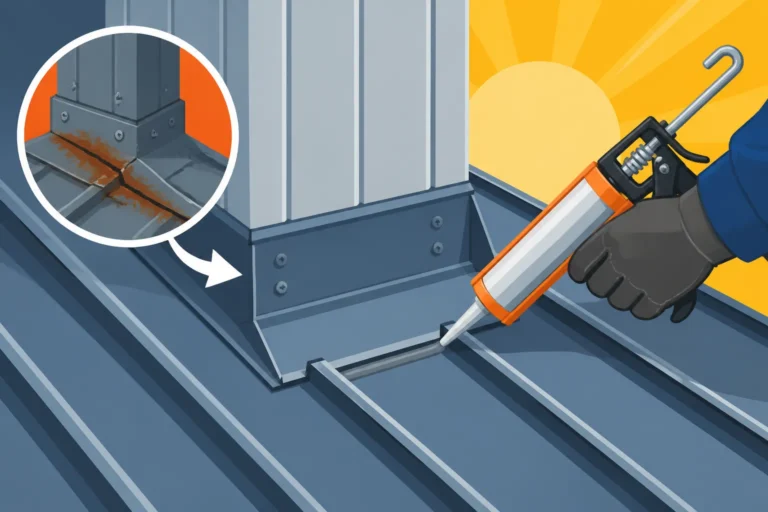
- Flashing: This is critical around chimneys, skylights, vents, and wall intersections. Look for tears, separations, or signs of deteriorated sealant. Flashing is notorious for being a leak source.
- Debris: Accumulated leaves, branches, or other debris can trap moisture, promote algae growth, and scratch the roof surface. Clear it away carefully.
Perform your internal inspection too. In your attic or crawl space, look for water stains on the underside of the roof deck or insulation. Remember, water travels, so the stain inside might be a few feet away from the actual leak on the exterior.
Pinpointing Leaks and Other Hidden Damages
Finding the exact source of a leak can be tricky. If you see a water stain inside, grab a flashlight and head up to the attic. Look for the stain from the inside, then use a marker to circle the area. From the outside, try to align this spot. If you still can't find it, a garden hose can be your best friend – but use it carefully!
- The Hose Test: With a helper inside, run a hose over a section of the roof, starting at the lowest point of suspicion and working your way up. Have your helper monitor inside for drips. When they yell "bingo!" you've found your area. Be patient; this can take time. Avoid spraying water directly up under panel overlaps, as this might create a leak where none exists under normal rainfall.
- Infrared Cameras: For persistent, hard-to-find leaks, an infrared camera can detect temperature differences caused by trapped moisture, helping to pinpoint water intrusion without invasive methods. Many professional roof inspectors use these.
- Rust Assessment: Don't just look for surface rust. Probe gently with a small tool in rusted areas. If the metal feels soft or flaky, the corrosion might be structural, indicating a need for more extensive repair or even panel replacement. For more on this, check out How to Get Rid of Rust on a Metal Roof.
Step-by-Step Repairs for Common Corrugated Roof Issues
Once you've identified the specific problem, it's time to roll up your sleeves and get to work. Remember, safety first! Always use proper fall protection, especially if you're uncomfortable on a roof. For more complex issues or if heights aren't your thing, a professional is always the safest bet.
Tackling Minor Leaks and Loose Fasteners
Loose or failing fasteners are probably the most common cause of leaks in corrugated metal roofs. The good news is, they're often the easiest to fix!
- Replacing or Tightening Fasteners:
- Assess the Screw: First, check if the existing screw is just loose or if the washer is degraded. If the screw is loose, try tightening it with a drill on a low-torque setting. Be careful not to overtighten, as this can strip the hole or crush the washer.
- Washer Replacement: If the washer is cracked, brittle, or completely gone, the screw needs to be replaced. Use a drill to remove the old screw.
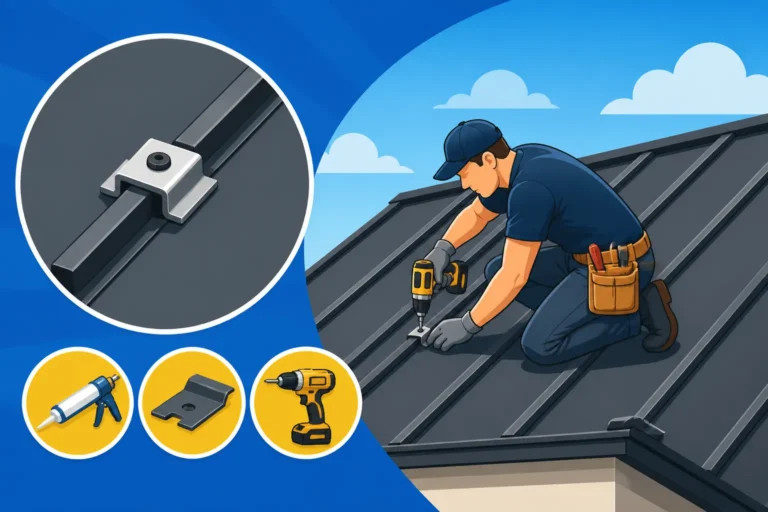
- New Fastener Selection: Purchase high-quality self-tapping metal roofing screws, ideally slightly larger in diameter than the old ones, with durable EPDM rubber washers. These washers are designed to compress and seal against the panel without degrading quickly.
- Installation: Apply a small bead of high-quality exterior-grade sealant (urethane or silicone-based, specifically for metal roofs) around the hole before driving in the new screw. Drive the new screw straight, ensuring the washer compresses snugly but isn't over-tightened. The washer should slightly bulge around the screw head, creating a watertight seal. This is a common maintenance item and essential to understand when you're wondering Why Is My Metal Roof Leaking Where the Screws Are.
- Sealing Small Holes or Punctures:
- Clean the Area: Thoroughly clean the area around the hole with a wire brush to remove rust or debris, then wipe with a degreaser or mineral spirits and let dry completely.
- Apply Patch: For small holes (less than 1/2 inch), a high-quality sealant or a specialized metal roof repair tape (like butyl tape or flashing tape) can work. Apply a generous amount of sealant over the hole, ensuring it extends well beyond the damaged area. For tape, cut a patch that overlaps the hole by at least 2-3 inches on all sides, press it firmly, and then apply a bead of sealant around the edges of the tape for extra security.
- Large Cracks or Splits: For larger cracks, you might need a metal patch. Cut a piece of matching metal, slightly larger than the crack. Apply sealant generously to the underside of the patch, position it over the crack, and secure it with screws and washers, ensuring a tight seal. Then, apply more sealant around the perimeter of the patch and over the screw heads.
Addressing Rust and Corrosion
Rust can be an eyesore and a structural threat. Early intervention is key to preventing it from spreading.
- Surface Rust:
- Clean and Prepare: Use a wire brush or sandpaper (100-150 grit) to thoroughly remove all loose rust, flakes, and debris. Clean the area with a degreaser and rinse, ensuring it's completely dry.
- Rust Converter: Apply a rust-converting primer specifically designed for metal. These products chemically convert rust into a stable, paintable surface. Follow the manufacturer's instructions for drying times.
- Prime and Paint: Apply a high-quality metal primer, followed by two coats of exterior-grade metal paint that matches your roof color as closely as possible. Look for paints with rust-inhibiting properties.
- Pitting or Perforation: If the rust has caused significant pitting or has perforated the panel, simple painting won't suffice.
- Clean Thoroughly: Remove all rust and debris as described above.
- Patching: For small perforations (pinholes to about 1 inch), you can use a high-quality metal repair epoxy or a strong metal patch compound. Apply it according to instructions, ensuring it fills the hole completely and forms a smooth, watertight surface.
- Large Areas: If a larger area is severely pitted or corroded, a patch from a similar metal sheet might be necessary, secured with rivets or screws and sealed with mastic. In severe cases, the entire panel might need replacement. For in-depth solutions, consider consulting a guide on Metal Roof Rust and Corrosion Treatment.
Repairing Dents and Replacing Damaged Panels
Physical damage can range from cosmetic to critical.
-
Minor Dents:
- Cosmetic Dents: Small, shallow dents that haven't broken the paint coating are usually cosmetic and don't require immediate structural repair. However, they can create areas where water sits, accelerating wear. Cleaning these areas regularly and ensuring proper drainage is important.
- Dents Affecting Drainage: If a dent creates a pool for water, it can lead to accelerated corrosion. While difficult to "un-dent" metal without specialized tools and expertise (which often comes with the risk of further damage), ensuring the area is clean, free of rust, and potentially sealed with a clear, durable coating can buy you time. Often, the best course for significant dents is panel replacement.
-
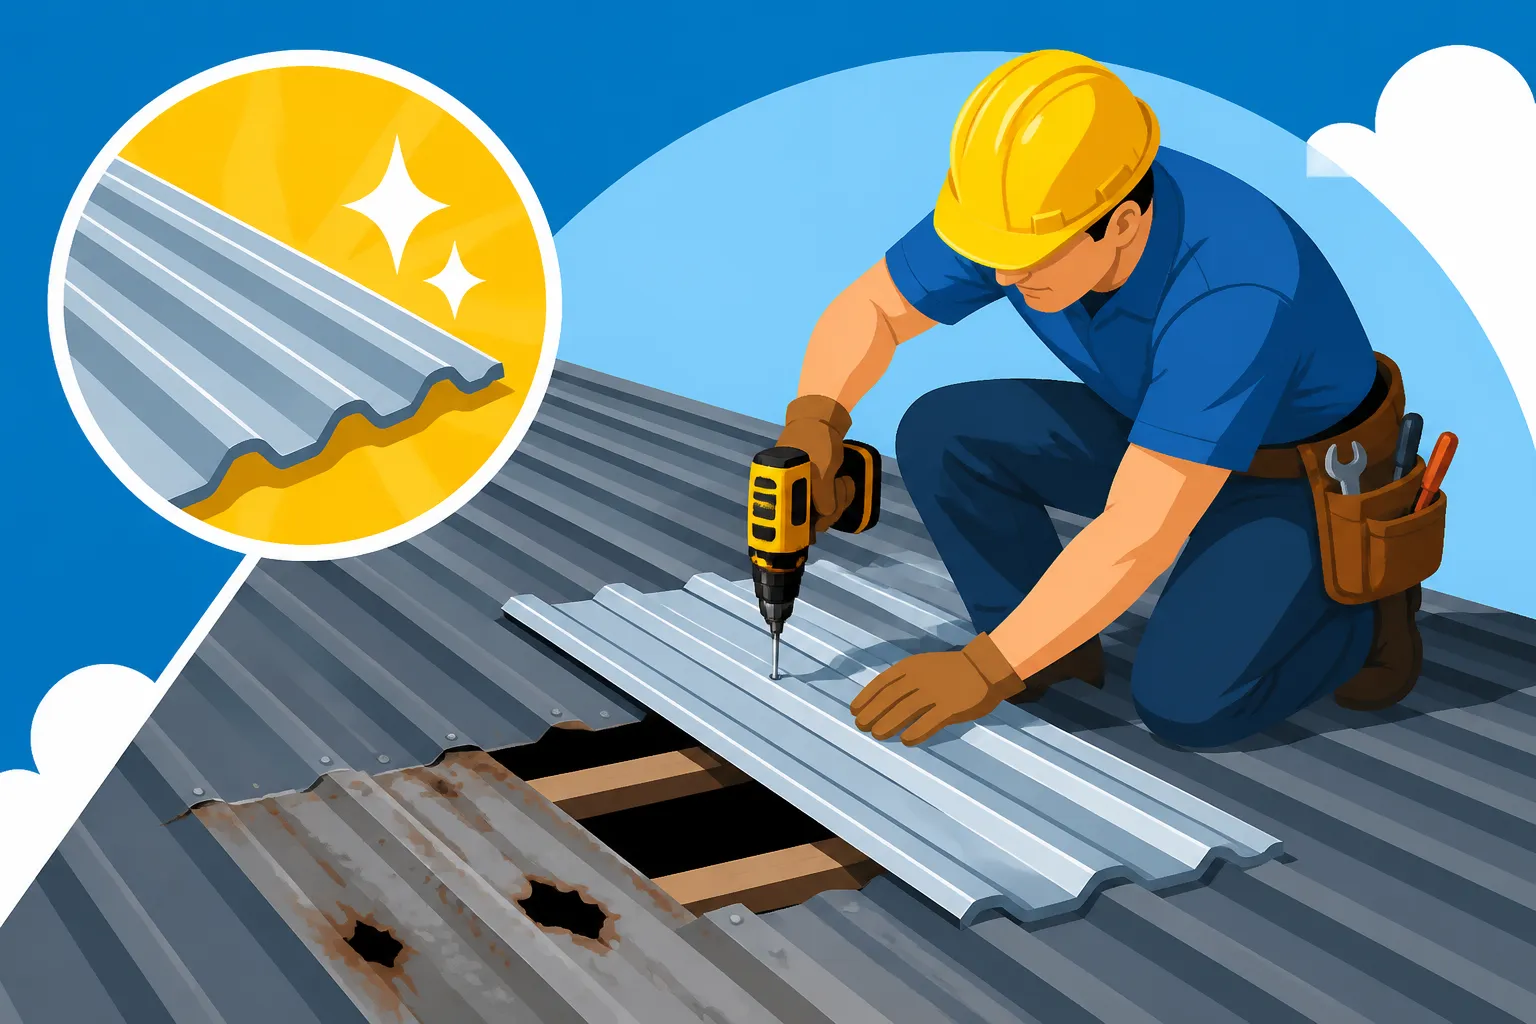
Replacing a Damaged Panel: This is a more involved process and often requires professional help, especially for longer panels or those in hard-to-reach areas.
- Gather Materials: You'll need a new panel of the exact same profile, gauge, and color. This can be challenging as profiles vary between manufacturers. You’ll also need new fasteners, sealant, and appropriate tools (drill, metal shears, pry bar, measuring tape, safety gear).
- Remove Old Panel: Carefully remove all screws holding the damaged panel in place. You may also need to remove screws from adjacent panels to lift and slide the damaged panel out. Be extremely careful not to damage the surrounding panels. Use a pry bar gently if panels are stubborn.
- Prepare the Area: Clean the underlying purlins or decking, ensuring it’s free of debris and any old sealant. Inspect for any hidden damage to the substructure.
- Install New Panel: Apply a continuous bead of butyl sealant tape along the overlap edge of the adjacent panel where the new panel will sit. Carefully slide the new panel into place, ensuring its ribs align perfectly with the existing ones.
- Secure and Seal: Fasten the new panel with new screws and washers, driving them through the pre-drilled holes (or self-drilling into fresh spots if needed), ensuring they penetrate securely into the substructure. Apply sealant over all new screw heads and along any exposed seams or overlaps to create a watertight seal. This is a job that benefits greatly from careful planning and the right tools.
Knowing When to Call in the Pros (and How to Find Them)
While many minor corrugated metal roof repairs can be DIY projects, there comes a point when the job is simply too big, too dangerous, or too complex for a homeowner. Recognizing these limits is crucial for your safety and the longevity of your roof.
When DIY Just Won't Cut It
There are several scenarios where hanging up your DIY hat and reaching for the phone book is the smartest move:
- Extensive Damage: If you're dealing with multiple large holes, widespread rust that has compromised the structural integrity of several panels, or significant storm damage that has warped large sections of your roof, it's likely beyond a simple patch job. Trying to DIY such extensive repairs can lead to an inefficient, non-watertight solution, potentially causing more expensive problems down the line. A professional can assess whether it’s a Metal Roof Repair vs Replacement: How to Decide.
- Height and Safety Concerns: If your roof has a steep pitch, is exceptionally high, or if you're not comfortable working at heights, it's a non-negotiable safety risk. Falls from roofs are serious and can be fatal. Professional roofers have the training, safety equipment, and insurance to perform the work safely.
- Complex Flashing Issues: Leaks around complex features like multiple dormers, skylights, or intricate valleys often point to flashing failures. Properly installing or repairing flashing requires specific knowledge and expertise to ensure a truly watertight seal that can withstand years of weather.
- Warranty Concerns: Many metal roofing systems come with manufacturer warranties that can be voided if repairs are not performed by a certified professional using approved materials and methods. If your roof is still under warranty, always check its terms before attempting DIY repairs.
- Time and Expertise: Sometimes, you just don't have the time, or perhaps you've tried a repair and it hasn't worked. A professional has the experience to diagnose and fix the problem efficiently and effectively.
Finding a Reputable Metal Roofing Contractor
When it's time to call in the experts, don't just pick the first name in a search engine. Finding a qualified metal roofing contractor requires a bit of research and due diligence.
- Seek Recommendations: Start by asking friends, family, and neighbors for recommendations. Personal referrals often lead to trustworthy contractors.
- Check Credentials: Verify that the contractor is licensed, bonded, and insured in your state or municipality. This protects you in case of accidents or shoddy workmanship. You can usually check licensing through your state's contractor licensing board.
- Experience with Metal: Specifically ask about their experience with corrugated metal roofs. Metal roofing requires different skills and tools than asphalt shingles. Look for a contractor that specializes in or has extensive experience with metal. Ask them Questions to Ask a Metal Roofing Contractor Before You Hire.
- References and Portfolio: Request references from recent clients and ask to see a portfolio of their completed metal roofing projects. Contacting references allows you to gauge client satisfaction and the quality of their work.
- Get Multiple Quotes: Obtain detailed written estimates from at least three different contractors. Compare not just the price, but also the scope of work, materials used, warranty, and timeline. Don't automatically go for the cheapest bid, as it might indicate cut corners or lower quality materials. Companies like Modernize can help you connect with vetted local contractors, making the process of getting multiple quotes much simpler and more reliable.
- Understand the Warranty: Ask about both the workmanship warranty (from the contractor) and any material warranties from the manufacturer. Make sure you understand what is covered and for how long.
Proactive Maintenance for Your Corrugated Roof
The best repair is often the one you never have to make. Regular maintenance can significantly extend the life of your corrugated metal roof and help you catch small issues before they become major problems.
Seasonal Inspections and Cleaning
Make a habit of inspecting your roof at least twice a year – once in the spring after winter storms and heavy snow, and again in the fall before winter sets in.
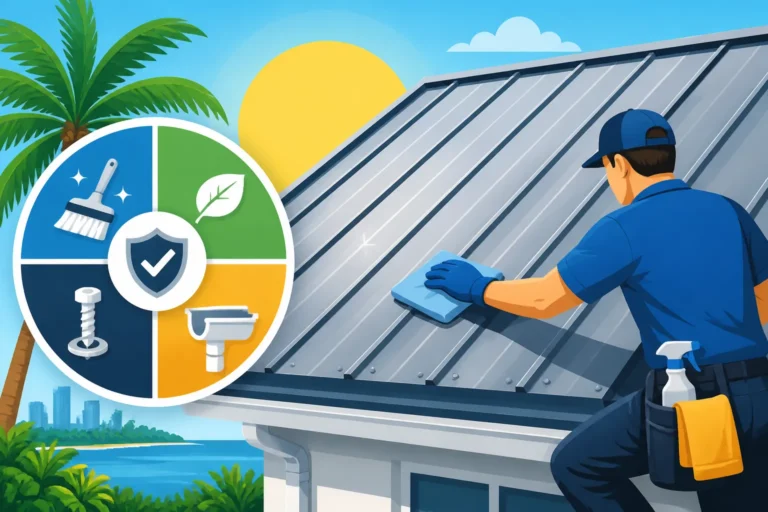
- Clear Debris: Regularly remove leaves, branches, and other debris that can accumulate in valleys, behind chimneys, or in gutters. Trapped debris can hold moisture against the roof surface, leading to corrosion and potential leaks.
- Check Fasteners: Pay close attention to all exposed fasteners. Look for any that are loose, backed out, or have degraded washers. Address these promptly as described in the repair section.
- Inspect Overlaps and Flashing: Visually inspect all panel overlaps and flashing details around penetrations. Look for signs of sealant cracking, shrinking, or peeling. Reapply sealant as needed.
- Gutter Maintenance: Keep your gutters and downspouts clear. Clogged gutters can cause water to back up onto the roof, leading to ice dams in colder climates and increased risk of leaks.
Coating and Sealing Best Practices
Beyond cleaning and fastener checks, applying the right coatings and sealants is crucial for long-term protection.
- High-Quality Sealants: Always use sealants specifically designed for metal roofing. Urethane or silicone-based sealants offer excellent adhesion and flexibility, allowing them to move with the metal's expansion and contraction. Avoid general-purpose sealants that might not withstand the elements or adhere properly to metal. Consider having Best Sealant for Metal Roof Leaks in your homeowner's toolkit.
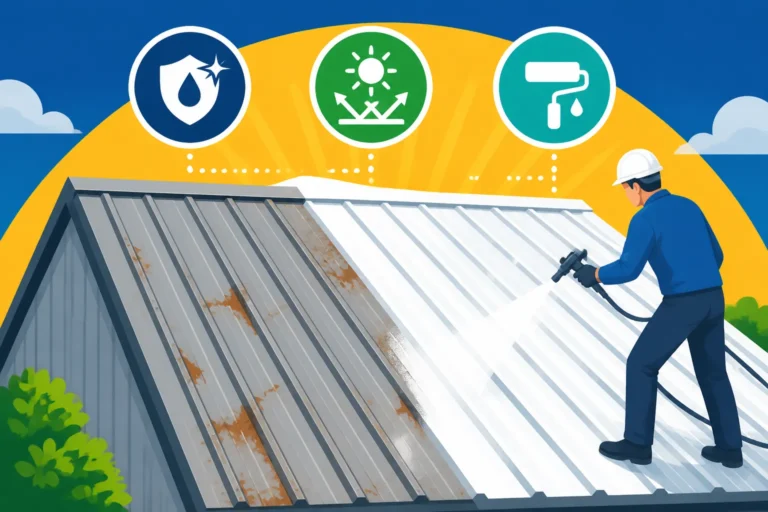
- Protective Coatings: Over time, the factory finish on your metal roof can fade or wear. Applying a high-quality acrylic or elastomeric coating can restore its protective layer, improve its UV resistance, and even enhance its energy efficiency. These coatings are typically applied by professionals and can add years to your roof's life, especially if rust is a recurring concern.
- Addressing Scratches: Minor scratches should be cleaned and touched up with a compatible paint to prevent rust. For deeper scratches, clean the area, apply a rust-inhibiting primer, and then a matching paint.
By staying vigilant and addressing minor issues as they arise, you can ensure your corrugated metal roof continues to protect your home for decades to come, proving itself to be a truly worthwhile investment.
Comparative Repair Cost Table
Here's a quick look at estimated costs for common corrugated metal roof repairs, helping you budget and decide when to DIY versus calling a pro. Note that these are average costs and can vary significantly based on your location, roof accessibility, and the specific contractor.
| Repair Type | DIY Material Cost (Estimated) | Professional Repair Cost (Estimated) | Complexity | Notes |
|---|---|---|---|---|
| Loose Fasteners | $15 – $30 (screws, sealant) | $75 – $150 (per visit, minor work) | Low | Best DIY. Cost largely depends on a service call if a pro comes. |
| Small Hole/Puncture | $20 – $50 (sealant, tape) | $150 – $300 | Low-Medium | Can DIY small ones, larger ones better for pros. |
| Surface Rust Treatment | $30 – $75 (brush, converter, paint) | $200 – $500 (per area, depending on extent) | Medium | Good DIY for small areas. Large areas need pro. |
| Failing Flashing | $50 – $150 (flashing, sealant) | $300 – $800+ | Medium-High | Tricky to get right, often best for pros. |
| Panel Replacement | $100 – $300 (per panel, plus fasteners/sealant) | $400 – $1,000+ (per panel, depends on access/complexity) | High | Often requires specialized tools and expertise. |
These figures give you a ballpark idea, but always get a specific quote for your situation. Factors like whether you live in a high-cost area like Los Angeles or a more affordable region can significantly affect Metal Roof Labor Cost Per Square.
Disclaimer
Please note that this guide offers general advice for repairing corrugated metal roofs. Roofing work can be dangerous, and individual circumstances may vary. Always prioritize safety, wear appropriate personal protective equipment, and if you are unsure or uncomfortable with any repair, it is strongly recommended to consult a qualified and licensed metal roofing professional. This information is not a substitute for professional advice or local building codes.