Why Is My Metal Roof Leaking Where the Screws Are
There’s almost nothing more disheartening for a homeowner than seeing a tell-tale drip or a water stain on their ceiling, especially when they’ve invested in a durable metal roof. You chose metal for its longevity, right? So discovering a leak, particularly one originating around the screws, can feel like a real betrayal. This guide is here to shed some light on why these frustrating leaks happen, how to spot them, and most importantly, how to fix them to restore your peace of mind and protect your home.
Understanding Why Screws Leak on Metal Roofs
It’s easy to point fingers at the screws themselves, but the truth is, a leak isn’t usually caused by the screw failing. More often, it’s about the components around it, the installation method, or the conditions it endures over time. Think of each screw as a tiny, critical gateway through your roof, and if that gateway isn't perfectly sealed, water will find a way in.
The Degradation of Washer Seals
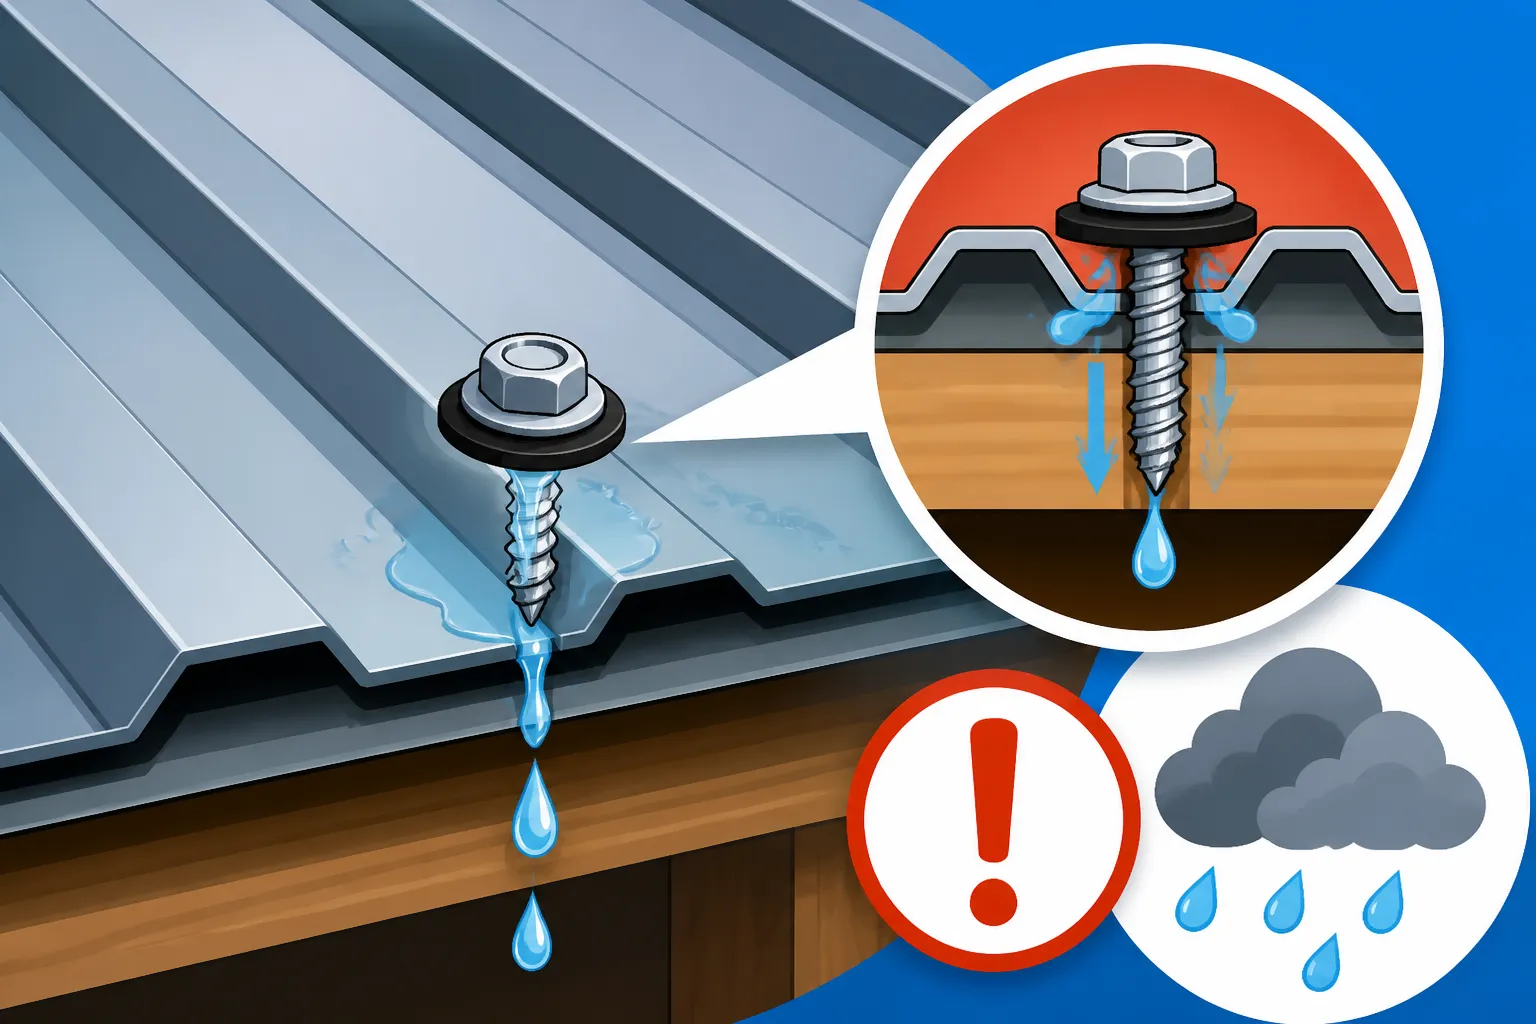
One of the most common culprits behind screw leaks is the breakdown of the washer seal. These small, often neoprene or EPDM rubber washers sit directly under the head of the screw, compressing against the metal panel to create a watertight barrier. They’re designed to be tough, but they're constantly exposed to the harshest elements.
Over years of relentless sun exposure, UV rays degrade the rubber, making it brittle and cracked. Then, add in the constant freezing and thawing cycles in many climates, which cause the material to expand and contract, further accelerating its demise. You might notice the washers looking chalky, cracked, or even entirely missing, leaving the metal screw head directly exposed to the panel. When these washers fail, they can no longer form a tight seal, creating a tiny channel for rainwater to seep through, often manifesting as a slow, persistent drip.
Over-Tightened or Under-Tightened Screws
Believe it or not, the "just right" amount of torque when installing a metal roof screw is a delicate balance, and getting it wrong is a frequent cause of leaks. An over-tightened screw might seem secure, but it can actually crush the rubber washer, distorting its shape and permanently damaging its sealing capabilities. Worse still, it can dimple the metal panel itself, creating a low spot where water can pool and eventually find its way past the compromised washer. In extreme cases, over-tightening can even strip the threads in the purlin or decking below, leaving the screw with no grip at all.
On the flip side, an under-tightened screw doesn't apply enough compression to the washer, meaning it never forms that crucial watertight seal in the first place. Over time, these screws can vibrate loose due to wind or thermal movement, gradually backing out and further reducing the seal’s effectiveness. The slightest gap under the washer is an open invitation for water, and once it gets in, it will follow the path of least resistance right into your home. A skilled installer knows exactly how much torque to apply, ensuring the washer is compressed just enough to create a perfect seal without causing damage.
Improper Screw Installation Angle
When a metal roof screw isn't driven perpendicular to the roof panel, it creates an uneven point of contact for the washer. Imagine trying to seal a perfectly flat surface with a gasket that’s cocked at an angle – it just won't work effectively. If the screw is angled, one side of the washer might be heavily compressed while the other side barely touches the panel, leaving a tiny gap.
This uneven pressure significantly compromises the watertight integrity. Water will exploit this weakness, especially during heavy rains or when wind drives moisture across the roof surface. Furthermore, an improperly angled screw can put undue stress on the metal panel around the pilot hole, potentially deforming it and exacerbating the leak potential. This is often a sign of hurried or inexperienced installation, which is why choosing a reputable contractor is so important.
Factors Contributing to Screw-Related Leaks
Beyond the immediate mechanics of the screw and washer, several environmental and material factors can contribute to leaks around your metal roof fasteners. These elements often work subtly, accelerating wear and tear or creating vulnerabilities that allow water to infiltrate. Understanding them is key to both preventing and effectively addressing leaks.
Thermal Expansion and Contraction
Metal roofs, by their very nature, are constantly expanding and contracting. Think about a sunny summer day when your roof heats up significantly, and then a cool night when it rapidly sheds that heat. This daily thermal cycling causes the metal panels to move, albeit subtly. This movement puts immense stress on every single screw, constantly pushing and pulling at the fastener and its accompanying washer.
Over time, this continuous motion can enlarge the screw hole in the panel or cause the washer to chafe and wear down more quickly than it otherwise would. In some metal roofing systems, especially exposed fastener panels, manufacturers account for this by designing elongated or slotted holes that allow for movement. However, if the wrong type of screw is used, or if installation methods don't respect these principles, the constant stress can lead to the seal failing around the screw head, creating a pathway for water.
Poor Quality Screws and Fasteners
Not all screws are created equal, and unfortunately, cutting corners on fastener quality is a recipe for future leaks. Cheap, generic screws often come with inferior rubber washers that degrade quickly under UV light and temperature extremes. The metal itself might also be of lower quality, lacking the proper coatings or materials needed to withstand corrosion.
High-quality metal roofing fasteners, like those from reputable brands such as SFS intec or Atlas, are specifically designed for the demanding environment of a roof. They feature durable EPDM washers engineered for longevity and UV resistance, and the screws themselves are typically made of carbon steel with specialized coatings (like ceramic or galvanized finishes) or even stainless steel, which significantly resists rust and corrosion. Investing in the right fasteners during installation, or for repairs, is a small cost compared to the headache and expense of water damage. For a deep dive into fastener types, check out Metal Roof Fasteners and Washers Explained.
Rust and Corrosion Around Fasteners
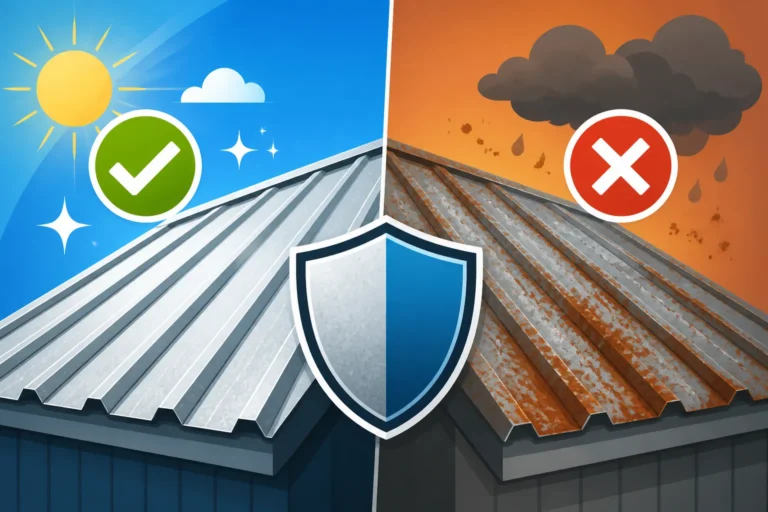
Rust is the archenemy of metal, and when it attacks your roof fasteners, it can directly lead to leaks. Exposed fasteners are particularly vulnerable. If the protective coating on a screw head or shank is scratched during installation, or if the screw itself is made of a material prone to rust, corrosion will begin. This red-brown oxidation not only weakens the screw but can also creep under the washer, lifting it slightly and breaking the watertight seal.
Once rust sets in, it can expand, creating tiny channels or even pitting the surrounding metal panel, allowing water to bypass the washer entirely. This issue can be compounded if dissimilar metals are used – for instance, a galvanized steel screw in an aluminum panel – leading to galvanic corrosion. Regularly inspecting your roof for signs of rust streaks or corrosion around fasteners is a crucial part of Metal Roof Maintenance Guide, as catching it early can prevent minor issues from turning into major leaks. If you notice rust, addressing it promptly with appropriate rust treatment products can prolong the life of your fasteners and prevent further deterioration.
Identifying and Fixing Leaking Screws
Dealing with a leaking metal roof can feel daunting, but identifying the source of screw-related leaks is often straightforward if you know what to look for. Once pinpointed, many of these issues are quite manageable, either as a DIY project or with the help of a professional. Safety, however, should always be your top priority when inspecting or working on a roof.
Signs of Screw-Related Leaks
The earliest signs of a screw leak can sometimes be subtle, but ignoring them allows the problem to escalate. On the exterior of your roof, you might see rust streaks running down from screw heads, indicating that the fastener's protective coating has failed or that water is seeping through. Look for washers that appear cracked, shrunken, or completely deteriorated. Sometimes, screws might even be visibly backed out or missing entirely, leaving an open hole. Pay close attention after a rainstorm; fresh water trails or darkened areas around screw locations are strong indicators.
Inside your home, the signs are often more dramatic: water spots on your ceiling, drips during heavy rain, or even peeling paint. These interior signs mean the leak has progressed significantly and water has already penetrated your roof decking and attic space. Don't forget to check your attic during daylight hours – sometimes sunlight will pinpoint tiny leaks that aren't yet showing inside your living space. Remember, water can travel along rafters or insulation, so the drip inside may not be directly below the leak point on the roof.
Step-by-Step Repair Process for Leaking Screws
Once you've identified the offending screws, the repair process generally involves replacing them with new, higher-quality fasteners. This isn't a job to rush, and having the right tools makes all the difference. You'll need a good quality drill with an adjustable clutch, a proper-sized hex head socket (usually 1/4" or 5/16"), new metal roofing screws with integrated EPDM washers, and a high-quality, compatible roofing sealant.
Here’s a simplified breakdown of the process:
- Safety First: Ensure you have proper fall protection, wear sturdy shoes, and avoid working in wet or windy conditions.
- Remove the Old Screw: Carefully unscrew the old, leaking fastener. Inspect the hole in the metal panel and the decking underneath. If the hole in the panel is significantly enlarged or egg-shaped, or the decking is stripped, you may need to use a slightly larger diameter screw, or even an "oversized" repair screw.
- Clean the Area: Thoroughly clean around the screw hole on the panel. Remove any rust, old sealant residue, or debris to ensure a clean surface for the new washer to seal against. A wire brush and a rag with a mild cleaner can work wonders.
- Apply Sealant (Optional but Recommended): For extra protection, apply a small dab of high-quality, UV-resistant roofing sealant directly over the hole before inserting the new screw. This creates an additional barrier. For specific recommendations, see Best Sealant for Metal Roof Leaks.
- Install the New Screw: Drive the new screw straight down, perpendicular to the panel surface. Use your drill's clutch setting to prevent over-tightening. You want the washer to be visibly compressed and slightly "domed" but not flattened or squeezed out. The metal roofing industry often refers to this as "snug, not squashed."
- Check for Tightness: Give the new screw a gentle wiggle to ensure it feels secure. It should be firmly set without causing dimpling in the panel.
Here's a quick comparison of common screw issues and their fixes:
| Issue | Cause | Solution |
|---|---|---|
| Cracked/Degraded Washer | UV exposure, age, thermal cycling | Replace with new screw (EPDM washer). |
| Over-Tightened Screw | Excessive torque during installation | Replace; ensure correct torque, use larger screw if hole is stripped. |
| Under-Tightened/Loose Screw | Insufficient torque, vibration | Tighten carefully or replace with new screw at correct torque. |
| Rusting Screw Head/Shaft | Damaged coating, poor quality, dissimilar metals | Replace with high-quality, coated or stainless steel screw. |
| Angled Screw | Improper installation | Remove, re-drill pilot hole if needed, drive new screw straight. |
| Stripped Hole (Decking) | Over-tightening, screw backing out | Use a larger diameter "oversized" repair screw. |
When to Call a Professional
While replacing a few screws might be a DIY task for some, there are definite times when calling in a professional metal roofing contractor is the smartest move. If you're dealing with widespread leaks across many fasteners, it could indicate a systemic installation issue or a roof nearing the end of its effective lifespan. Similarly, if your roof is particularly steep, multi-pitched, or difficult to access, attempting DIY repairs can be incredibly dangerous. Don't risk a fall or further damage to your roof.
A professional can conduct a thorough inspection, accurately diagnose the root cause of the leaks (which might extend beyond just the screws), and recommend the most effective and lasting solution. They have the specialized tools, safety equipment, and expertise to ensure the job is done correctly. Services like Modernize can help you connect with qualified, local metal roofing contractors who specialize in repairs. Knowing when to call an expert is part of being a responsible homeowner, ensuring your investment is protected and your home remains dry. If you're unsure, it's always better to get a professional opinion. For tips on finding the right help, refer to How to Hire a Metal Roofing Contractor.
Preventing Future Screw Leaks
The best way to deal with screw-related leaks is to prevent them from happening in the first place. A little foresight and proper care can save you a significant amount of headaches, time, and money down the line. It really boils down to making smart choices from the get-go and staying vigilant over the years.
Choosing the Right Fasteners
The foundation of a leak-free, screw-down metal roof begins with selecting the correct fasteners. This isn't an area to scrimp on. Always opt for screws specifically designed for metal roofing, which come equipped with high-grade EPDM (ethylene propylene diene monomer) washers. EPDM is far superior to neoprene in terms of UV and ozone resistance, meaning it will last significantly longer in harsh weather conditions.
Beyond the washer, consider the screw's material and coating. For most residential applications, galvanized or ceramic-coated carbon steel screws offer good protection against corrosion. However, if you live in a coastal area with salt air, or if your roof panels are made of a dissimilar metal (like aluminum), you might need stainless steel fasteners to prevent galvanic corrosion, which can rapidly degrade standard screws. Ensure the screw length is appropriate, too, penetrating at least an inch into the wood substrate (purlin or decking) for a secure hold. Quality fasteners are a small upfront investment that pays dividends in longevity and leak prevention.
Regular Maintenance and Inspection
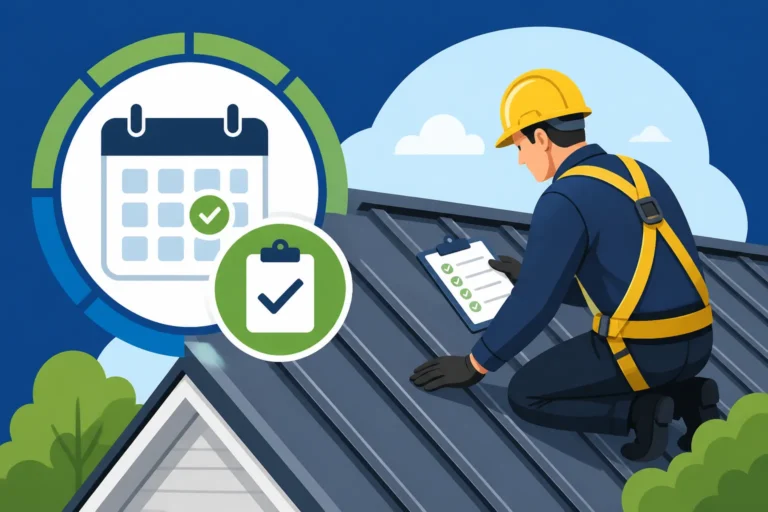
Even the best-installed metal roof benefits immensely from routine inspection and maintenance. Consider an annual check-up, perhaps in the spring or fall when the weather is mild. Safely get up on your roof (or hire a professional) and visually inspect every screw. Look for the tell-tale signs we discussed: cracked or shrunken washers, rust streaks, loose or backed-out screws, and any signs of panel dimpling around the fastener.
Catching these issues early means you can replace a handful of screws before they become widespread leaks and cause internal damage. You might even consider a proactive measure, like applying a high-quality sealant around screw heads every 10-15 years, especially in areas prone to extreme weather, to reinforce the washers as they age. This regular attention not only helps prevent leaks but also extends the overall metal roof lifespan and helps you avoid costly emergency repairs. Think of it as preventative medicine for your roof!
Proper Installation Techniques
Ultimately, the most critical factor in preventing screw leaks is proper installation. Even the highest quality materials can fail if they are installed incorrectly. This means ensuring that every screw is driven perpendicularly into the panel, with the ideal torque that compresses the washer without crushing it or dimpling the metal. Installers must also be meticulous about pilot hole alignment and ensure that screws hit structural framing members or decking for maximum grip.
Experienced metal roofing contractors understand the nuances of working with different metal types, panel profiles, and the unique challenges presented by various roof designs. They'll also adhere to manufacturer specifications, which often dictate specific screw patterns, spacing, and installation techniques to ensure proper performance and warranty validity. When considering a new metal roof, or even a major repair, always prioritize hiring a contractor with a proven track record and specialized expertise in metal roofing – it’s an investment in your home’s long-term protection against leaks. Getting a clear understanding of the Metal Roof Installation Process: Step by Step can also help you ask informed questions of your installer.
Disclaimer
Please remember that this article provides general information and recommendations. Metal roofing repairs and installations can be complex and dangerous. Always prioritize safety by using proper equipment and following local building codes. If you are unsure about any aspect of inspecting or repairing your metal roof, it is highly recommended to consult with a qualified and experienced metal roofing professional.