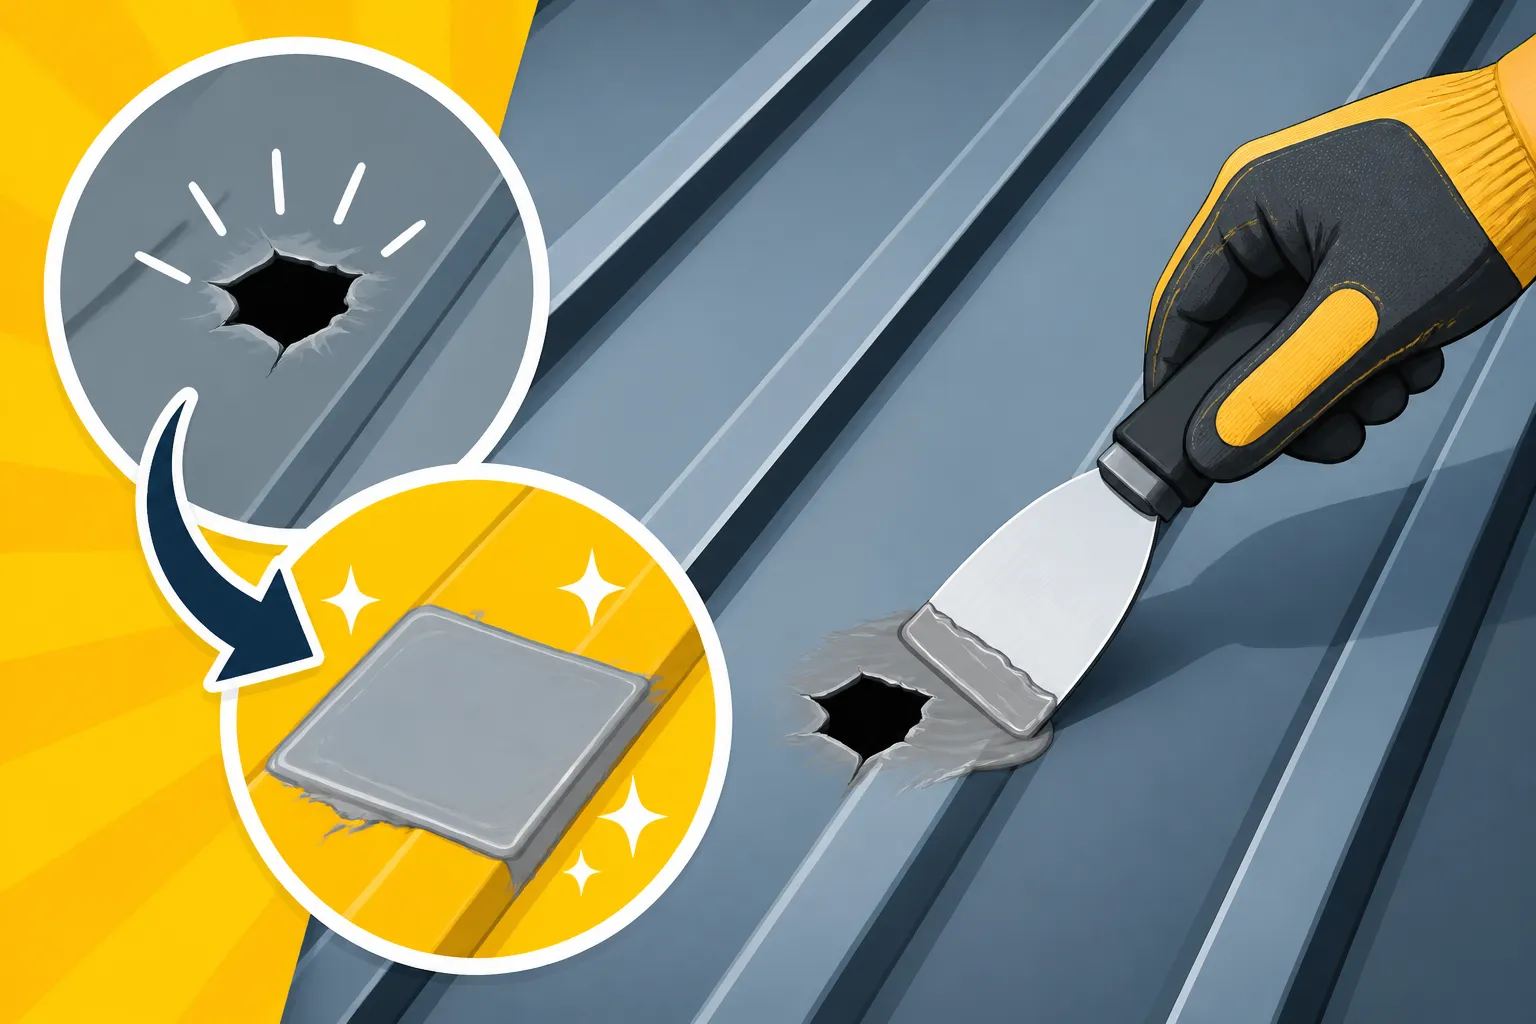
How to Repair a Small Hole in a Metal Roof
There's nothing quite like the heart-sink moment of spotting a tiny hole in your metal roof. It feels insignificant, yet you know it could lead to much bigger, costlier problems if left unaddressed. It's a common frustration for many homeowners, but thankfully, repairing a small hole in a metal roof is often a straightforward task that you can tackle yourself with the right approach. This guide will walk you through everything you need to know, from identifying the cause to a detailed step-by-step repair process, helping you protect your home without breaking the bank.
Understanding Why Small Holes Happen in Metal Roofs
It’s easy to assume your metal roof is invulnerable, but even the toughest materials can develop small imperfections over time. These aren't always signs of a failing roof; sometimes, they're just the inevitable wear and tear of a structure constantly exposed to the elements. Understanding the root cause of these small holes is crucial not just for fixing them, but for preventing future occurrences.
Common Culprits: What Causes These Annoying Holes?
Small holes in a metal roof rarely appear out of nowhere. Most often, they are the result of specific environmental factors or structural issues. One of the most frequent offenders is abrasion. This happens when tree branches repeatedly rub against the roof surface during windy conditions, gradually wearing down the protective coating and eventually the metal itself. Think about that oak branch that just barely touches your roof when the wind really picks up – over years, that subtle friction can create a problem.
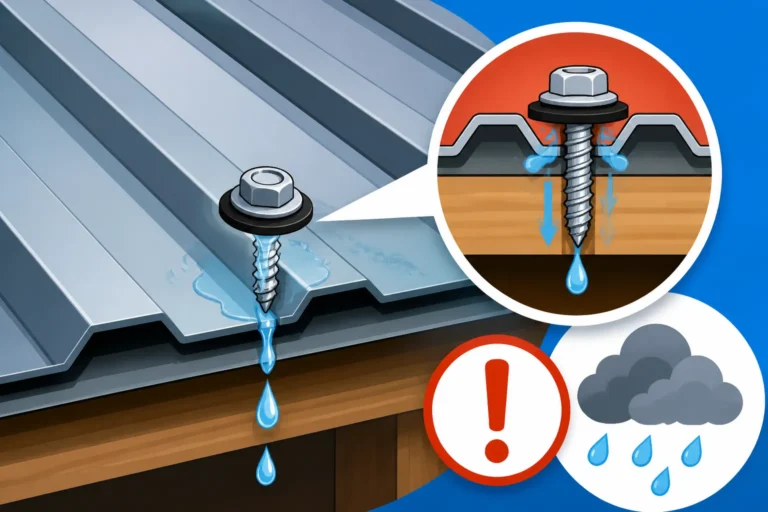
Another common cause is impact damage. While metal roofs are known for their durability against hail, smaller, sharper debris, or even dropped tools during a previous maintenance job, can create isolated punctures. Sometimes, it's just a rogue rock flung during a particularly bad storm. Loose or failed fasteners are also big contributors. Over time, the rubber washers on exposed fasteners can degrade, or the screws themselves can back out slightly, leaving a small opening that allows water in and can even enlarge with thermal expansion and contraction. This often leads to frustrating leaks around the screws. Even something as simple as corrosion around poorly protected areas or where different metals meet can lead to pinholes, especially if the protective coating has been compromised. In areas with significant snowfall, improper snow removal or the constant movement of snow and ice can also cause damage.
The Hidden Dangers of Even a Tiny Opening
It’s tempting to ignore a tiny hole, thinking it's too small to cause any real harm. But that's a dangerous misconception. Even a pinprick-sized opening can funnel a surprising amount of water into your attic or ceiling space. Initially, you might notice a small stain on your ceiling. Over time, that tiny leak can lead to significant problems like wood rot in your roof decking or rafters, compromising the structural integrity of your home.
Beyond structural damage, mold and mildew thrive in damp, dark environments. A persistent leak, no matter how small, provides the perfect breeding ground, leading to unhealthy indoor air quality and requiring costly remediation. Furthermore, water intrusion can damage insulation, reducing your home's energy efficiency and leading to higher utility bills. It can also cause electrical hazards if water comes into contact with wiring. What starts as a minor cosmetic issue on the roof can quickly cascade into a complex and expensive problem affecting multiple aspects of your home's health and safety. Don't underestimate the destructive power of a persistent drip!
Assessing the Damage: Is It a DIY Job or Pro-Territory?
Before you grab your tools, it’s vital to properly assess the extent of the damage. Not every hole is created equal, and knowing the difference between a minor fix and a job for the pros can save you time, money, and potential headaches down the line. A thorough inspection will inform your decision and ensure you address the problem appropriately.
What Constitutes a "Small" Hole?
When we talk about repairing a small hole, we're generally referring to punctures or perforations that are relatively minor in size and scope. This typically means holes that are less than about half an inch in diameter. These might look like a nail hole, a tiny puncture from a dropped tool, or a small area of localized corrosion that has eaten through the panel. The key characteristic is that the surrounding metal remains largely intact and structurally sound.
If the hole is larger than this, or if there are multiple small holes clustered in one area, you're usually looking at something that requires more than a simple patch and sealant. A small tear, for instance, might extend beyond the "small hole" definition, requiring a more robust repair, potentially involving a larger patch or even panel replacement. The definition also extends to minor cracks that haven't propagated widely. The bottom line is that a small hole is isolated, not part of a larger systemic problem like widespread corrosion or severe impact damage across an entire panel.
When to Call in the Experts and When Not To
While many small holes are perfect DIY projects, there are definite instances where calling in a professional metal roofing contractor is the smarter, safer, and ultimately more cost-effective choice. You should strongly consider professional help if:
- The hole is large or irregularly shaped: Anything over half an inch, or a jagged tear, is harder to seal effectively and permanently with simple DIY methods. These often require custom patching or even partial panel replacement.
- There are multiple holes or widespread damage: If you find several small holes, or if the damage is accompanied by significant denting, buckling, or delamination of the coating, it suggests a broader issue with the roof that a quick patch won't solve. This could be a sign it’s time to consider a more comprehensive repair or even a full Metal Roof Repair vs Replacement: How to Decide.
- The hole is in a structurally critical area: Leaks around flashing, chimneys, skylights, or complex roof valleys are notoriously tricky. These areas involve intricate seals and overlaps, and improper repair can lead to much larger problems.
- You're uncomfortable working on a roof: Safety first! If heights make you nervous, or if your roof has a steep pitch, hiring a professional is a non-negotiable. They have the right safety equipment and training.
- The roof itself is old or showing other signs of wear: A small hole on a 5-year-old roof is very different from one on a 30-year-old roof. If your metal roof is nearing the end of its projected lifespan or exhibiting other warning signs, a single repair might just be a band-aid on a bigger problem. A professional can provide an honest assessment of your roof's overall condition and advise on the best long-term solution.
- You don't have the right tools or experience: While this guide aims to equip you, if you truly feel out of your depth, it’s better to invest in expert service.
- Warranty concerns: Some metal roof warranties might require repairs to be performed by certified professionals to remain valid. Always check your warranty documentation before proceeding with DIY repairs.
For basic, isolated pinholes in accessible areas, you're likely good to go with a DIY approach. However, for anything more complex, leveraging platforms like Modernize to find reputable local contractors can connect you with experienced professionals who can handle the job safely and correctly.
Step-by-Step Guide to Repairing Small Metal Roof Holes
Alright, you've assessed the damage, determined it's a manageable DIY project, and now you're ready to get your hands dirty (safely, of course!). This section will guide you through the entire process, from gathering materials to the final inspection, ensuring your repair is robust and long-lasting.
Gathering Your Tools and Materials
Having everything you need on hand before you climb onto the roof is critical for both efficiency and safety. You don’t want to be scrambling for a tool once you’re up there.
Here's a comprehensive list:
- Safety Gear: This is non-negotiable.
- Sturdy Ladder: Ensure it's tall enough to safely access your roof with at least three rungs extending above the edge.
- Roofing Harness and Fall Protection (Optional but Recommended): Especially on steeper pitches or if you're not entirely comfortable with heights.
- Non-Slip Shoes: Essential for traction on potentially slick roof surfaces.
- Gloves: Protect your hands from sharp metal edges and sealants.
- Safety Glasses: To protect your eyes from debris or splashes.
- Cleaning Supplies:
- Stiff Brush or Wire Brush: To remove loose debris and rust.
- Degreaser/Acetone/Mineral Spirits: To clean the area thoroughly.
- Clean Rags or Shop Towels: For drying and cleaning.
- Repair Materials:
- High-Quality Sealant: This is the hero of your repair. Look for a UV-resistant, flexible, waterproof sealant specifically designed for metal roofing. Brands like Best Sealant for Metal Roof Leaks should work. Polyurethane, silicone, or elastomeric sealants are good choices. For small holes, a high-quality roofing caulk in a tube with a caulk gun can work wonders.
- Metal Patch (Optional, but good for slightly larger "small" holes): A small piece of matching metal (aluminum or steel), rubber, or even specialized self-adhesive repair tape designed for roofs. You can often find small metal flashing pieces at hardware stores or roofing suppliers.
- Self-Tapping Screws with Washers: If you're using a metal patch that needs to be secured. Ensure they are compatible with your metal roof type (e.g., galvanized or stainless steel).
- Tools:
- Caulk Gun: For applying sealant.
- Utility Knife or Shears: If you need to cut a patch.
- Drill/Driver: If using screws for a patch.
- Tape Measure: For cutting patches accurately.
Before you begin, always check the weather forecast. You need at least 24-48 hours of dry weather for most sealants to properly cure.
The Repair Process: A Detailed Walkthrough
Now that you have all your gear ready, let's get that hole patched up. Take your time, prioritize safety, and follow these steps for a lasting repair.
-
Safety First: Before you even set foot on the roof, ensure your ladder is stable and properly secured. If using, put on your safety harness. Always walk carefully, ideally over the support purlins if your roof profile allows, or on the flat parts of the panels to avoid causing more damage. If you're unsure how to safely navigate your roof, refer to guides like How to Walk on a Metal Roof Without Damage.
-
Locate and Clean the Damaged Area:
- Find the exact location of the small hole. Mark it clearly with chalk or a marker so you don't lose it.
- Thoroughly clean the area around the hole, extending about 6-12 inches in all directions. Use a stiff brush or wire brush to remove any loose debris, dirt, rust, or old sealant.
- Next, use a degreaser, acetone, or mineral spirits with a clean rag to remove any oils, grease, or residue. This step is crucial for ensuring proper adhesion of your sealant or patch. Allow the area to dry completely. A clean, dry surface is paramount for a successful repair.
-
Prepare the Hole:
- For very small, clean pinholes, you might just need to ensure the edges aren't jagged.
- For slightly larger or irregular holes, you might want to gently smooth the edges with a file or sandpaper to ensure good contact for your sealant. Be careful not to enlarge the hole or cause further damage.
-
Apply the Sealant (for very small holes):
- If the hole is truly tiny (like a nail hole), a high-quality sealant might be all you need.
- Cut the tip of your sealant tube at a 45-degree angle, making an opening small enough to control the bead.
- Apply a generous dab of sealant directly over the hole, pressing firmly to ensure it fills the entire void.
- Then, spread a thin, even layer of sealant over the surrounding clean metal, creating a waterproof seal that overlaps the hole by at least 1-2 inches in all directions. You want a consistent, durable barrier.
- Use a gloved finger or a putty knife to smooth out the sealant, ensuring no air bubbles are trapped and the edges are well-feathered to prevent water from pooling or creeping underneath.
-
Apply a Patch (for slightly larger small holes or added durability):
- If you decide to use a patch for extra strength or for a hole that's on the upper end of "small," cut your metal or specialized repair tape patch so it overlaps the hole by at least 2 inches on all sides. Round the corners of a metal patch to prevent snagging and make it less likely to lift.
- Apply a generous layer of your chosen sealant to the underside of the patch.
- Carefully center the patch over the hole and firmly press it down onto the prepared roof surface. Ensure there are no air bubbles.
- Apply another bead of sealant around the entire perimeter of the patch, sealing its edges completely to the roof panel. Smooth it out with a gloved finger or putty knife.
- If you're using a metal patch and wish to secure it further, drill pilot holes and attach it with a few self-tapping screws equipped with neoprene washers. Be sure to apply sealant over the screw heads to ensure a watertight seal. This is a common practice for repairing screw holes if you need to replace Metal Roof Fastener Washer Replacement.
Post-Repair Checks and Curing Time
Once the repair is done, your job isn’t quite finished. Proper curing and a final inspection are key to ensuring the fix lasts for years to come.
- Allow Adequate Curing Time: Most sealants require at least 24-48 hours to cure properly, and some might take longer depending on temperature and humidity. Do not disturb the repair during this time. Avoid walking on it or exposing it to heavy rain. Check the manufacturer's instructions on your sealant for specific curing times.
- Visual Inspection: After the sealant has fully cured, carefully inspect the repair area. Look for any cracks, gaps, or areas where the sealant might have shrunk. Ensure the patch (if used) is firmly in place and the edges are completely sealed.
- Water Test (Optional but Recommended): On a dry day, you can gently spray the repaired area with a garden hose for a few minutes. From inside your attic or the space below, check for any signs of leakage. If you see any moisture, you’ll need to re-evaluate the repair and apply more sealant as needed.
- Regular Monitoring: Make it a habit to check your repaired area during your routine Metal Roof Maintenance Guide. Early detection of any issues can prevent them from escalating.
By following these detailed steps, you’ll be able to confidently repair a small hole in your metal roof, extending its life and protecting your home from water damage.
Choosing the Right Repair Materials for Longevity
The success and longevity of your metal roof hole repair largely hinge on the quality and suitability of the materials you choose. Skimping here is a false economy, as a cheap, ineffective repair will only lead to recurring problems and more expense down the road. Understanding the best options for sealants, coatings, patches, and fasteners is paramount.
Sealants and Coatings: What Works Best?
When you’re dealing with metal roofing, not just any caulk or sealant will do. You need products specifically designed to withstand the harsh conditions metal roofs endure: extreme temperature fluctuations, intense UV radiation, heavy rain, and sometimes even snow and ice.
- Polyurethane Sealants: These are excellent choices for metal roofs. Polyurethane offers superior adhesion to metal, incredible flexibility to accommodate thermal expansion and contraction, and excellent durability. They cure to a tough, elastic seal that can withstand significant movement without cracking. They are also highly resistant to UV degradation. Products like those from ChemLink or Sika are often recommended by professionals.
- Silicone Sealants: High-quality, neutral-cure silicone sealants also perform well. They are extremely flexible and offer fantastic water resistance. However, some types of silicone can be challenging to paint over, and certain formulations may not adhere as well to painted metal surfaces without proper preparation or specialized primers. Look for "metal roofing silicone" or "construction-grade silicone" for best results. GE Enduris is a brand often utilized in the roofing industry for its longevity.
- Elastomeric Coatings/Sealants: These are often used for larger repairs or for sealing entire seams, but certain elastomeric caulks can be very effective for small holes. They are thick, highly elastic, and designed to expand and contract with the roof. They offer excellent waterproofing and UV protection. Brands like AcryLabs or Henry offer elastomeric sealants that are great for this purpose.
- Butyl-Based Sealants: Butyl sealants offer good adhesion and flexibility. They are generally more affordable but may not have the same long-term UV resistance or elasticity as polyurethane or high-grade silicone, making them a good, but not always the best, option for permanent repairs.
When choosing, always verify that the product is compatible with your specific metal roof material (e.g., steel, aluminum, Galvalume) and any existing coatings. Look for labels indicating "metal roofing," "weather-resistant," "UV stable," and a good range of application temperatures.
Patches and Fasteners: Reinforcing the Fix
While sealants are crucial for waterproofing, a physical patch provides structural reinforcement, especially for holes that are a bit larger or where you want added peace of mind.
- Metal Patches: The ideal patch is a small piece of the same metal as your roof (e.g., steel, aluminum, copper). This ensures compatibility in terms of thermal expansion and prevents galvanic corrosion, which can occur when dissimilar metals are in contact. If you can't get an exact match, a high-quality aluminum flashing piece is often a good universal option due to its corrosion resistance and workability. These patches provide the most durable physical barrier.
- Self-Adhesive Repair Tapes: Several manufacturers offer specialized peel-and-stick repair tapes designed for roofing. These are often made from strong, flexible materials like EPDM rubber or a durable synthetic with a powerful adhesive backing. They can be incredibly convenient for quick, effective repairs of small holes. Brands like EternaBond or Sealant Tape offer excellent options for this purpose. They are generally UV-resistant and remain flexible.
- Fasteners: If you opt to mechanically fasten a metal patch, choosing the right screws is vital. You’ll need self-tapping screws specifically designed for metal roofing, typically made of galvanized or stainless steel to resist corrosion. Crucially, these screws must come with EPDM or neoprene washers. These washers compress when tightened, creating a watertight seal around the screw penetration and accommodating thermal movement. Over time, these washers can degrade, leading to leaks, so ensuring your new fasteners have fresh, high-quality washers is key. Refer to resources like How to Replace Metal Roof Screws and Fasteners for more detail.
When combining a patch and sealant, the patch provides the structural integrity, and the sealant provides the watertight bond. This combination is often the most robust solution for small to medium-sized holes, ensuring a long-lasting repair that stands up to the elements. Remember, using mismatched materials or incorrect fasteners can compromise the repair and potentially lead to bigger problems down the line.
Preventing Future Small Holes and Extending Roof Life
Repairing a small hole is satisfying, but wouldn't it be even better to prevent them from happening in the first place? A proactive approach to roof care can significantly reduce the incidence of small punctures and extend the overall lifespan of your metal roof. It’s all about consistent attention and understanding your roof’s vulnerabilities.
Regular Inspections and Maintenance Practices
Just like you maintain your car, your roof benefits immensely from routine check-ups. Many small holes start as minor abrasions or loose fasteners that could have been addressed early.
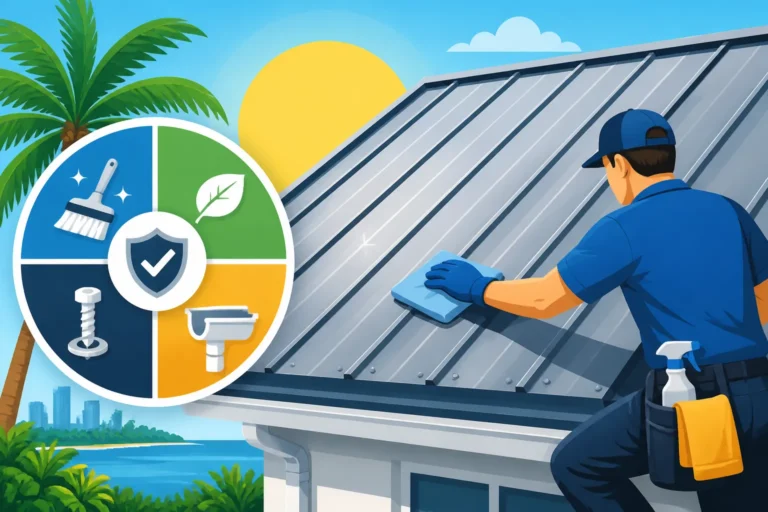
- Semi-Annual Visual Inspections: Twice a year, typically in the spring and fall, conduct a thorough visual inspection of your metal roof. From the ground with binoculars, or safely from a ladder, look for any signs of trouble. Pay close attention to:
- Overhanging Branches: Note any tree limbs that are touching or close to your roof.
- Loose or Missing Fasteners: These are prime candidates for developing leaks. Look for fasteners that have backed out or have cracked washers. This is a common source of trouble that can be prevented by simply tightening or replacing the screw and washer.
- Dents or Scratches: Even minor cosmetic damage can lead to future issues if the protective coating is compromised.
- Areas of Standing Water: While metal roofs are designed to shed water, sometimes debris can create small puddles, which can accelerate corrosion.
- Corrosion or Rust Spots: Address these immediately with appropriate Metal Roof Rust and Corrosion Treatment. Early intervention is key.
- Flashing and Trim: These are critical areas for preventing leaks. Ensure all flashing around chimneys, vents, and valleys is intact and properly sealed.
- Gutter Cleaning: Clogged gutters can cause water to back up onto your roof, leading to ice dams in winter or prolonged moisture exposure which can weaken coatings and eventually the metal itself. Keeping them clear is a simple but effective preventive measure.
- Remove Debris: Regularly clear leaves, twigs, and other organic matter from your roof surface. This prevents moisture from being trapped against the metal and reduces the chance of abrasive damage from wind-blown debris.
- Professional Inspections: Every few years, especially after a major storm, consider investing in a professional roof inspection. Experts can spot subtle issues you might miss and provide a more comprehensive assessment of your roof's condition, potentially saving you from larger problems later. They can also advise on your overall Metal Roof Lifespan: How Long Do They Last?.
Proactive Measures for Vulnerable Areas
Beyond general maintenance, there are specific actions you can take to protect areas most prone to developing small holes.
- Tree Trimming: This is arguably one of the most impactful proactive measures. Have a professional arborist trim any branches that overhang or are close enough to rub against your roof. This eliminates a primary cause of abrasion and reduces the amount of debris accumulating on your roof.
- Fastener Maintenance: For exposed fastener systems, consider periodically inspecting and, if necessary, replacing worn fasteners and washers. Over time, the rubber washers degrade due to UV exposure and thermal cycling. Replacing these proactively can prevent numerous small leaks around screw penetrations.
- Protective Coatings: If your roof is older or the original coating is showing signs of wear, consider applying a high-quality protective coating. These elastomeric or acrylic coatings can add an extra layer of defense against UV, corrosion, and minor abrasion, effectively renewing your roof’s surface and sealing tiny imperfections before they become holes. This can be a significant investment but can dramatically extend your roof's life.
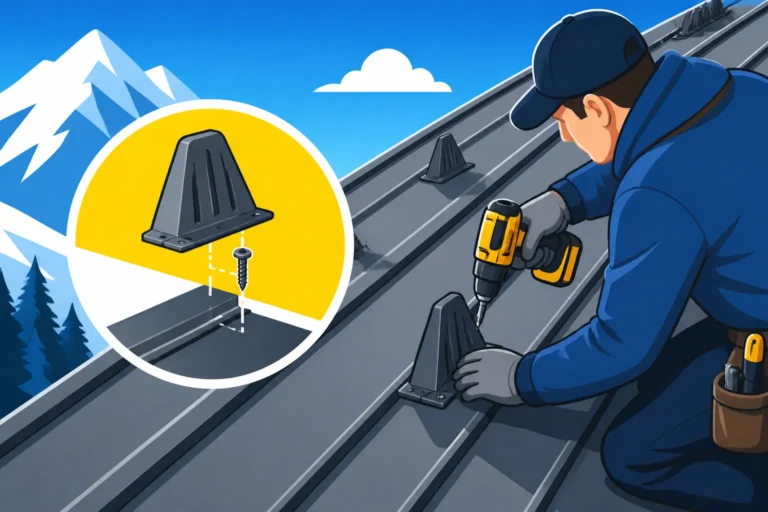
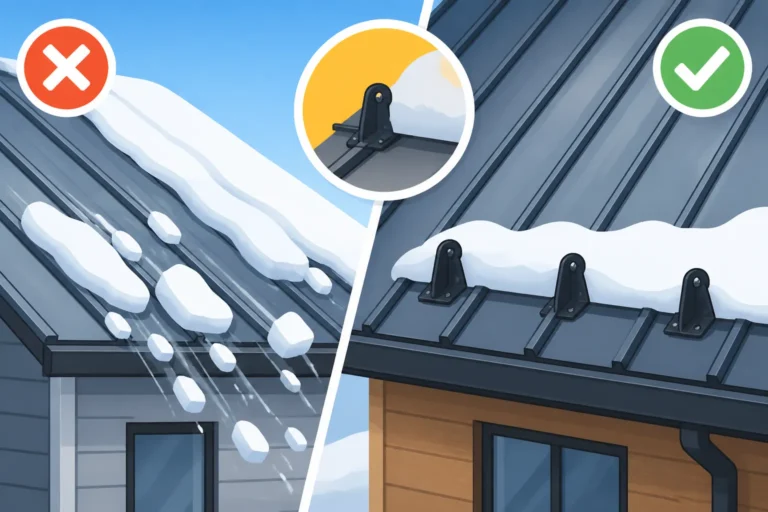
- Snow Guards: In snowy climates, snow and ice can slide off metal roofs with surprising force, potentially damaging anything in its path, including gutters, landscaping, and even causing structural damage to the roof if it creates ice dams. Installing snow guards can help manage snowmelt and prevent large snow slides, reducing stress on the roof surface. You can learn more about How to Install Snow Guards on a Metal Roof.
- Careful Access: When you or anyone else needs to access your metal roof (for cleaning, solar panel installation, etc.), ensure they understand how to walk on it without causing damage. Placing plywood walkways can distribute weight and prevent dents or scratches that could become future issues.
By being diligent with regular maintenance and taking proactive steps to protect your metal roof, you’ll not only prevent those frustrating small holes but also ensure your roof continues to provide decades of reliable protection for your home. And if you ever feel overwhelmed or uncertain, don't hesitate to consult with local metal roofing specialists, perhaps even leveraging resources like Modernize to connect with trusted contractors in your area. They can offer expert advice and ensure your roof remains in top condition.
Disclaimer
This guide is intended for informational purposes only and does not constitute professional advice. While we aim to provide accurate and helpful information, metal roof repair can be complex and may involve working at heights, which carries inherent risks. Always prioritize safety, wear appropriate personal protective equipment, and consult with a qualified, licensed, and insured metal roofing contractor for any repairs you are not comfortable performing yourself or for issues that appear extensive or structurally critical. Incorrect repairs can lead to further damage, void warranties, and potentially create safety hazards.