How to Repair a 5V Crimp Metal Roof
Finding damage on your 5V crimp metal roof can feel like a punch to the gut. You invested in metal for its durability and longevity, and now you’re seeing issues like loose fasteners, a mysterious drip, or even a patch of rust. It's completely understandable to feel a pang of worry, wondering if this means a costly full replacement. But don't despair! Many common problems with 5V crimp metal roofs are entirely repairable if caught early and addressed correctly. This comprehensive guide will walk you through identifying typical issues, understanding what they mean, and providing actionable steps to tackle repairs, helping you maintain your roof's integrity without unnecessary stress.
Understanding Your 5V Crimp Roof and Its Vulnerabilities
A 5V crimp metal roof, with its distinctive V-shaped ribs and exposed fasteners, is a classic choice for many homes, barns, and utility buildings across the country. It's popular for a good reason: it’s relatively straightforward to install, durable, and generally more affordable than some hidden-fastener systems. But, like any roofing material, it has its quirks and specific points of vulnerability that can lead to problems over time. Understanding these is the first step in effective repair.
What Makes 5V Crimp Unique (and Why It Matters for Repair)
The "5V" refers to the five V-shaped ribs that run along each panel, creating a classic, often farmhouse-style aesthetic. Unlike standing seam roofs where fasteners are concealed, 5V crimp panels are attached directly to the roof deck or purlins using screws with rubber washers that penetrate the panel itself. This exposed fastener system is both a benefit and a potential Achilles' heel.
The fact that the fasteners are visible and directly exposed to the elements means they are the most common culprits for issues like leaks. The rubber washers can degrade over time due to UV exposure, extreme temperatures, and general wear and tear, losing their seal and allowing water to seep in. Also, the repetitive expansion and contraction of the metal panels throughout daily temperature cycles can cause these screws to slowly back out or loosen, further compromising the watertight seal. This is a critical distinction when you’re thinking about how to repair a 5V Crimp metal roof, as many solutions will revolve around these exposed points.
Common Issues You Might Encounter
Even with its robustness, a 5V crimp metal roof isn't impervious to problems. Over years of protecting your home, it will face a barrage of environmental stressors. Knowing what to look for can help you address minor issues before they escalate into major headaches.
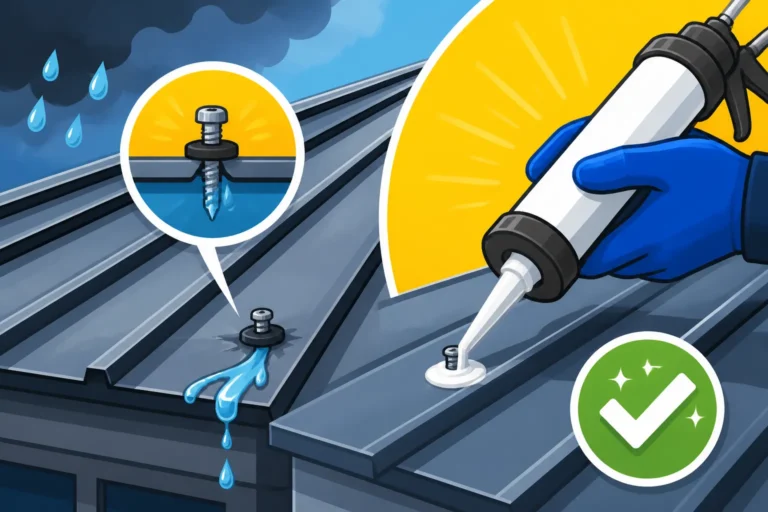
One of the most frequent problems homeowners report is leaks around fasteners. This is almost always due to those aforementioned rubber washers drying out, cracking, or compressing, failing to provide an adequate seal against the elements. You might notice dark spots on your ceiling, drips in the attic, or streaks on walls beneath the roof.
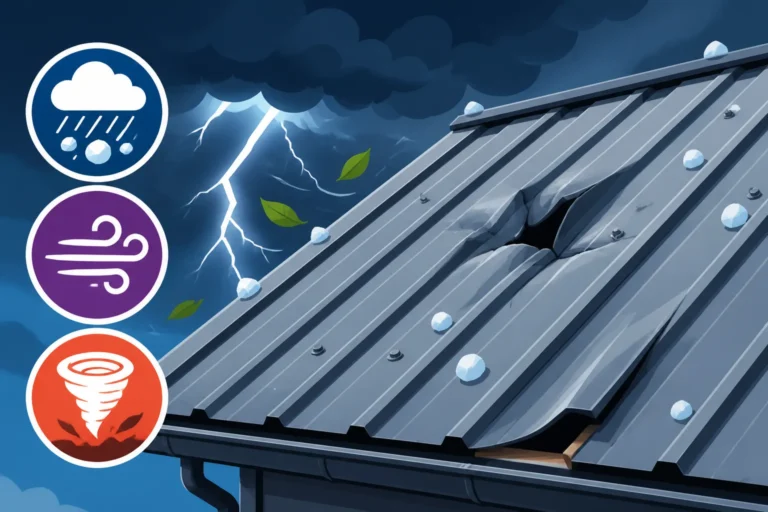
Another common issue is panel damage, which can manifest in several ways. Hailstorms, falling tree branches, or even accidental impacts during maintenance can cause dents and punctures. In coastal regions or areas with high humidity, rust and corrosion can start to appear, especially on cut edges or where protective coatings have been scratched off. If not addressed, rust will weaken the metal and eventually lead to holes.
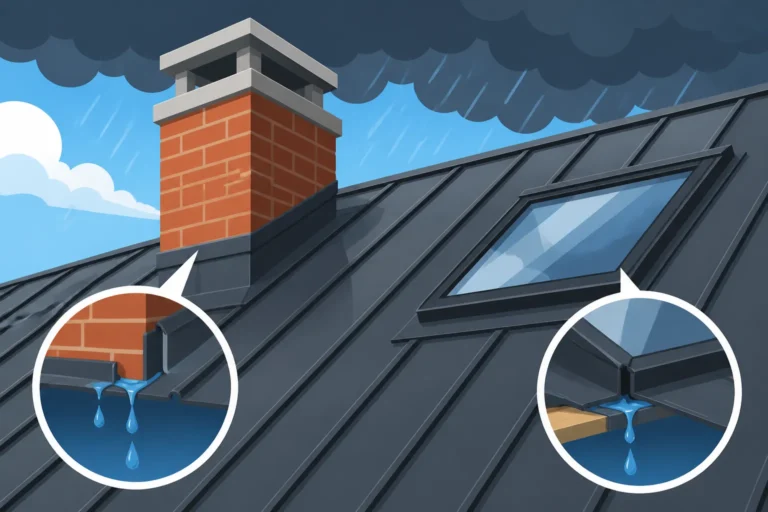
Less common but still possible are issues with flashing and trim. These are the metal pieces that seal the edges of your roof, around chimneys, skylights, and vent pipes. If not installed correctly or if their sealants degrade, they can become entry points for water. You might find water intrusion around these protrusions, even if the main panels seem fine. Furthermore, sometimes the underlayment beneath the metal panels can be compromised, leading to condensation or trapped moisture that causes hidden damage. For a deep dive into the layers of your roof, check out our guide on what goes under a metal roof.
Diagnosing and Tackling Common 5V Crimp Roof Repairs
When you spot a problem on your 5V crimp roof, the first instinct might be panic. But a methodical approach to diagnosis and repair can save you a lot of grief and money. It's all about understanding the symptoms and applying the right fix. Always prioritize safety when working on your roof; if you're uncomfortable or unsure, please call a professional.
Safety First: Preparing for Roof Work
Before you even think about climbing onto your roof, take a moment to consider safety. Metal roofs can be slippery, especially when wet, dusty, or covered in morning dew. Always use a sturdy ladder and make sure it's properly secured. Wear non-slip shoes with good traction. If your roof has a steep pitch or you're working at a significant height, consider using a safety harness and rope system. Never work alone. It's also a good idea to inspect the weather forecast; clear, dry, and calm conditions are ideal. Remember, your personal safety is far more important than any repair.
Locating the Leak Source
Identifying the exact source of a leak can be tricky because water doesn't always drip directly below where it enters. It can travel along trusses, purlins, or underlayment before making itself known. Start your investigation inside, looking for water stains or drips in your attic. Once you have a general idea, head up to the roof and focus on that area.
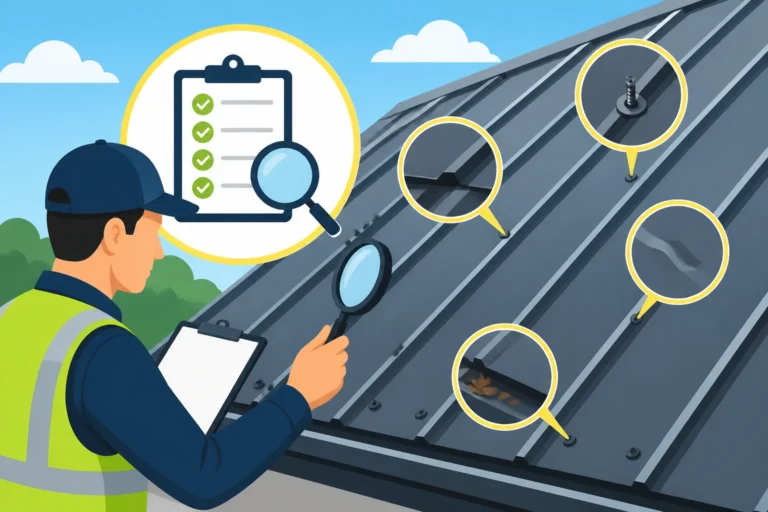
Examine the exposed fasteners first. Look for screws that are loose, missing, or have cracked, shrunken, or hardened rubber washers. These are prime suspects. Pay close attention to the V-crimps themselves, as damage or loose connections along these ribs can also allow water ingress. Check all areas where the roof meets a wall, chimney, skylight, or vent pipe for gaps or deteriorated caulk in the flashing. Sometimes, simply running a hose on specific sections (with someone inside to watch for drips) can help pinpoint the exact entry point. Our guide on how to fix a leaking metal roof offers broader insights if you're still having trouble.
Repairing Loose or Failing Fasteners
This is hands down the most common repair for a 5V crimp metal roof, and often the easiest to fix. When those little rubber washers give up the ghost, or the screws back out slightly, water finds its way in.
Tightening and Replacing Screws
If you find screws that are simply a bit loose, grab a cordless drill or a screwdriver with the appropriate bit (usually a hex head). Gently tighten the screws until they are snug, but be careful not to overtighten. Overtightening can strip the metal or crush the washer, making the problem worse. The goal is to compress the rubber washer enough to create a tight seal.
For screws with visibly cracked, missing, or severely degraded washers, tightening isn't enough; they need to be replaced. You'll want to remove the old screw, ideally with an impact driver set to a low torque or by hand. Then, replace it with a new, high-quality metal roofing screw designed for exposed fastener systems. These typically have a larger, durable EPDM rubber washer that will provide a long-lasting seal. Choose screws that are slightly longer or a larger diameter if the old hole is stripped. Drive the new screw in straight, ensuring the washer seals evenly around the hole without being over-compressed. For more detailed instructions, our article on how to replace metal roof screws and fasteners is an invaluable resource.
Sealing Around Fasteners and Seams
Even after tightening or replacing screws, sometimes an extra layer of protection is warranted, especially in problematic areas or if the panel itself has a tiny tear around the screw hole. A high-quality, UV-resistant sealant specifically designed for metal roofing can be applied around the base of the screw head to create an additional watertight barrier. Brands like Geocel's Proflex RV or OSI Quad Max are often recommended by professionals for their flexibility and adhesion.
For minor leaks along the crimps or seams where panels overlap, a bead of the same sealant can often do the trick. Clean the area thoroughly first to ensure good adhesion, then apply a continuous, even bead along the suspected leak path. Smooth it out with a gloved finger or appropriate tool for a clean, effective seal.
Patching Small Holes and Punctures
Accidents happen. A dropped tool, a rogue tree branch, or even a determined woodpecker can create small holes or punctures in your 5V crimp panels. These can be repaired without needing to replace an entire panel.
Cleaning and Preparing the Area
The key to any successful patch is a clean, dry surface. Use a wire brush or fine-grit sandpaper to remove any rust, dirt, or loose paint around the hole. Then, wipe the area clean with a rag and rubbing alcohol to ensure no residues interfere with adhesion. Allow it to dry completely.
Applying Sealants and Patch Kits
For very small pinholes, a dab of high-quality metal roof sealant might suffice. For anything larger than a screw hole but smaller than a baseball, a specialized metal roof repair tape or patch kit is your best bet. These often consist of a strong adhesive backing with a metal or butyl rubber top layer. Cut the patch slightly larger than the hole, peel off the backing, and press it firmly over the clean, dry hole. Ensure there are no air bubbles trapped underneath. Some kits also include a liquid sealant that you apply over the patch for an extra layer of protection. When choosing a sealant, look for products that offer flexibility and excellent adhesion to metal, designed to withstand extreme temperatures and UV radiation. Our article on the best sealant for metal roof leaks can help you choose.
Addressing Rust Spots and Corrosion
Rust can be a significant concern for metal roofs, particularly in humid or coastal environments. If left unchecked, it can lead to material degradation and eventually holes. The good news is that surface rust on a 5V crimp roof can often be treated effectively.
Cleaning, Sanding, and Priming
For areas with surface rust, the first step is to thoroughly clean the area. Use a stiff wire brush or a sanding pad attachment on a drill to remove all loose rust, flakes, and corrosion. You want to get down to bare, clean metal as much as possible. Once the area is clean, wipe it down with a degreaser or mineral spirits to remove any dust or oil, then allow it to dry completely.
Next, apply a high-quality rust-inhibiting primer. Brands like Rust-Oleum or Sherwin-Williams offer excellent primers specifically formulated for metal surfaces that will encapsulate any remaining microscopic rust particles and prevent further corrosion. Follow the manufacturer’s instructions for application and drying times. This primer acts as a crucial barrier between the metal and the elements. You can find more comprehensive strategies in our guide to metal roof rust and corrosion treatment.
Repainting for Protection and Aesthetics
After the primer has cured, apply a topcoat of paint that matches your existing roof color as closely as possible. Using a paint specifically designed for metal roofing, ideally one with UV inhibitors, will provide the best protection and blend in aesthetically. You might need two coats for optimal coverage and durability. Allow each coat to dry thoroughly according to the product specifications. This not only restores the look of your roof but, more importantly, restores its protective coating against future rust and wear.
Replacing Damaged Panels
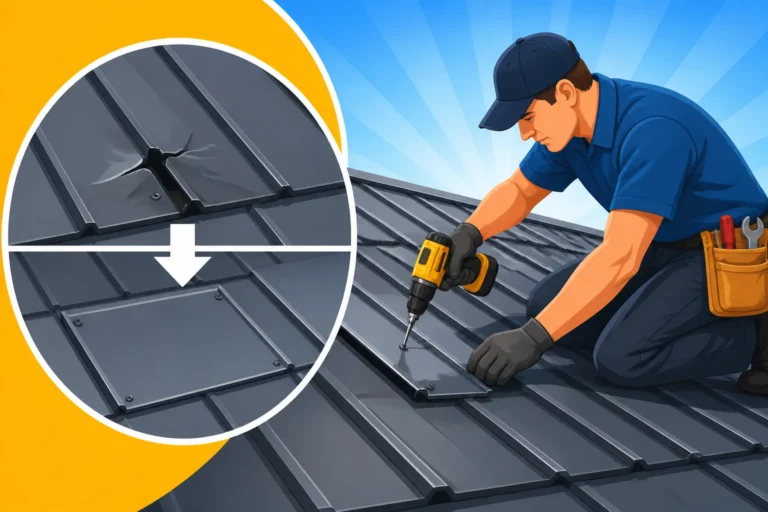
Sometimes the damage is too extensive for a simple patch or sealant. A severely dented panel, a large puncture, or widespread corrosion might necessitate replacing an entire panel. While this is a more involved repair, it's certainly doable with the right tools and patience.
Identifying and Removing the Old Panel
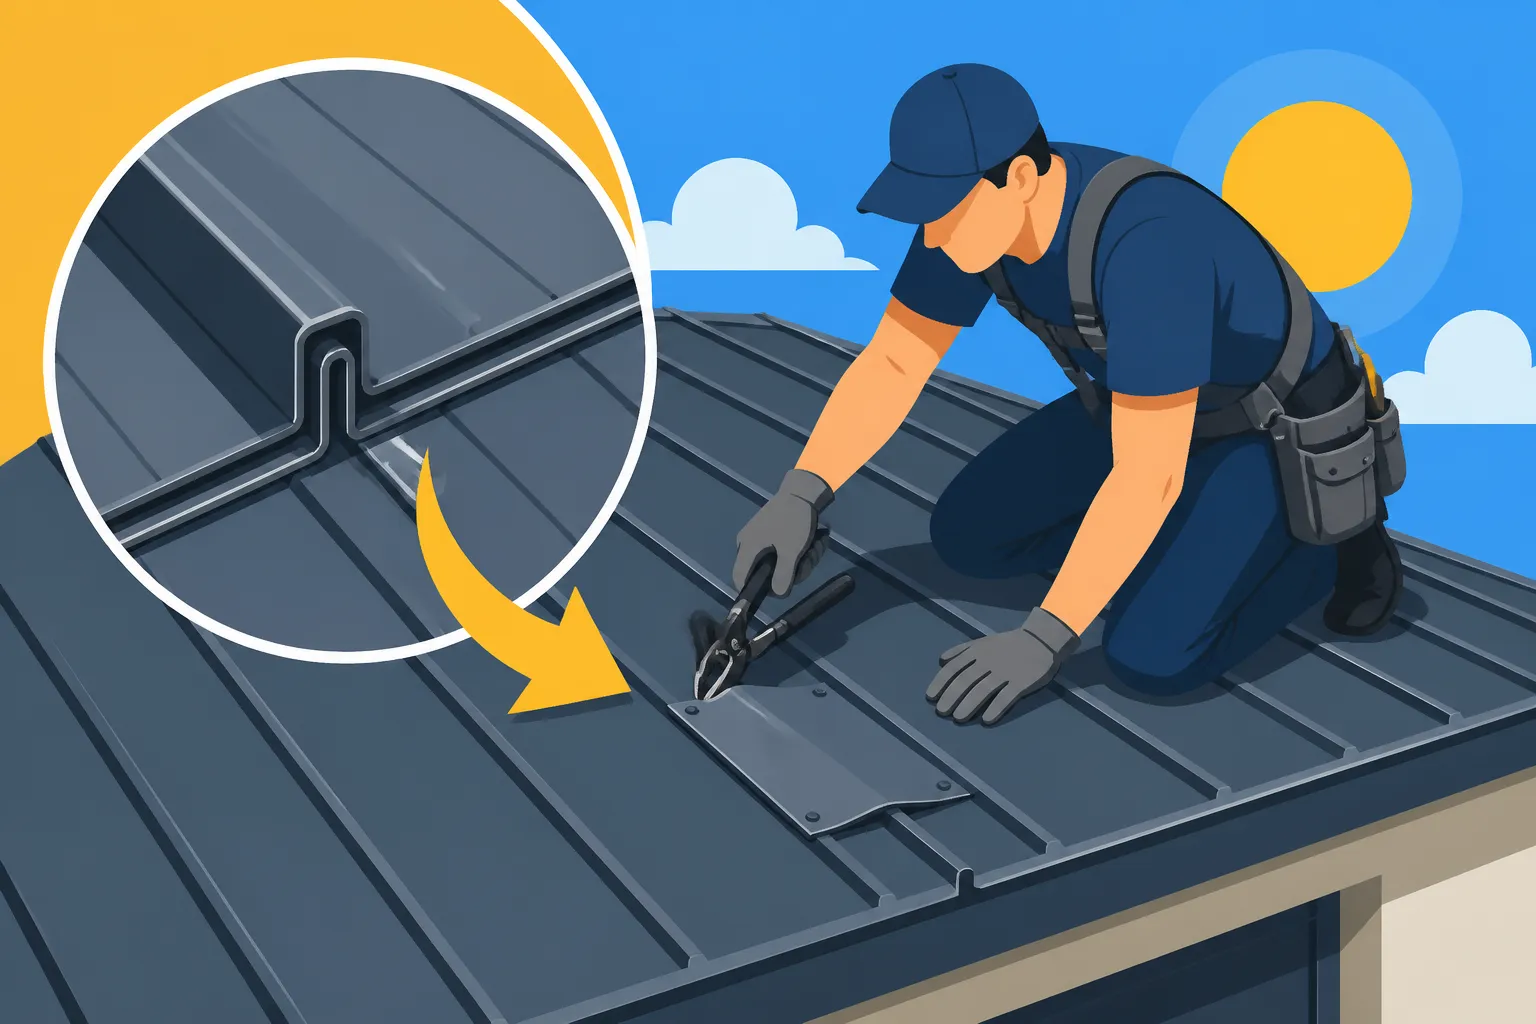
Carefully assess which panels need replacement. For a 5V crimp roof, individual panels can often be removed without disturbing adjacent ones, provided the fasteners are accessible. You'll need to remove all the exposed fasteners holding the damaged panel in place, including those that attach it to the underlying purlins or decking, and any along its crimps where it overlaps with neighboring panels. Take care not to damage the adjacent panels during removal. You may need to gently pry up the overlapping crimp sections to free the damaged panel.
Cutting and Installing the New Panel
Measure the exact dimensions of the old panel you removed. If you can, use the old panel as a template for cutting the new one. Use tin snips or a metal shear for clean cuts, being careful to protect your hands with heavy-duty gloves. Once the new panel is cut to size, position it carefully, ensuring its V-crimps align perfectly with the adjacent panels.
Secure the new panel using new, high-quality metal roofing screws with EPDM washers, following the same pattern as the original installation. Ensure proper overlap and alignment of the crimps for a watertight seal. Apply a bead of sealant along the overlapping crimp seams, if necessary, for added protection, especially where the new panel meets the old ones. The goal is a seamless transition that restores your roof's integrity. For a broader understanding of the installation process, our article on metal roof installation process: step by step might offer additional context.
When to Seek Professional Help and Important Considerations
While many 5V crimp roof repairs are within the realm of a confident DIYer, there are definitely situations where calling in the pros is not just smart, but essential. Knowing when to wave the white flag and enlist expert help can save you from costly mistakes, injury, or even voiding your roof's warranty.
When DIY Isn't the Best Option
There's a fine line between a satisfying DIY project and an undertaking that's simply too big or too dangerous for the average homeowner. If you're dealing with extensive damage – say, more than a few panels need replacement, or there's significant structural damage underneath the metal – a professional metal roofing contractor is your best bet. These pros have the specialized tools, experience, and manpower to handle large-scale repairs efficiently and safely.
Safety concerns should always be paramount. If your roof has a particularly steep pitch, if you're uncomfortable working at heights, or if the weather conditions are anything less than ideal, it's not worth risking a fall. Professional roofers are trained in safety protocols and have the necessary equipment to work securely.
Another critical factor is your roof's warranty. Many metal roof manufacturers require installation and significant repairs to be performed by certified or licensed professionals to keep the warranty valid. Attempting a complex repair yourself might inadvertently void this protection, leaving you on the hook for future issues. If you’re unsure, always check your warranty documentation first. Platforms like Modernize can be incredibly helpful in connecting you with qualified, local roofing professionals who understand these warranties and local building codes.
Finding a Reputable Metal Roofing Contractor
Choosing the right contractor is crucial, especially for metal roofs which require specific expertise. Start by looking for local roofers who specialize in metal roofing, not just asphalt shingles. Ask for recommendations from friends, family, or neighbors who have recently had metal roof work done.
Once you have a few candidates, verify their credentials. Ensure they are licensed, bonded, and insured in your state or municipality. A reputable contractor will be happy to provide proof of these. Check their reviews online on platforms like Google, Yelp, or industry-specific sites. Ask for references from past clients and, if possible, drive by some of their completed projects to see the quality of their work. Don't be shy about asking questions about their experience with 5V crimp roofs specifically, their repair process, and what kind of warranty they offer on their workmanship. For more guidance on choosing the right professional, our guide on how to hire a metal roofing contractor is a must-read.
Cost Considerations for 5V Crimp Roof Repair
Understanding the potential costs involved can help you make an informed decision between DIY and hiring a professional. The cost of repairing your 5V crimp metal roof can vary widely depending on the type and extent of the damage, the materials needed, and whether you do it yourself or hire a professional.
Material costs for small repairs are generally quite low. A handful of screws with washers might cost less than $10-$20. A tube of high-quality sealant might be around $10-$30. A patch kit could range from $20-$50. If you're replacing a few panels, the cost will go up, as metal panels can range from $2 to $5 per square foot or more, depending on the metal type and coating. Tools like tin snips or a drill might be an initial investment if you don't already own them.
When hiring a professional, you'll also factor in labor costs. These can vary significantly by region and the complexity of the job. Minor repairs, like tightening or replacing a few screws, might be charged at an hourly rate or a minimum service fee, which could be anywhere from $75 to $200 per hour. More extensive panel replacement jobs will likely involve a flat rate or be quoted based on the scope of work. On average, you might expect to pay a few hundred dollars for small repairs to over a thousand for more complex issues requiring multiple panels or specialized flashing work. Using a platform like Modernize can help you get multiple quotes from local contractors, allowing you to compare prices and find the best value for your specific repair needs. To get a broader perspective on repair costs, check out our guide on how much does metal roof repair cost.
Here's a quick overview of common 5V Crimp issues and typical repair approaches:
| Problem Type | Common Cause | DIY Repair Action | Professional Help Recommended When… |
|---|---|---|---|
| Loose/Leaking Fasteners | Degraded washers, thermal expansion/contraction | Tighten screws, replace with new screws/washers, apply sealant around screw heads | Widespread fastener failure, damaged underlying decking |
| Small Punctures/Holes | Hail, falling debris, dropped tools | Clean, apply metal roof repair tape or specialized sealant | Large holes, structural damage, multiple punctures |
| Surface Rust | Scratches in coating, environmental exposure | Wire brush clean, apply rust-inhibiting primer, repaint with metal roof paint | Deep rust, perforations, widespread corrosion |
| Damaged Panels | Severe dents, large punctures, heavy corrosion | Remove old panel, cut new panel to size, install with new fasteners | Multiple panels damaged, complex cuts, safety concerns |
| Flashing/Trim Leaks | Deteriorated sealant, improper installation | Clean, re-seal with metal-compatible sealant | Extensive flashing replacement, difficult access points |
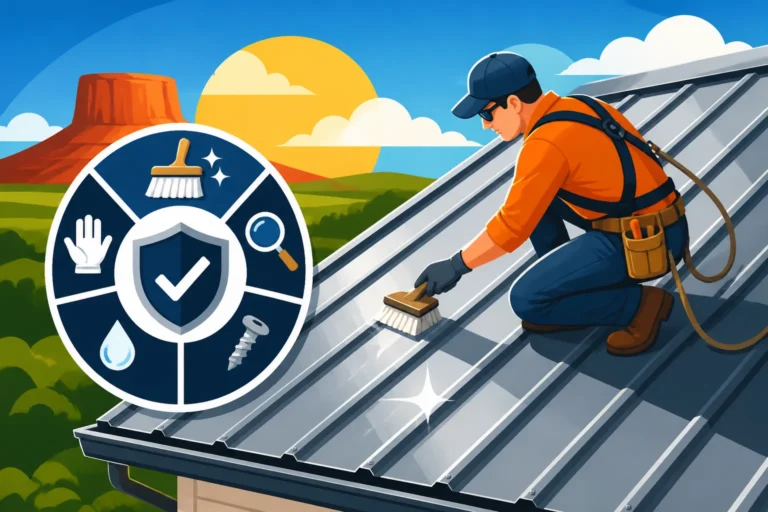
Ultimately, keeping your 5V crimp metal roof in top shape is about vigilance and timely action. Whether you tackle repairs yourself or bring in the experts, addressing issues promptly will ensure your roof continues to protect your home for decades to come. Don't forget, regular inspections are key to spotting these issues early; our metal roof maintenance guide provides excellent tips for keeping an eye on things.
Disclaimer
Please note that this guide offers general information for educational purposes only and is not a substitute for professional advice. Working on a roof can be dangerous, and specific repair techniques may vary based on your roof's unique conditions, local building codes, and manufacturer specifications. Always prioritize safety and consult with a qualified, licensed, and insured metal roofing professional before undertaking any significant repairs or if you are unsure about the best course of action for your specific situation.